When you click on links to various merchants on this site and make a purchase, this can result in this site earning a commission. Affiliate programs and affiliations include, but are not limited to, the eBay Partner Network.
I can finally say I have a complete drivers side. Still have to complete the drivers side skirts as I am having issues of the skirt bowing towards the door when I tighten the mounting bolts/nuts.
Started some work on the Interior as now Exterior, Underneath and Engine bay are all completed. Man the plastic on these cars is awful. Apart from the friggin PU on the GFX and Bumper covers, most of the interior plastic is made out of very brittle ABS prone to cracks and noises.
I serviced all hatch motor components in terms of gear, housing and guides. Now the motor is working as expected and hopefully better than stock. Thanks to Lon's upgrades.
I also fixed the center console which was getting detached from the actual plastic frame. Important here is not to tighten the clamps too much. Just enough to flatten the vinyl. I used Wurth Bond and Seal. The console lid is in bad shape as the bottom plastic is all brittle and cracked. I am planning to fabricate a wooden one and upholster it with leather. Will keep you posted on that.
The digital dash was fully disassembled for cleaning. Display contact to the DIC were not making proper contact so I bent them slightly (all 63 of them) to make firmer contact. Now the display lights up properly. The foam between the plastic bezel and the displays was all gummy and deteriorated so I cut a new one using a surgical knife and 4mm foam. I had to spray it black as I couldn't find black foam but it came really nice (Sorry dont have a picture of the finished product but will soon upload some once the interior is ready)
I then saw that the rear headliner panel was all broken around the screw hole so I made some sheet metal bracket hammered in the middle to make space for the screw. Filled the plastic with JB Weld and painted with 'similar' color. Still have to find something matching but the result came quite good. I even engraved the same plastic weave in the JB Weld
I also managed to find some weatherstrip rubber for the A-Pillars as the stock one was practically non existent. The fit of the A-Pillar molding leaves much to be desired but I guess it was a 'feature' of these cars. I cant get the plastic to cover all the Windscreen pillar so I am going to have to put some foam tape to hide the red paint and hopefully make it look less emphasized. All the clips have been replaced. The A-Pillar molding had some broken clip holders so I had to use ABS Glue to attach the clips to the A-Pillar permanently. I also used some foam tape around the clips to try and reduce vibrations.
My next challenge is properly installing the ABS Headliner that I just bought from hawks. The material of the stock one started to separate and was very difficult to salvage. I will still keep it perhaps I will find some time to fabricate a fiber one however I am afraid that fiberglass will be too rigid to install it properly.
The ABS is super flimsy and I am going to create some support made of plastic pipes to hold it in place until I make the final adjustments to try and fit it as properly as possible. The plastic frame will attach in place of the dome light bolts via a bracket which I already made. I will also aim to attach the middle part behind the rear view mirror with Hi-Strength double sided tape. I bought a very expensive roll from Wurth which looks serious. We'll see. It even has an expiry date on it!!
I also fixed the center console which was getting detached from the actual plastic frame. Important here is not to tighten the clamps too much. Just enough to flatten the vinyl. I used Wurth Bond and Seal. The console lid is in bad shape as the bottom plastic is all brittle and cracked. I am planning to fabricate a wooden one and upholster it with leather. Will keep you posted on that.
Impressive restoration.
I screwed the plastic lid to a piece of plywood, then used aircraft foam (greater density), then covered with extra hide I purchased when I purchased the seats.
I use my elbow on the lid quite a lot, so the extra dense aircraft foam is a nice touch.
Impressive restoration.
I screwed the plastic lid to a piece of plywood, then used aircraft foam (greater density), then covered with extra hide I purchased when I purchased the seats.
I use my elbow on the lid quite a lot, so the extra dense aircraft foam is a nice touch.
That arm rest is really nice. Do you have pictures of the underside of it? To get some ideas. To be honest I was going to redo all of the armrest out of wood but this looks to be a good idea also.
Ahh ok understood what you did. Very good idea. Will keep that in mind however will try to replace mine completely before that as my plastic is more crippled than yours.
On a separate note I just came up from the garage. The idea of the plastic pipe frame to hold the headliner until i adjust and position it properly work like a charm. See pic.
I had to take a drastic decision though. The abs headliner is not curved properly to embrace the windshield. No way of holding it in place with double sided tape or velcro. If it was even possible it would be a temporary solution.
So i took the drill and screwed in 3x self tapping screws to the roof channel. The location is not visible at all neither from inside nor from outside. All i need to do is get a black screw fir the middle hole .
You can see how straigh the edge is now. Would have liked taking a photo before but I was in a certain mood to get it done.
Fit is very good once I made those screws on top of the windshield. I also had to insert some foam under the passenger side sunvisor bracket as there was a slight gap near the Apillar trim at the top corner and the headliner had to be lowered a bit.
Also had to enlarge a but the seat belt roller holes to be able to align them to the headliner cutouts and also to make sure the covers cover all the hole.
The A pillar trims are what they are... Those Xmas tree clips are quite sloppy as they dont hold the plastic tight to the body but anyway not too bad either.
The only thing I will try is to find some rubber profile with a double sided tape to try and cover the excess windshield glue that smeared a bit out. Will see what i manage to find.
Took out the car for the second test drive yesterday. Fixed the power steering pump as the plunger valve got stuck probably with some debris from the sand blast I used before power coating the reservoir tank. I decided to soda blast it and give it a nickel plating treatment. I also installed a return line filter and put in a huge hard disk Magnet in the pump to ensure any potential metal debris is collected there.
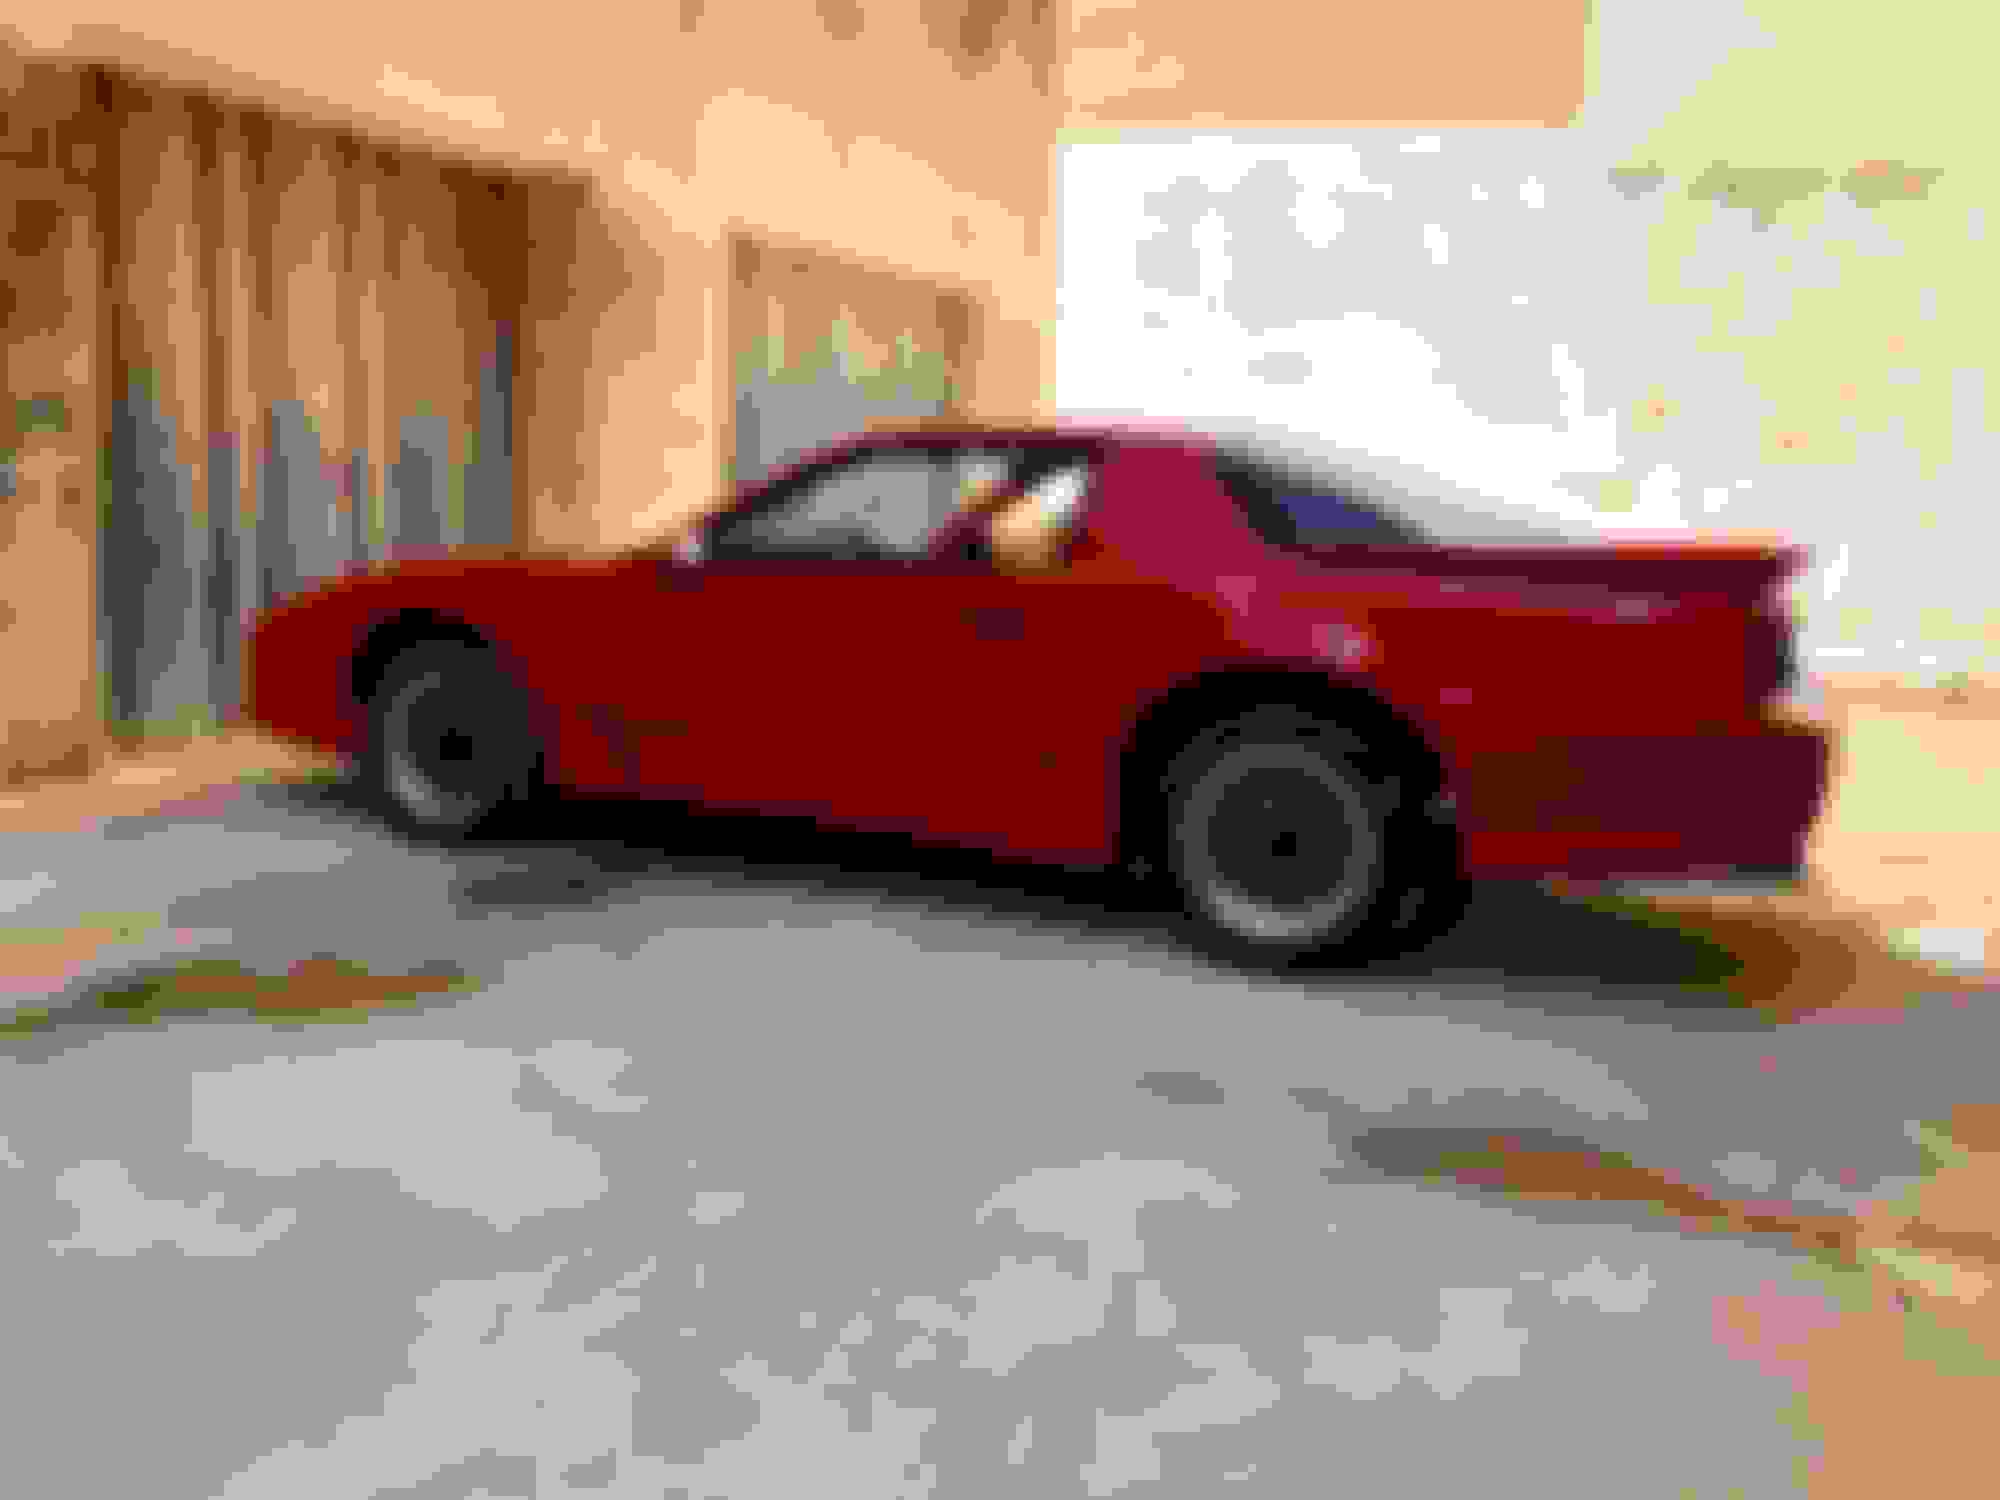
Anyway wanted to post some pictures almost 2 and a half years after I purchased the car.
Still need to put on the emblems and decide on the side moldings.
Asking again for some good soul to provide me with some kind of templates for placement. Especially the front bumper where I need to still a hole. Would really appreciate it.
 03-21-2018, 04:27 PM


 .
.