When you click on links to various merchants on this site and make a purchase, this can result in this site earning a commission. Affiliate programs and affiliations include, but are not limited to, the eBay Partner Network.
really? cool, solves that problem then lol, ivd never run a big compressor before, my last one was a 20 gallon 110v, sp this is a whole new world to me
Yes, do not run an oiled line. Just add a few drops of air tool oil at each use.
Those oilers can dump waaaaay too much oil into the line.
And when that oil combines with the water/condensation from the compressor,
you will really have fun trying to clean out your air lines.
Run a rubber line from the compressor to an air filter/regulator like this one I use: https://www.harborfreight.com/air-to...tor-68247.html
Use the KISS method here. After the regulator, just connect to an air hose reel with 50 ft of hose on it. That should get you anywhere you need to get to.
One similar to this works well: https://www.tractorsupply.com/tsc/pr...-air-hose-reel
And when you move, you can take it all with you easily.
so its been awhile since i last posted, life threw some crap my way and im just getting caught up with it. my wife lost her job the first Friday in December, got a new one first week of January, our 2005 acura mdx bit the dust, replaced it with a 2015 Hyundai sonata (wifes car) and replaced my 2013 Honda crv with a 2010 chevy silverado 1500 LT because, well, why not. had my wisdom teeth pulled out a little over a week ago and still can't feel half my face, if you havnt had it done, do it when your young, young people heal faster. havnt gotten any new work done on my basement and havnt hooked up my cpmpressor... basically I've spent the last 2 months working and trying to keep up. I'm hoping this week things will go back to normal and I can get some work done on the car, or get the airline run to the garage. basically I need to feel some sense of accomplishment.
Wow, that is so cool. I am fixing the same Car! 87' GTA.Even the same colour. Bought mine about a year ago now and am hoping for a test drive here soon. New brakes all around, badges,wheel caps.tires,rear hatch struts, dash pad,Rad,window sweeps & seals. Replacing the ECM right now. Maybe one day document it like you have! Well done! like to see the finished product one day.
Wow, that is so cool. I am fixing the same Car! 87' GTA.Even the same colour. Bought mine about a year ago now and am hoping for a test drive here soon. New brakes all around, badges,wheel caps.tires,rear hatch struts, dash pad,Rad,window sweeps & seals. Replacing the ECM right now. Maybe one day document it like you have! Well done! like to see the finished product one day.
Thanks, Id like to have a finished product one day lol. I did get around to pulling out the seats over the weekend, found almost $5 in change, but nothing more exciting than that, I need to clean the carpet and put in the new seats, unfortunately the weather is in flux right now (it was 60 degrees f yesterday, 20 degrees f last night ect) so getting the carpet wet right now would probably lead to freezing, but with the seats being out im noting all of the little issues like broken seat belt guides, missing bolt covers ect that I can address.
I pulled my seats to clean the carpet and install the new ones I got last year and got a nasty surprise, which shouldn't really be a surprise. but I guess this gives me my next project, just glad I get free stainless panels from work lol.
handy dandy access panel installed by p.o. guess this explaons the gas smell.
I'm glad you got the compressor up and running. Nice job with the copper.
Just a note: you do realize that if you use that oiler, that the air lines from there on will be coated in an oil mist? Something to consider if you plan on doing any paint spraying or just blowing yourself off.
Last edited by NoEmissions84TA; 03-12-2018 at 08:34 PM.
noemissions, I thought it would be a good idea when I bought it, but since then I've been informed it wouldn't be a good idea to use the oiled so it won't be used.
so i ordered a couple of interior plastic parts from hawks a couple of weeks ago and when I got them in I realized just how badly faded the rest of the plastics are so I spent the evening pulling plasic out and repainting them and of course ran out of paint.
interior plastics all stripped out to be dyed. all plastics stripped put to be dyed
so i started putting the interior back in, all of the plastics are in, I'm missing 2 of the large plastic screws and I managed to get the rear seats in. while trying to remove the bolts that hold the front seatbelt receiver in I broke my t-45 for bit.... guess I'm done for the night
new interior going in
yeah I'm not sure what brand that was, it was part of a set I purchased about 15 years ago, I replaced that bit today with a channel lock brand, local hardware store it in stock. so i got the new seatbelt sleves in and I picked up a 2 part plastic apoxy to try on the center console, it says it's good for vinyl and rubber, takes 12 hours to fully set so we will see tomorrow how it goes.
center console is good. new front seats are in and I took it for a drive, its only 42 degrees outside so driving around with the tops off was a bit chilly but it was a blast. the handling and acceleration in that car is amazing, while driving it it's really hard to believe it's a 30 year old car. still can't figure out the dash lights. the gauges work, most of the lights work, it's JUST the back lighting lights for the gauges. it's kinda strange. the other strange thing I ran into is that if I hit the rear defrost button the whole car shuts off. so the work shifts back to the body and trying to decide what to do about the radio.
so it's been awhile since I've posted, since the last time I have continues the body work and decided to remove the old power antenna, I welded the hole shut in the fender and ran a hidden antenna under the passenger side dash. it looks pretty slick without it. I've also replaced my 2005 CD player with a new Bluetooth, aux input head unit which picks up surprisingly well with the hidden antenna.replaced the factory 6x9s and have the dash speakers sitting on a shelf.
You are getting close if you are working on the tunes.
Either that, or you just want to have music while you continue to work on the car.
Progress is still progress.
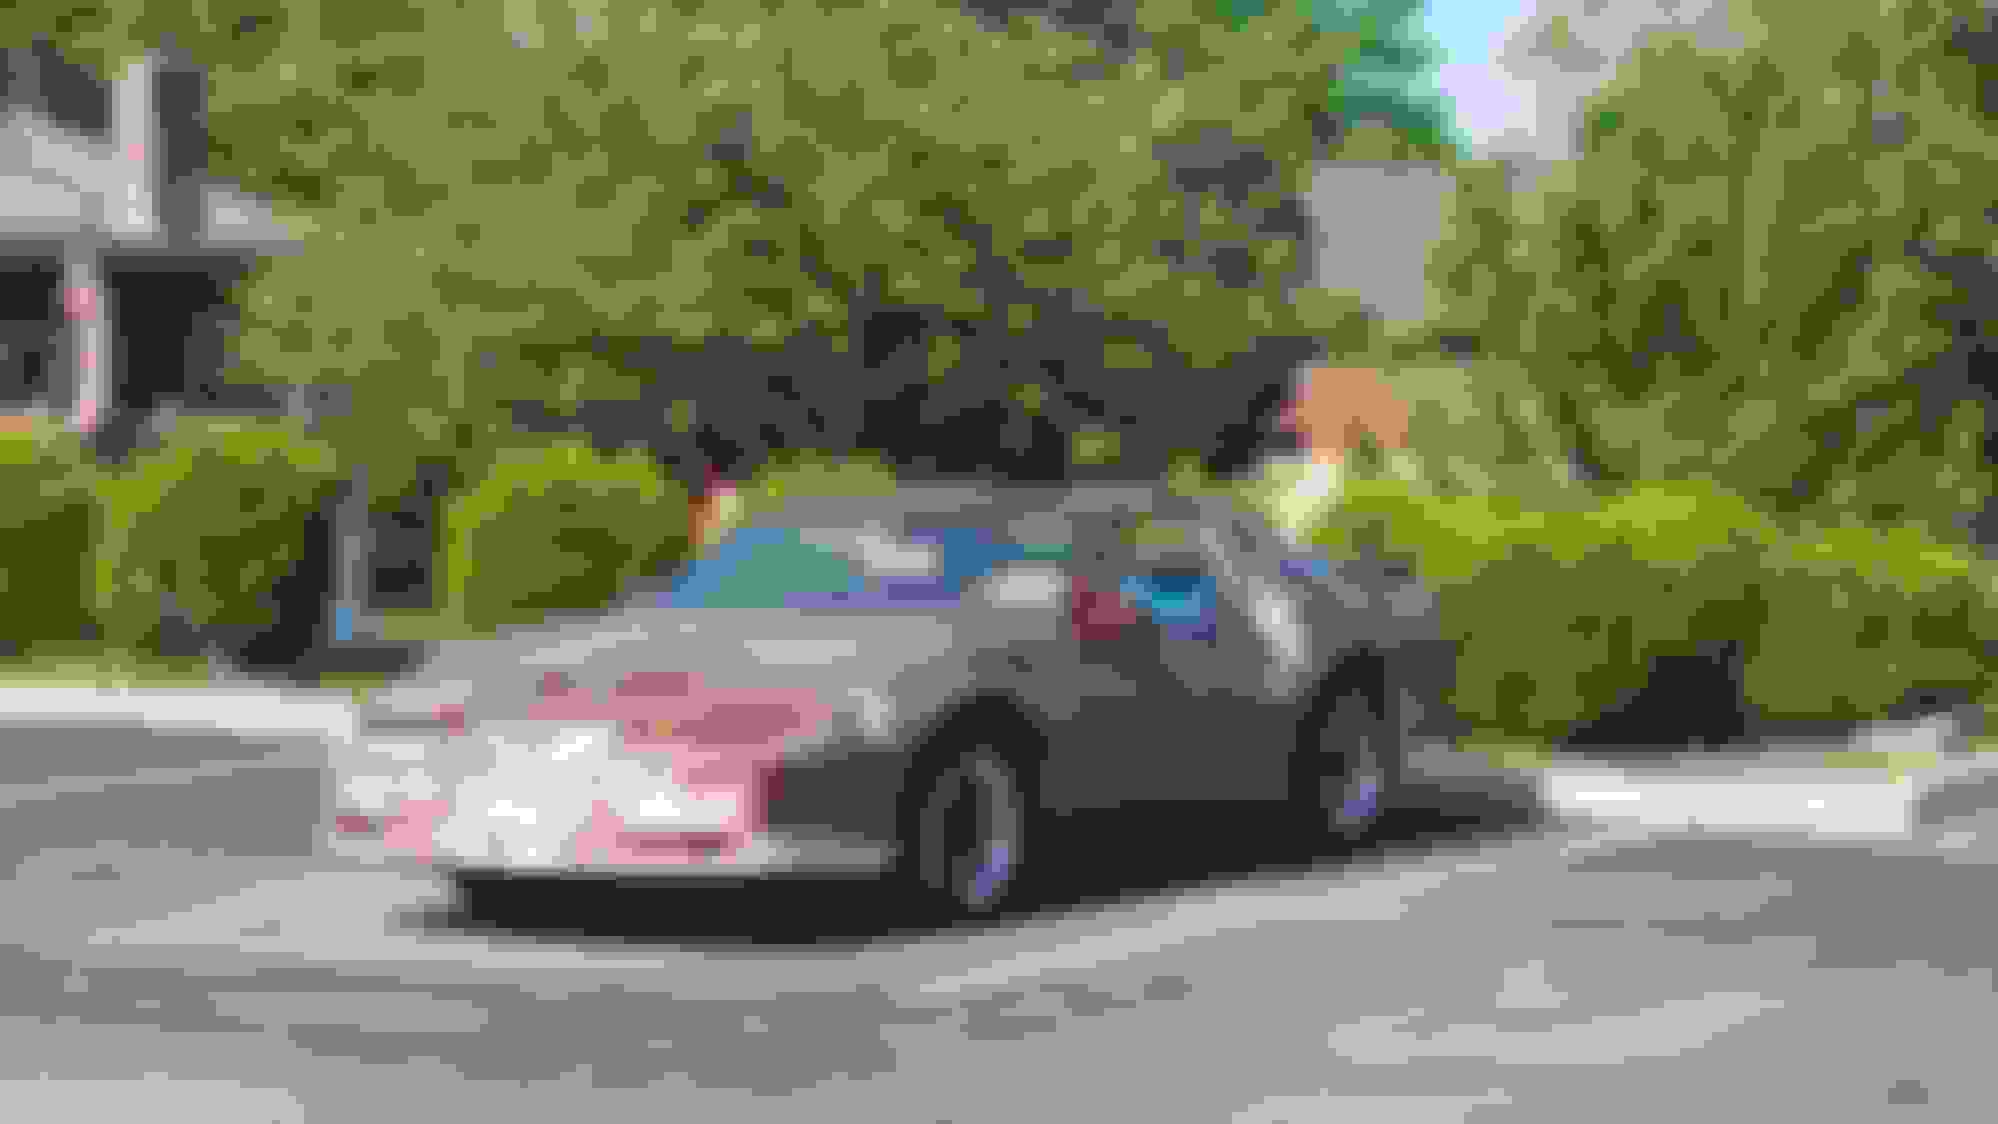
my 2 year old boy can say firebird now though it sounds like a Russian "firebord" lol. anytime we go somewhere he wants to take it. so we took it to church and I couldn't help but take a pic of it somewhere other than my driveway
thanks no emissions, I got tired of trying to explain why a CD skips to my 8 year old lol. and on top of that the old head unit had a pretty gnarly install kit on it and if I accelerated to hard it would com flying out and that was getting pretty old. most of my interior is done, just need to replace the shift plate, and rear ash tray and it's done. don't want to tear apart the exterior until I've got paint.
Car is coming along bit by bit. Keep up the good work. There is going to be some jaw dropping around your neighborhood when the butterfly emerges from the cocoon after paint.
Been watching this thread from day one and it is hands down one of my favorite threads because of the story it is telling. Making your family proud.
so the final "issue" with the car is one that I've done a bunch oh reading on and I think I have narrowed it down to 1 of,2 potential problems. no dash lights, I have no stinking dash lights and it's been driving me nuts. I've checked both sides of the fuse and it's good replaces the roller/potentiometer, torn the whole dash out and every bulb is good, I think that leaves me with either a bad ground (not sure where to check this) or the dimmer module/heat sink thing. so I dove head first into the driver foot well and pulled it all apart, I though I would be smart and jump a wote from a known good supply to both the brown and green/white wire on the potentiometer, and after replacing the fuse I blew decided to disconnect the battery and pull the heat sink/dimmer module. tomorrow I'm going to try to pull it apart and clean it, if that doesn't work I'm going to just order a new one and be done with it.
so, looking at this little pita, I noticed there are only 3 connectors on it and one of them seems to be a ground so I figured it's gotta be going off of resistance or continuity so I shoved a little jumper wire into the other 2 connectors and now I get a chime but still no lights to speak of. so the question is, shouldn't the lights come on with it jumped out? btw there is no continuity on the 2 prongs on the bimetal, disc thing (trademarked technical term)
pulled the dimmer wheel, it's been replaced once but I don't know of the one I put it was any good, so I went ahead and pulled it apart and it doesn't look to good. I'm gonna check continuity on each side of the bubbles to see if it's trash or not.
welp, that switch was bad but the one I just put is not. still no dash lights... thinking I might Have to replace that resistor to make,sure the dash is getting proper voltage, but I would assume that jumping it out would put full voltage through to the cluster thus illuminating them all the way. ant input? anyone anyone, bueller bueller? I need to figure out which socket on which plug going to the dash is supplying voltage to the lights so I can measure it there to see if voltage is even getting to the lights, sorry, I'm thinking out loud through typing at this point lol.
yes, I have the dimmer wheel with the brown black green/white and ran wire on it, I know power goes from that to the remote dimmer (resistor) behind the radio/next to the steering column, I know this resistor is bad so i bypassed it (jumped out the 2 wires going to it). now I have a chime but still no lights
You could pull the gage pod and measure voltage at the connector terminal just to see if anything is getting to the connector at the gage pod. These are the pinouts for my '89 Firebird which should be similar or even identical
qwktrip you are the man.... that is exactly what I am looking for... so i have continuity all the way from the 5 amp fuse to the connector for the dash lights, time to hook the battery up to see if I have voltage
I don't have any power to the fuse at all, looks like the power comes from a brown wire through the remote dimmer to a dark green wire that goes to the fuse then through the grey wire to the cluster. if I jump the brown to the dark green (bypassing the remote dimmer) it blows the 5 amp fuse. I'm thinking I'm going to have to replace the remote dimmer to get an actual meaningful outcome one way or the other. I'm just curious why it's blowing the fuse with no load on it (cluster not plugged in). curious.
ok, so I got the part in today, and possibly progress? I am blowing the 5 amp fuse now, so at least now I'm getting power TO the fuse. now I'm starting to wonder if the radio is causing this problem. I only have like 6 more 5 amp fuses so hopefully I can figure this part out without to many failed attempts
BOOM!!!! grey wire (illumination wire) was going to a ground, in the plug going to the radio, that is what probably took out the remote dimmer, and causing no power to the fuse, replaced the remote dimmer and completely removed the grey wire from the plug so it can not cause any more issues.
funny that you say that bow tied, I work on wiring issues all day at work, but it's totally different when you have a schematic and everything isn't hidden behind plastic panels lol.
well took the firebord out today, took the wife and kids to meet up with my mom and sister, it would have been chucks 59th birthday today so we went out to his favorite restaurant and afterward we stood around the old car and I showed off some of the work I've done. she's gonna go out one more time next weekend before I start pulling it all apart, next week is my little sisters birthday so I think I'm gonna drop it off to her next Saturday and let her have it for the day.
old handle off, it was broken.
started taking the car apart to really start prepping for paint, found out that the driver side door handle was broken, I kinda figured it was due to the spring hanging down, glad I have that extra door to Rob parts off of. got the tail lights off, gonna go ahead and replace all those bulbs, got the bumper off and only broke one of the little clips that hold it on, which I think is pretty good. I also took the rear side marker lights off, which leads me to ask.... do you paint the retaining rings around those lights while on the car or off?
so, it's been awhile again, between hurting my shoulder being stupid and dealing with kids and overtime at work, the usual life stuff I've neglected the poor girl. but today we got to spend some quality time, washed the rear honeycomb, cleaned up the rust spots, and got the hatch and rear quarter on the passenger side sanded down, hopefully will be able to get some,more done after the kids go to bed tonight.
rust behind tail lights
so i had an idea the other day, I have a couple of ground effect retainers that are rusted pretty badly and a couple of studs that have broken off, well I've got a bunch of stainless from work and I am going to cut it down to the correct size and I'm going to take it back to work and pop some studs on it and see if it works.
driver side side skirt retainer
 11-15-2017, 10:47 AM