When you click on links to various merchants on this site and make a purchase, this can result in this site earning a commission. Affiliate programs and affiliations include, but are not limited to, the eBay Partner Network.
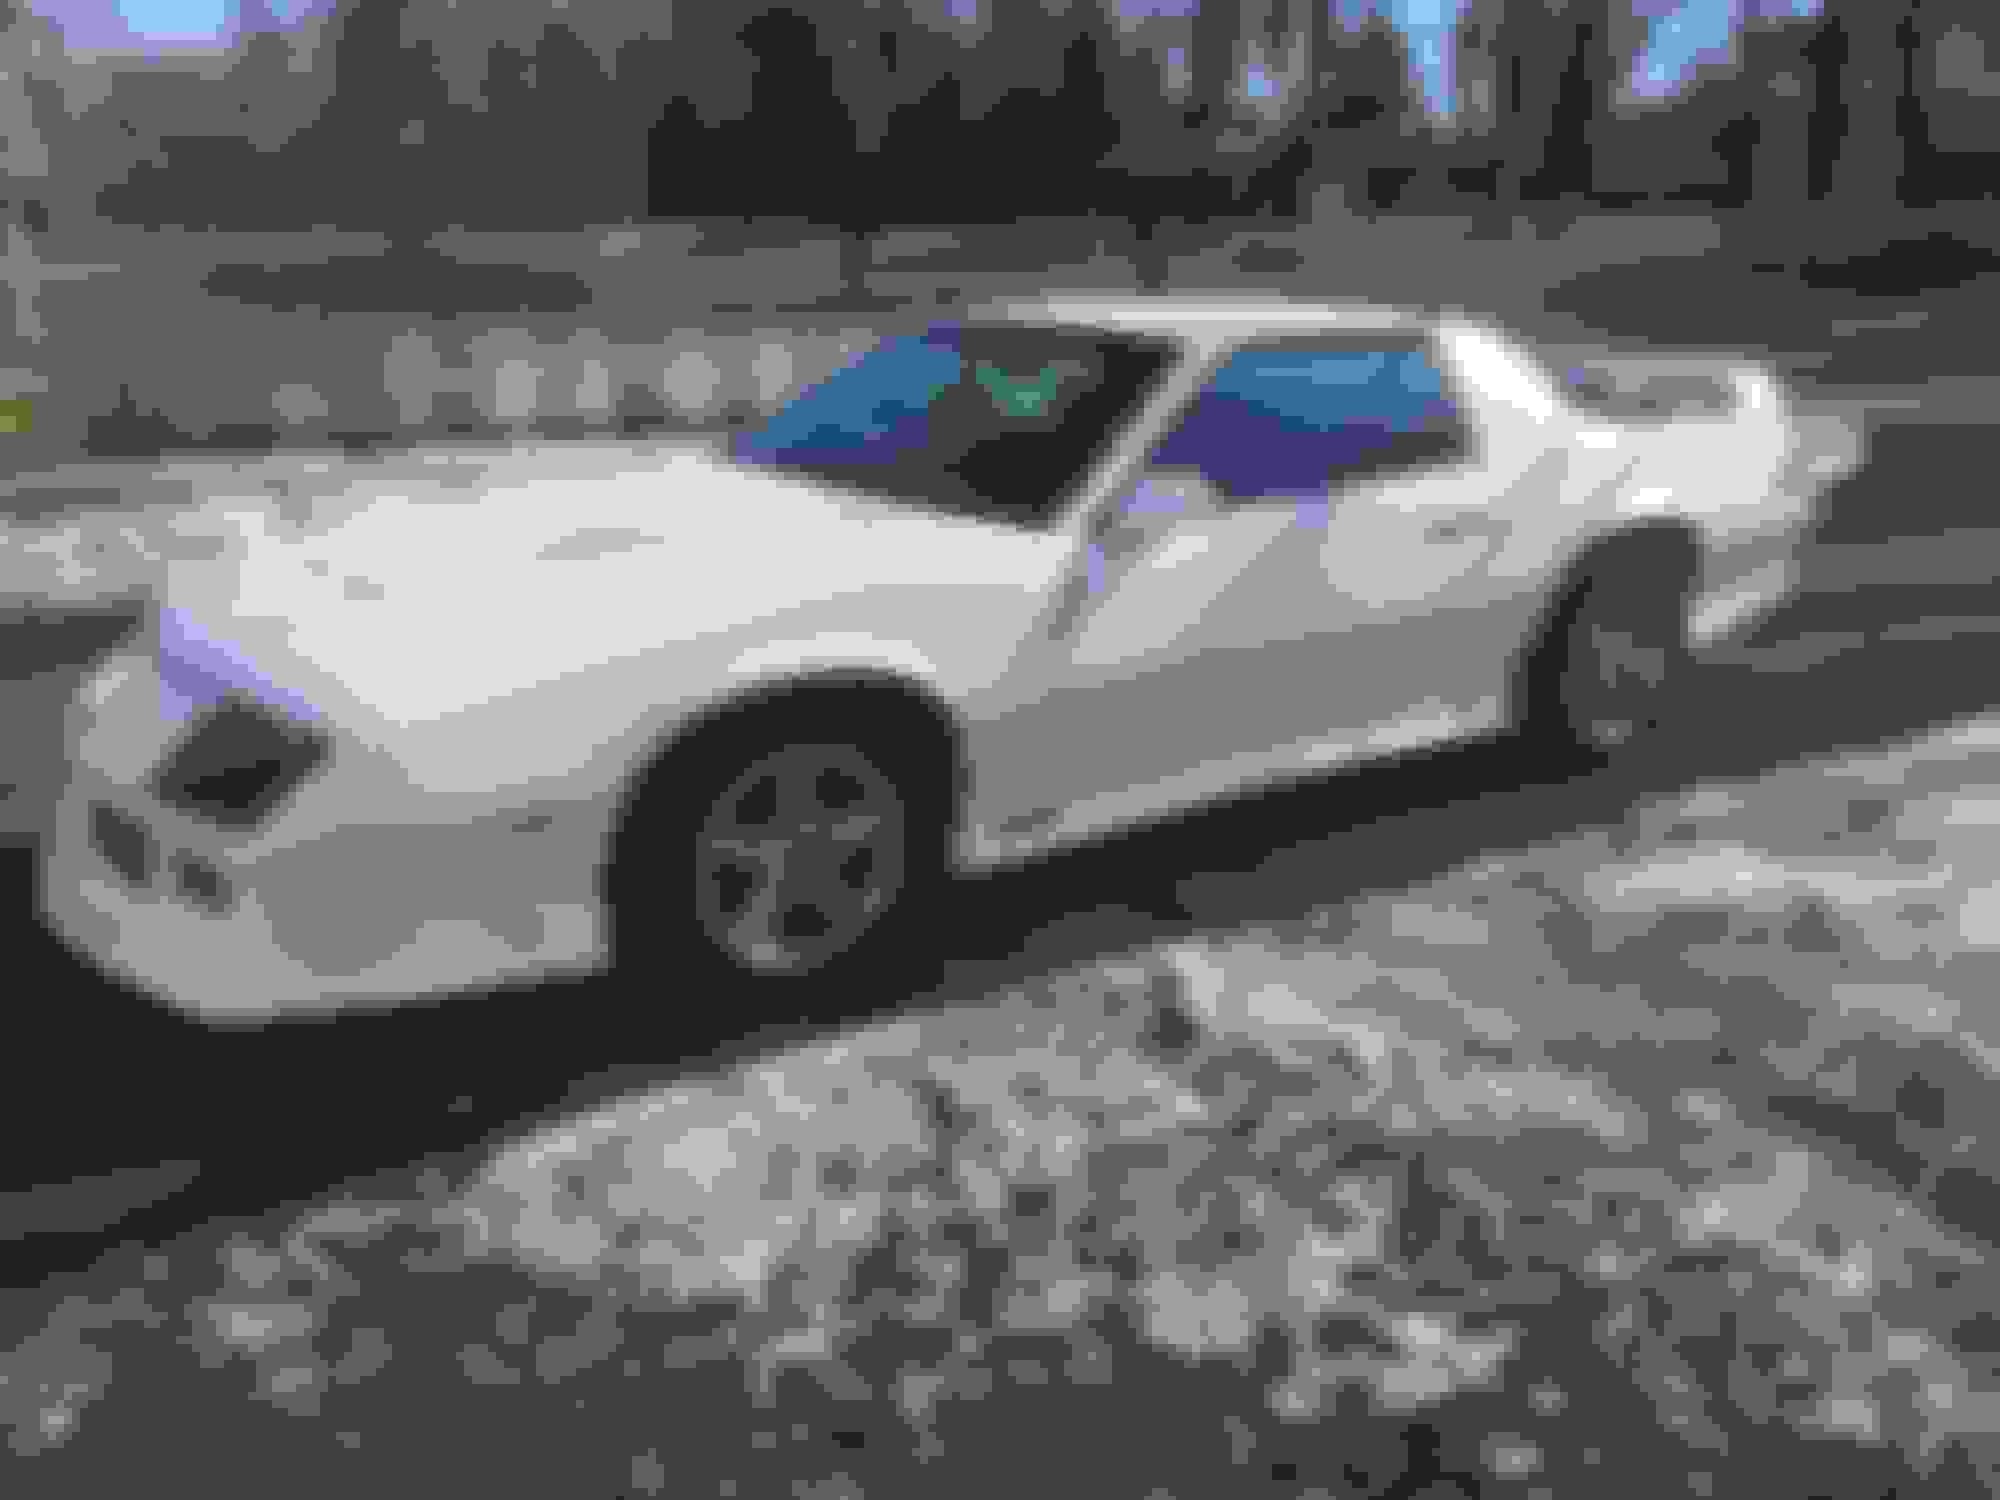
So last year I was finally able to get an amazing deal on a 91 z28 with the g92 package. Third Gen Camaro’s have always stood out to me and having one was always like my dream car. I drove the car last year not doing to much to it but this year I decided I’m going to slowly work on it to make it exactly like I want my car to be.
Here are some pictures from the craigslist ad before I owned the car..
Here are some of my own pictures after owning the car through last summer. One of the first mods I did was add the blacked out turn signal lights and side markers as you can see here..
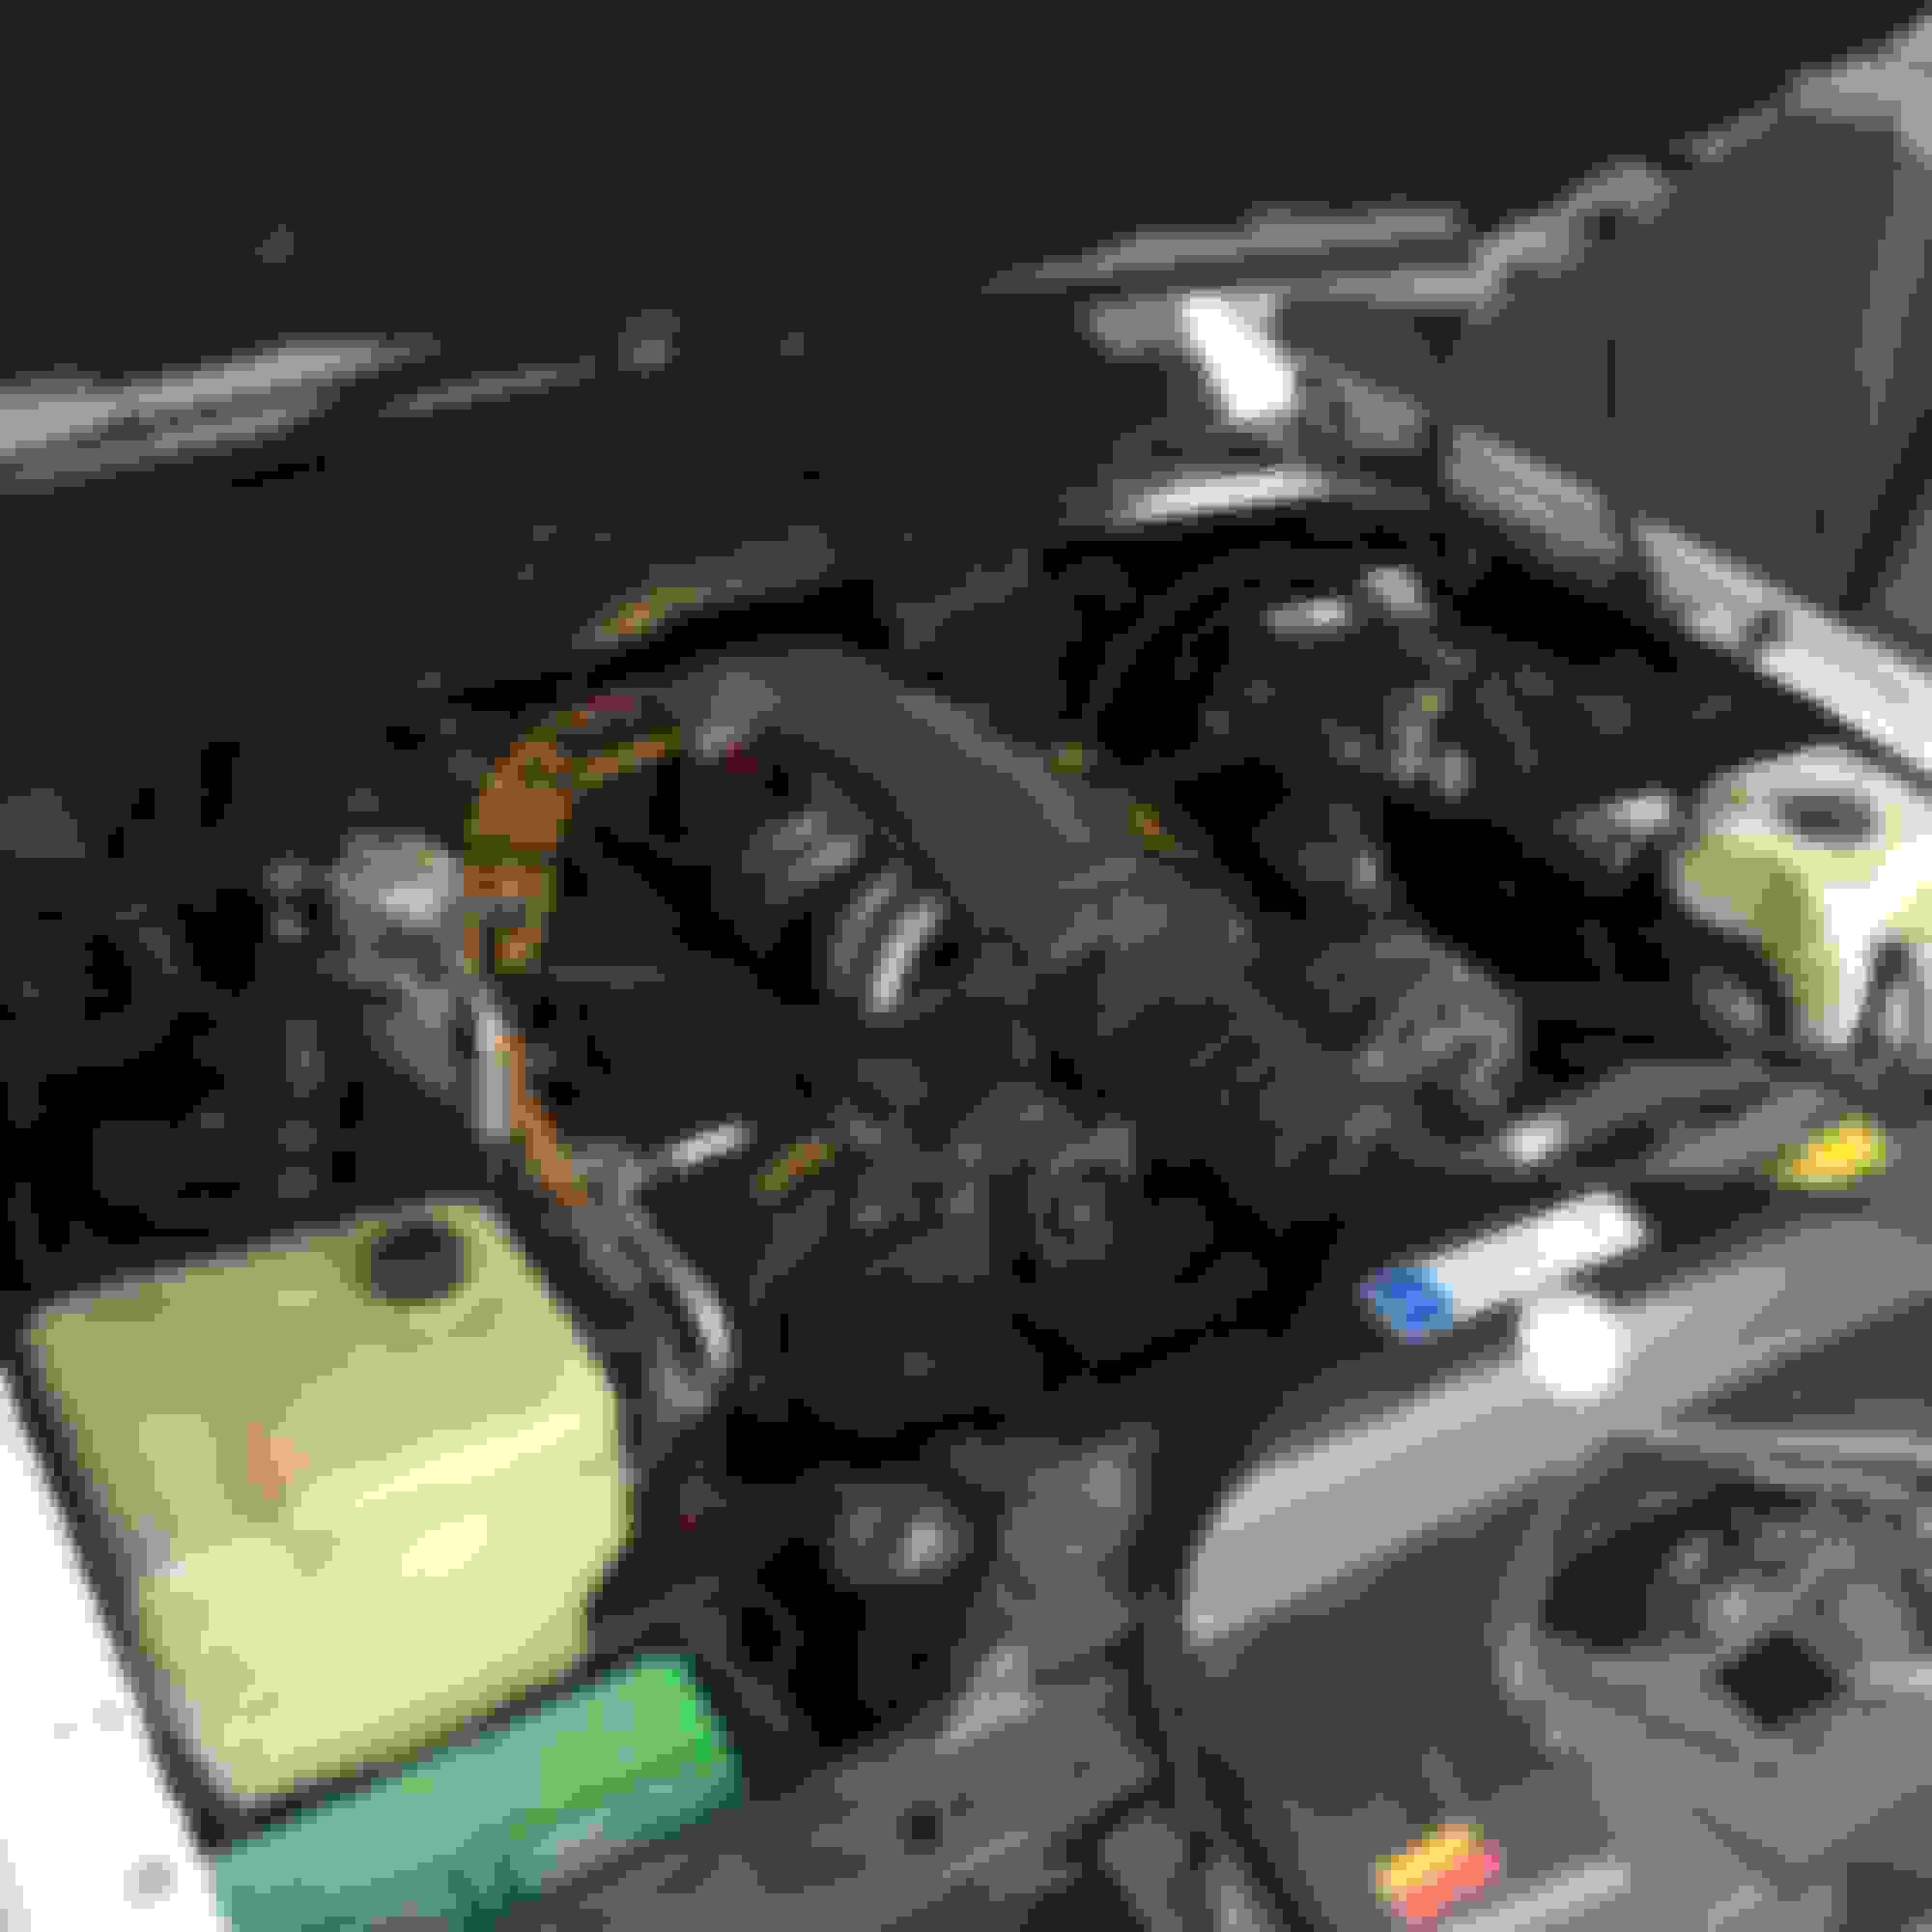
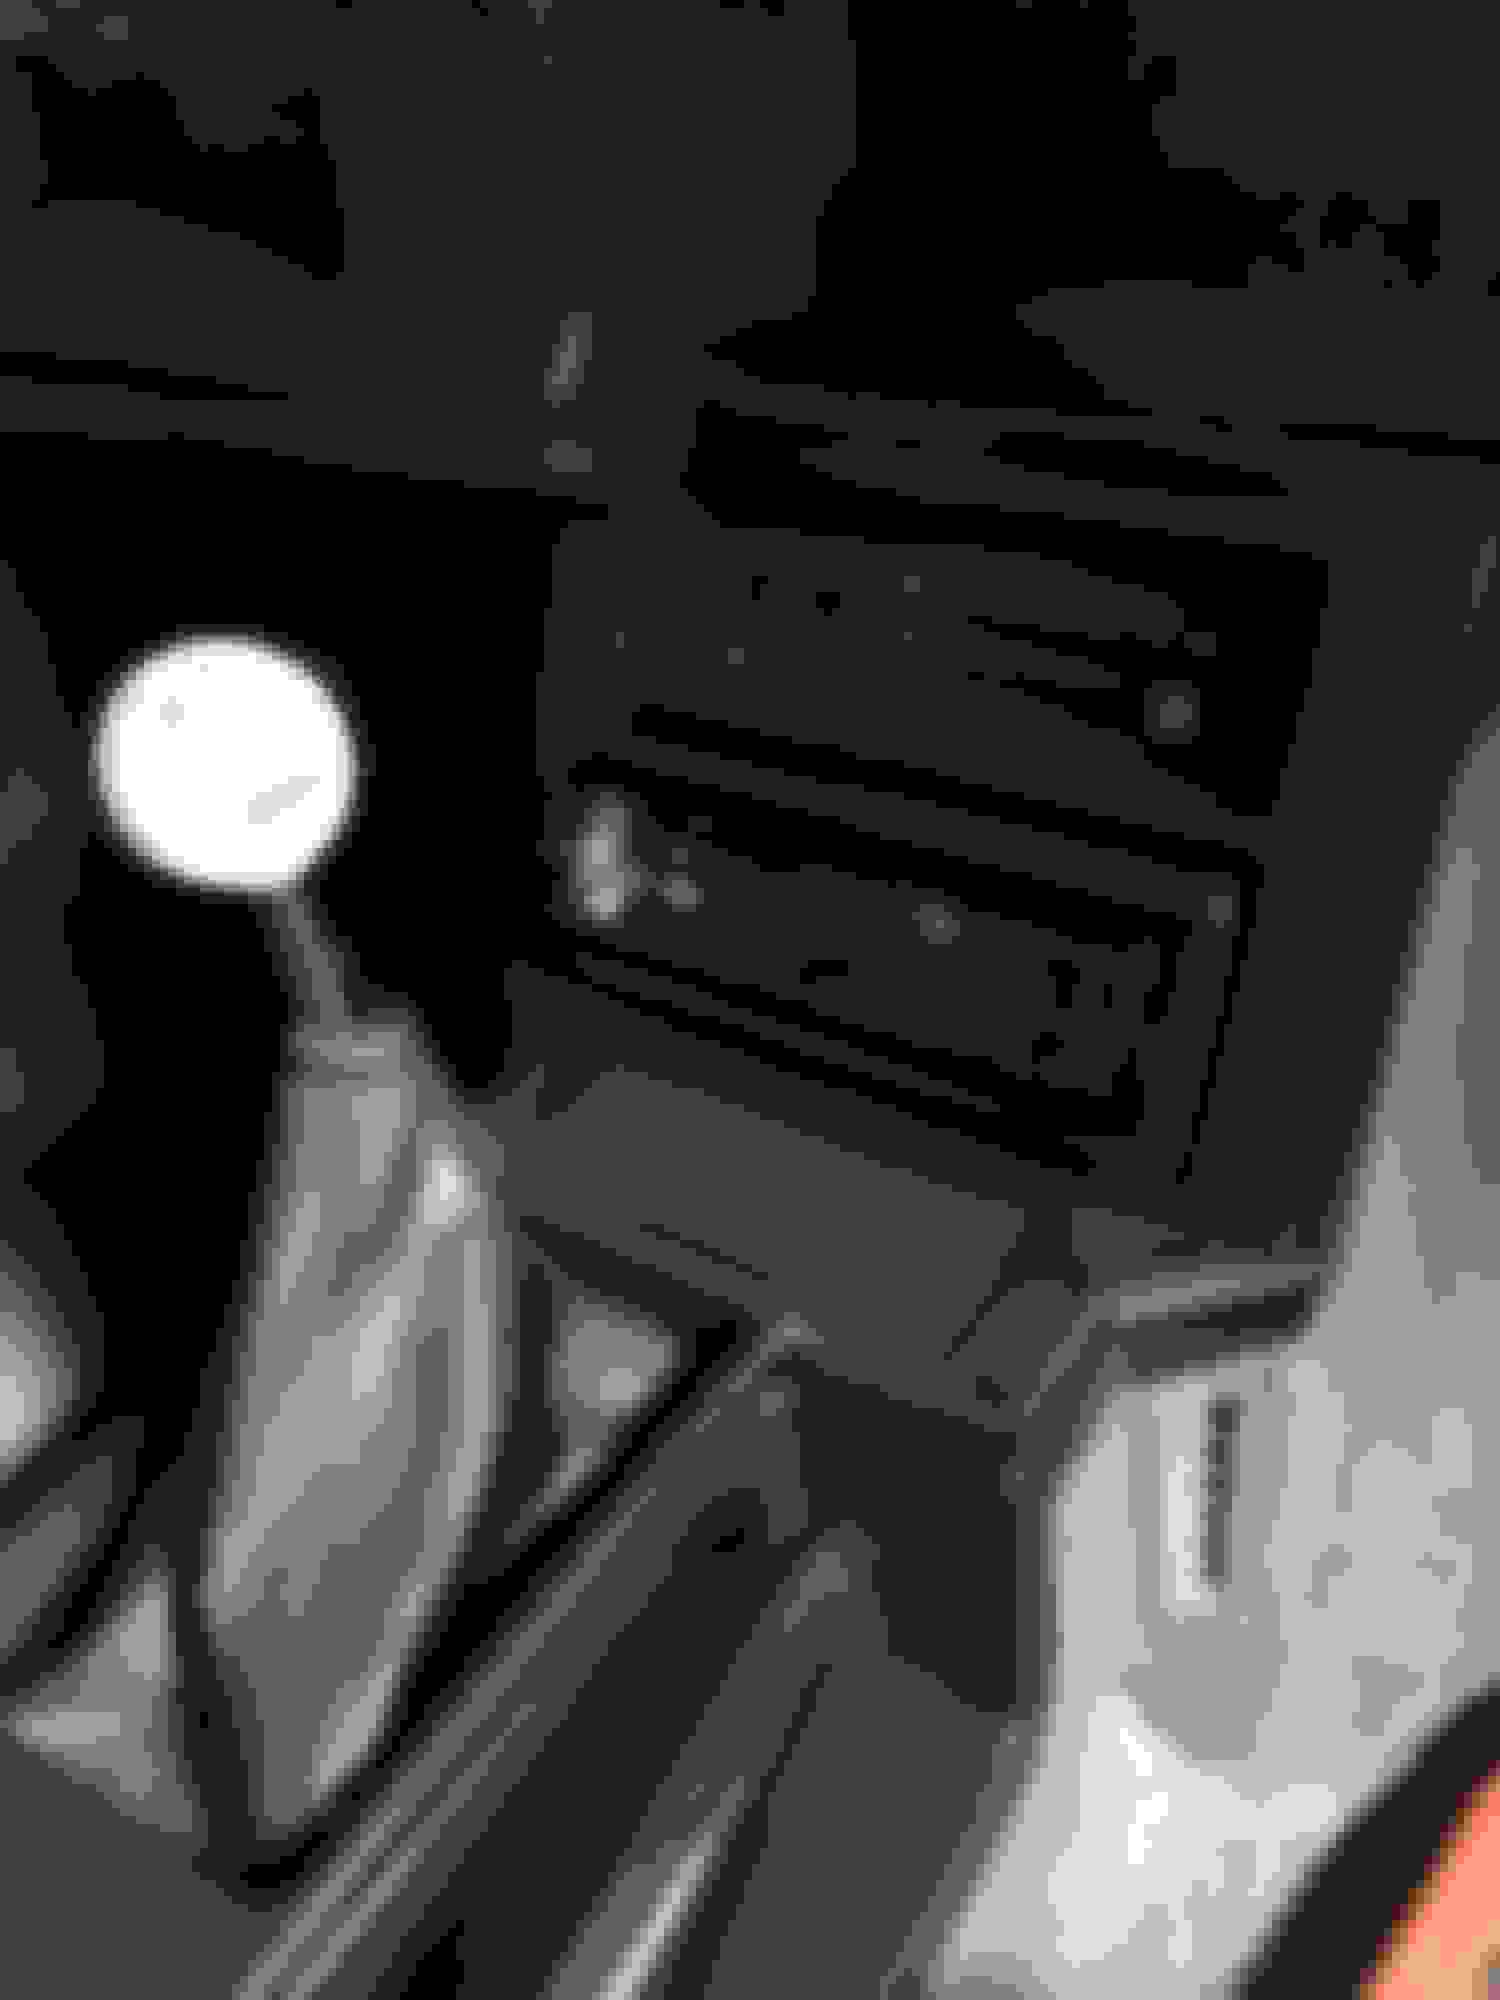
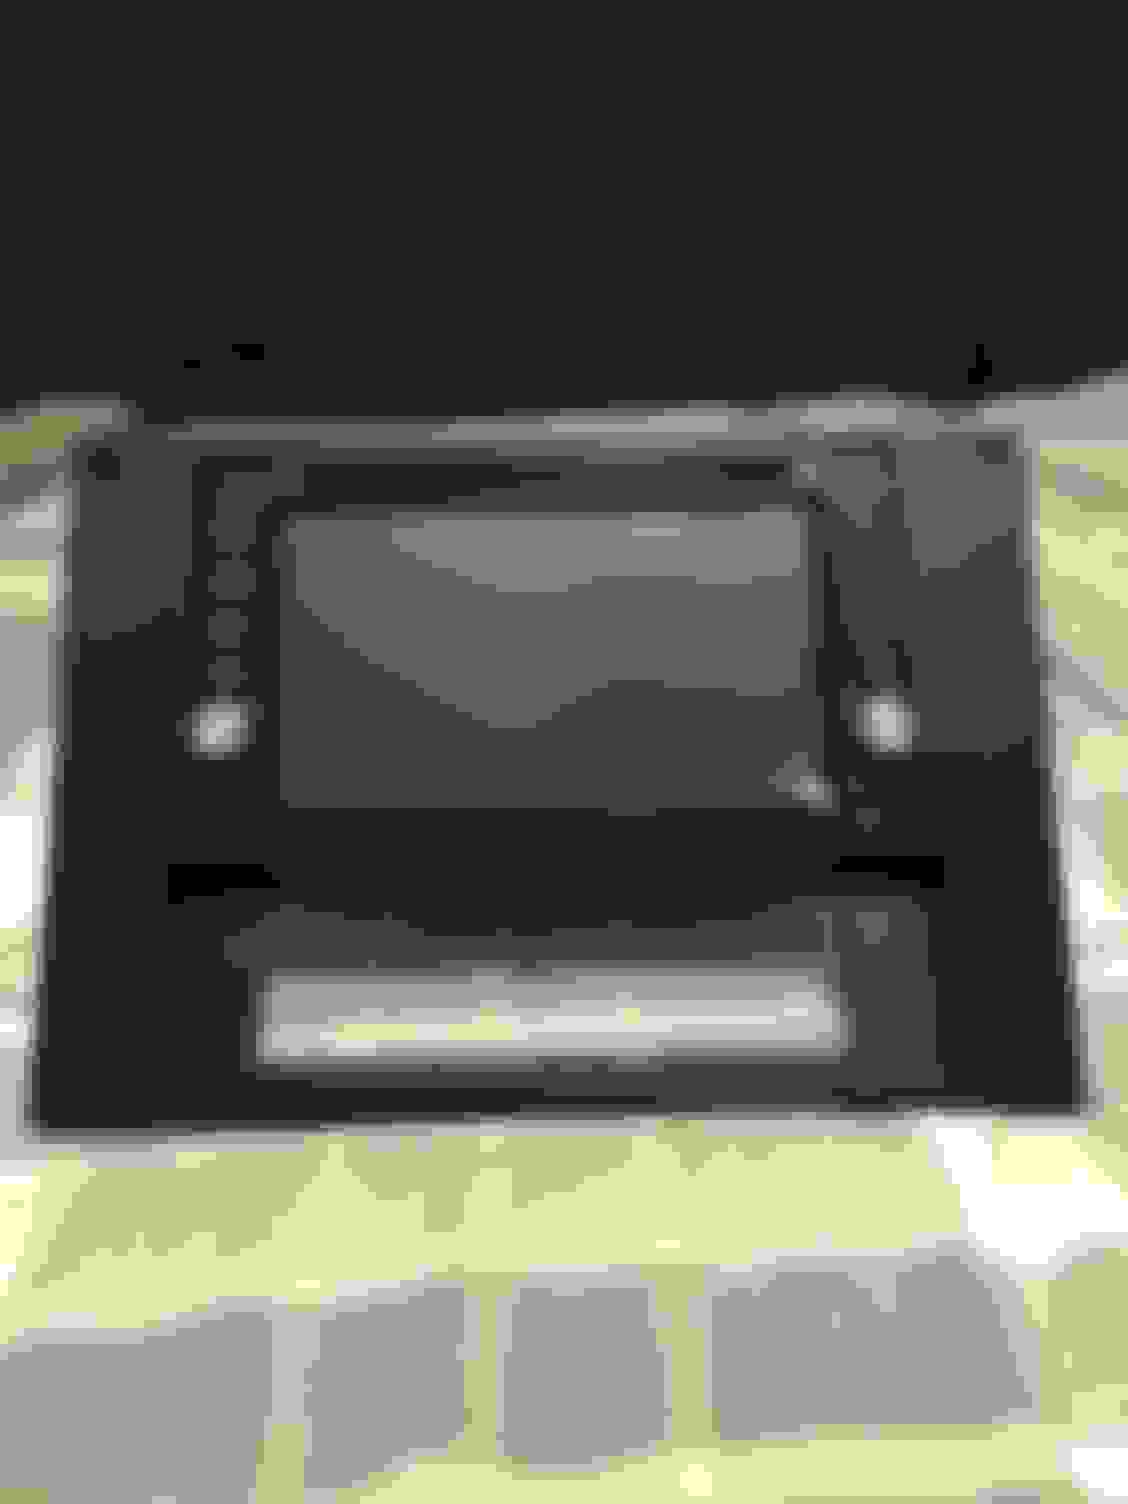
A few weeks after owning the car the gauges caught fire when starting the car. It was very minor as the circuit board fried for the speedo and not any damage other than I had no gauges that fuctioned. I decided since I really like the intellitronix gauges I would install those. The project was pretty straight forward and I also used their god speedo unit which works perfect since my vss signal was destroyed when it caught fire. I don’t have any real amazing pics but here was some through the process...
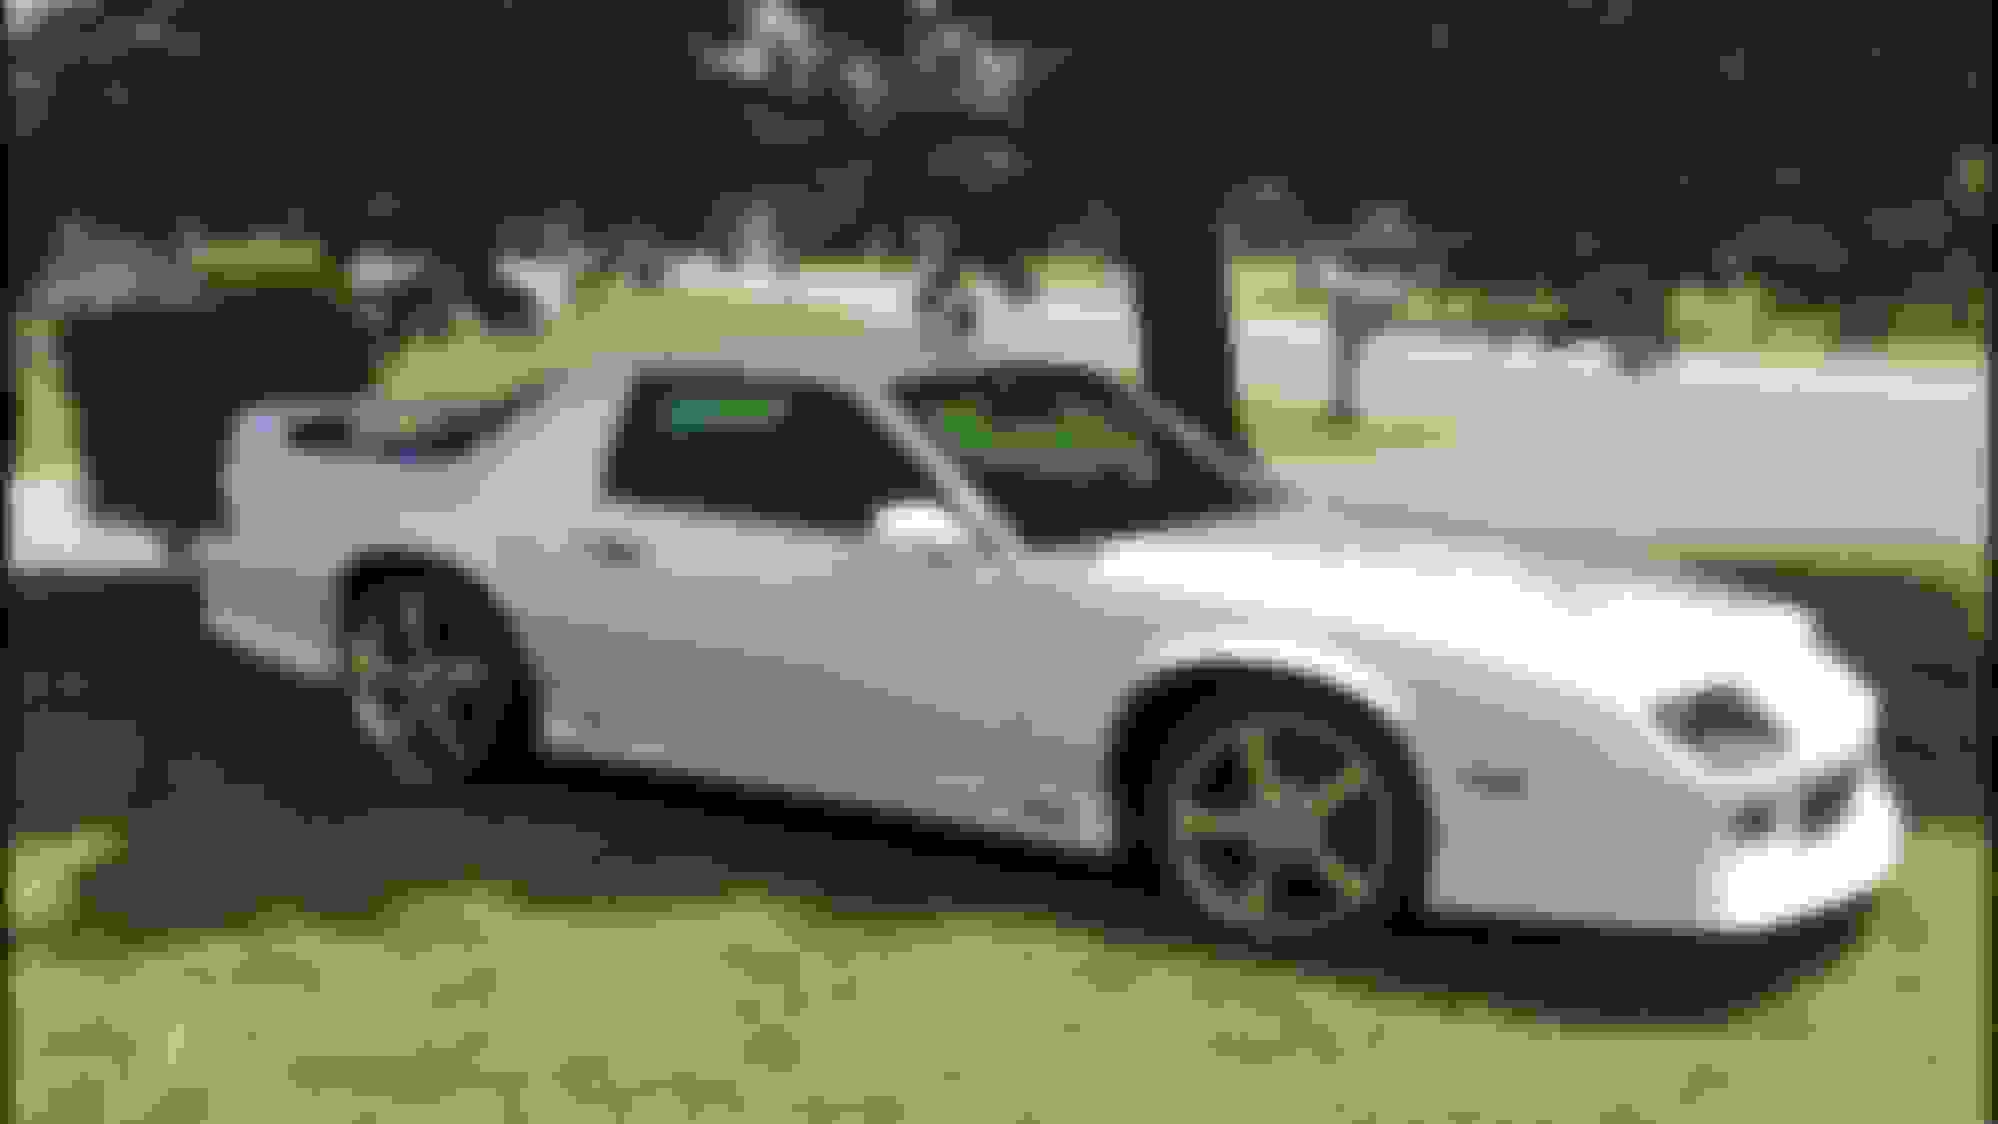
The final picture of the one installed is not actually my car but it is essentially identical and was just used here to show what it looked like as I couldn’t find my own picture after writing this up.
Thanks! It is a blast to drive absolutely love the car! And thanks for moving the thread over.
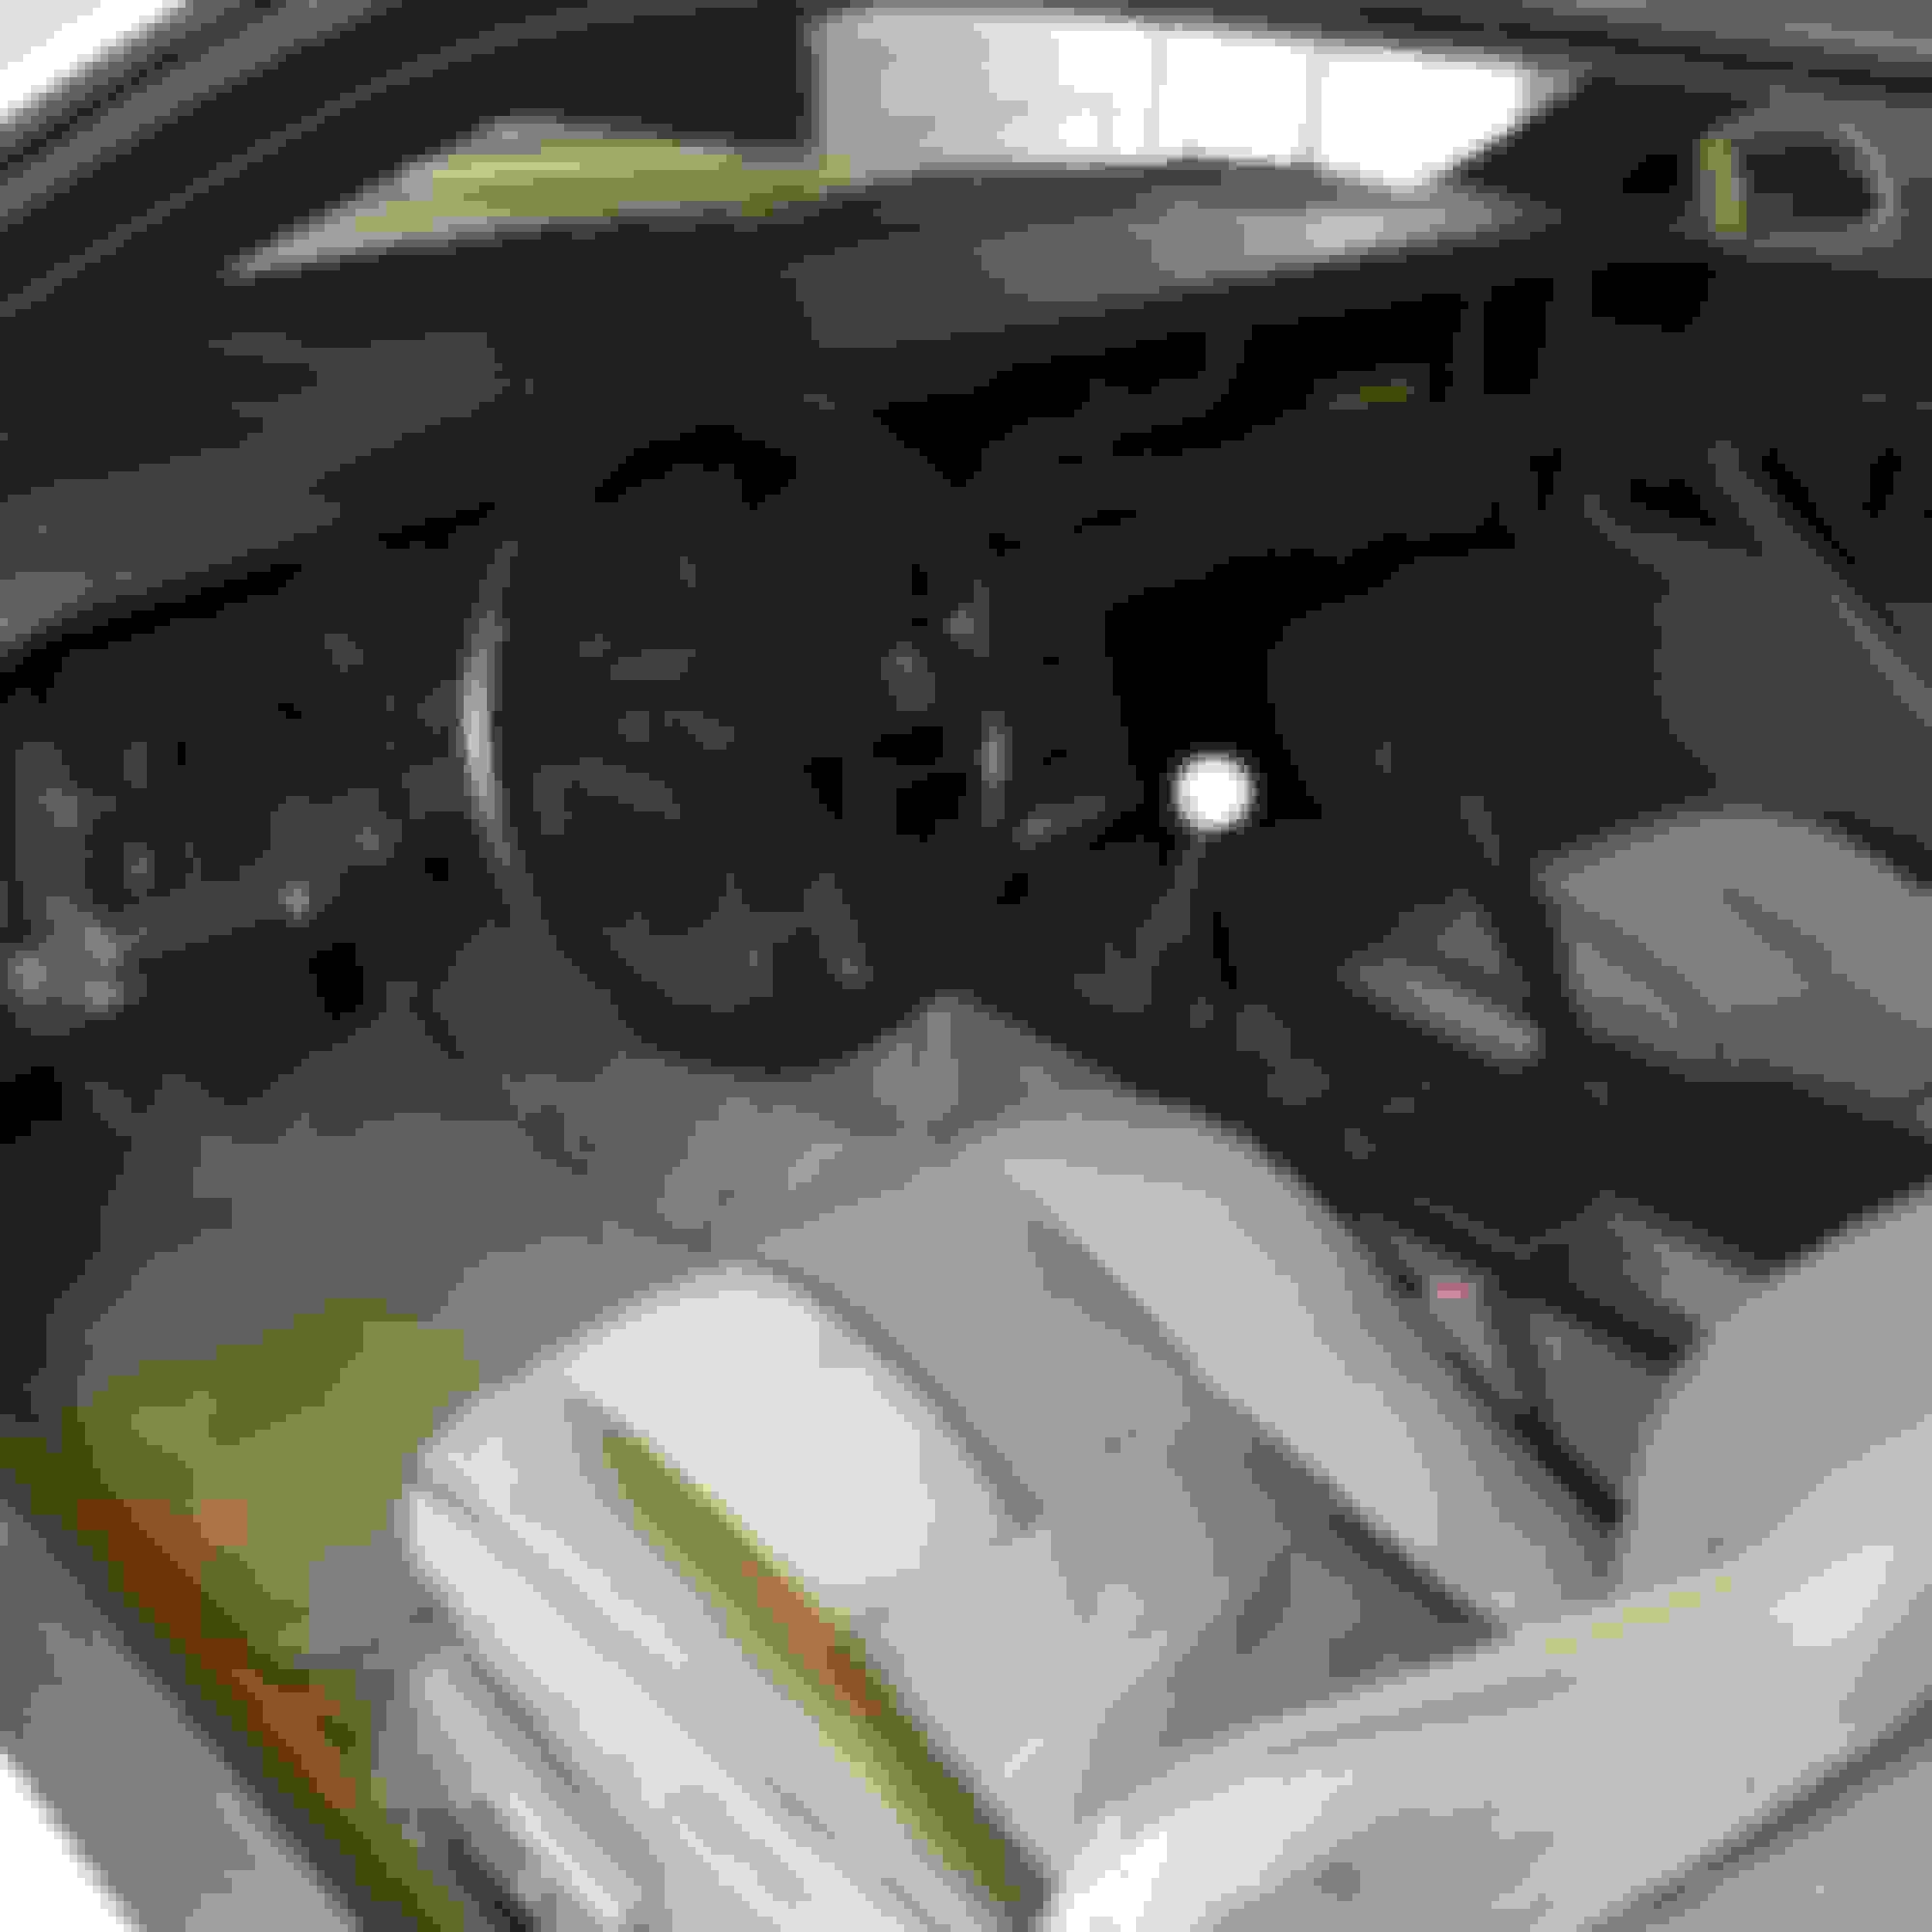
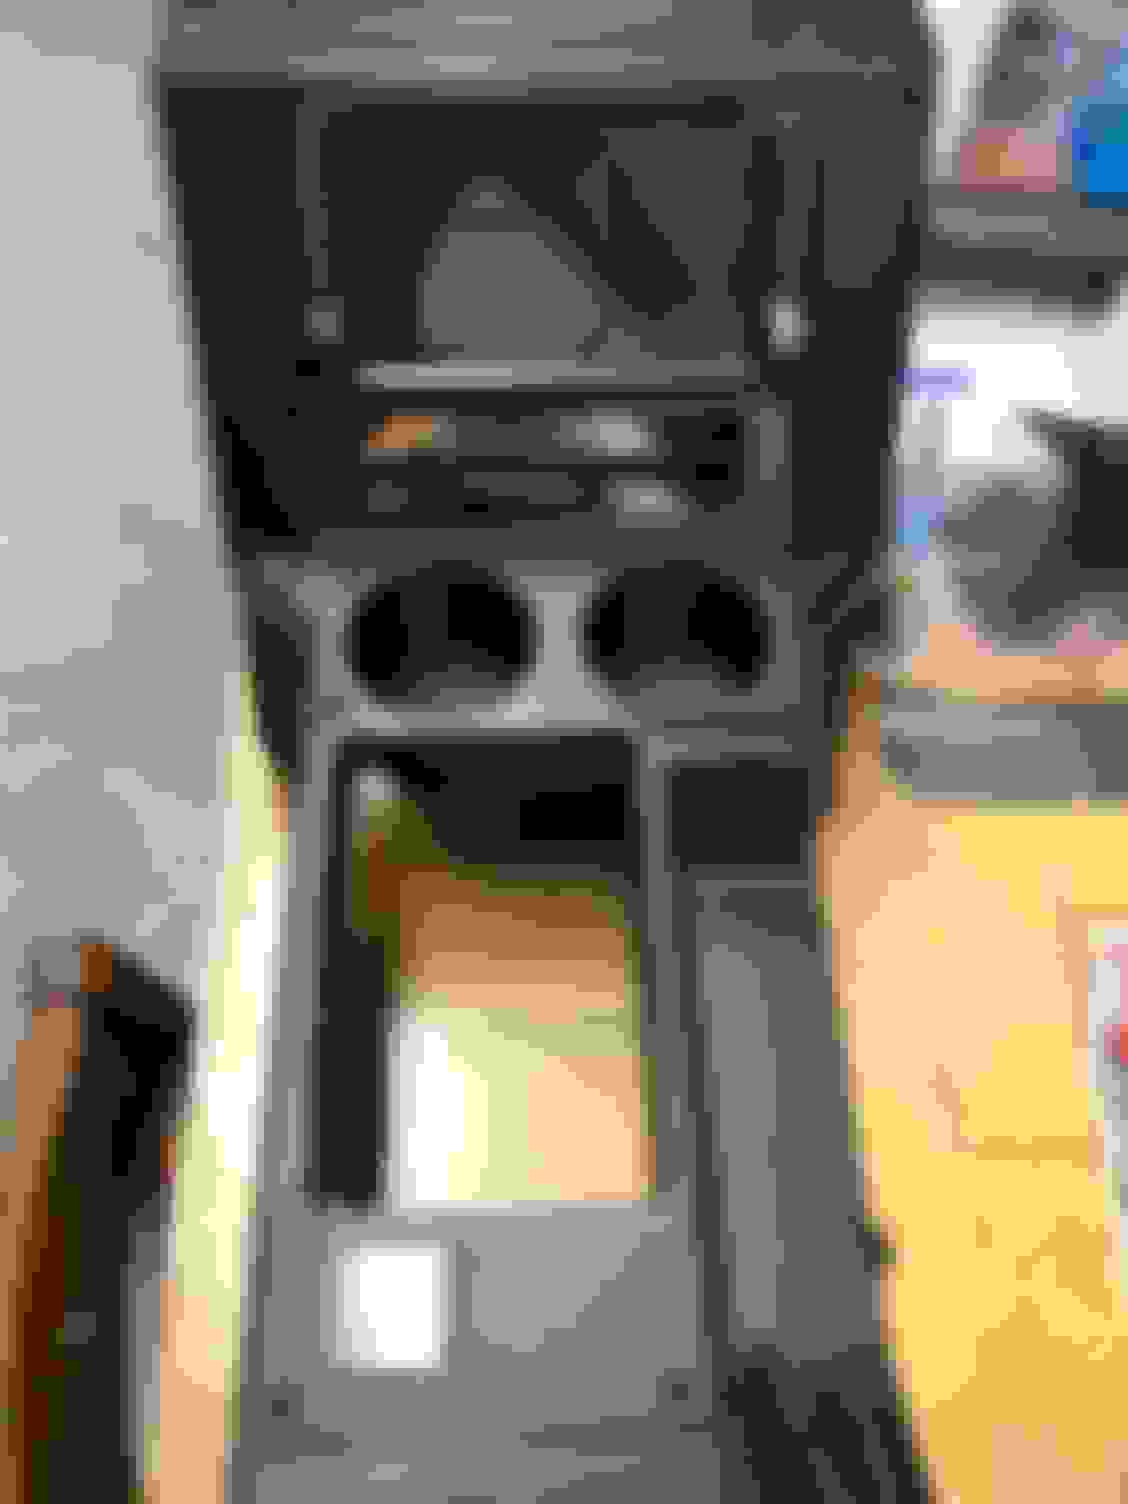
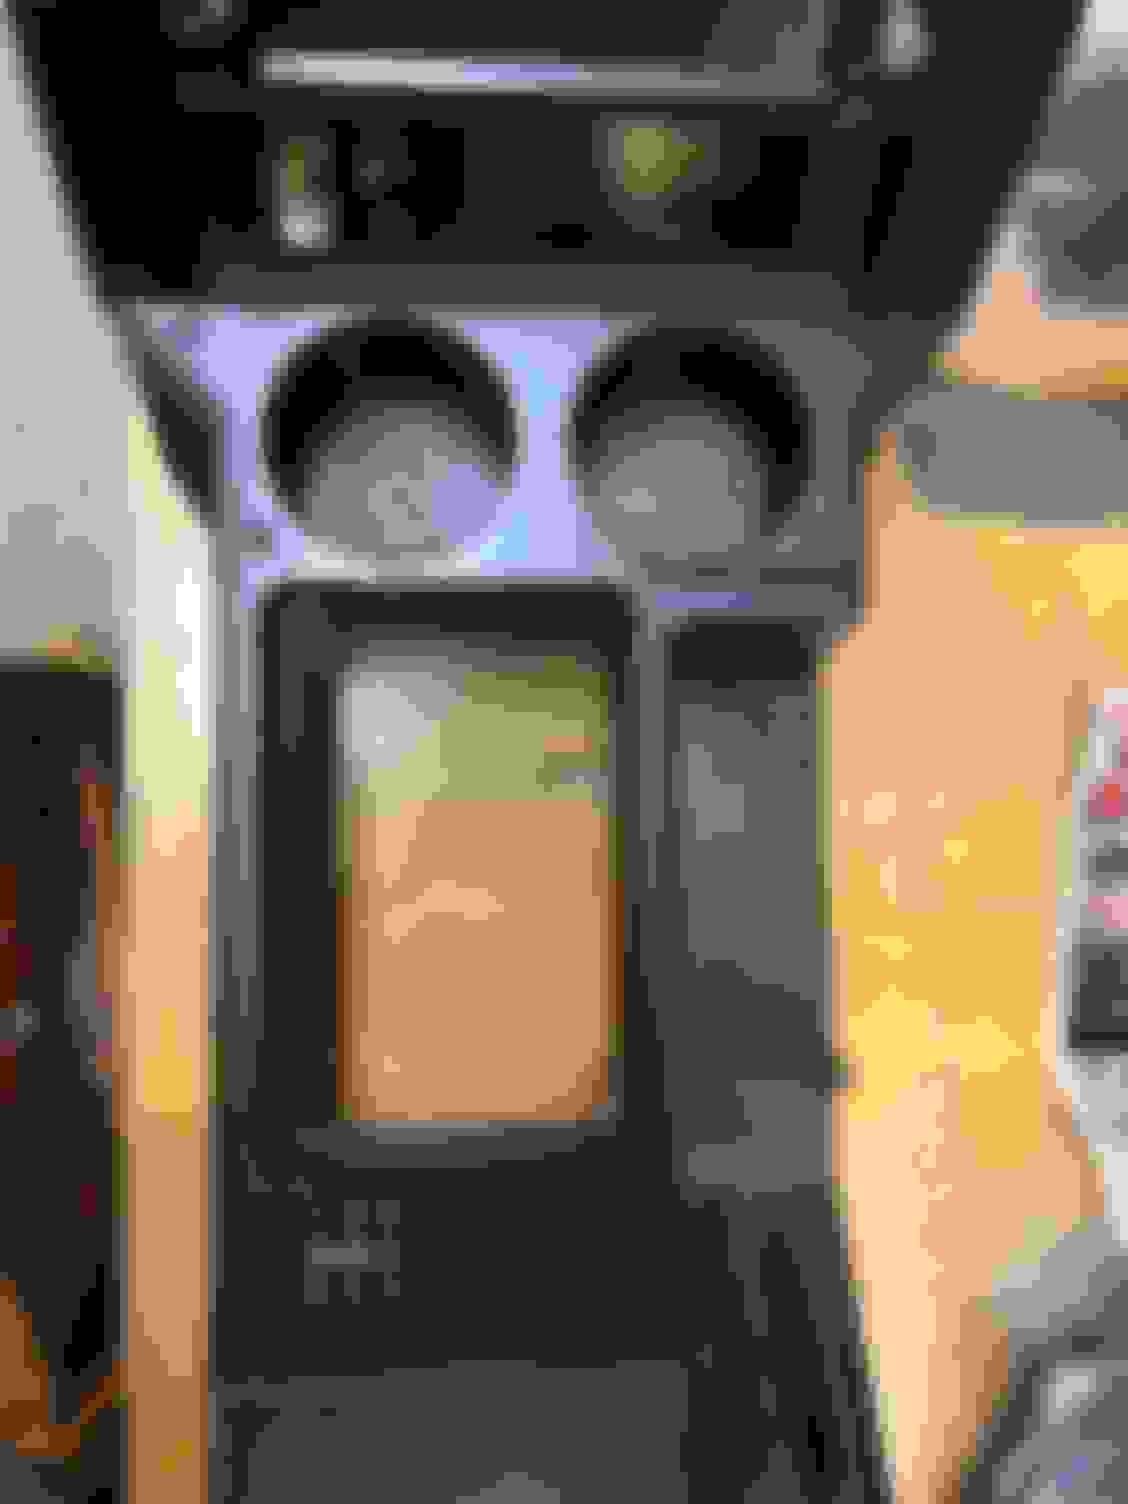
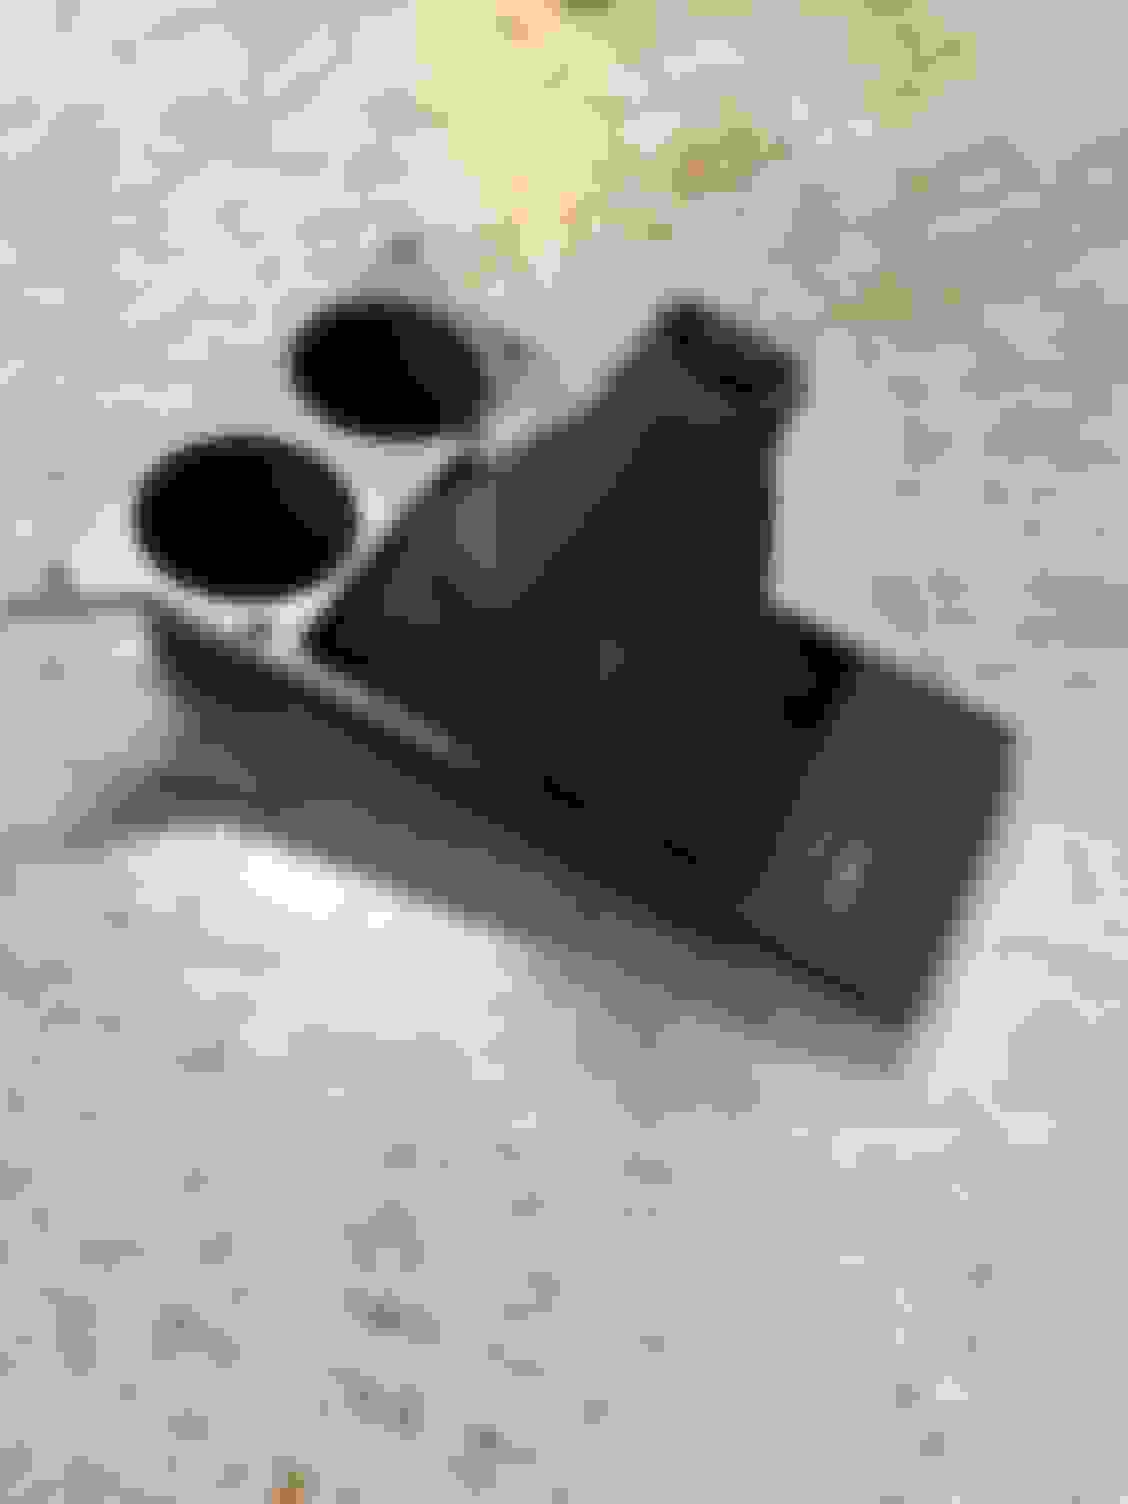
Right now since I need the snow to go away before I can work on the suspension upgrades I would like to do I’m focusing on the interior. I got into 3d printing and since I like listening to my music when I drive around and wanted navigation I mad up a double din Bezel that reversed the heat controls which came out real nice. Then since I use my car during the summer pretty much everyday I need cup holders for my morning coffee so I picked up a cheap 5speed shift plate that the ashtray was broke and I printed out some cup holders that fit the spot of the ashtray. Using some JB plastic weld I bonded them together and blended it then used the texture paint and black interior paint to tie things together. I also got myself a real leather shift boot with red stiching(my accent color) and I have a real leather center console cover I will eventually get around to installing to match. Here’s some pics still have to get it in the car....
Car looks amazing. Congrats on the purchase. That shifter plate with the cup olders is absolutely amazing. I'e been trying to figure out how to put holders in my 89 without making it look cheap and out of place. You should start marketing those. Design and print a bunch as a full plate with options like led lighting and custom shift boots. I'd buy one in a heart beat.
Looks like they moved the thread over for ya. Love the car! Nice and clean especially under the hood. Make it your own is a good way to go. There's lots you can do with these cars now and at a good price point. I'll be following your build. Better pic with the boot and the cup holders. They do look deep enough. I might have to relocate my IPhone holder and go that route. I'll be into the interior of mine next winter.
I appreciate all the support so far!! And Roblaza I may run a few of the cup holder set ups off and put them up for sale if there is an interest. I still haven’t decided yet but stay tuned!
Here’s a little update on my radio install and my cup holders..
I think it turned out great and I’m really happy with it but I’ll have to take it out one more time as I have to install my USB port in my dash after I get a couple parts in the mail but I’m very happy with it so far!!
Seriously! I don’t know how I drank soda and drove a stick back in the day..I’ve been spoiled by modern car cup holders
This 91 Z looks sweet and a stick to boot!
Thanks I appreciate it! I was spoiled with cup holders when I wasn’t driving this car and I figured it was just easier to make some. Should work nice for my coffe so I’m not spilling it in my lap in the morning
I did use the file from that thread but changed the dimensions of the Bezel opening to fit my radio. Basically the standard double din in the files just opened slightly more to fit better after paint.
So I’ve been getting the chance to work on my car again. After I get my interior back together I just have to get it inspected for the summer! Only things left are to shampoo the new passenger seat and shampoo the carpet to be as clean as I got the drivers side. Here’s some pics of the new headliner and my finished console...
And yes the seats are actually from a 91 trans am but they were so clean and my old seats were shot so they’re what I have for now. Actually more comfortable than stock camaro seats!
Nice work!!! Wonder if the firebird shift plate would work as well or atleast maybe for skinny Red Bull cans lol[/QUOTE]
Thank you I appreciate that! There are few different 3d printing files I found for firebirds/ trans ams but I haven’t messed with them yet and I don’t really have anything to see if they fit.
So I finished my interior today!! Also since New York makes us have front license plates and I don’t want to drill into my new grille I repainted my fog lights and installed a flip up license plate bracket. Here’s some pics...
Also found what was left of my original build sheet...
Almost had to sell my car last week but things worked out. I had these stripes awhile ago and had some free time to put them on finally and I think they look really good!
The striping looks good. helps break up the white and adds contrast. I like it. I understand that some times you got to do what you got to but to replace these cars later on down the road they're going to get more pricey. Glad that you don't have to sell. It's a good looking car and it would be tough to replace.
I saw where you moved your HVAC controls. I love the look! What all did you have to do behind to get the radio and the HVAC controls at the correct angel? I saw the file with the extra braces that can be printed for the HVAC, but what did you use to mount the radio? Thanks!
I saw where you moved your HVAC controls. I love the look! What all did you have to do behind to get the radio and the HVAC controls at the correct angel? I saw the file with the extra braces that can be printed for the HVAC, but what did you use to mount the radio? Thanks!
As far as moving the hvac controls I used the spacers in the 3d file you mentioned. I bolted the bracket the hvac controls are in to the original radio mounting location and the the spacers go in the bracket between the hvac controls. As far as the radio I just made my own mounting brackets and mounted it right were the hvac controls were but since the radio I bought was so long I had to modify the support behind my dash but that could be avoided using a slimmer headunit. Hope that makes sense and helps a little!
She's looking great.
How does the flip up plate holder work?
I actually really like it. I bought the manual one but for cruises and pictures I can flip the plate down and the it just needs to be pulled back out after. They do make and electric one but I couldn’t justify the $150 when this was only $30 and works perfect I just have to move it
 03-13-2018, 09:22 PM