When you click on links to various merchants on this site and make a purchase, this can result in this site earning a commission. Affiliate programs and affiliations include, but are not limited to, the eBay Partner Network.
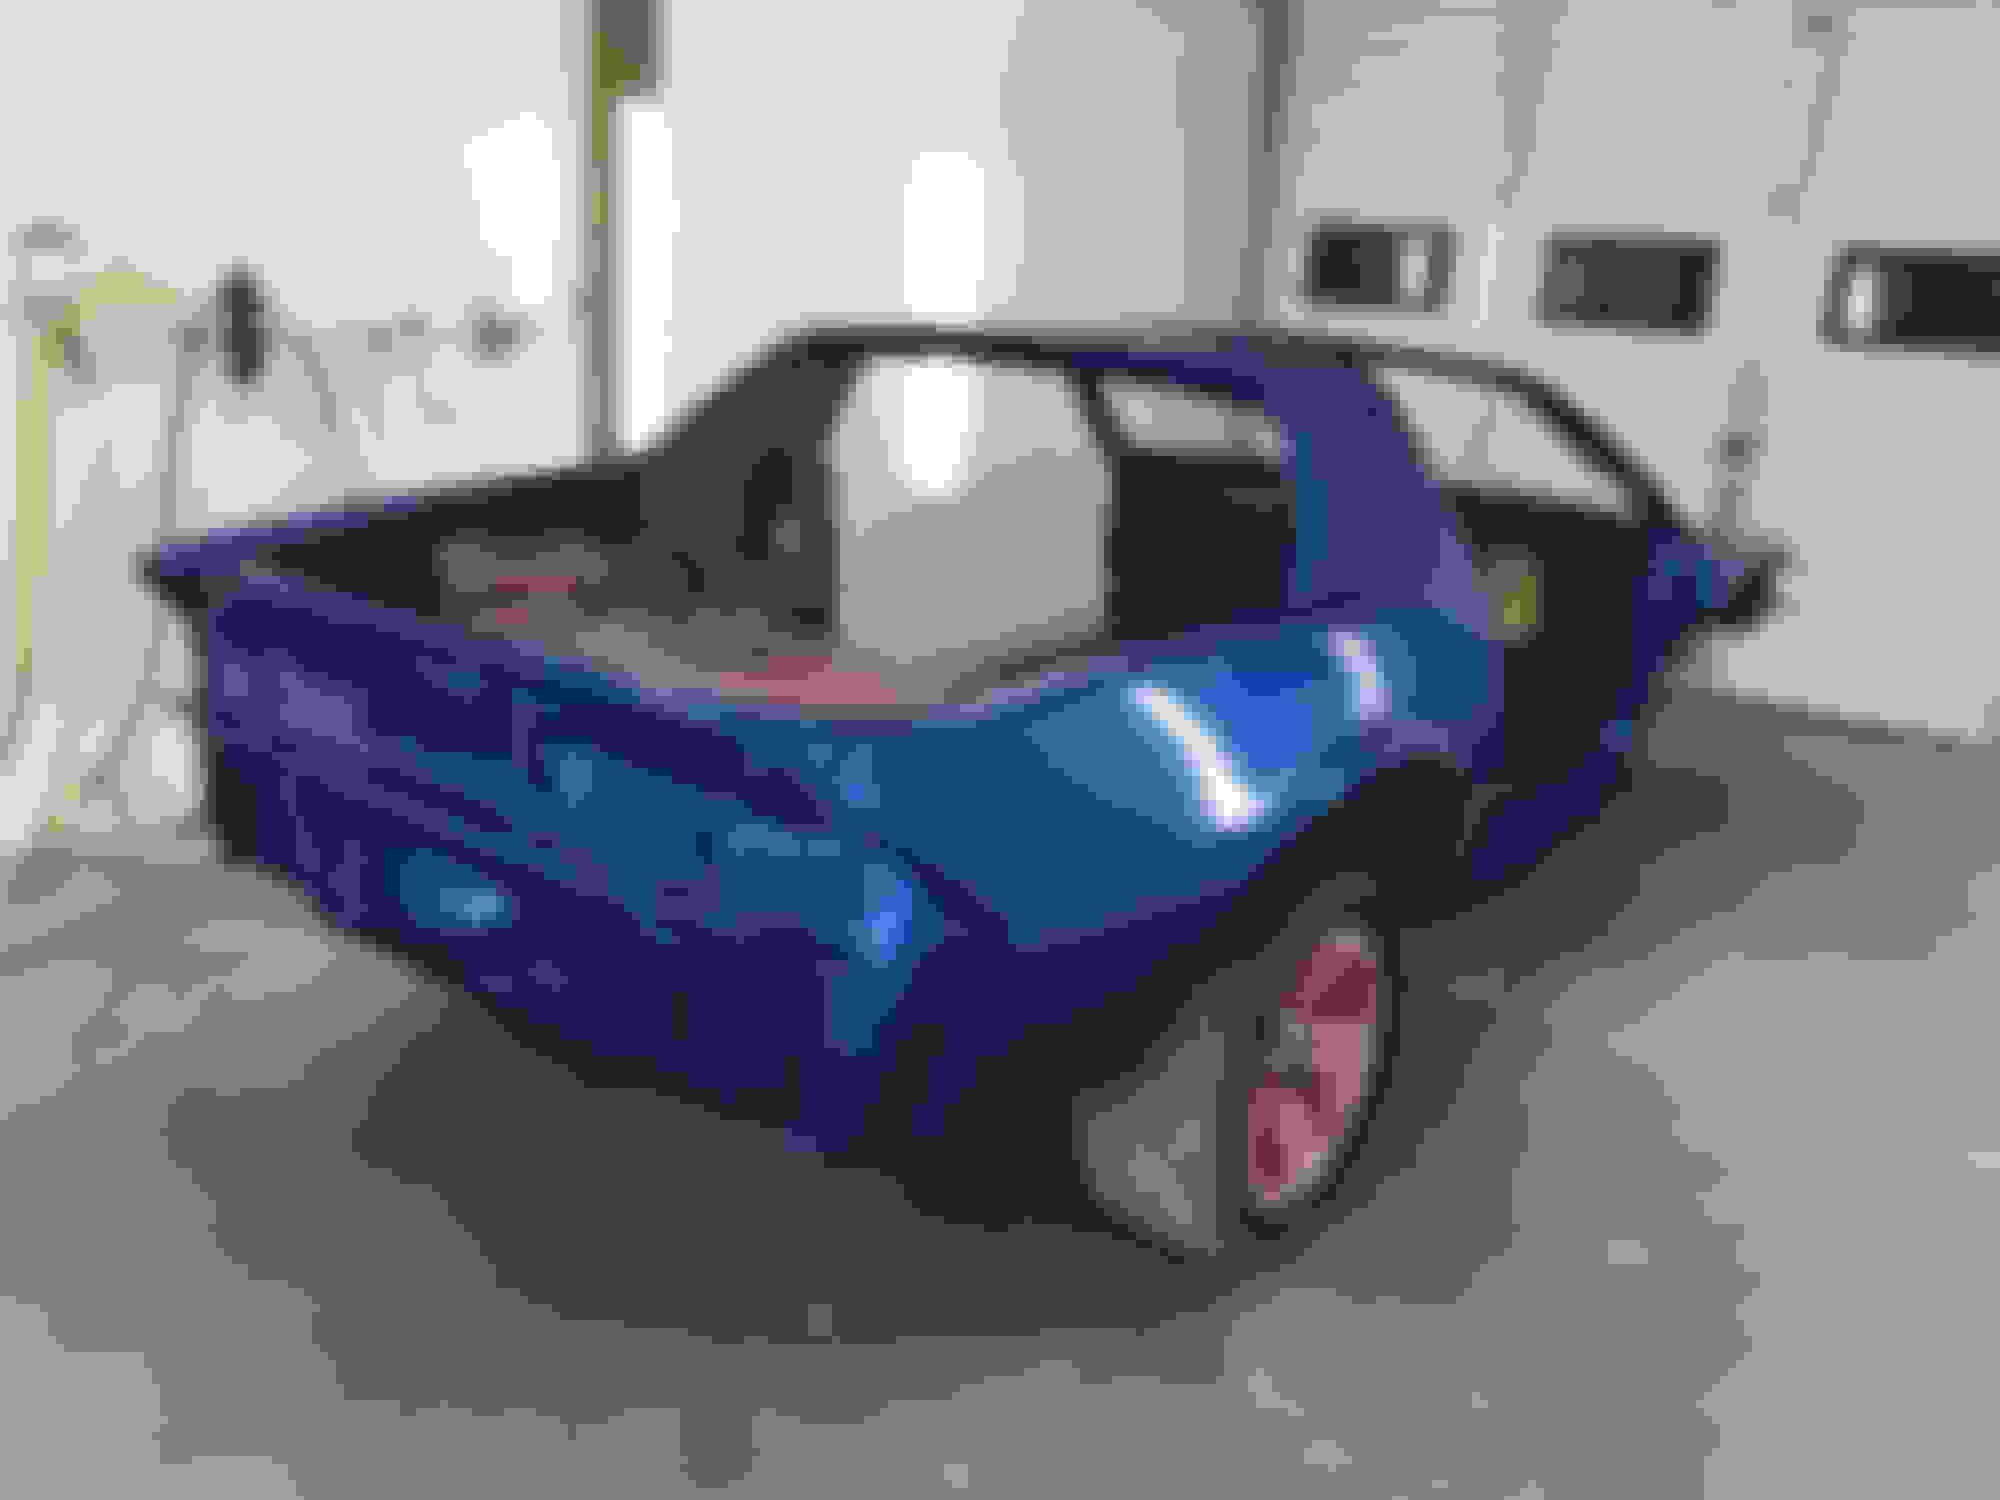
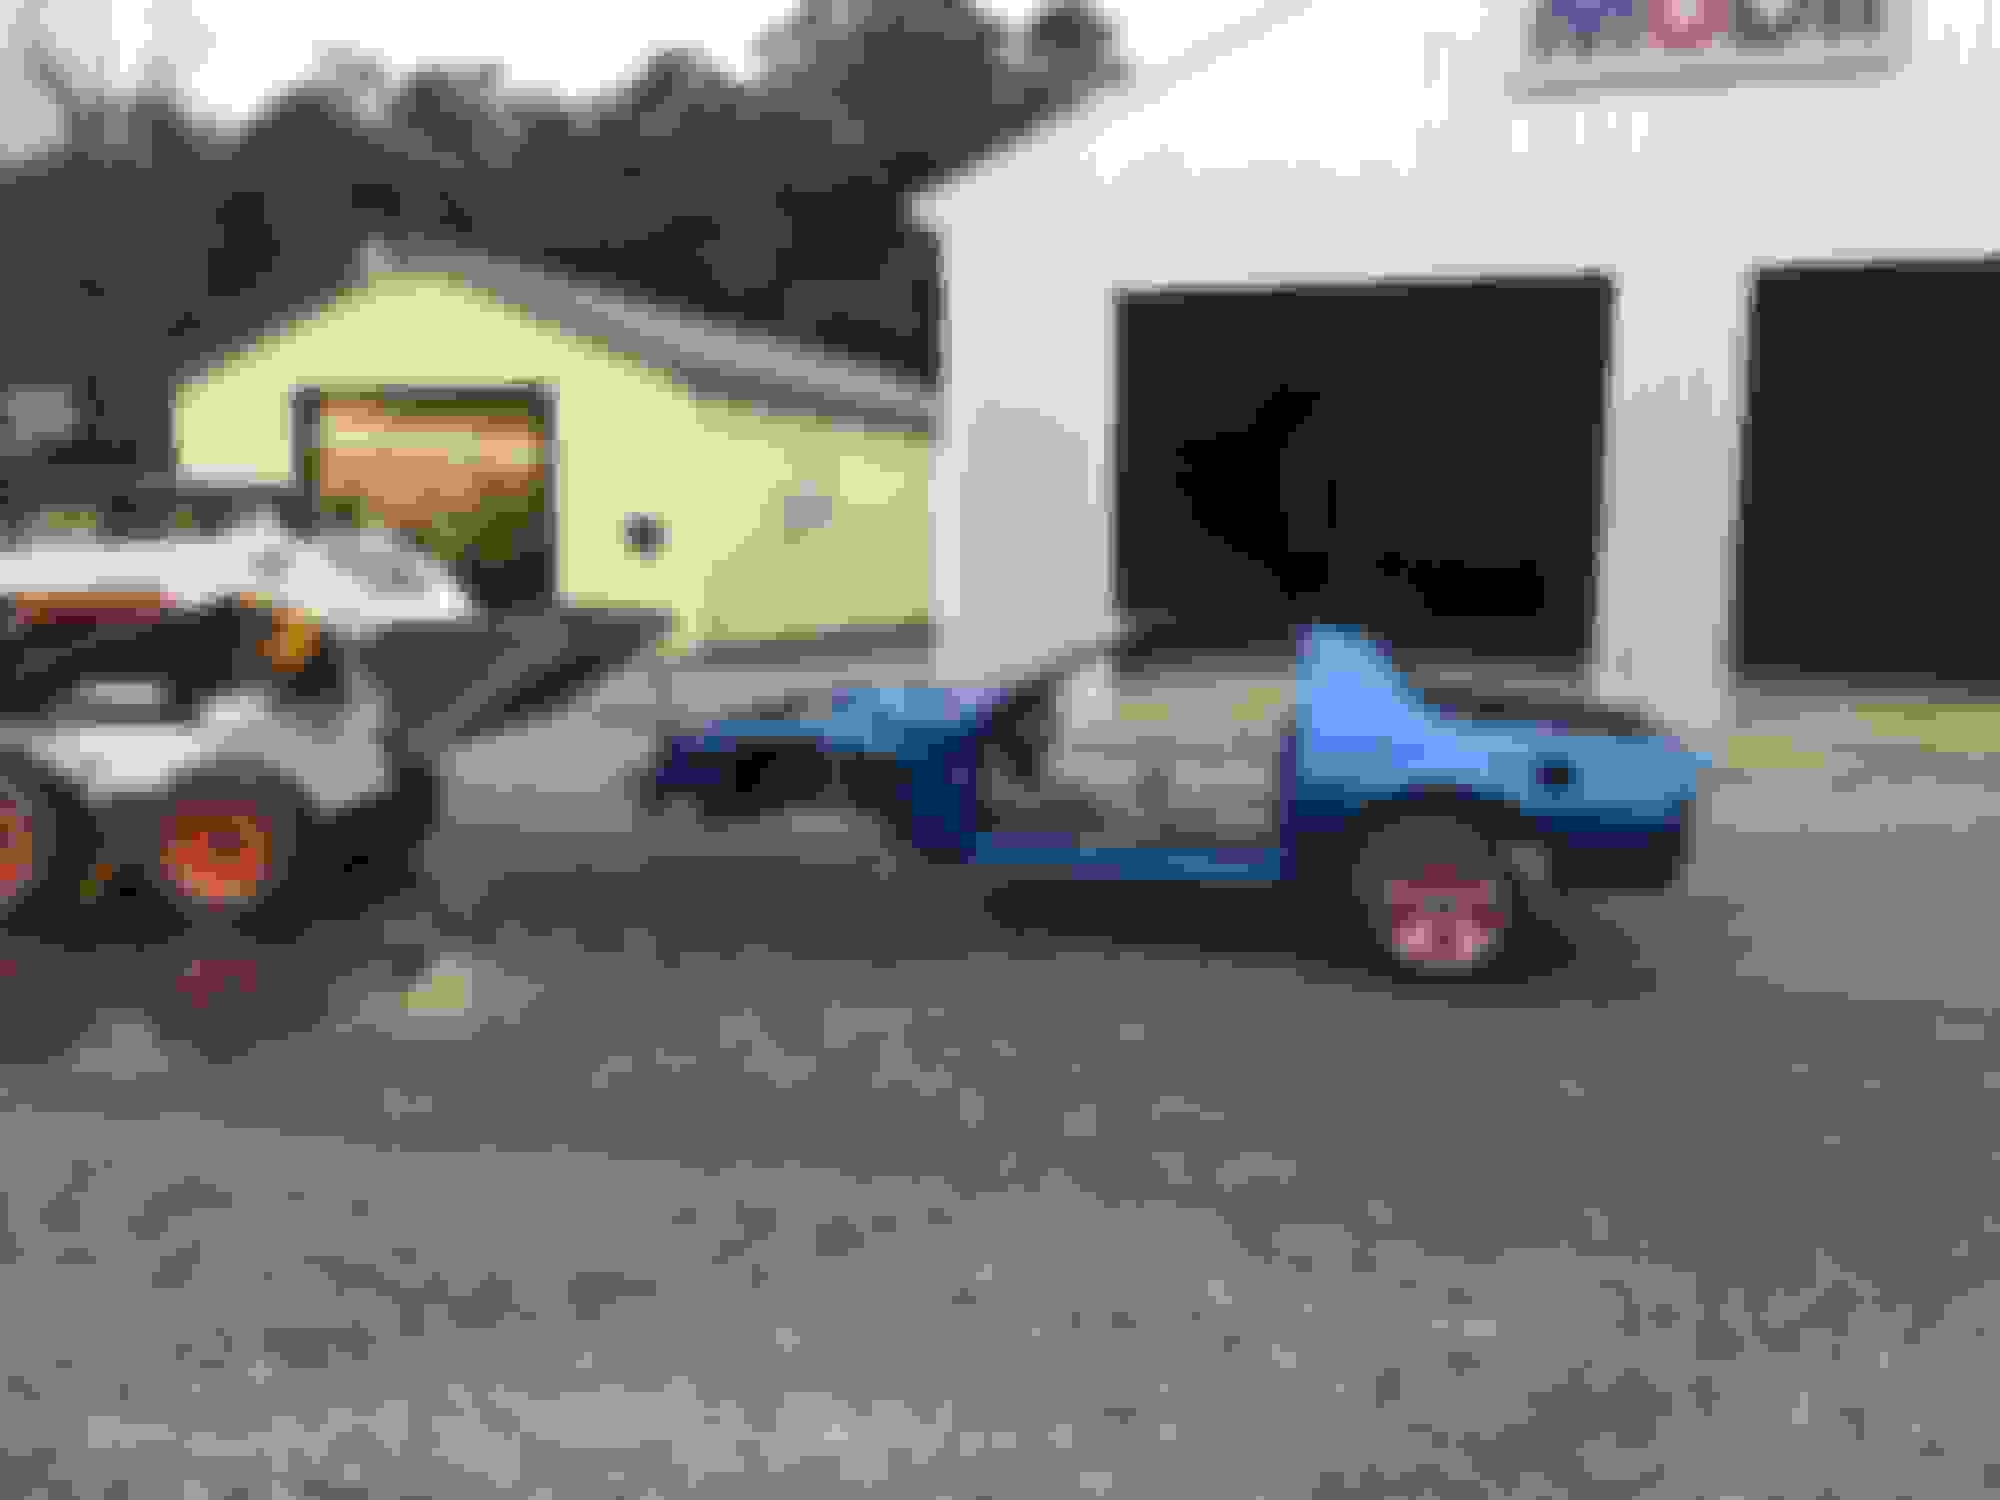
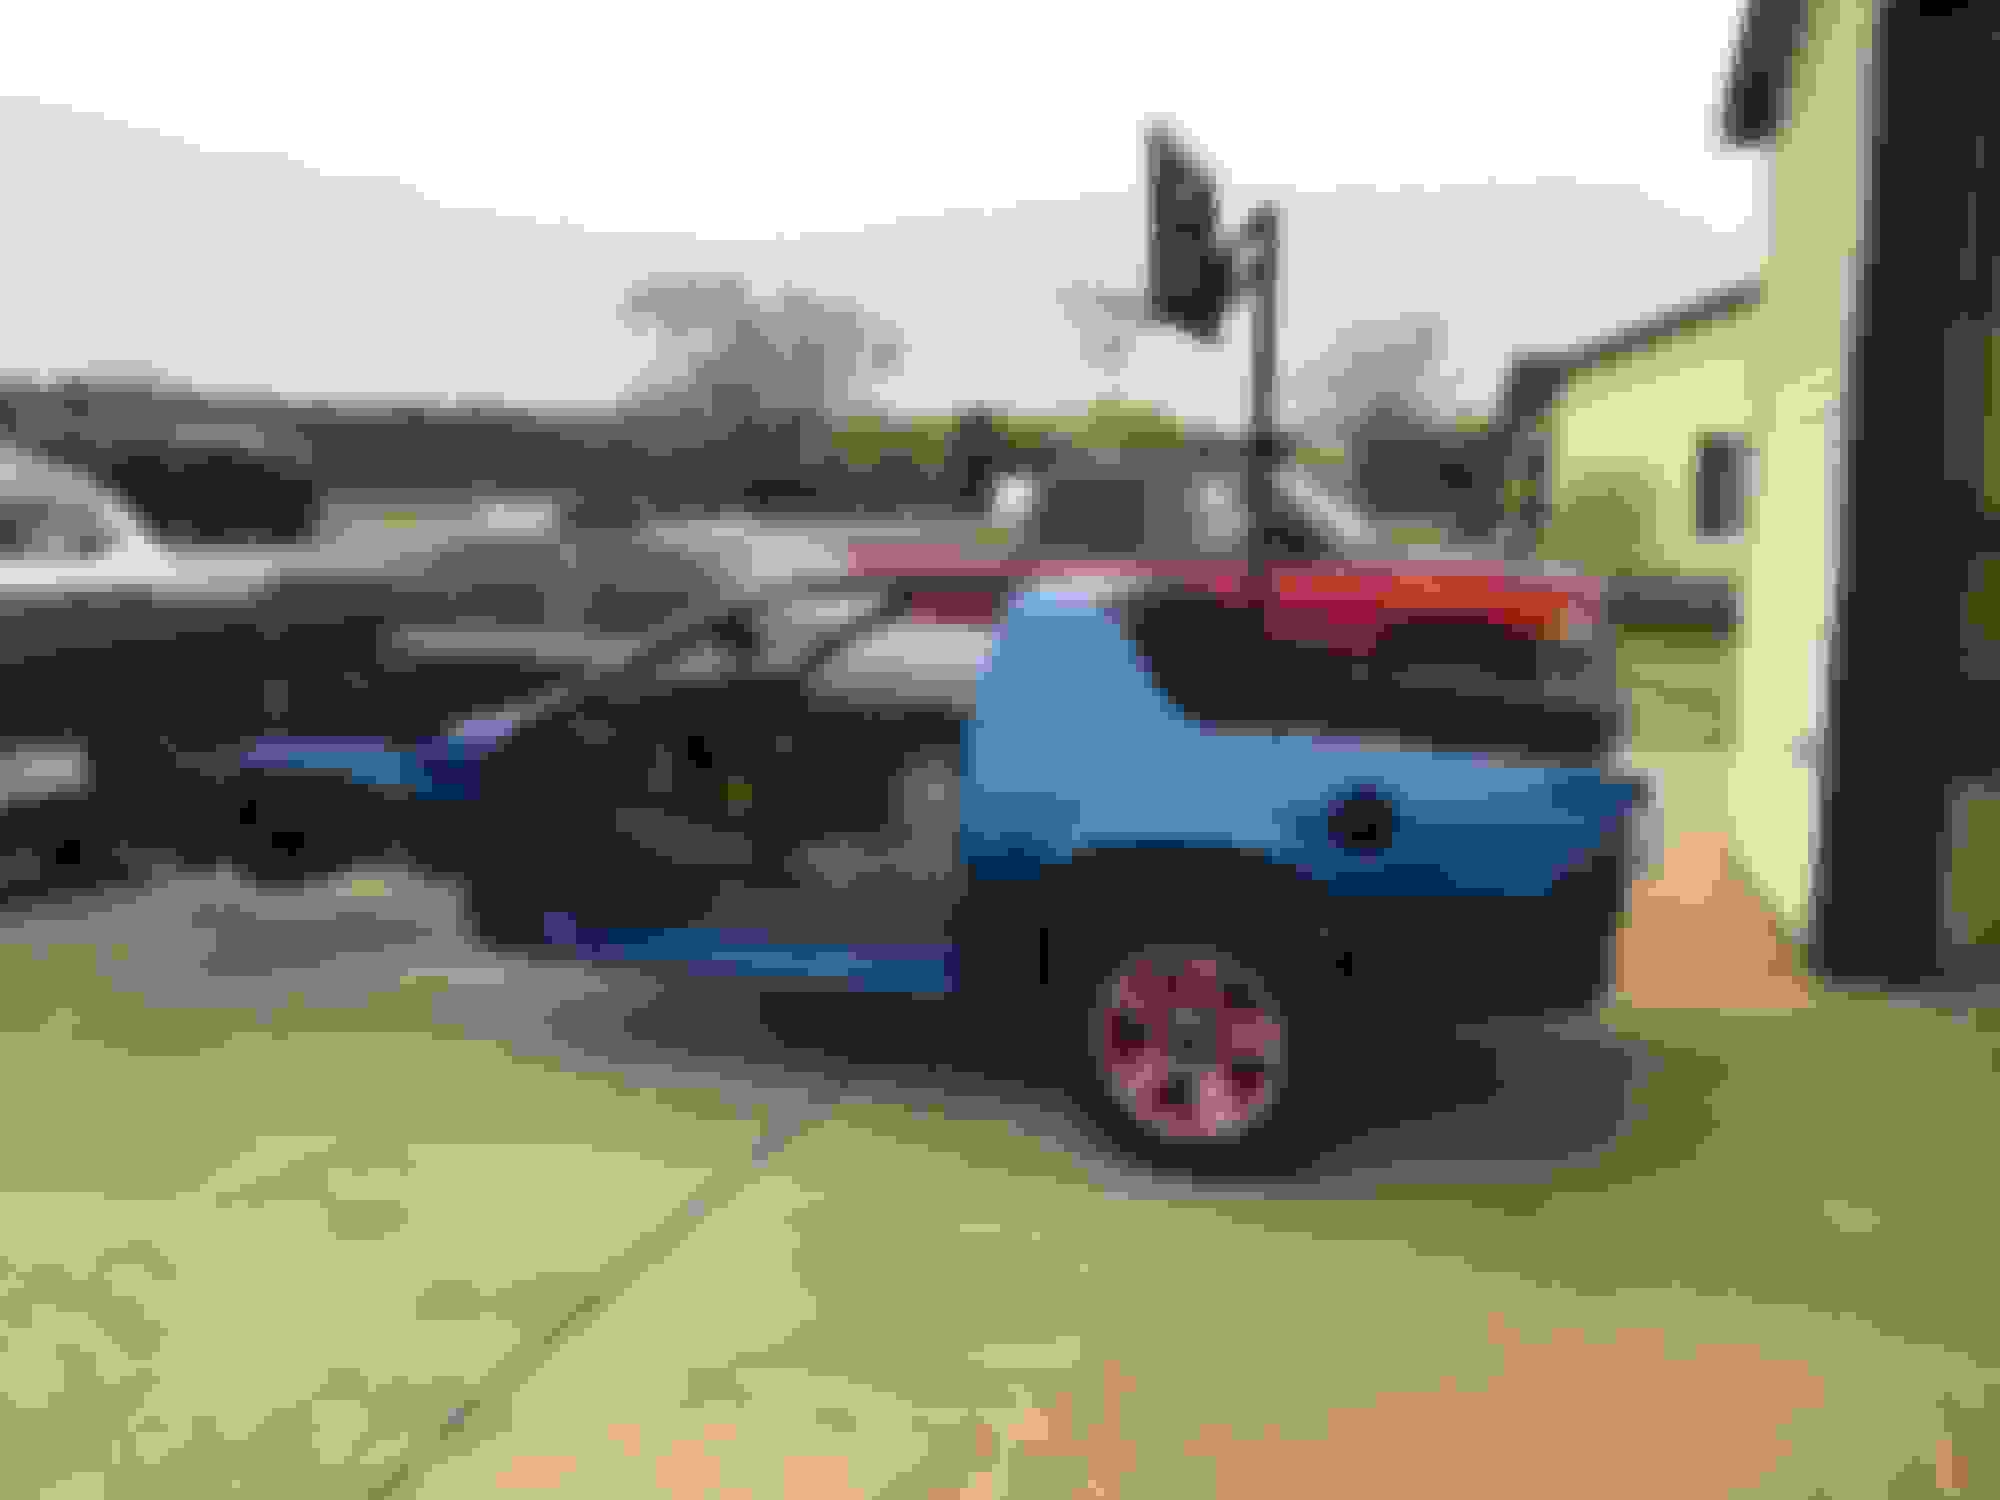
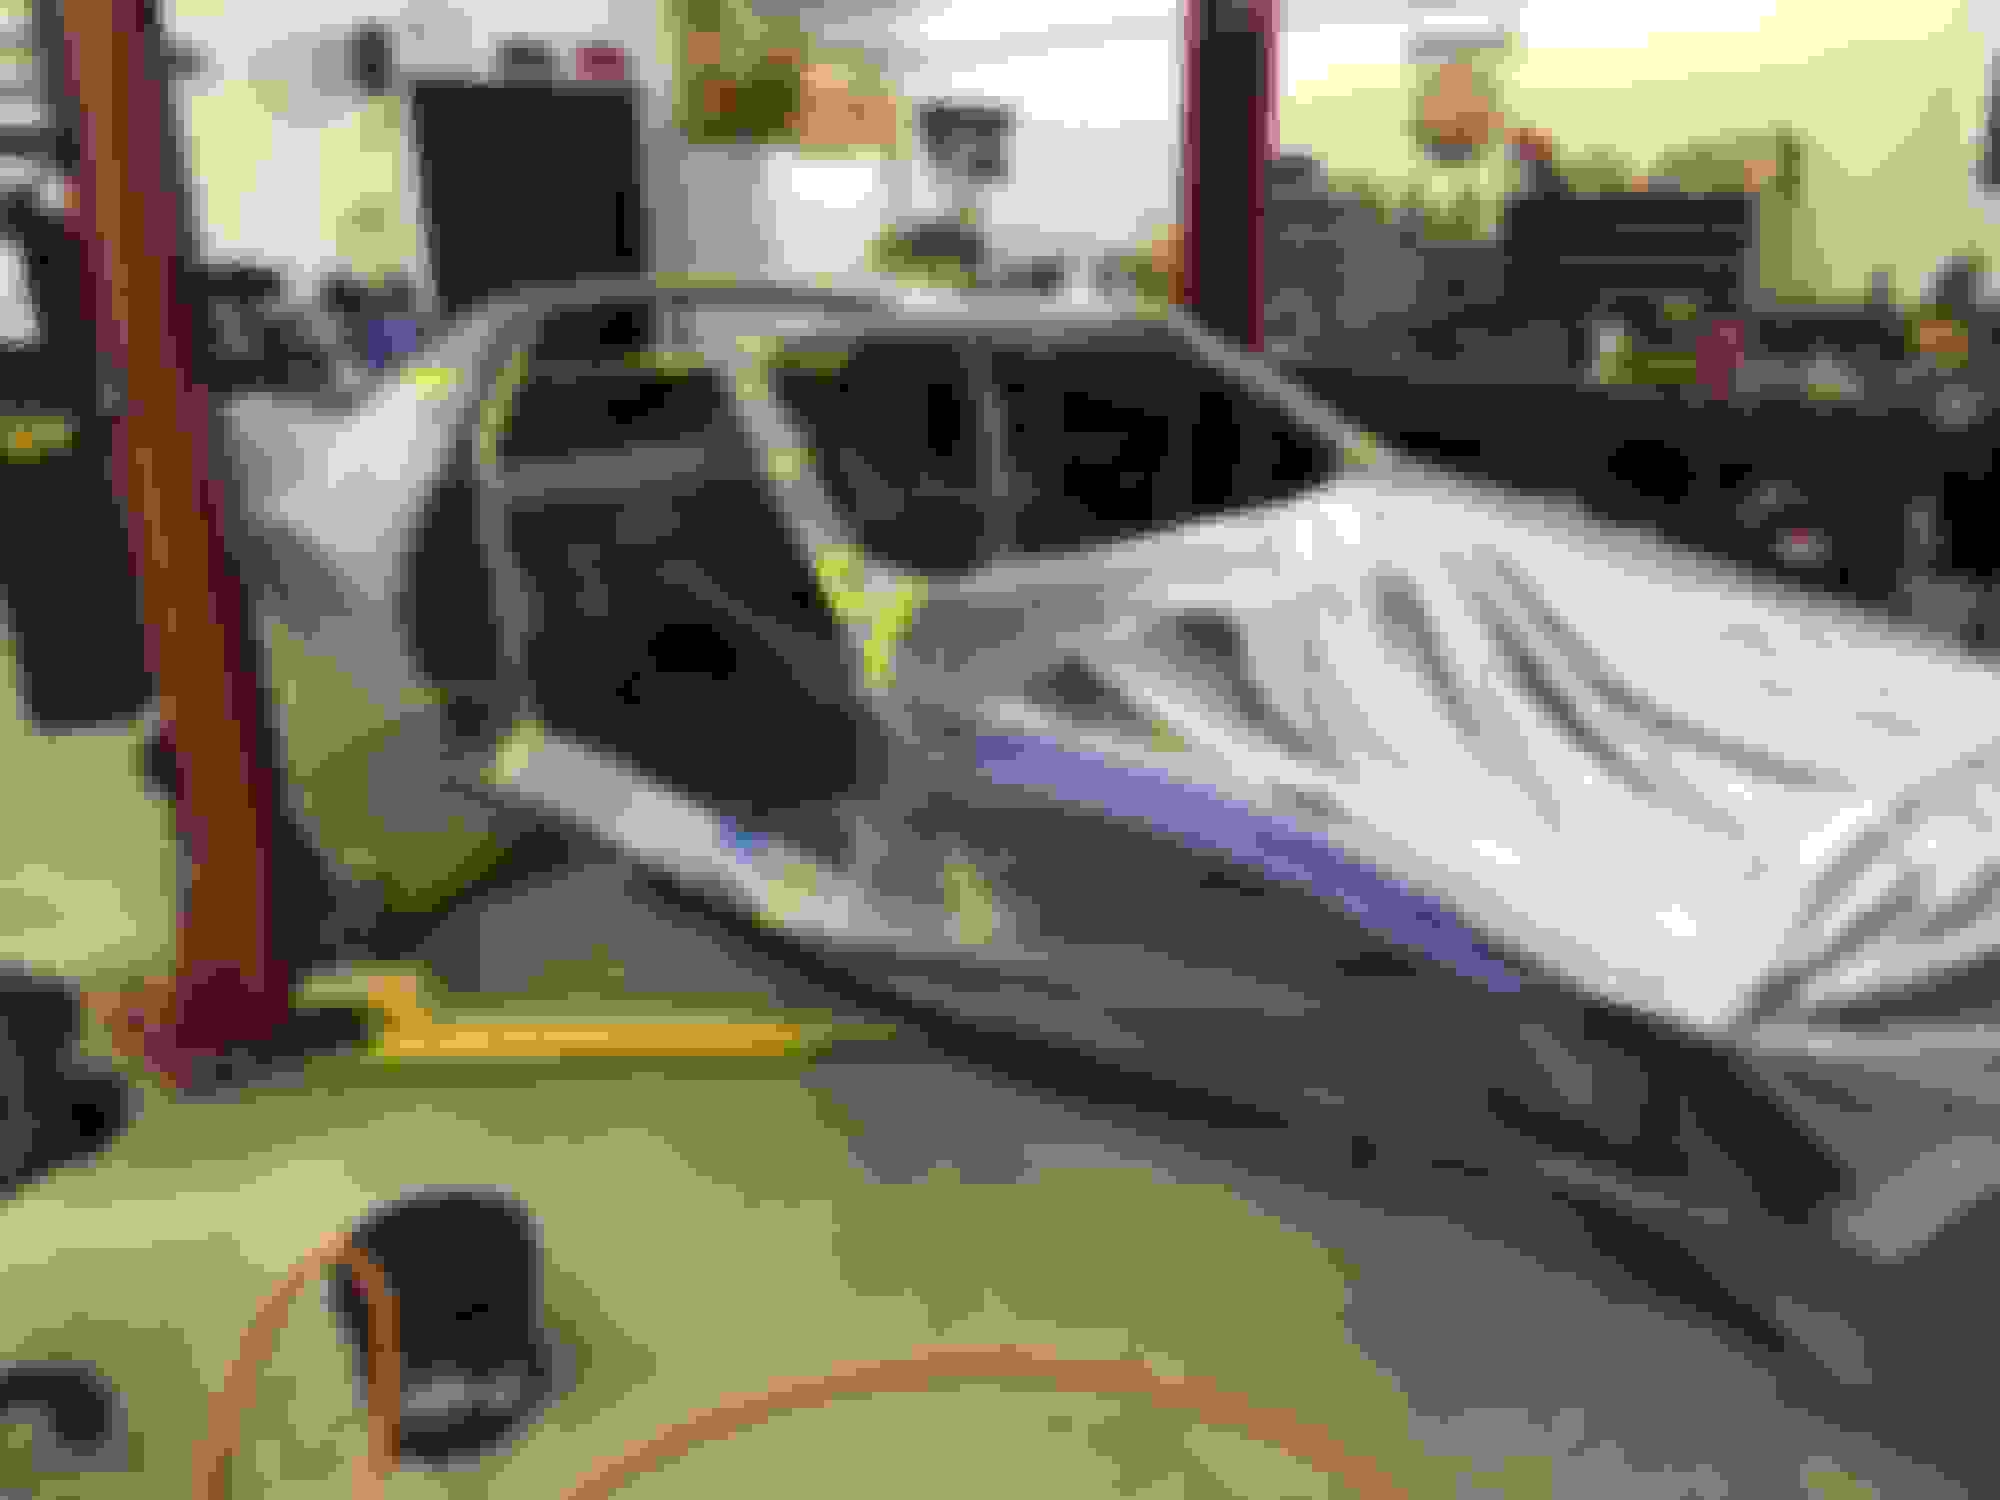
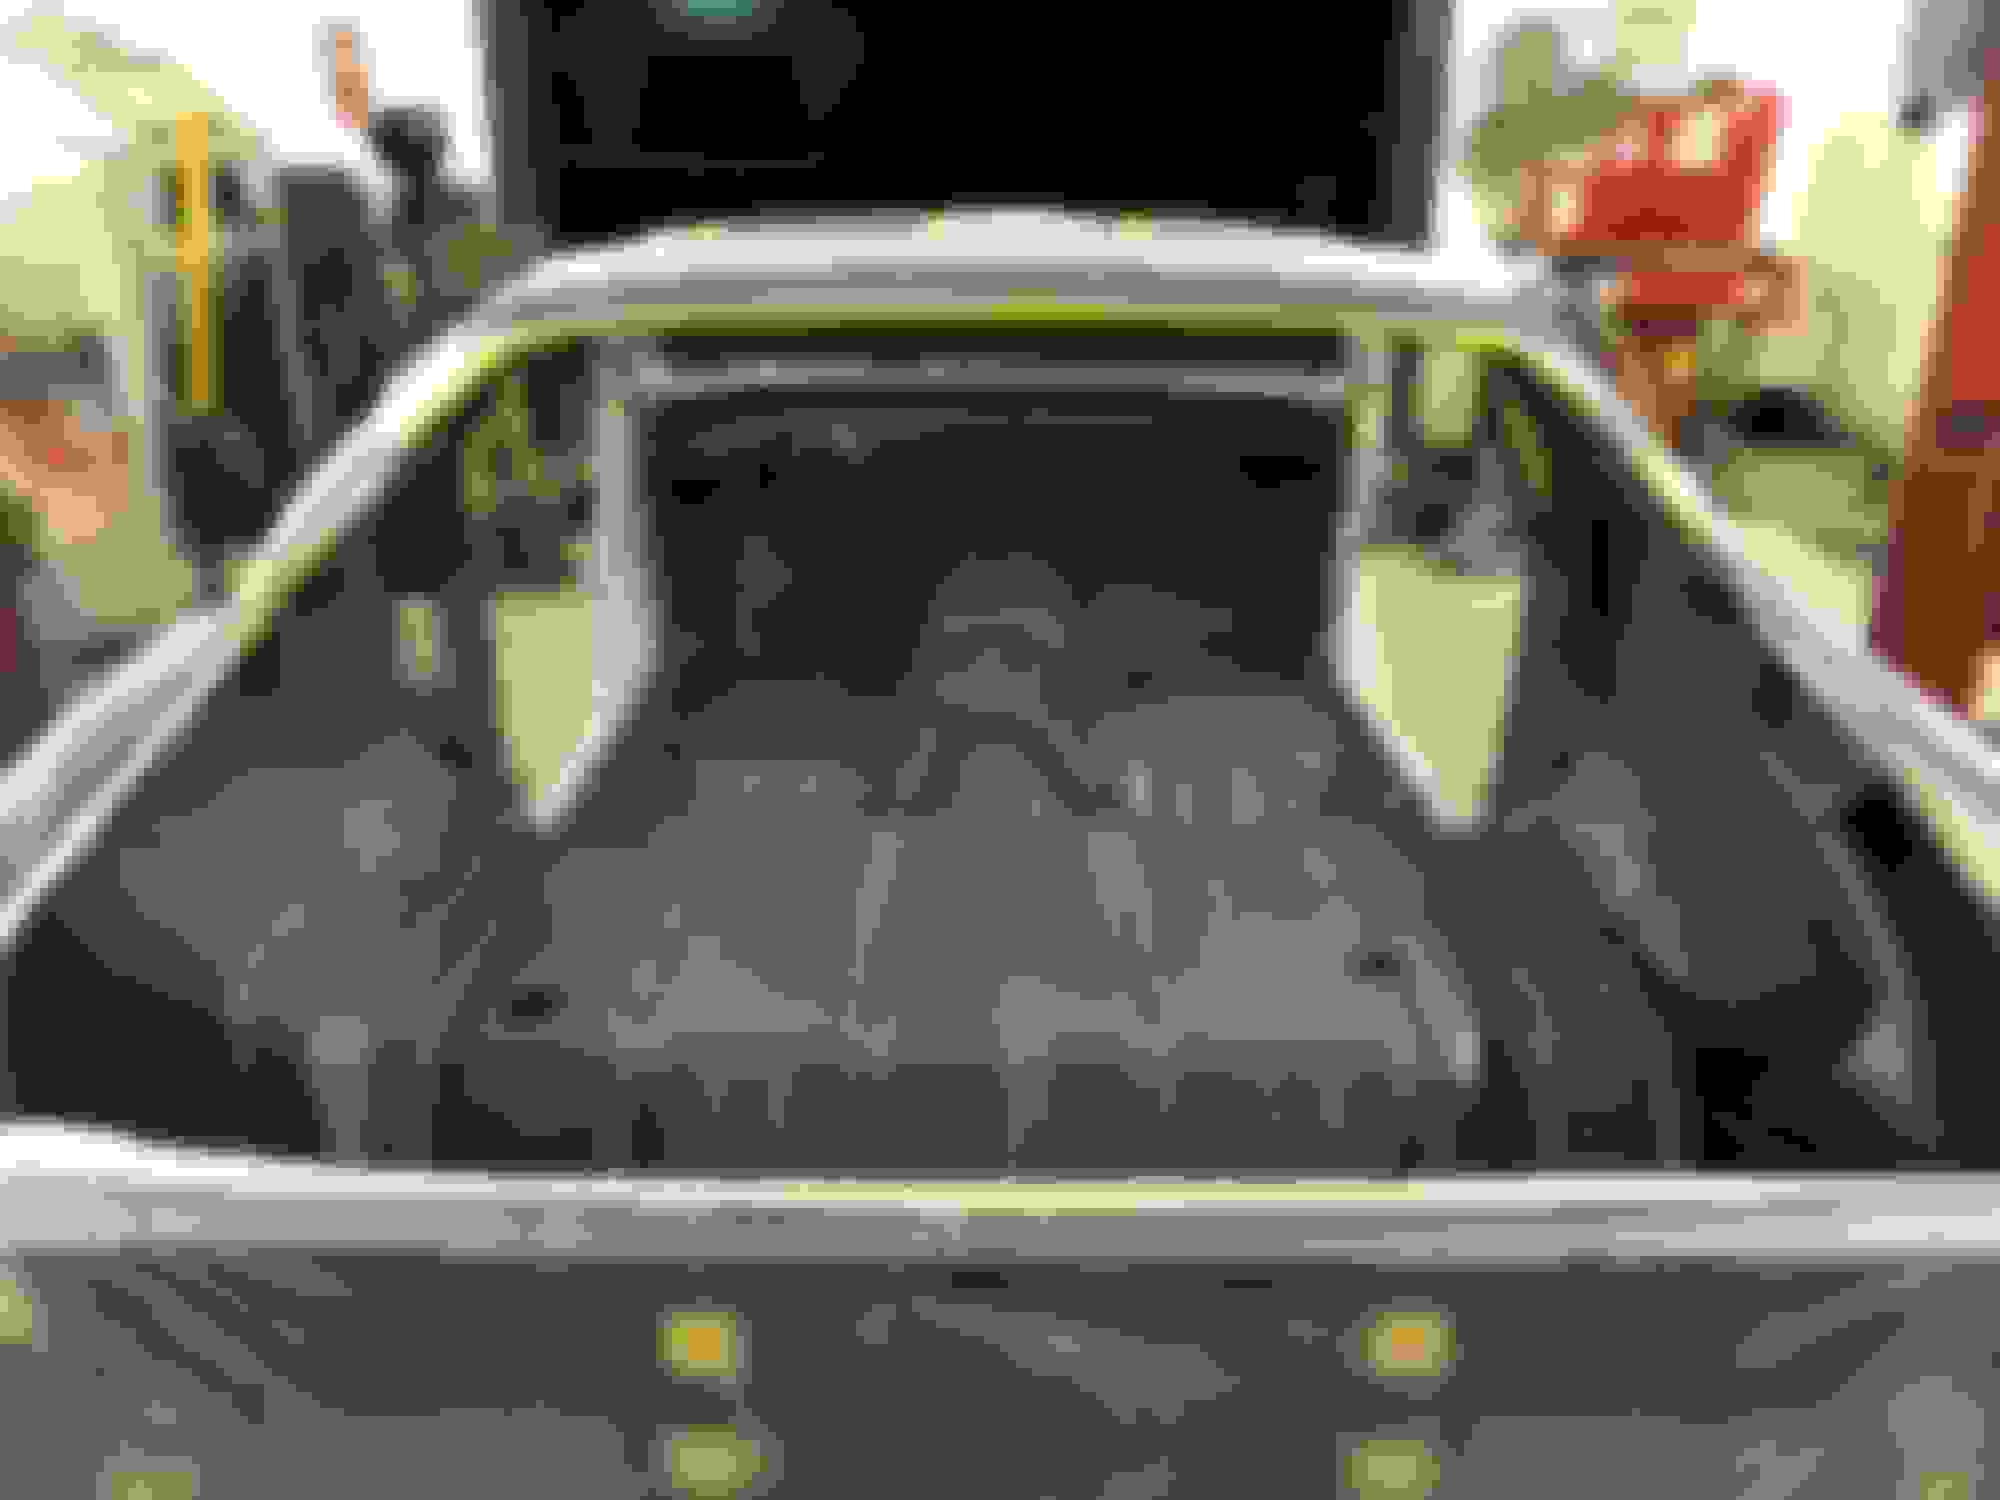
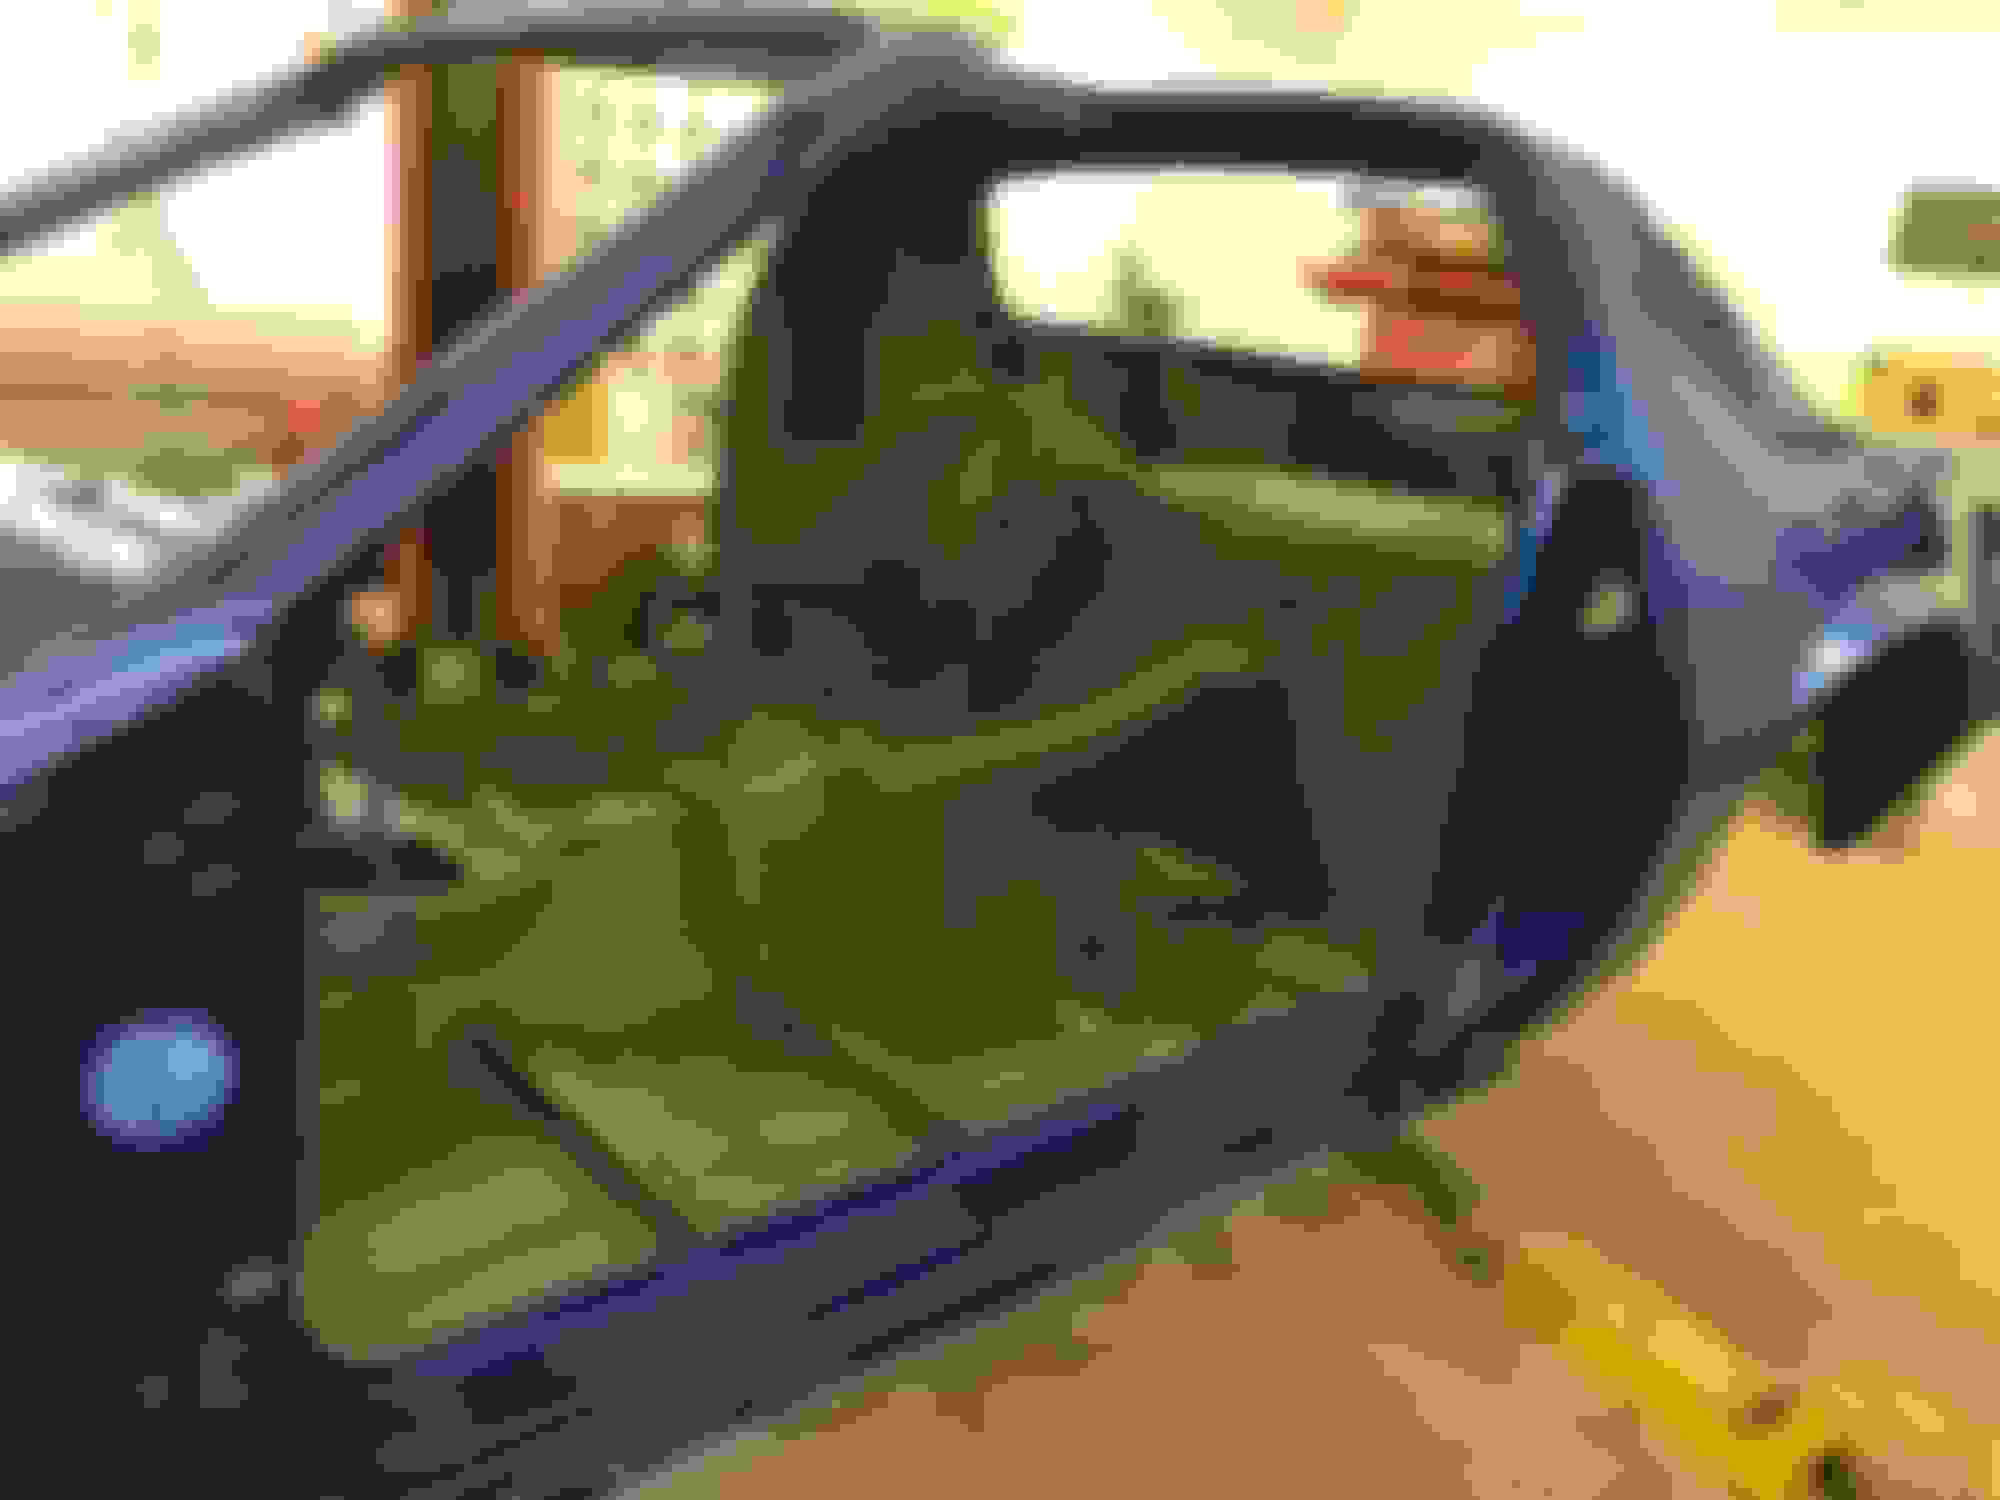
Well, here we are! 4 years later and I�m finally seeing the light at the end of the tunnel. What do you boys think?
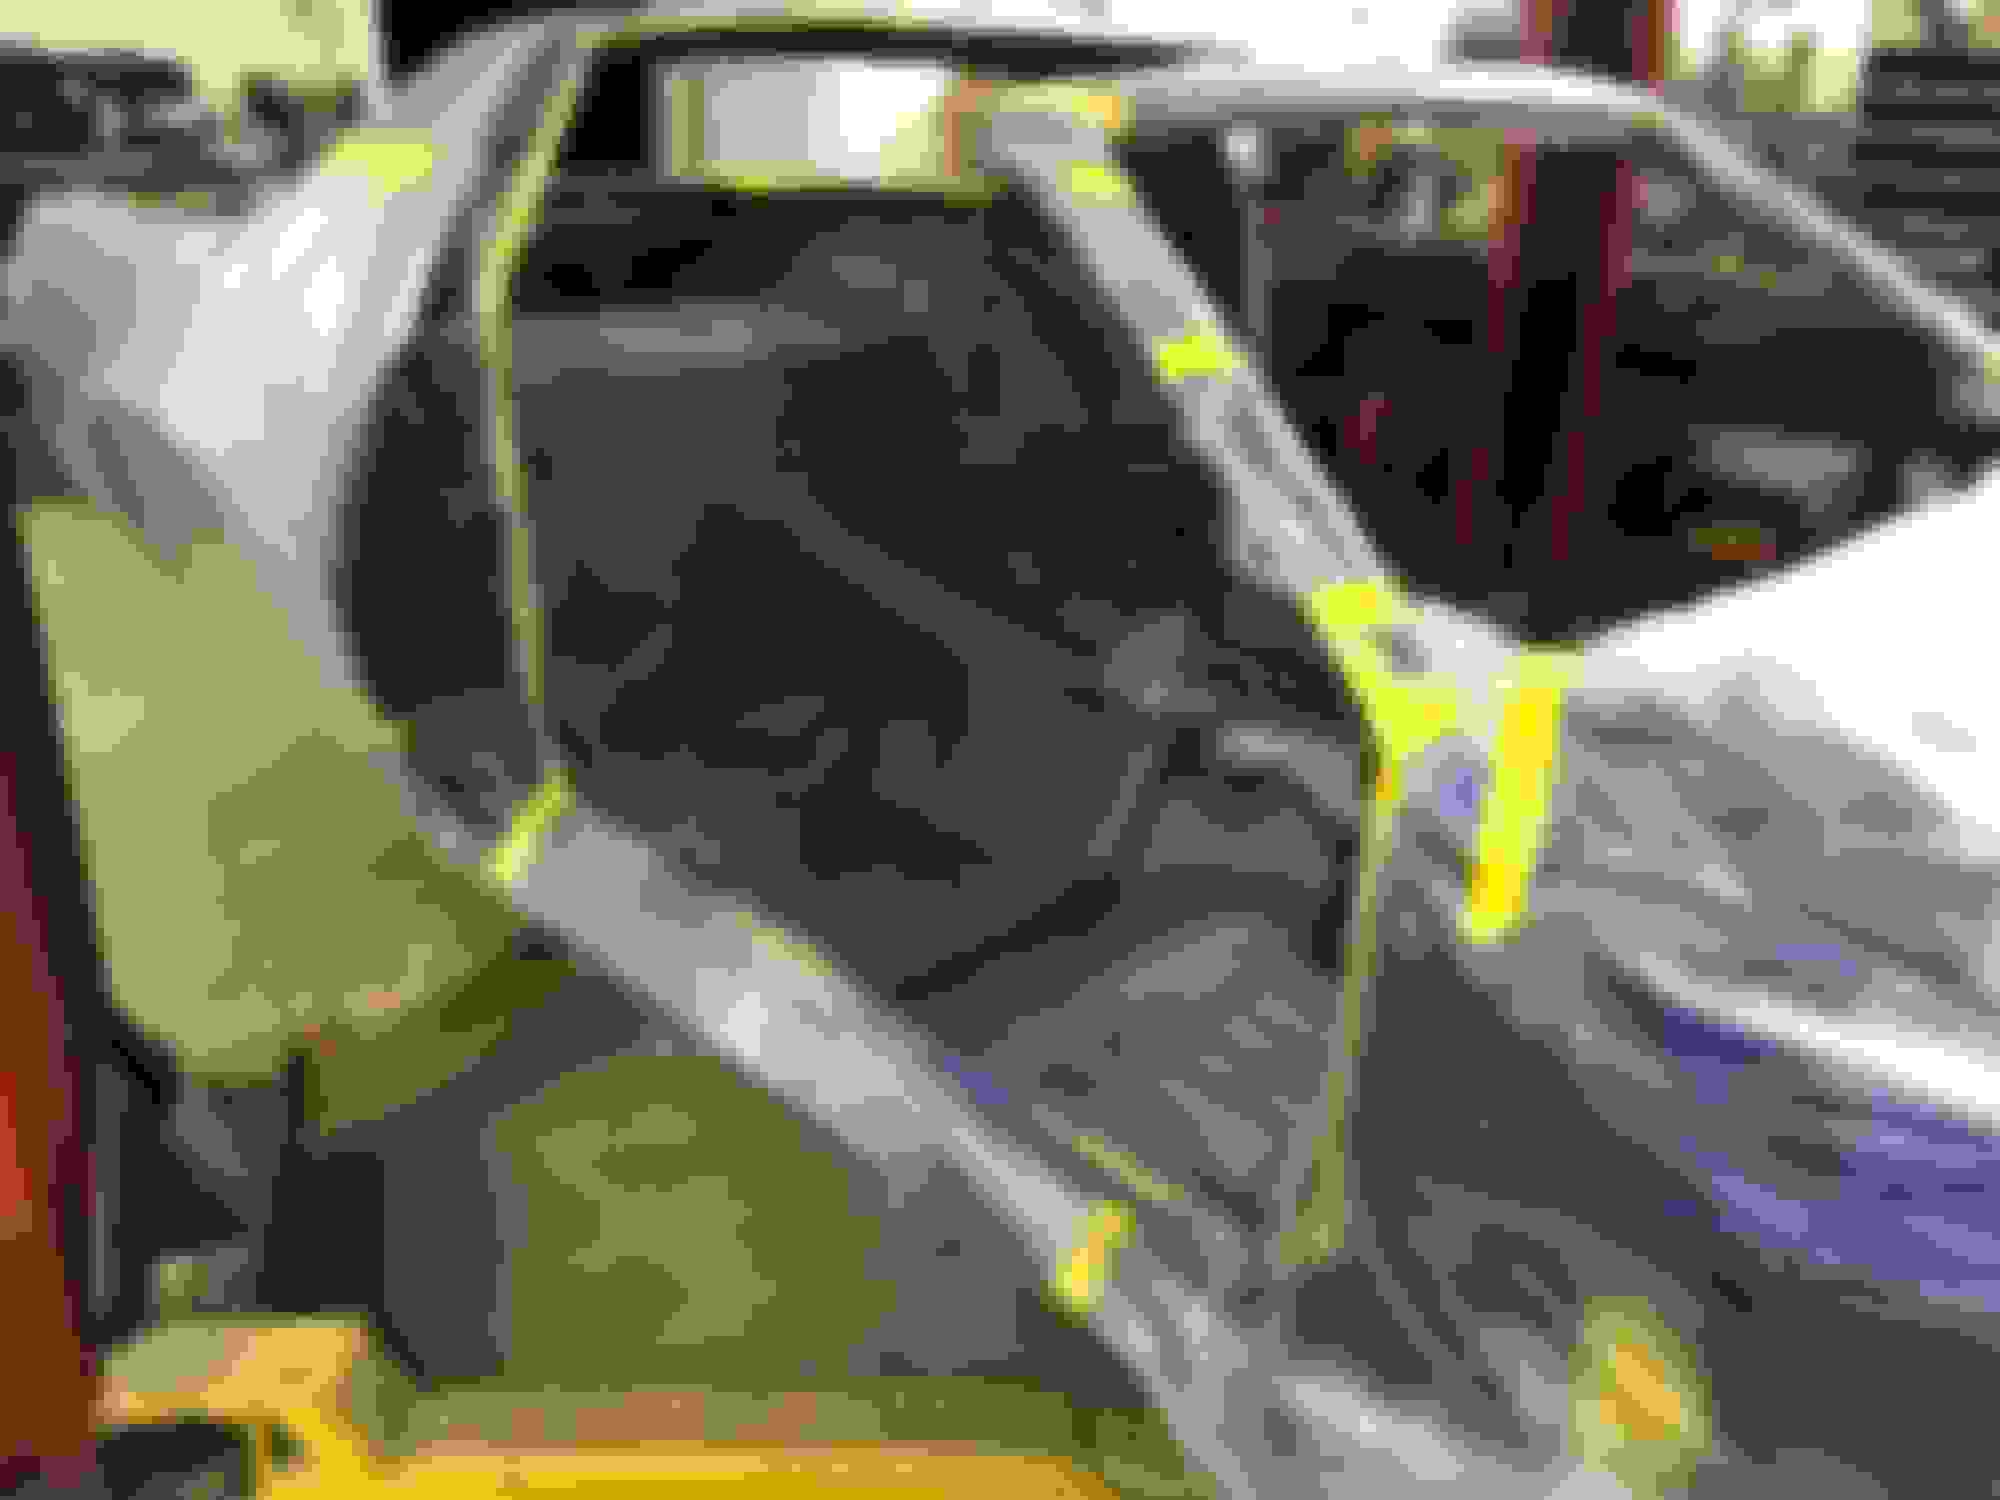
For those of you who remember, I know I sure do, these pillar corners and weatherstrip moldings were Swiss cheese. I can�t believe how bad this section used to be
Oh I LOVE IT! Always loved that blue color on these cars. I love my yellow but if I had done a full color change I'd have gone that blue. Can't wait to see her all back together..... I didn't do my engine bay and didn't want them different colors..
Well, here we are! 4 years later and I�m finally seeing the light at the end of the tunnel. What do you boys think?
For those of you who remember, I know I sure do, these pillar corners and weatherstrip moldings were Swiss cheese. I can�t believe how bad this section used to be
WOW, what an unbelievable transformation! Car looks outstanding!!
If you don't mind me asking, what color blue is that? My 1991 Formula is going to be getting the full treatment soon, and I am thinking about going either blue, or charcoal gray.
WOW, what an unbelievable transformation! Car looks outstanding!!
If you don't mind me asking, what color blue is that? My 1991 Formula is going to be getting the full treatment soon, and I am thinking about going either blue, or charcoal gray.
Thanks, and awesome job!
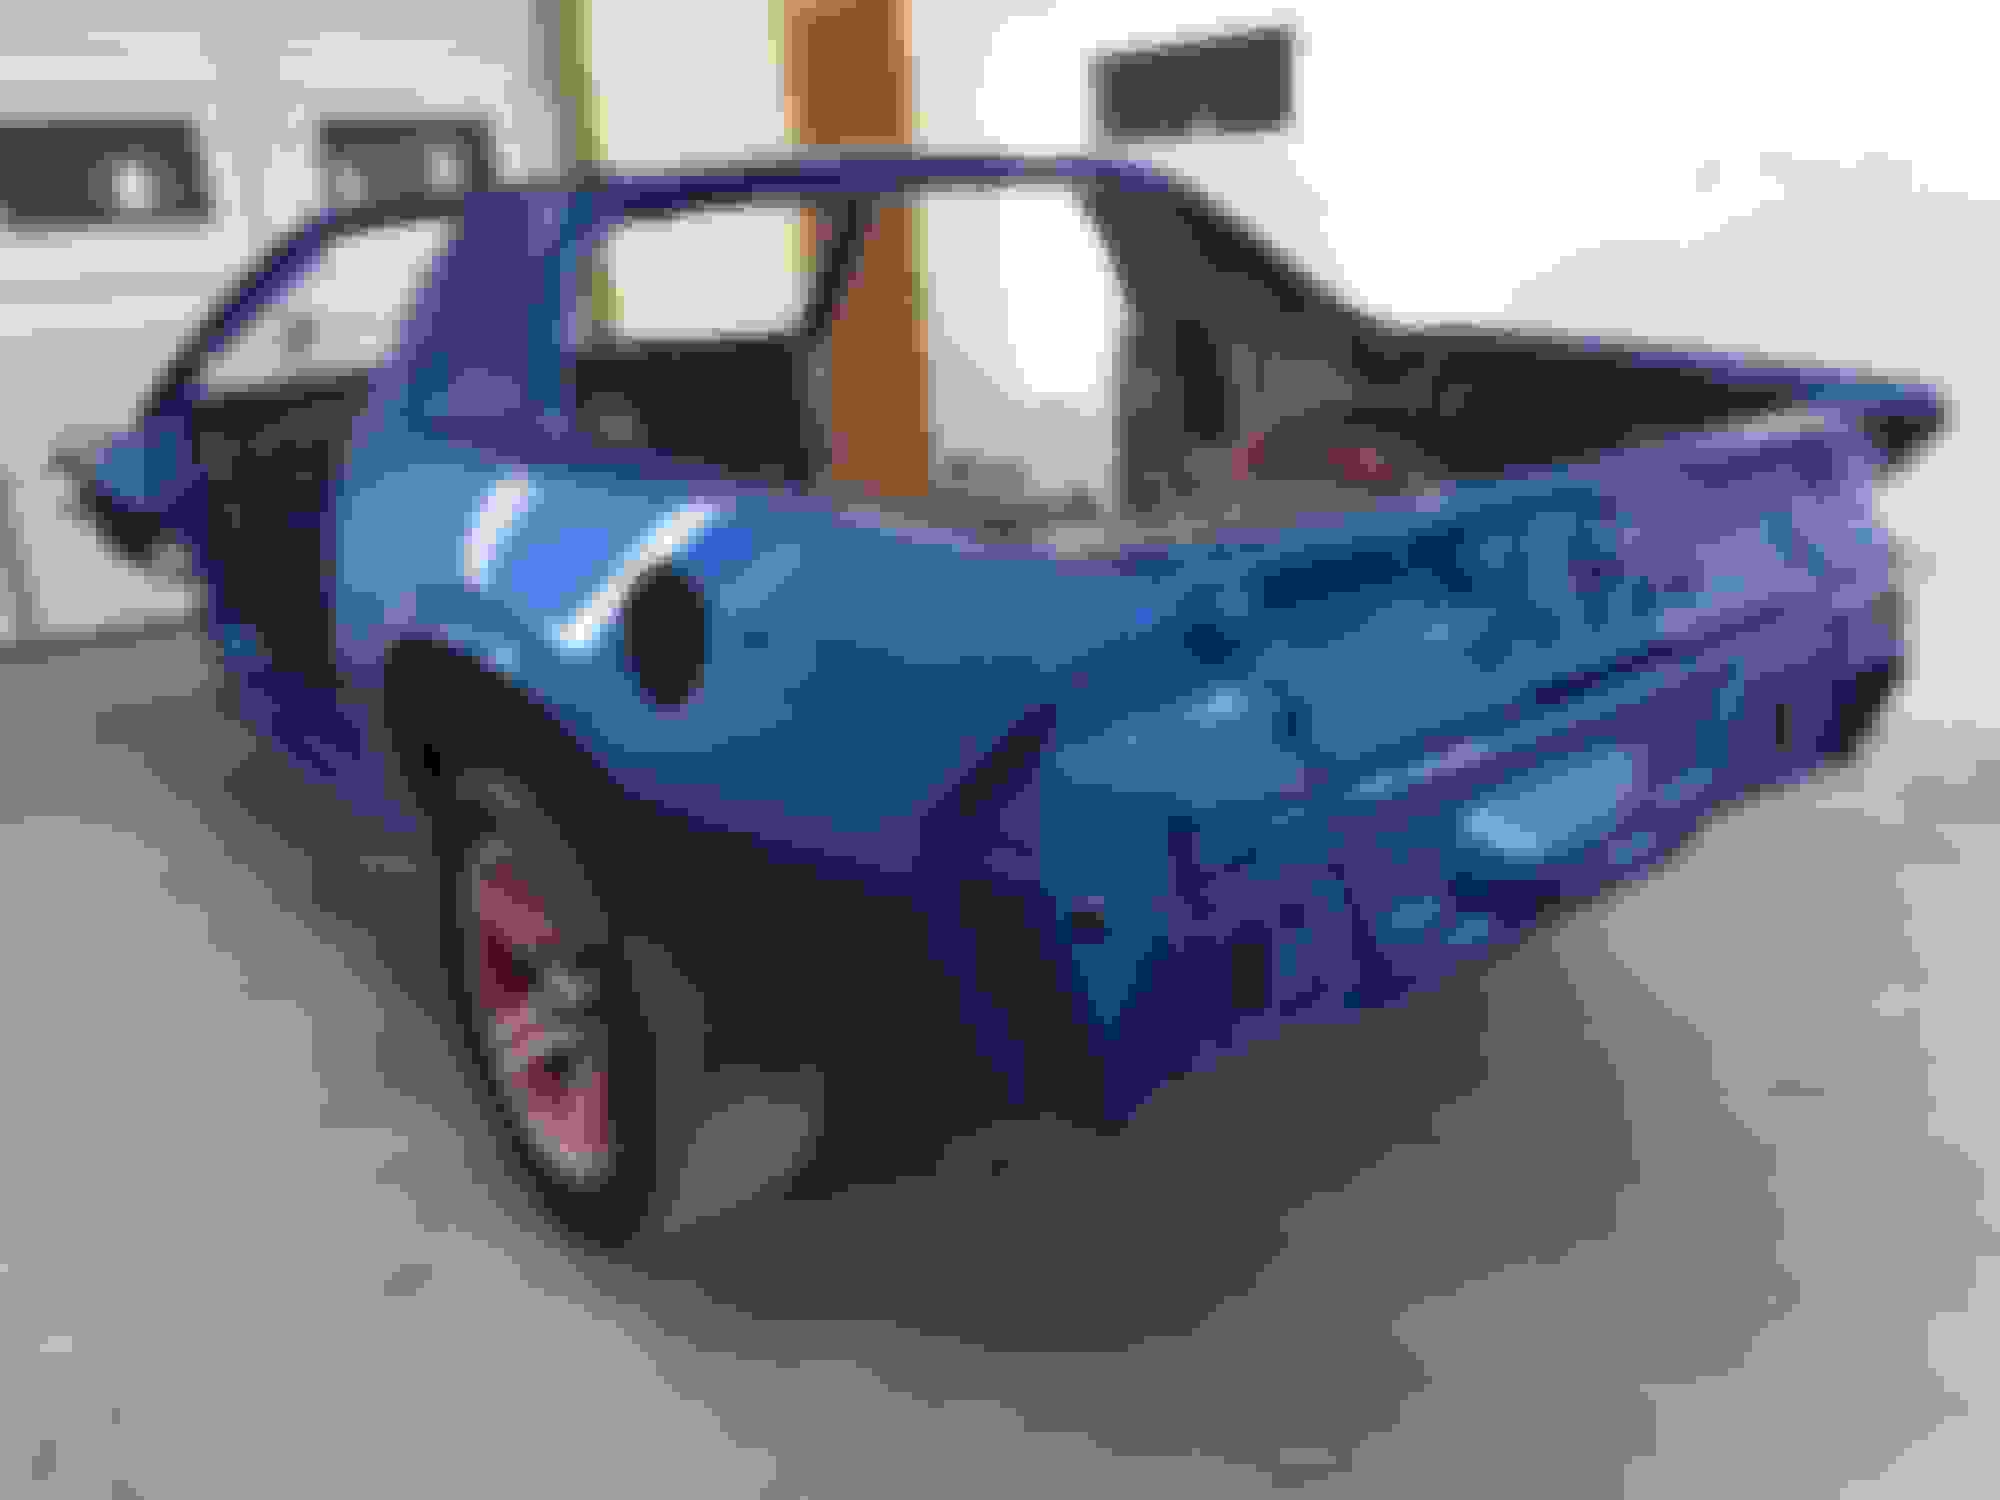
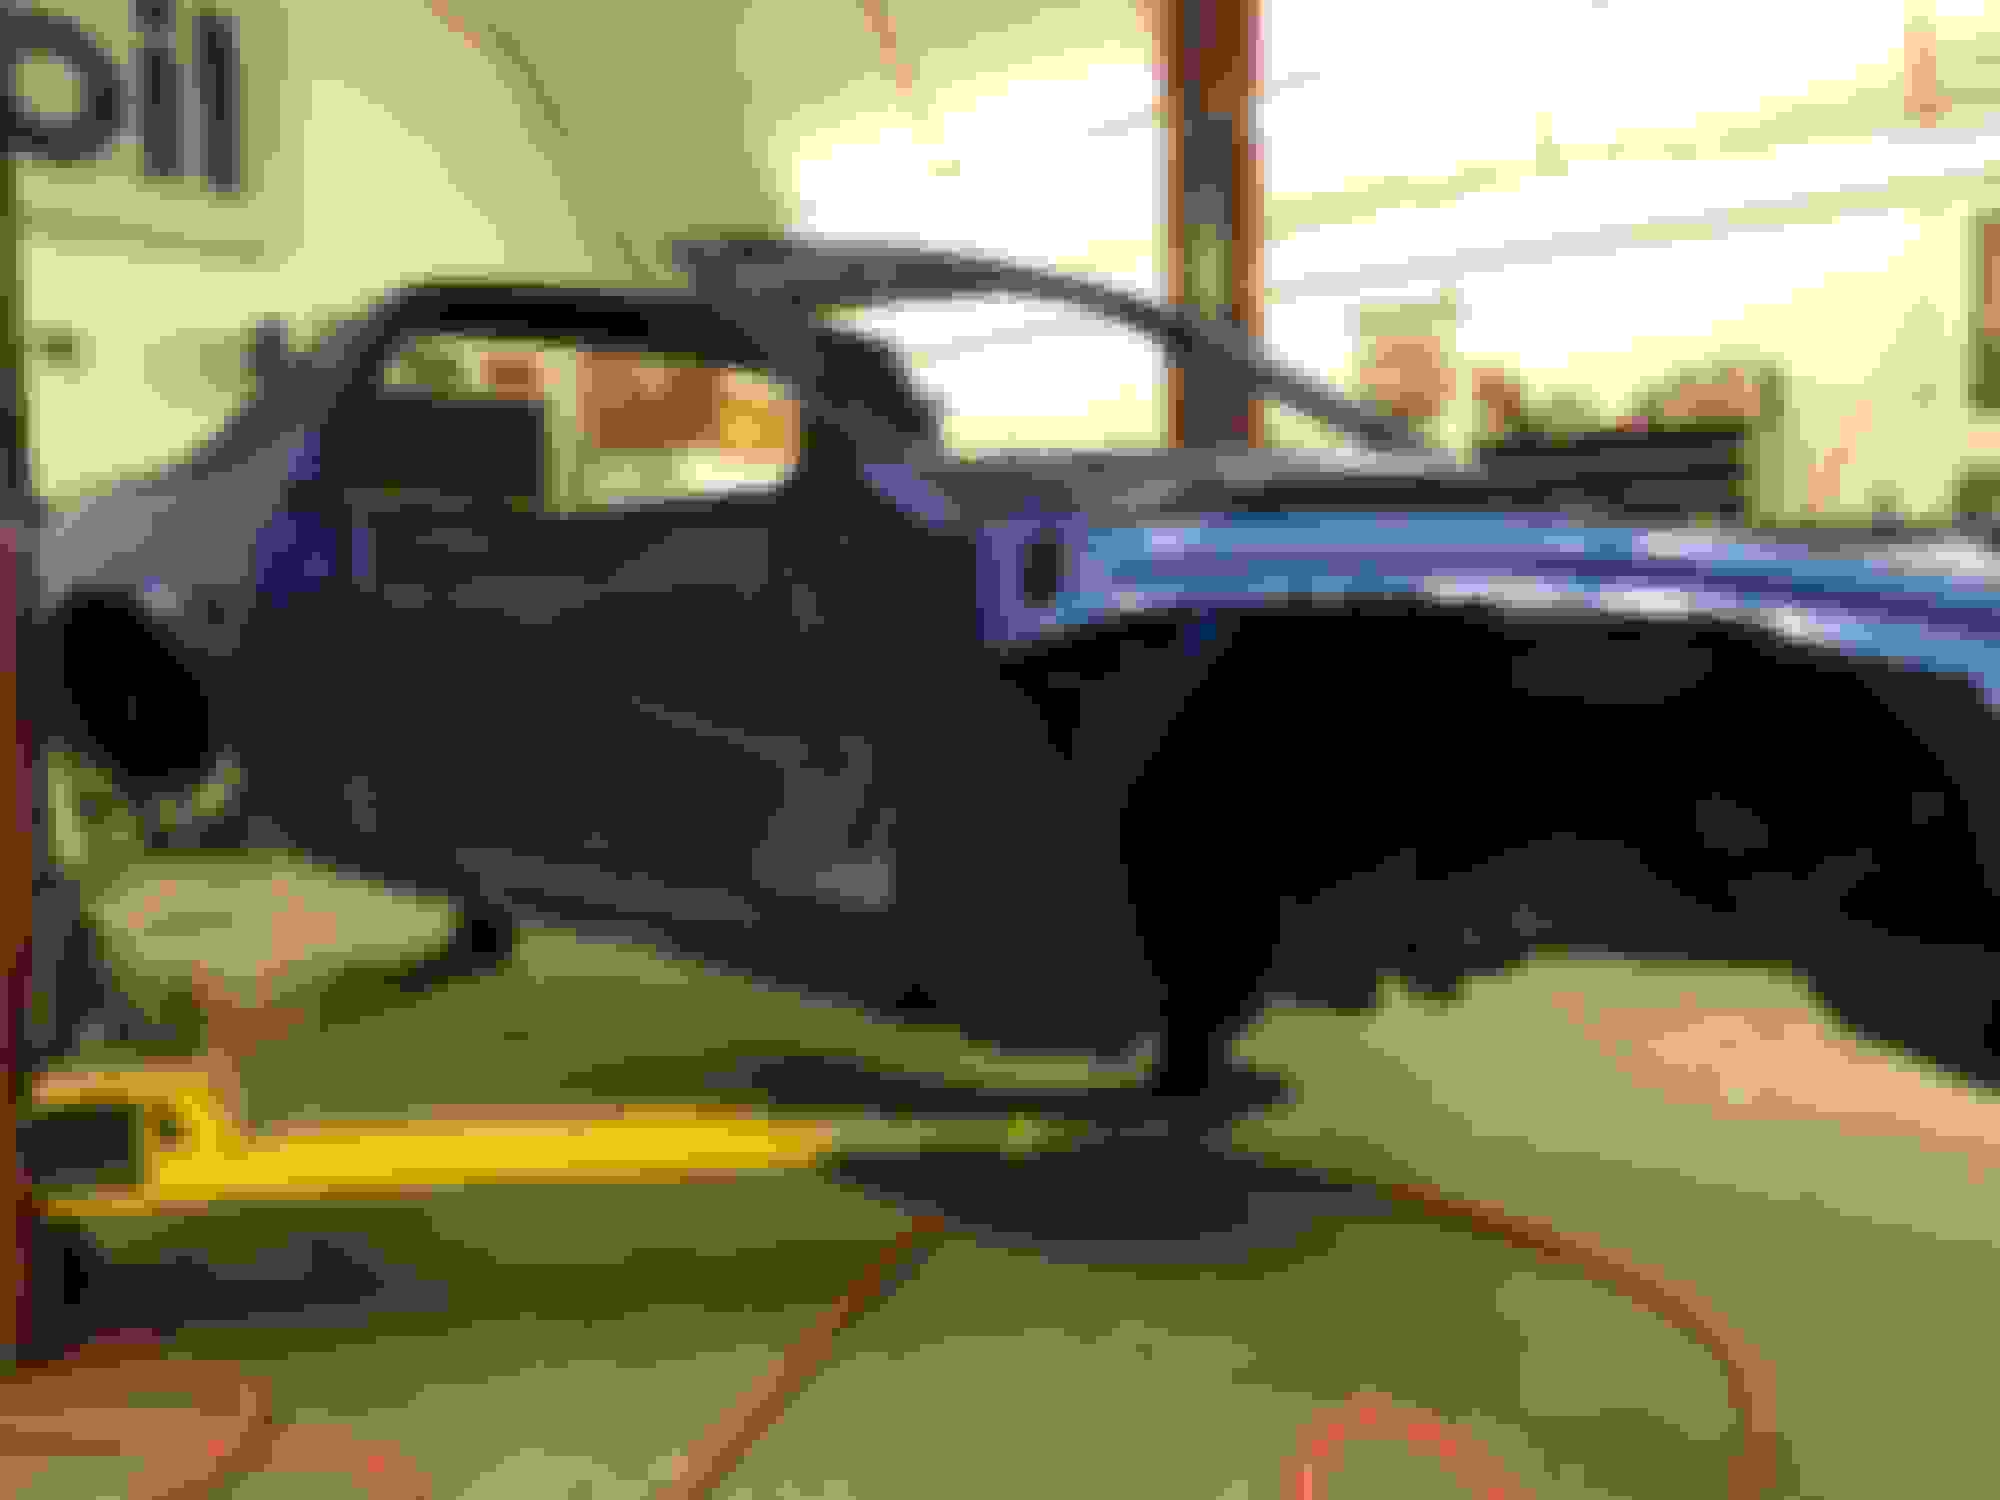
Thanks for the kind words guys!! It�s still has a wayyyyyyyyyyy to go but progress is still progress:-) The color is WA8751 - Bright Blue Metallic (factory color). I use Matrix stuff from the primer on up to the clear. Honestly, the pictures don�t do it justice, this color is stunning in person
Not too biased. I just really like the metallic colors on thirdgens. Gunmetal, Flame Red Metallic, Teal Metallic, Dark Green Metallic. Just happens the blue is the best of the bunch.
If you like that, you should see the color-matched GREEN fuzzy dice in my convertible. :P
I admit, I rock fuzzy dice in all of my thirdgens. It's a throwback to jazzin' up the new ride with a spin down the novelty parts aisle. A bit of irony, a wink at that bit of car culture. I think I was trying to make a statement about the duality of man...
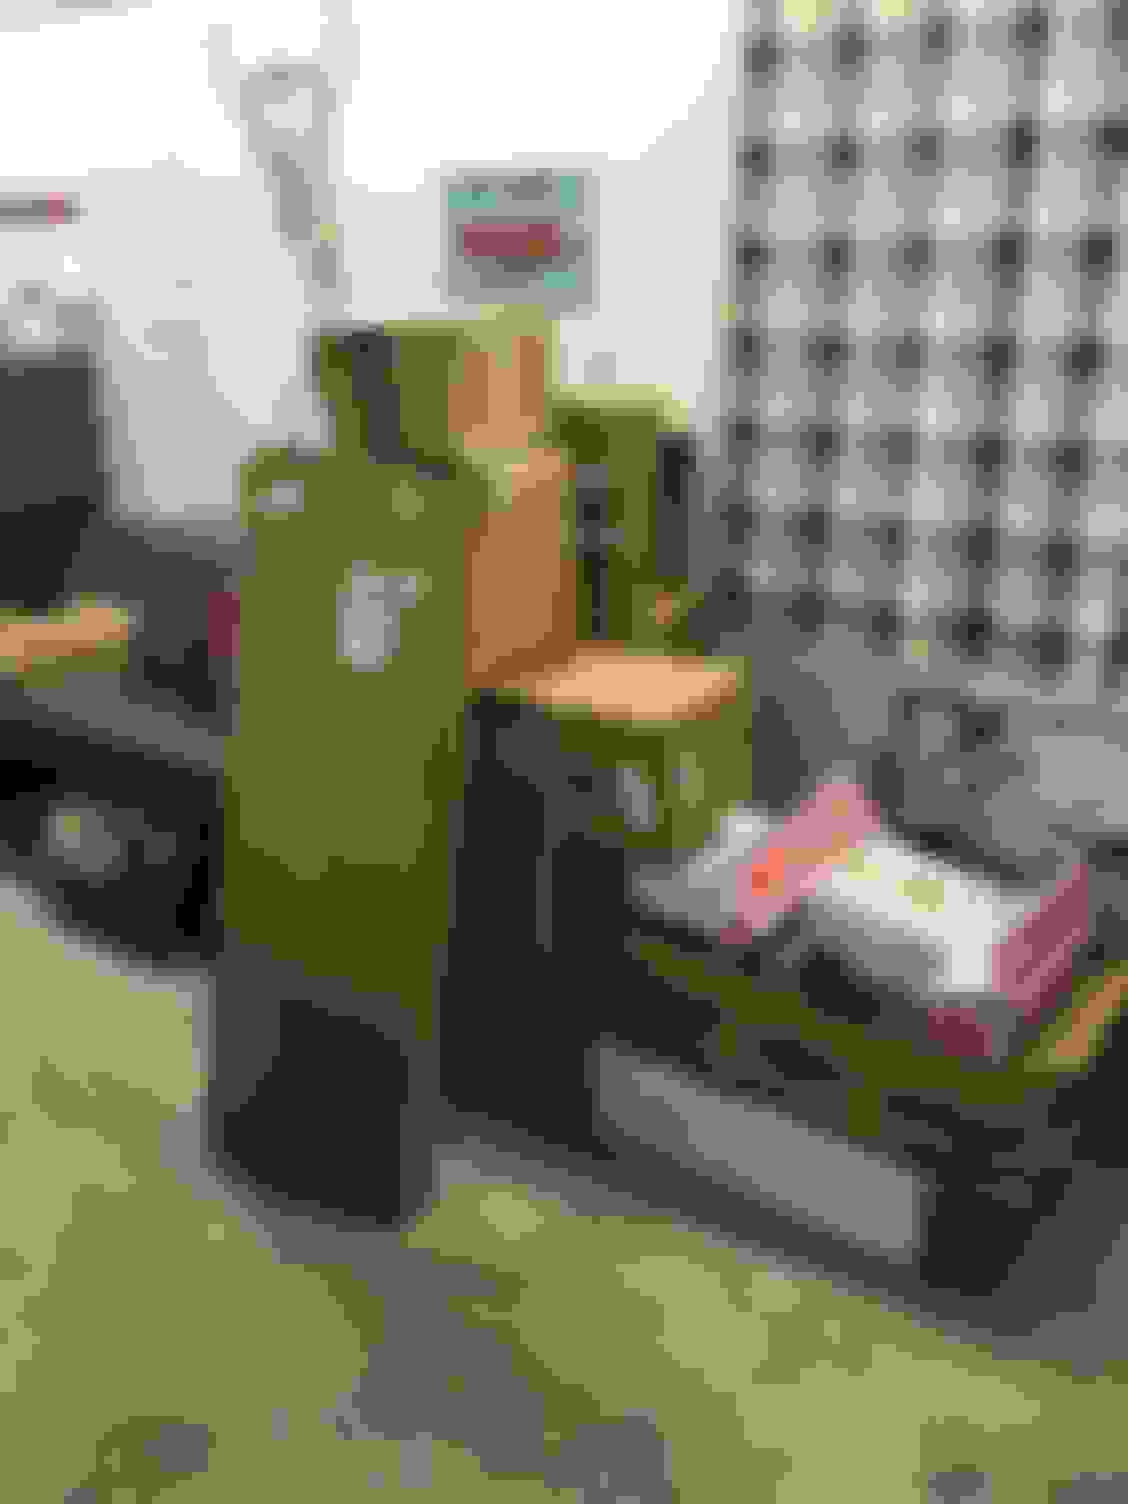
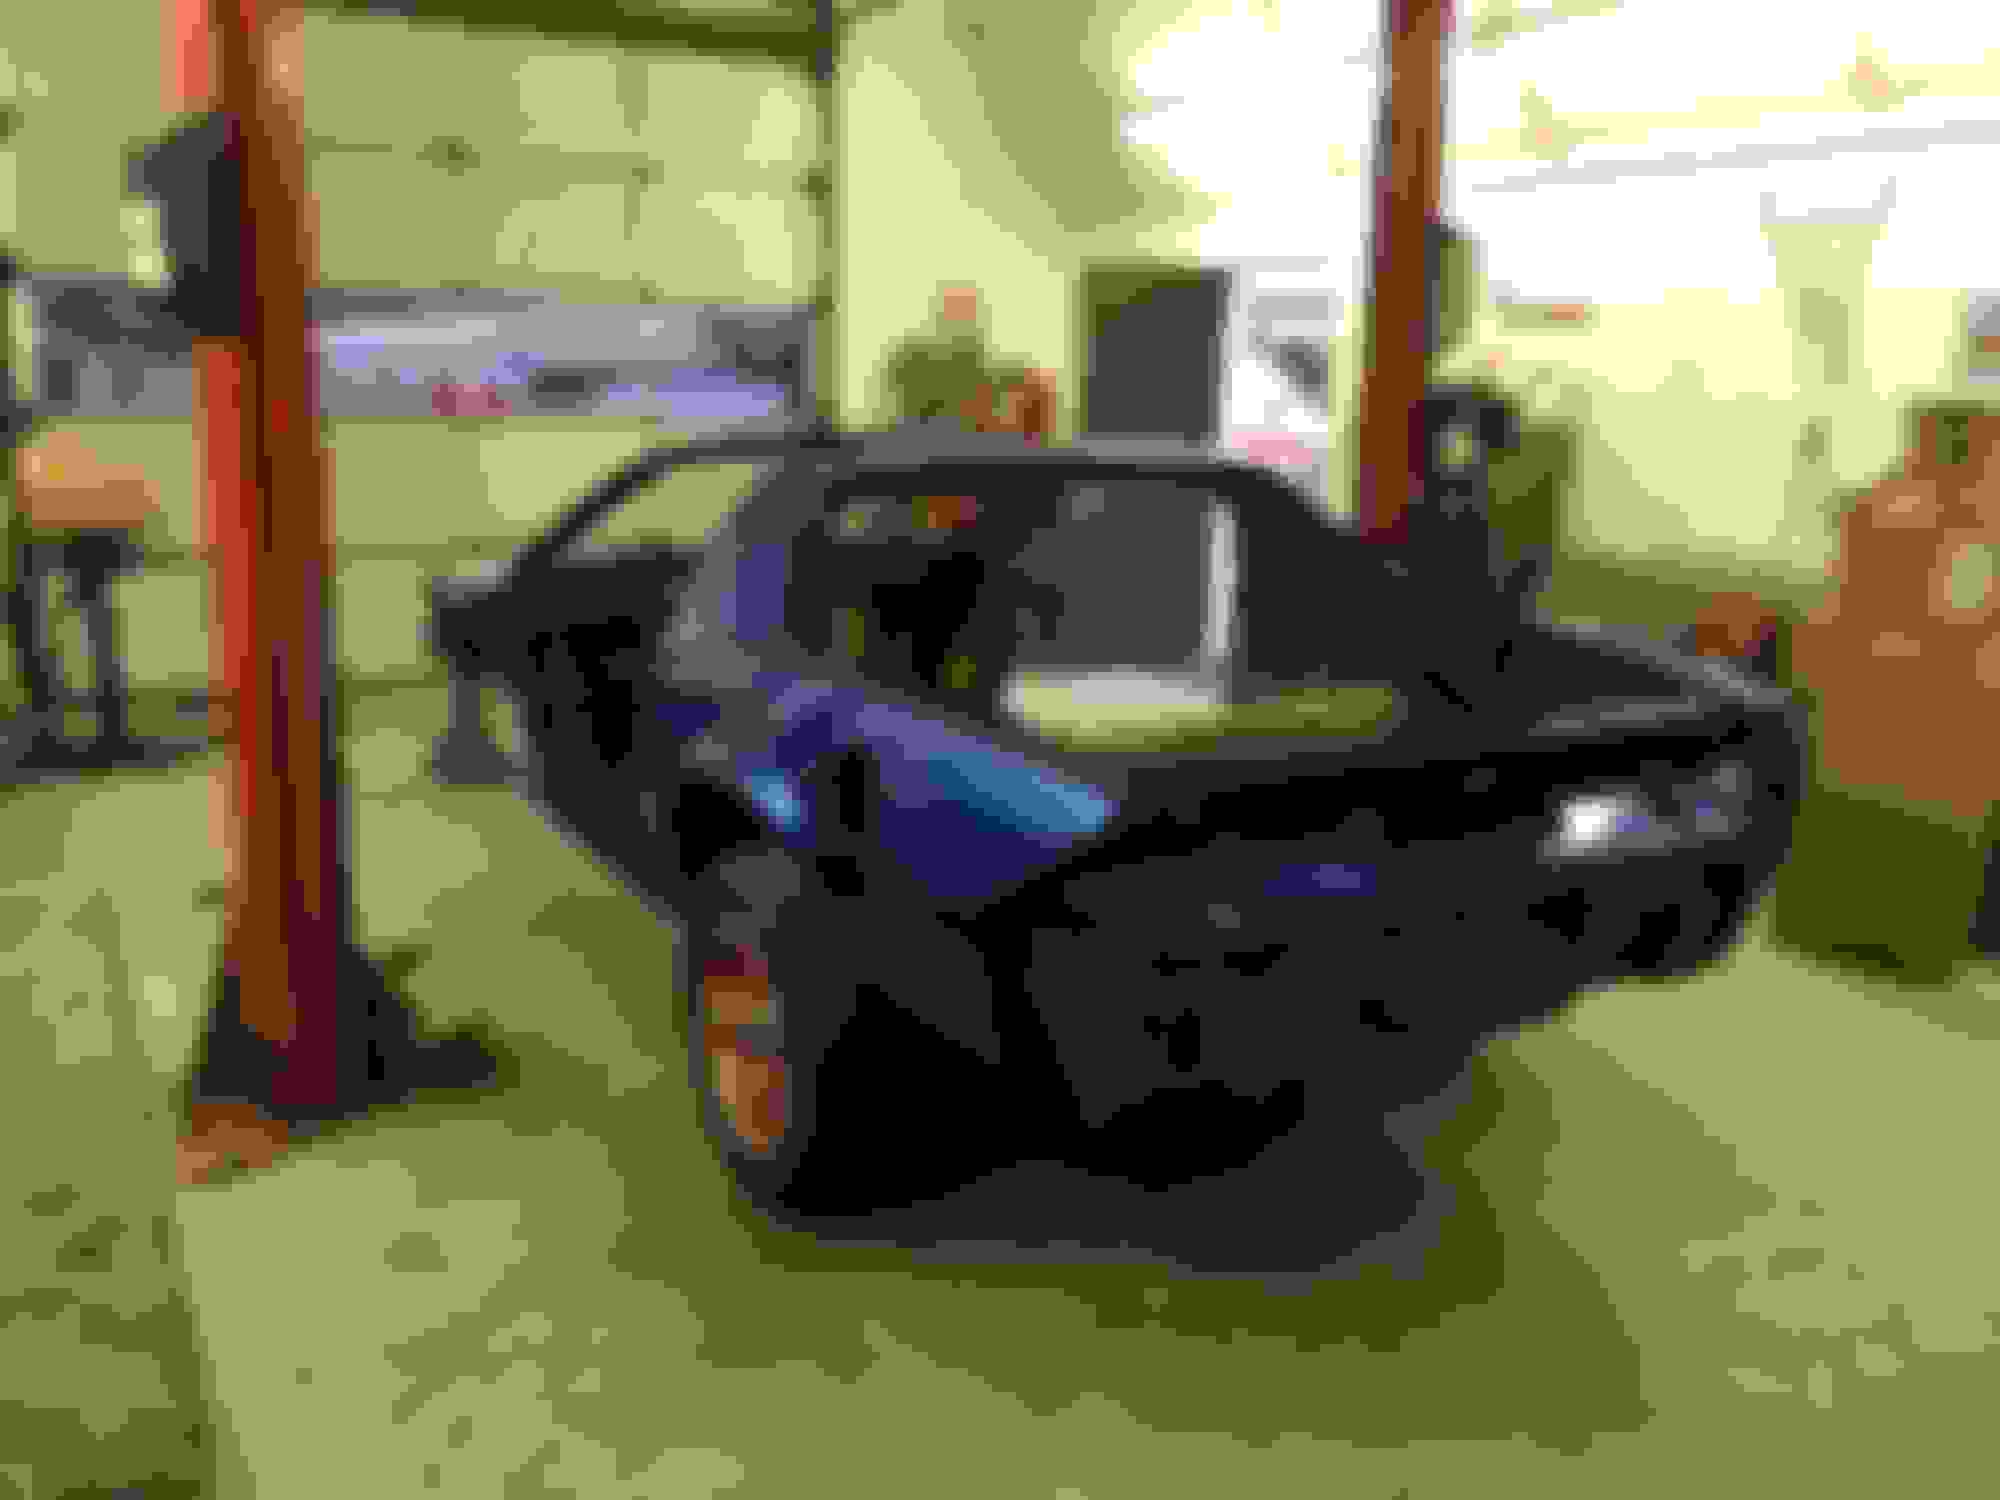
Alright guys.. the car is it of the booth and into assembly. What I can’t believe is how this color changes so much. It looks super dark in the assembly room and outside looks totally different. I’m just loving this color!! In other news, Christmas has came earlyas you can see in the tower of Summit boxes. All I can say is, things are about to get very interesting on this thread!! I hope you all enjoy it as much as I will be.
Somewhere... over a year ago in this thread is the identical picture of us taking her to the paint room. Pretty neat. She’s still got a wayyyyyy to go but man!! What a difference.
Last edited by Goodolboy0404; 04-08-2018 at 12:36 PM.
Reason: typo
Wow. what a great thread! I've had two 3rd Gens, an '83 Z28 I g=bought in 1986 and when that got totaled I replaced it with a 1985 IROC in 1999, which I still have, now as an occasional driver. I had a new '68 First Gen, but I still think the 3rd Gens were the best looking Camaros ever. I commend you on all the work you've done and obviously you have the facilities and skills to do it. Clearly it's a labor of love because you'll never recover a fraction of the cost.
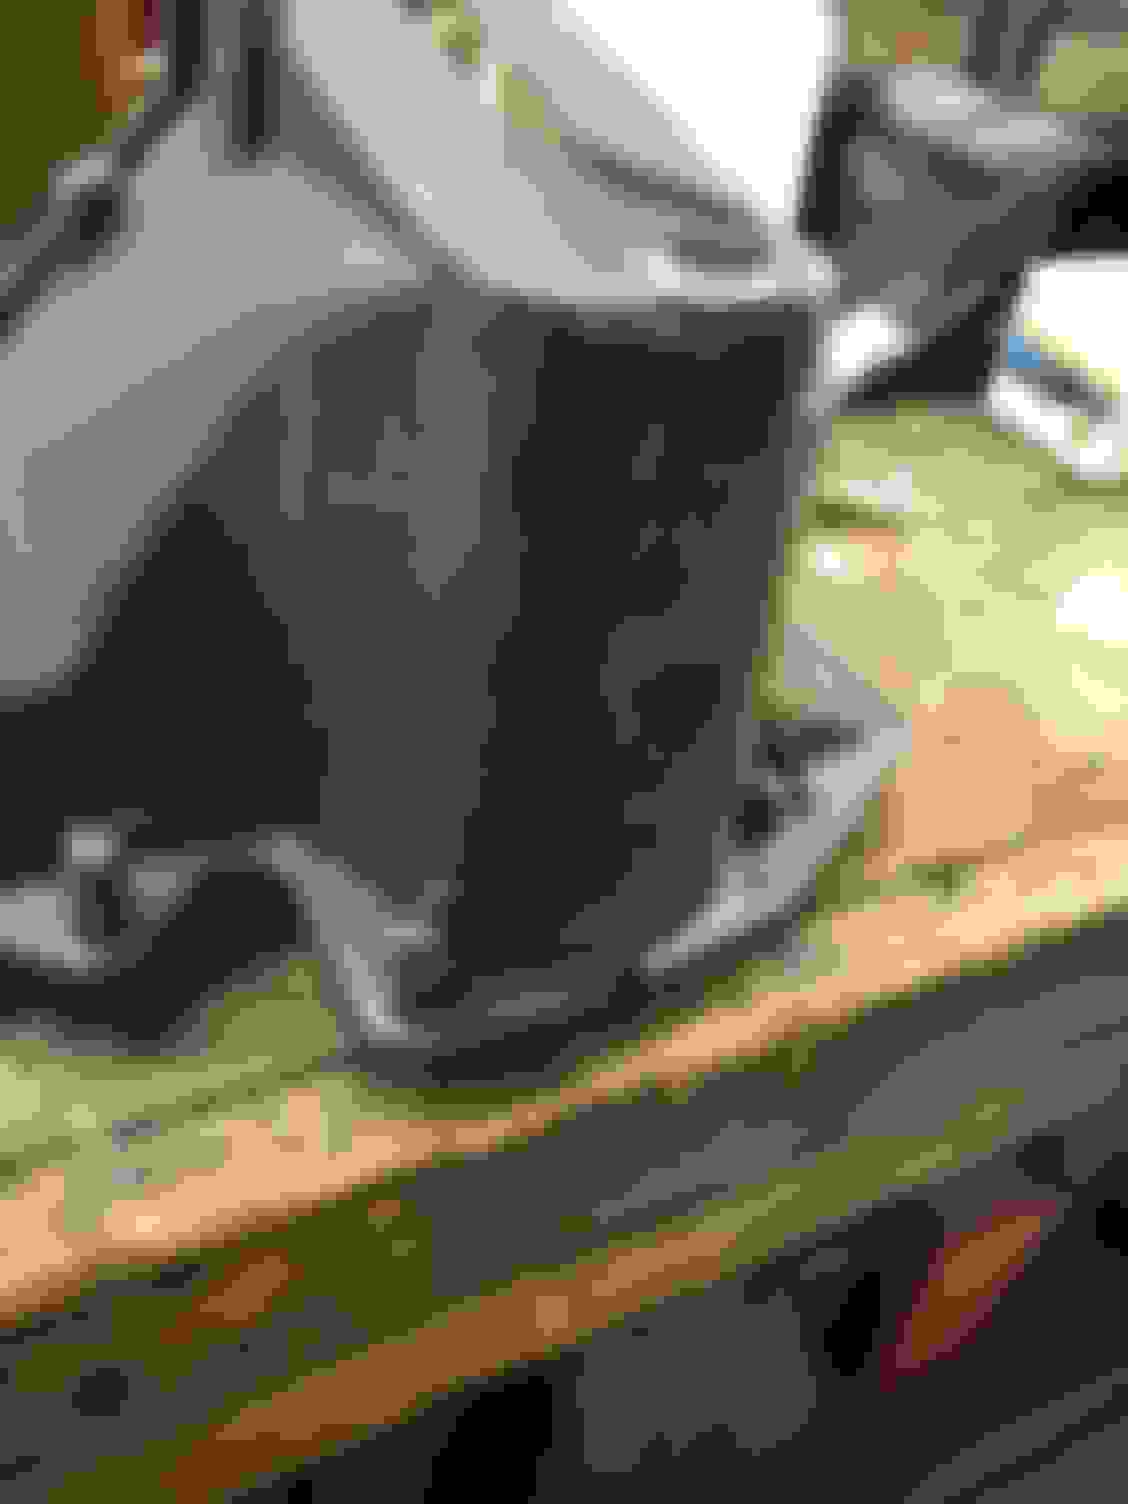
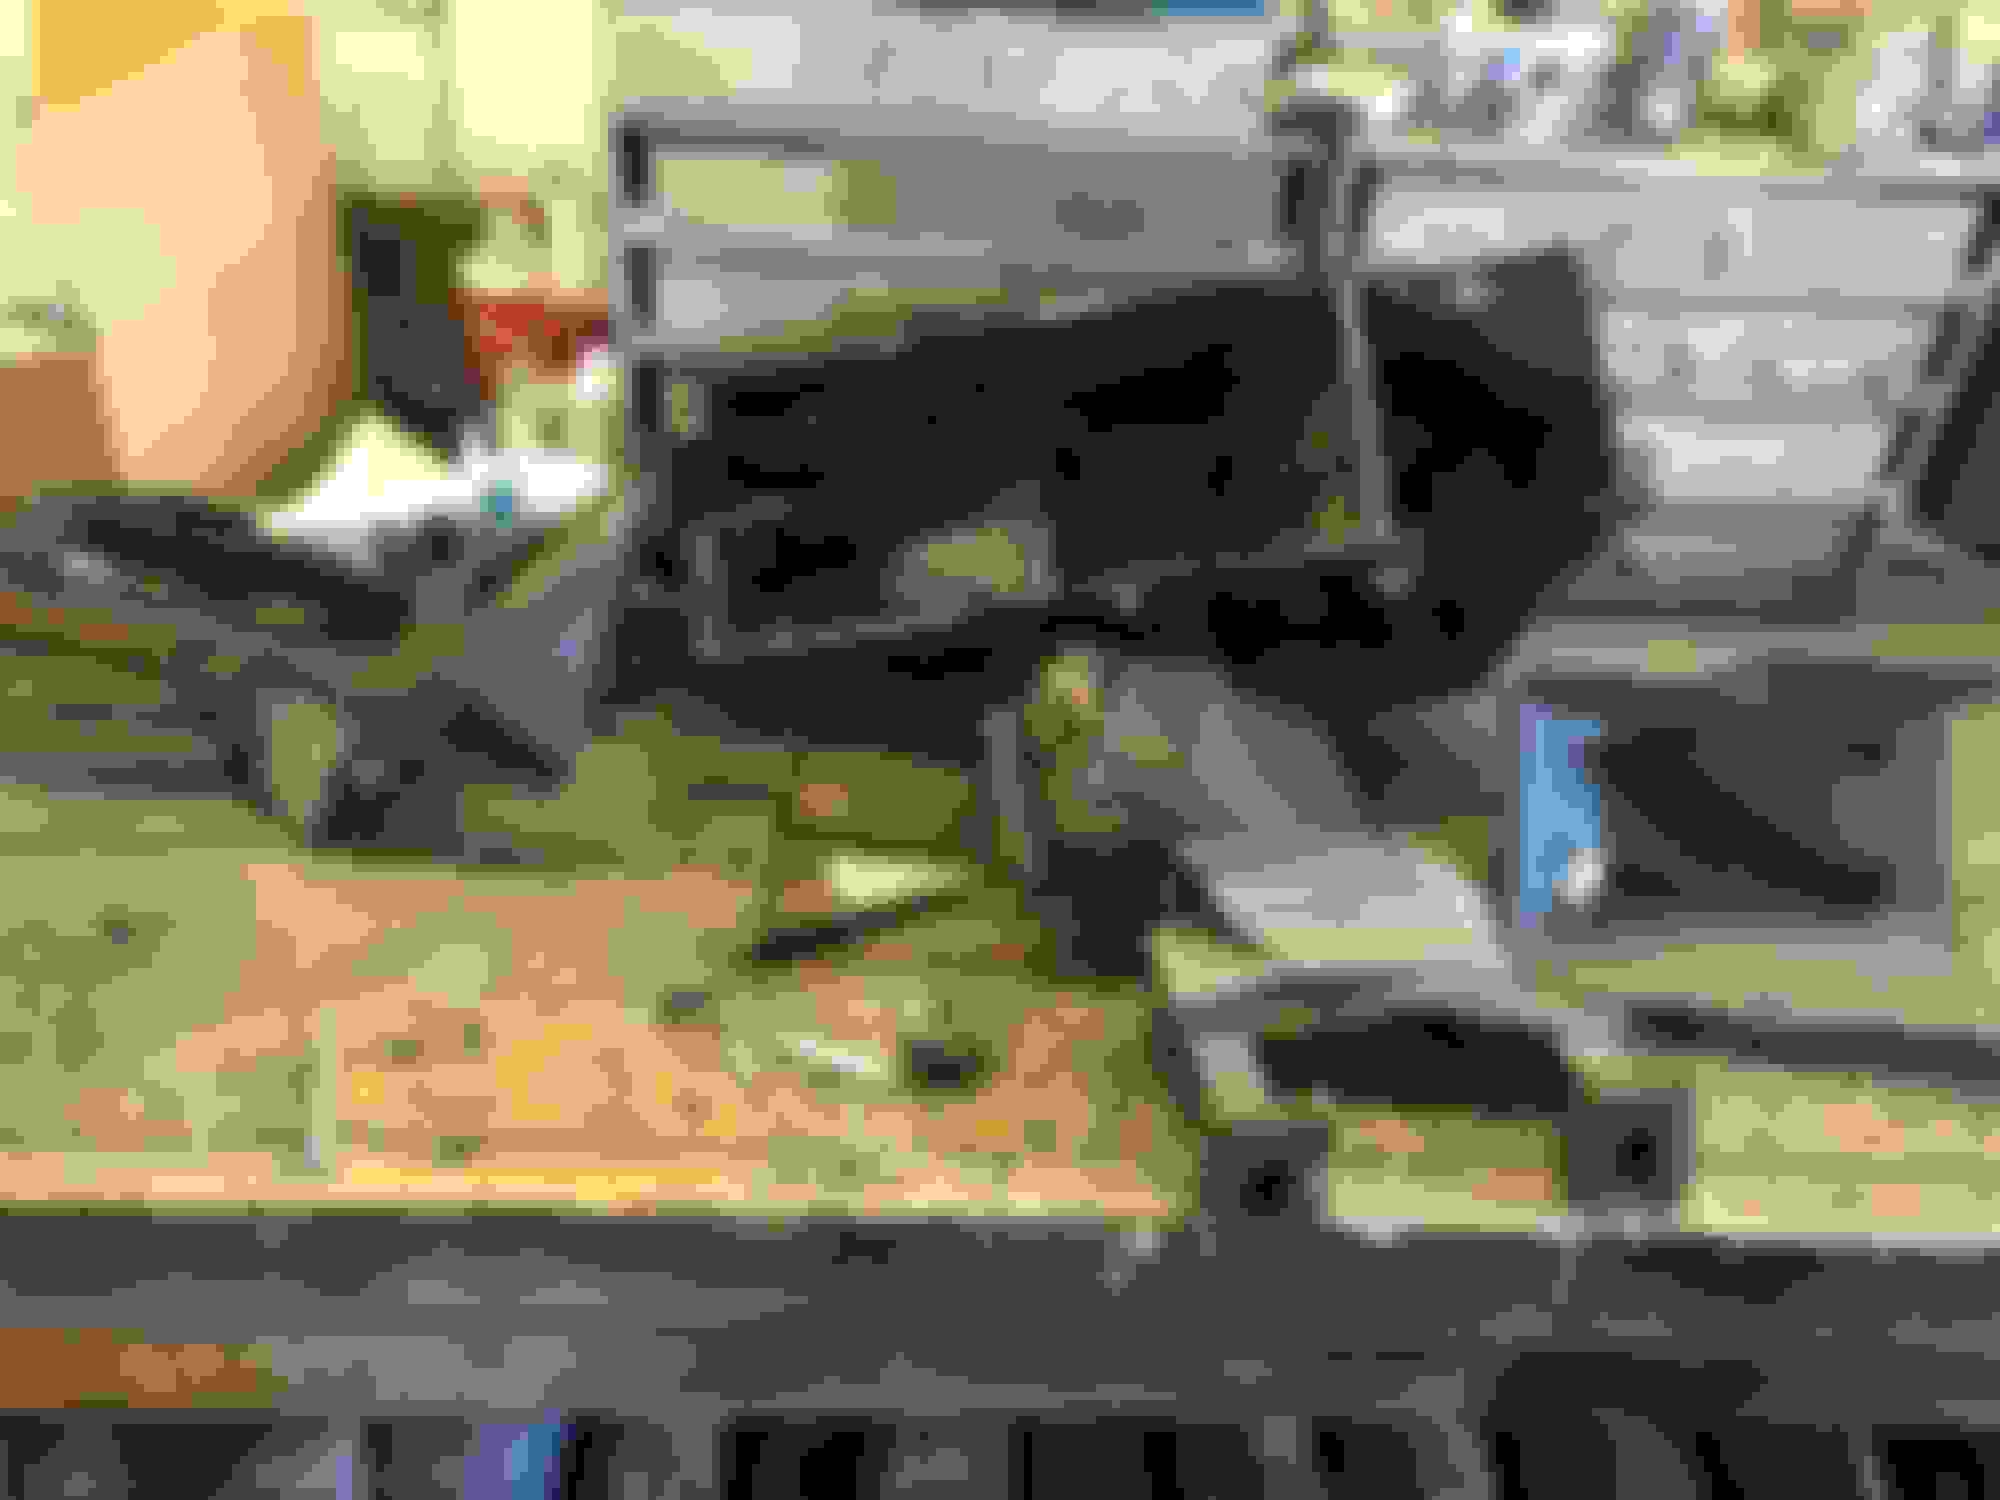
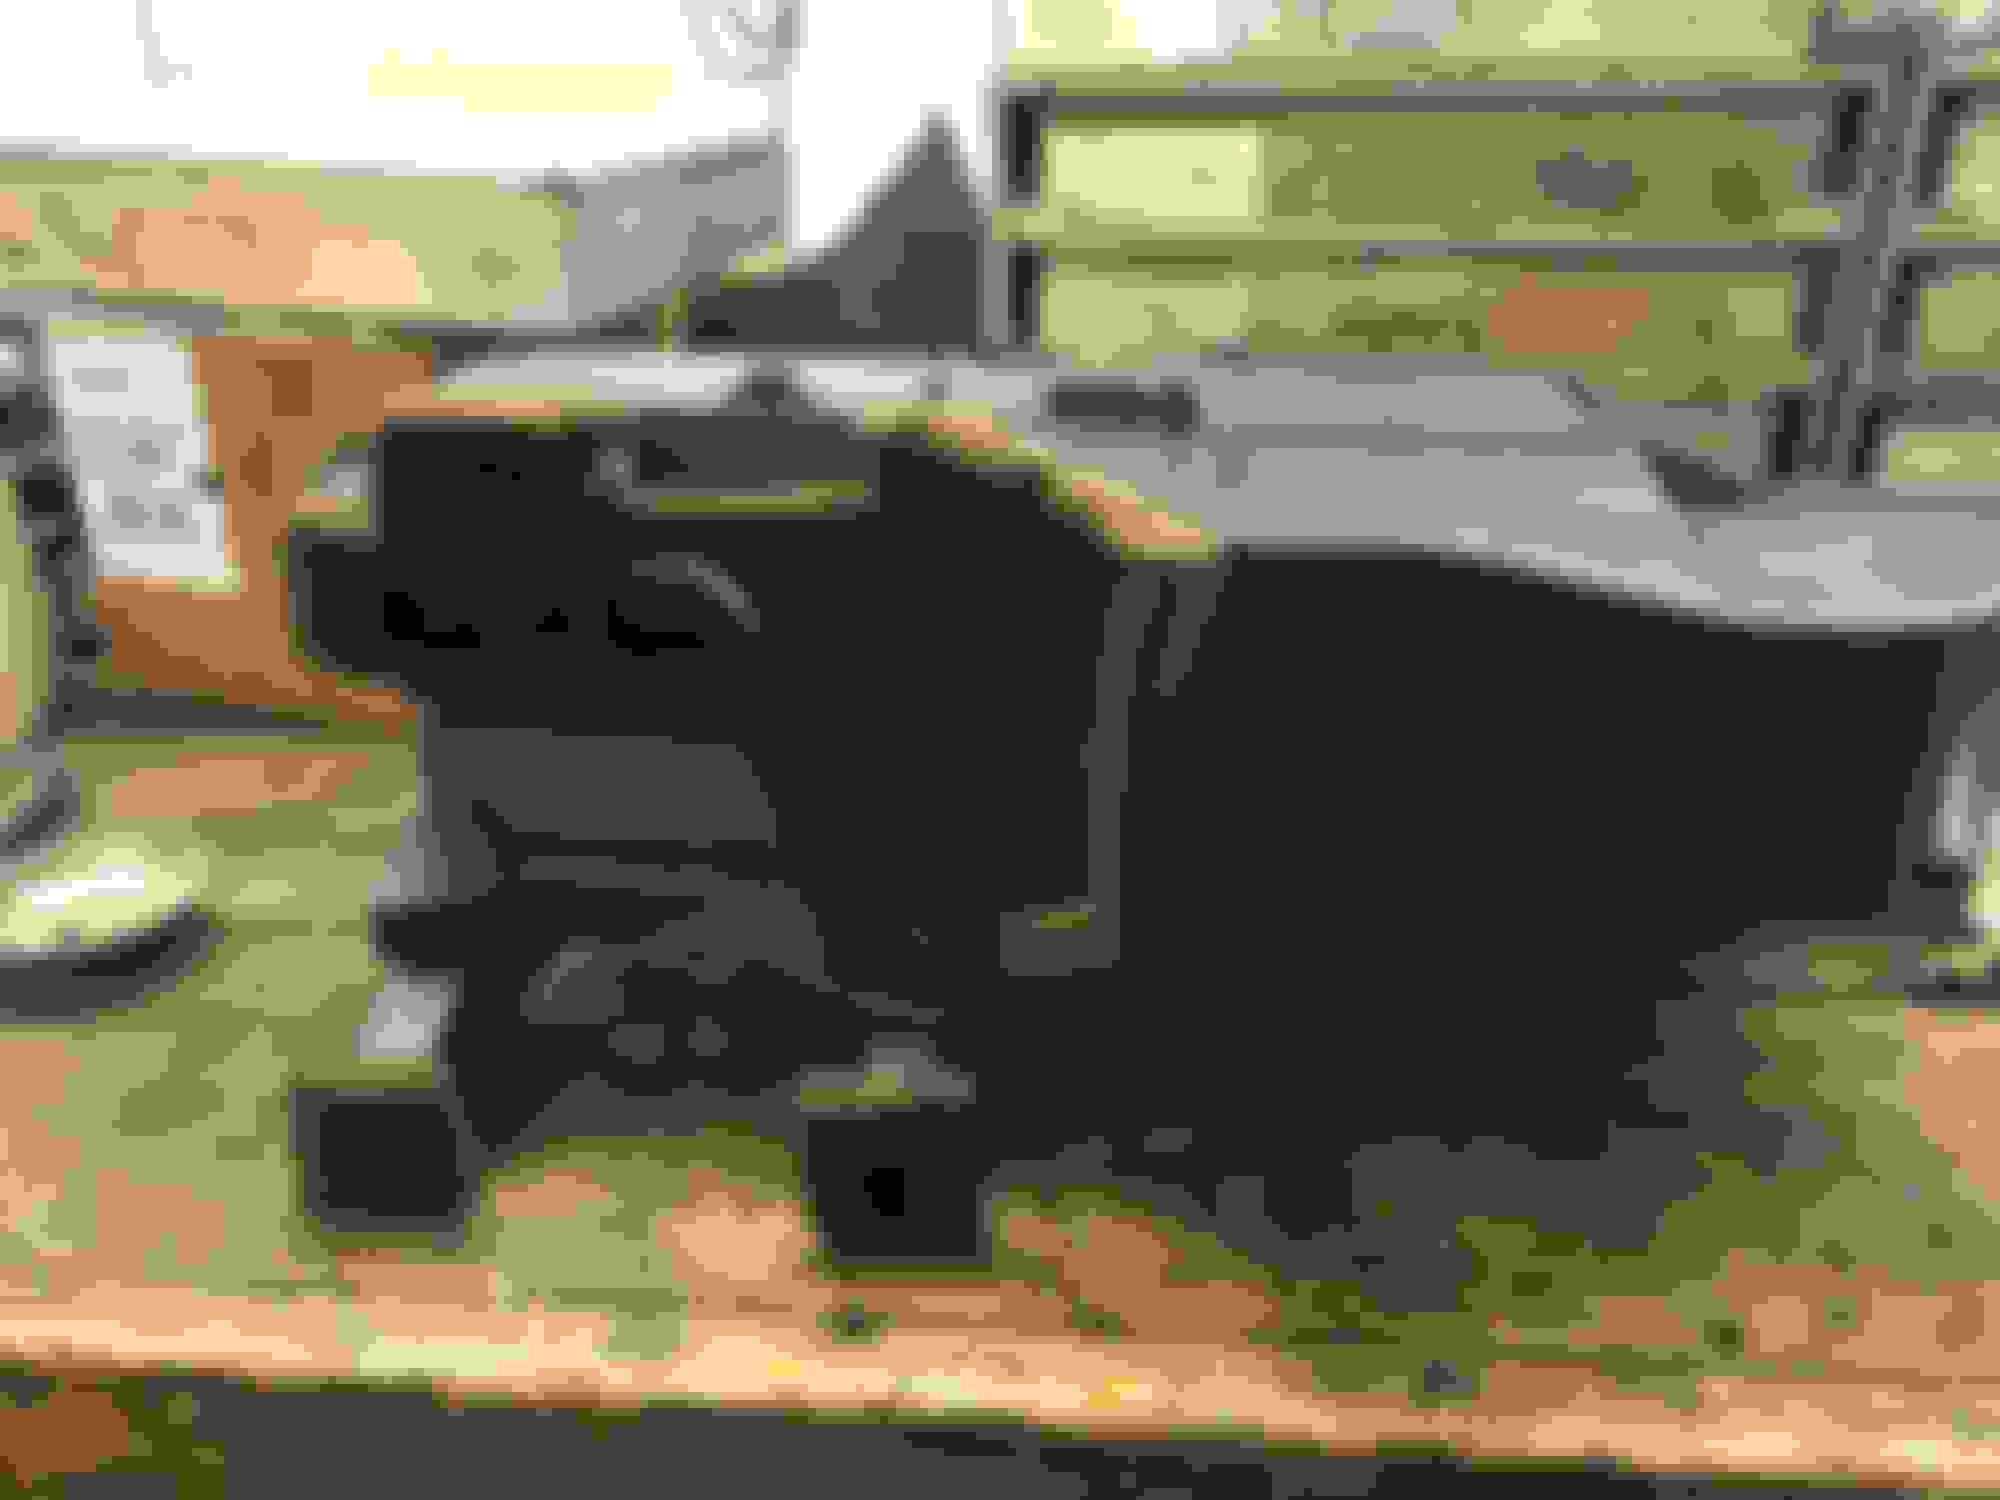
I was able to spend some time on the car tonight and start pulling stuff out of storage to reinstall. I tilt ally forgot the AC box was slammed so I have to fix it and figured I�d take some pictures of the progress. I think this damage is fairly common. I have seven parts cars, every single one was busted. Cleaned the area several inches back from the damaged area, braced the broken pieces with vice grips and got to fiberglassing this thing back together. This thing was broke everywhere Make sure you put some glass on the inside of your patch to help support your repair Should have it painted and installed next week with the brake system.
What an awesome job,love the color.thats my dream iroc,blue with t-tops.and you are doing my dream build,I have an 86 iroc that is a good daily driver but needs work.the battery tray is rotted,the doors are rotted from plugged drains,the rear bumper support is rotted,the hatch has a bit of rust,and my big scare is I found a bubble on lower a pillar and I poked it and went through!now I'm scared to wash the car.but my dream is to strip it,fix the rust,repaint it factory white,and just like you do a 383 t56 swap that looks stock.keep us updated!cant wait to see it together.
Finally had a chance to get the rear pulled back out so I can start coating the inside with Lizard Skin Sound Deadener and the underside with SEM undercoating. Soon as this dries... we start plumbing and wiring.
Take the time to cover the paint! Lol Before After Before After No more red
Started putting things back into the car today... note to anyone taking one this far apart, take the time to separate and label hardware in baggies. It makes like sooooooooo much easier. While putting the air box and starting the brakes I found the insulation on the firewall was disgusting. The replacement is crazy expensive so I fixed mine.
I removed the insulation from the rubber backing, cleaned and sanitized, then glued in new insulation. It is a tad bit thinner but looks and smells wayyyy better. Took forever but I would�ve been pissed if I finished this thing and it smelled like old socks.
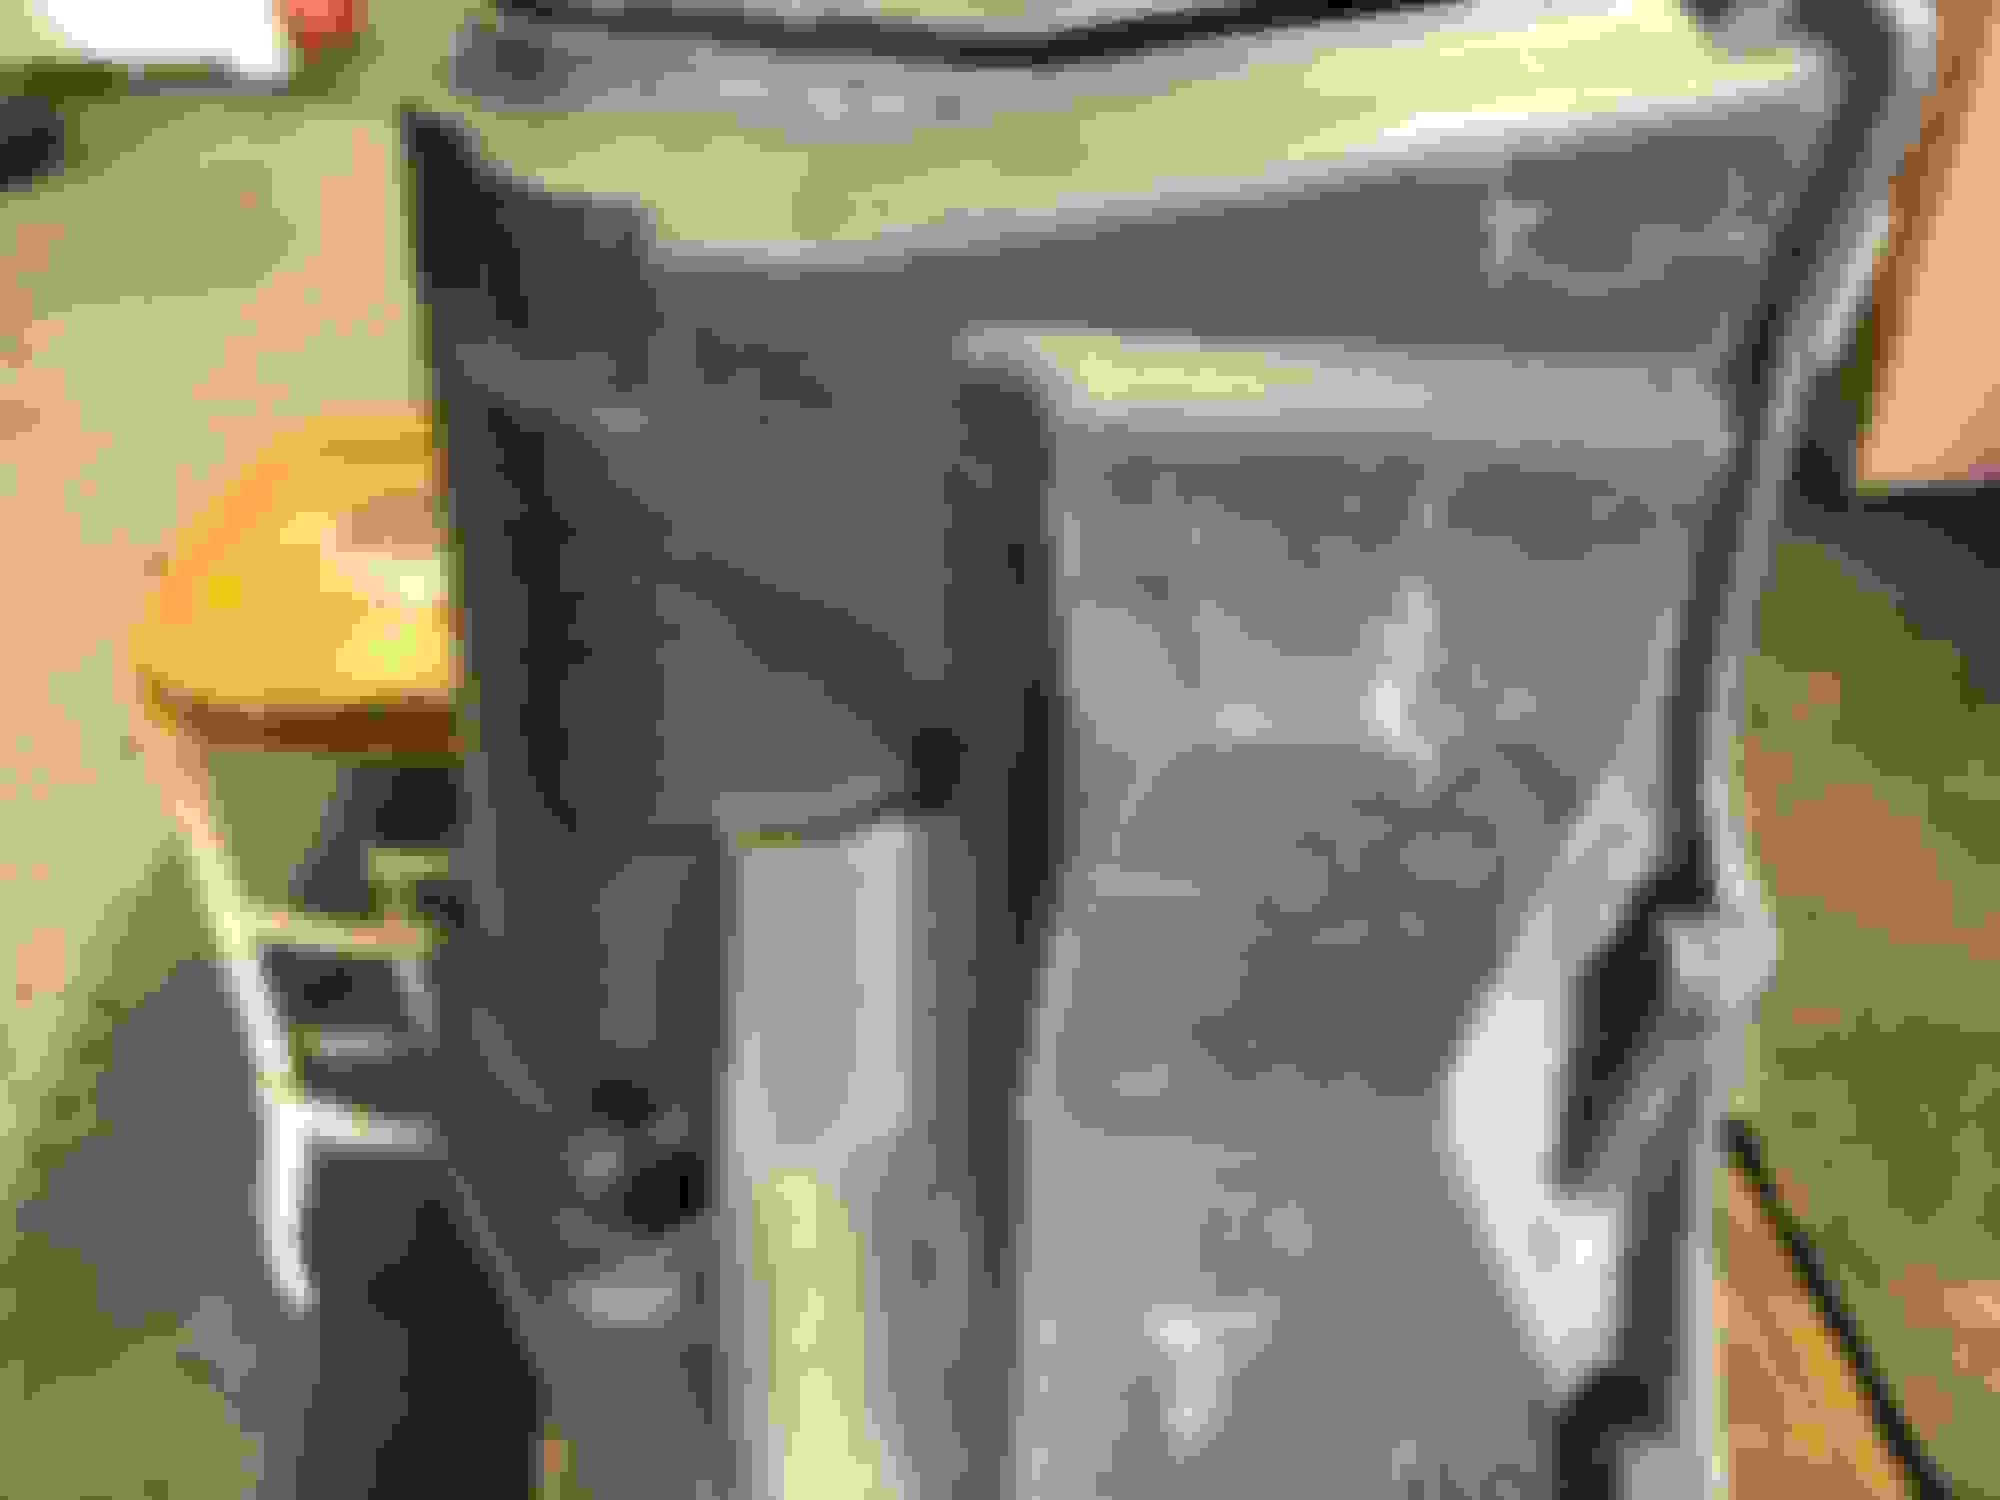
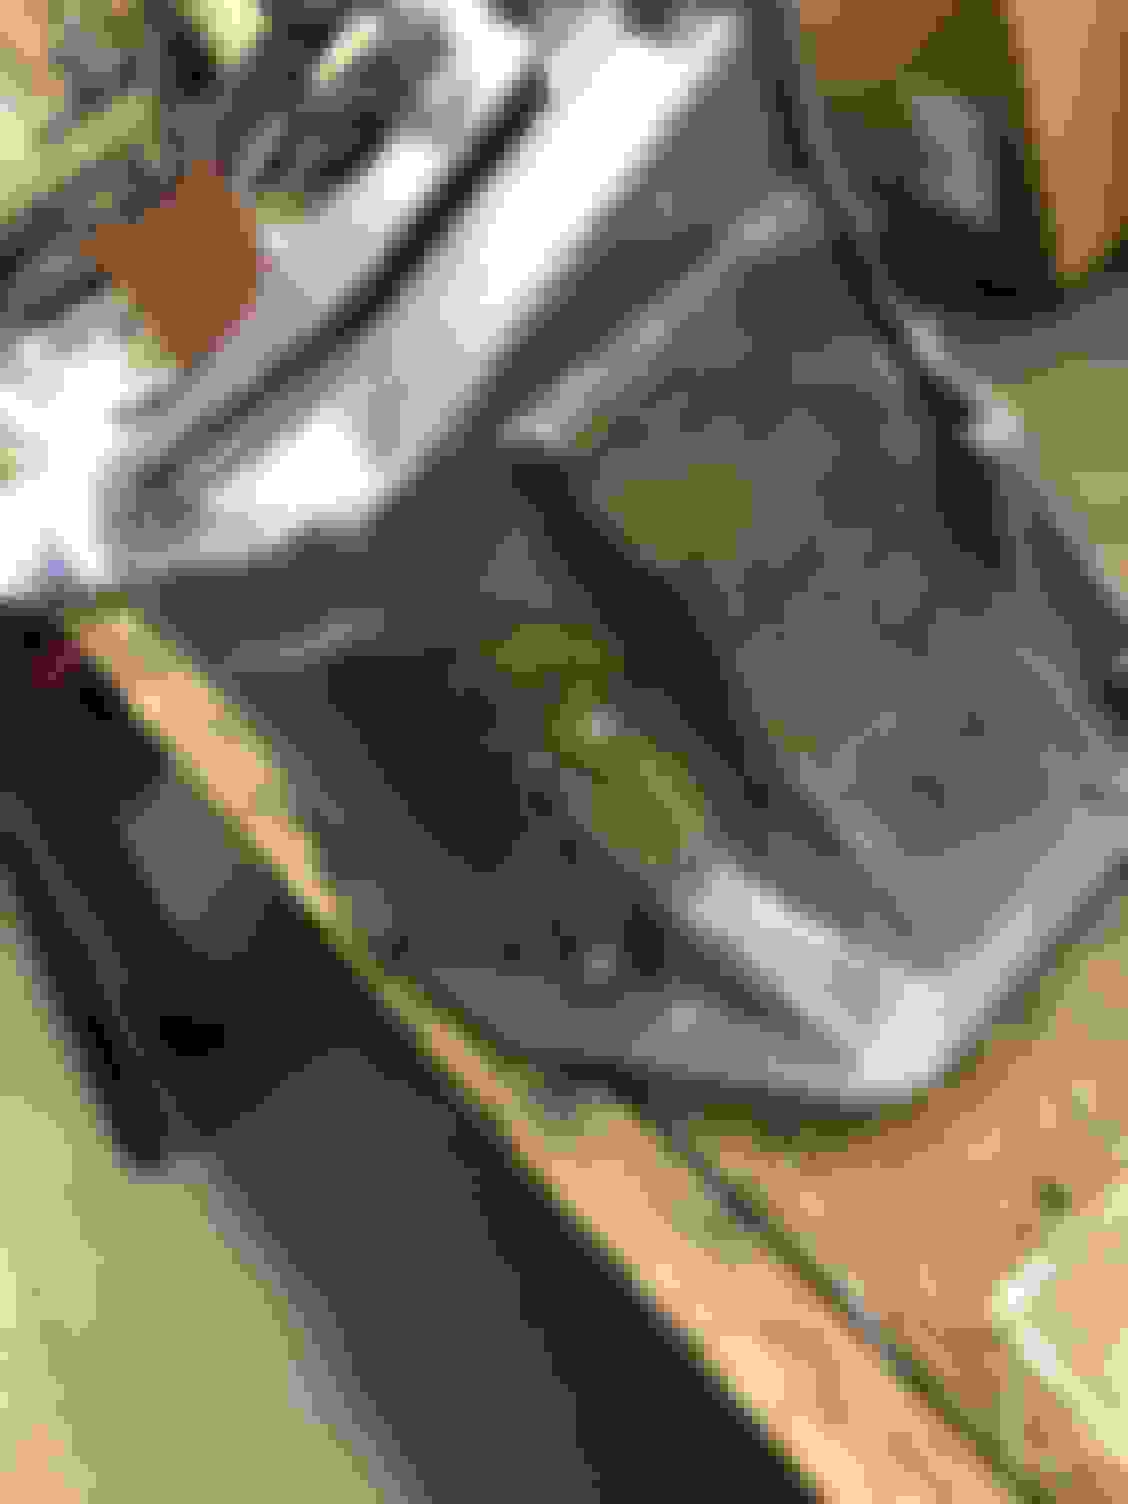
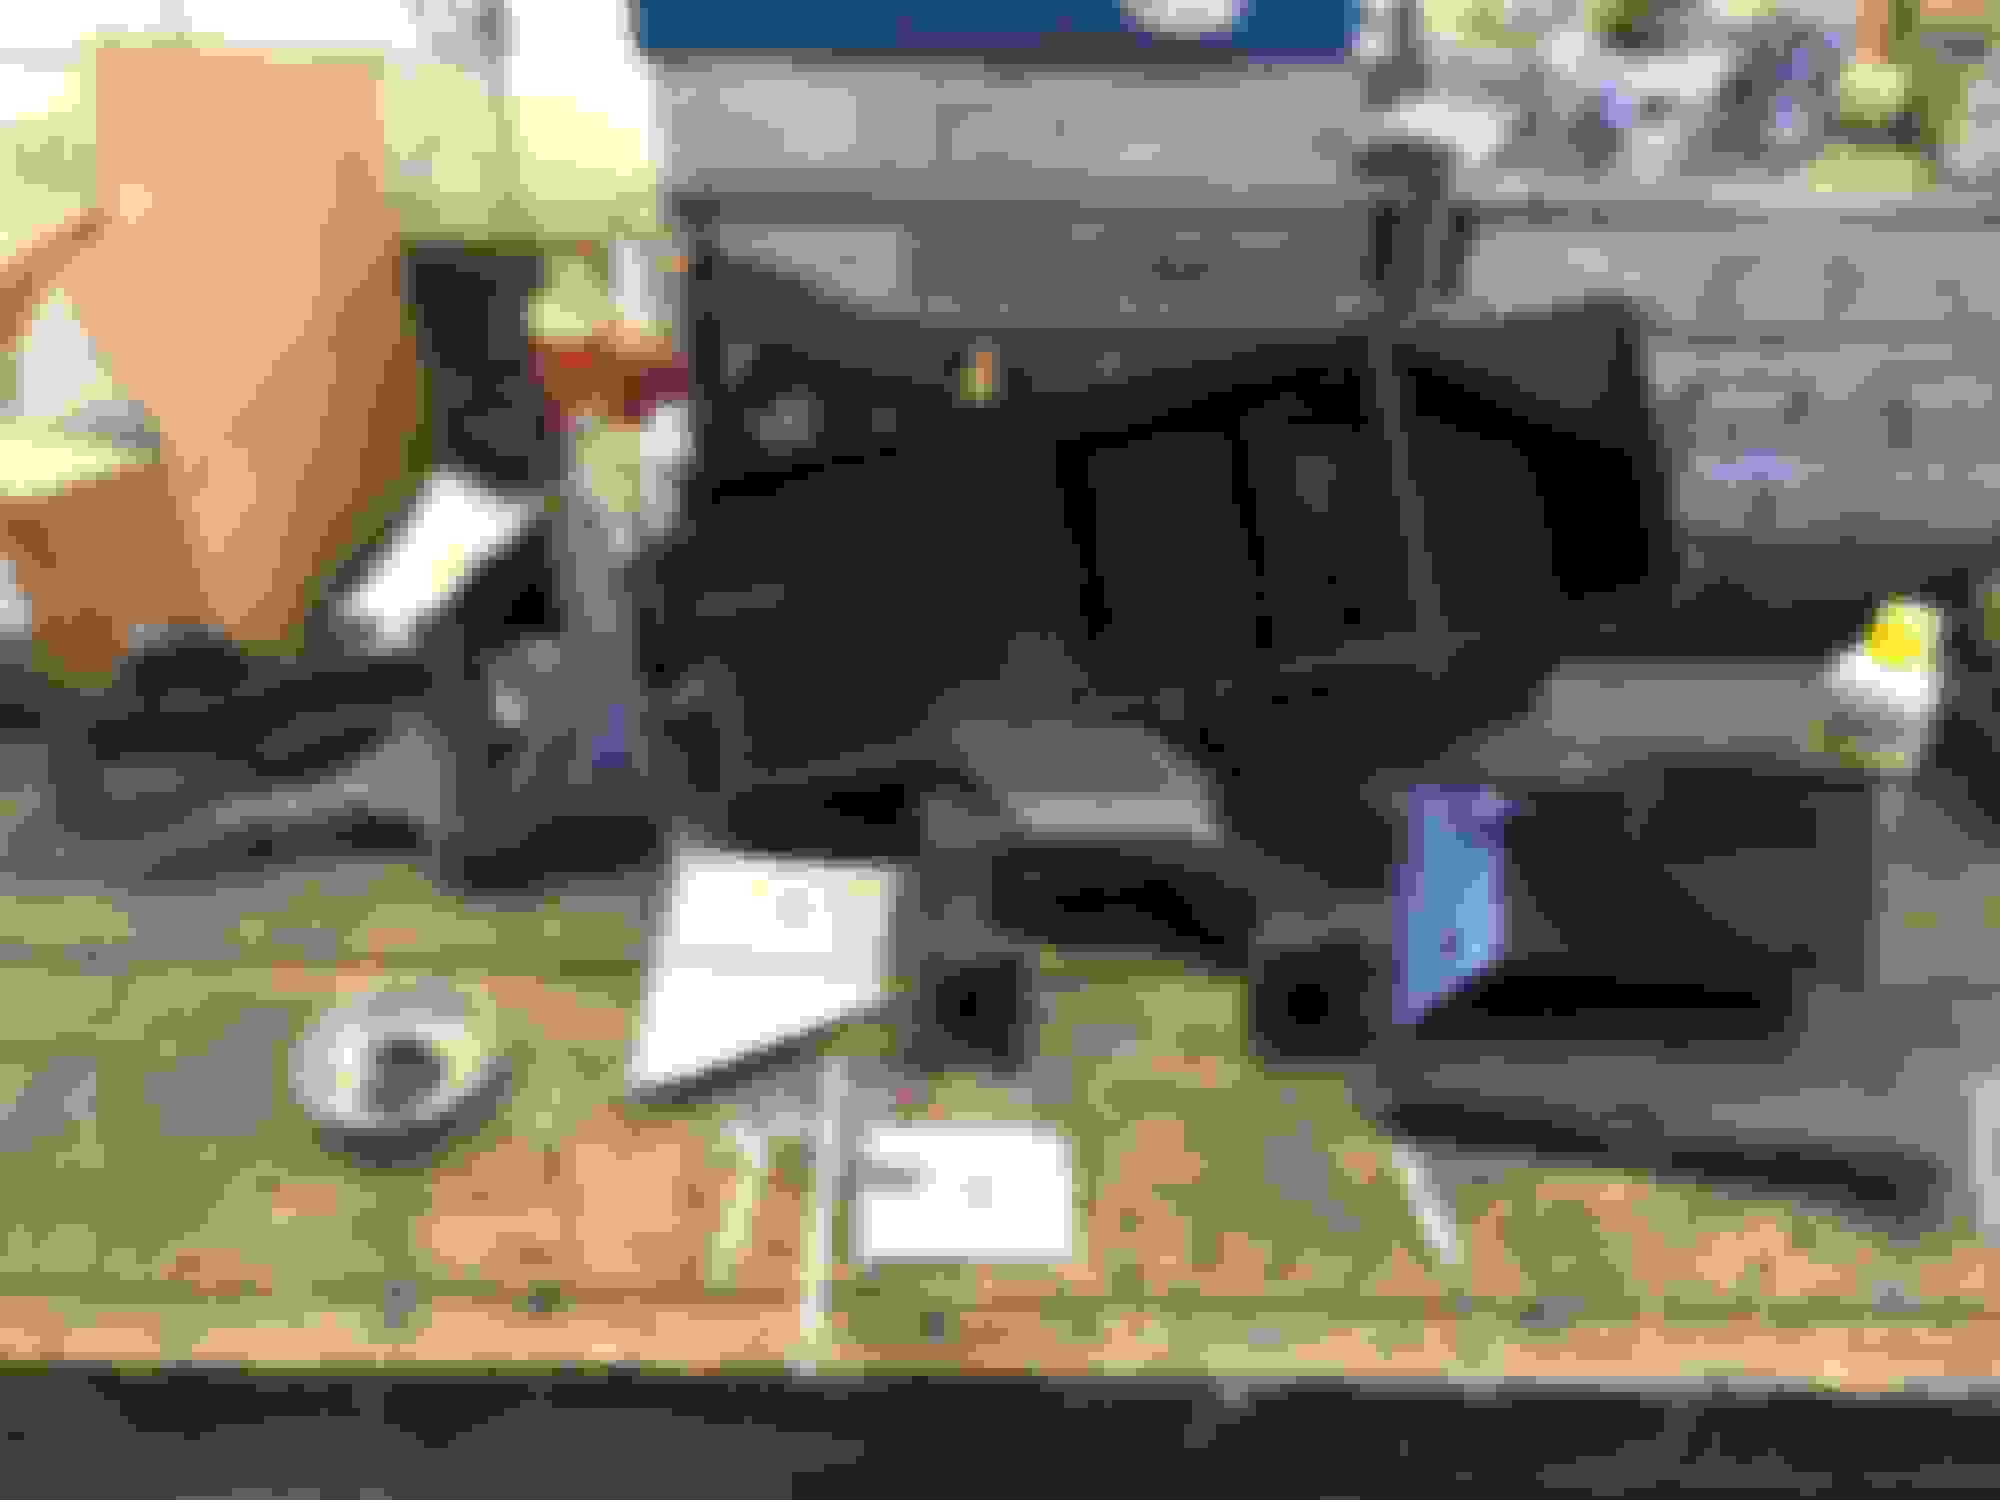
Also, I found the topside of my interior air box is damaged. The blend door arm is snapped. Next step is fixing this or pulling one from the parts cars.
Unfolded from storage and attempted to clean it... decided this wasn�t going to work for me Stripped the old insulation off Procured a moving blanket and 3M spray adhesive Like new! Definitely worth the effort.
While installing the interior air box I discovered the cool/ heat blend door arm was broken, so I had to go out to the parts cars and pull it out of an 85 IROC. I was not happy doing it however, it served a good purpose. There�s an order the AC box goes in, I put mine in backwards. So, NOTE.. the interior box must go in first then the evaporator in engine bay. There�s one bolt behind the evaporator (inside the engine bay box) that holds the interior box. This would�ve royally pissed me off if I didn�t figure this out until I was doing the interior stuff.
Anyways, pictures will be coming of the interior box restoration and progress this week. Does anyone think I should document restoring certain pieces in a different thread or just keep it here? Thoughts??
I'd vote for a seperate thread in the correct section. It makes it easier for someone searching that section for info they're looking for. Otherwise they may never see it here in your build thread.
Side note...I'd also put up a signature with a link to this build thread. That makes this info easier to find also as you respond to other peoples threads/post.
Thanks KCG!! That�s what I was thinking. I know how to start a new thread but how do you link it to this build thread or add a �signature� like you referenced??
Go to the first page of this thread. Up at the top of your browser in the address bar..... Where it says something like http WWW third gen...,etc. Right click on it, then click on COPY.
Next, down underneath the address bar, you should see a BLUE bar with USER CP on the left. Cick that and scroll down page till you see EDIT SIGNATURE on the left. Clicking on that will open up a box for you to type in anything you want to show up as YOUR SIGNATURE. Right click in that box, then PASTE will put the link to page 1 of your build thread.(as long as you went to page 1 when you COPIED it) then SAVE SIGNATURE button under that.
See mine at the bottom of my post?, I just typed "build thread" in front of the copy/pasted link for mine.
Tonight I finished rebuilding the air box, that thing was a mess. The flaps were frozen, the vaccum ports were broken, pieces were snapped and all of the �anti-noise� insulation on the flaps had deteriated. So! I took it completely apart, used another box and made basically a new one. It�s installed now, next is the column, pedals, laying the wiring in and plumbing the brakes.
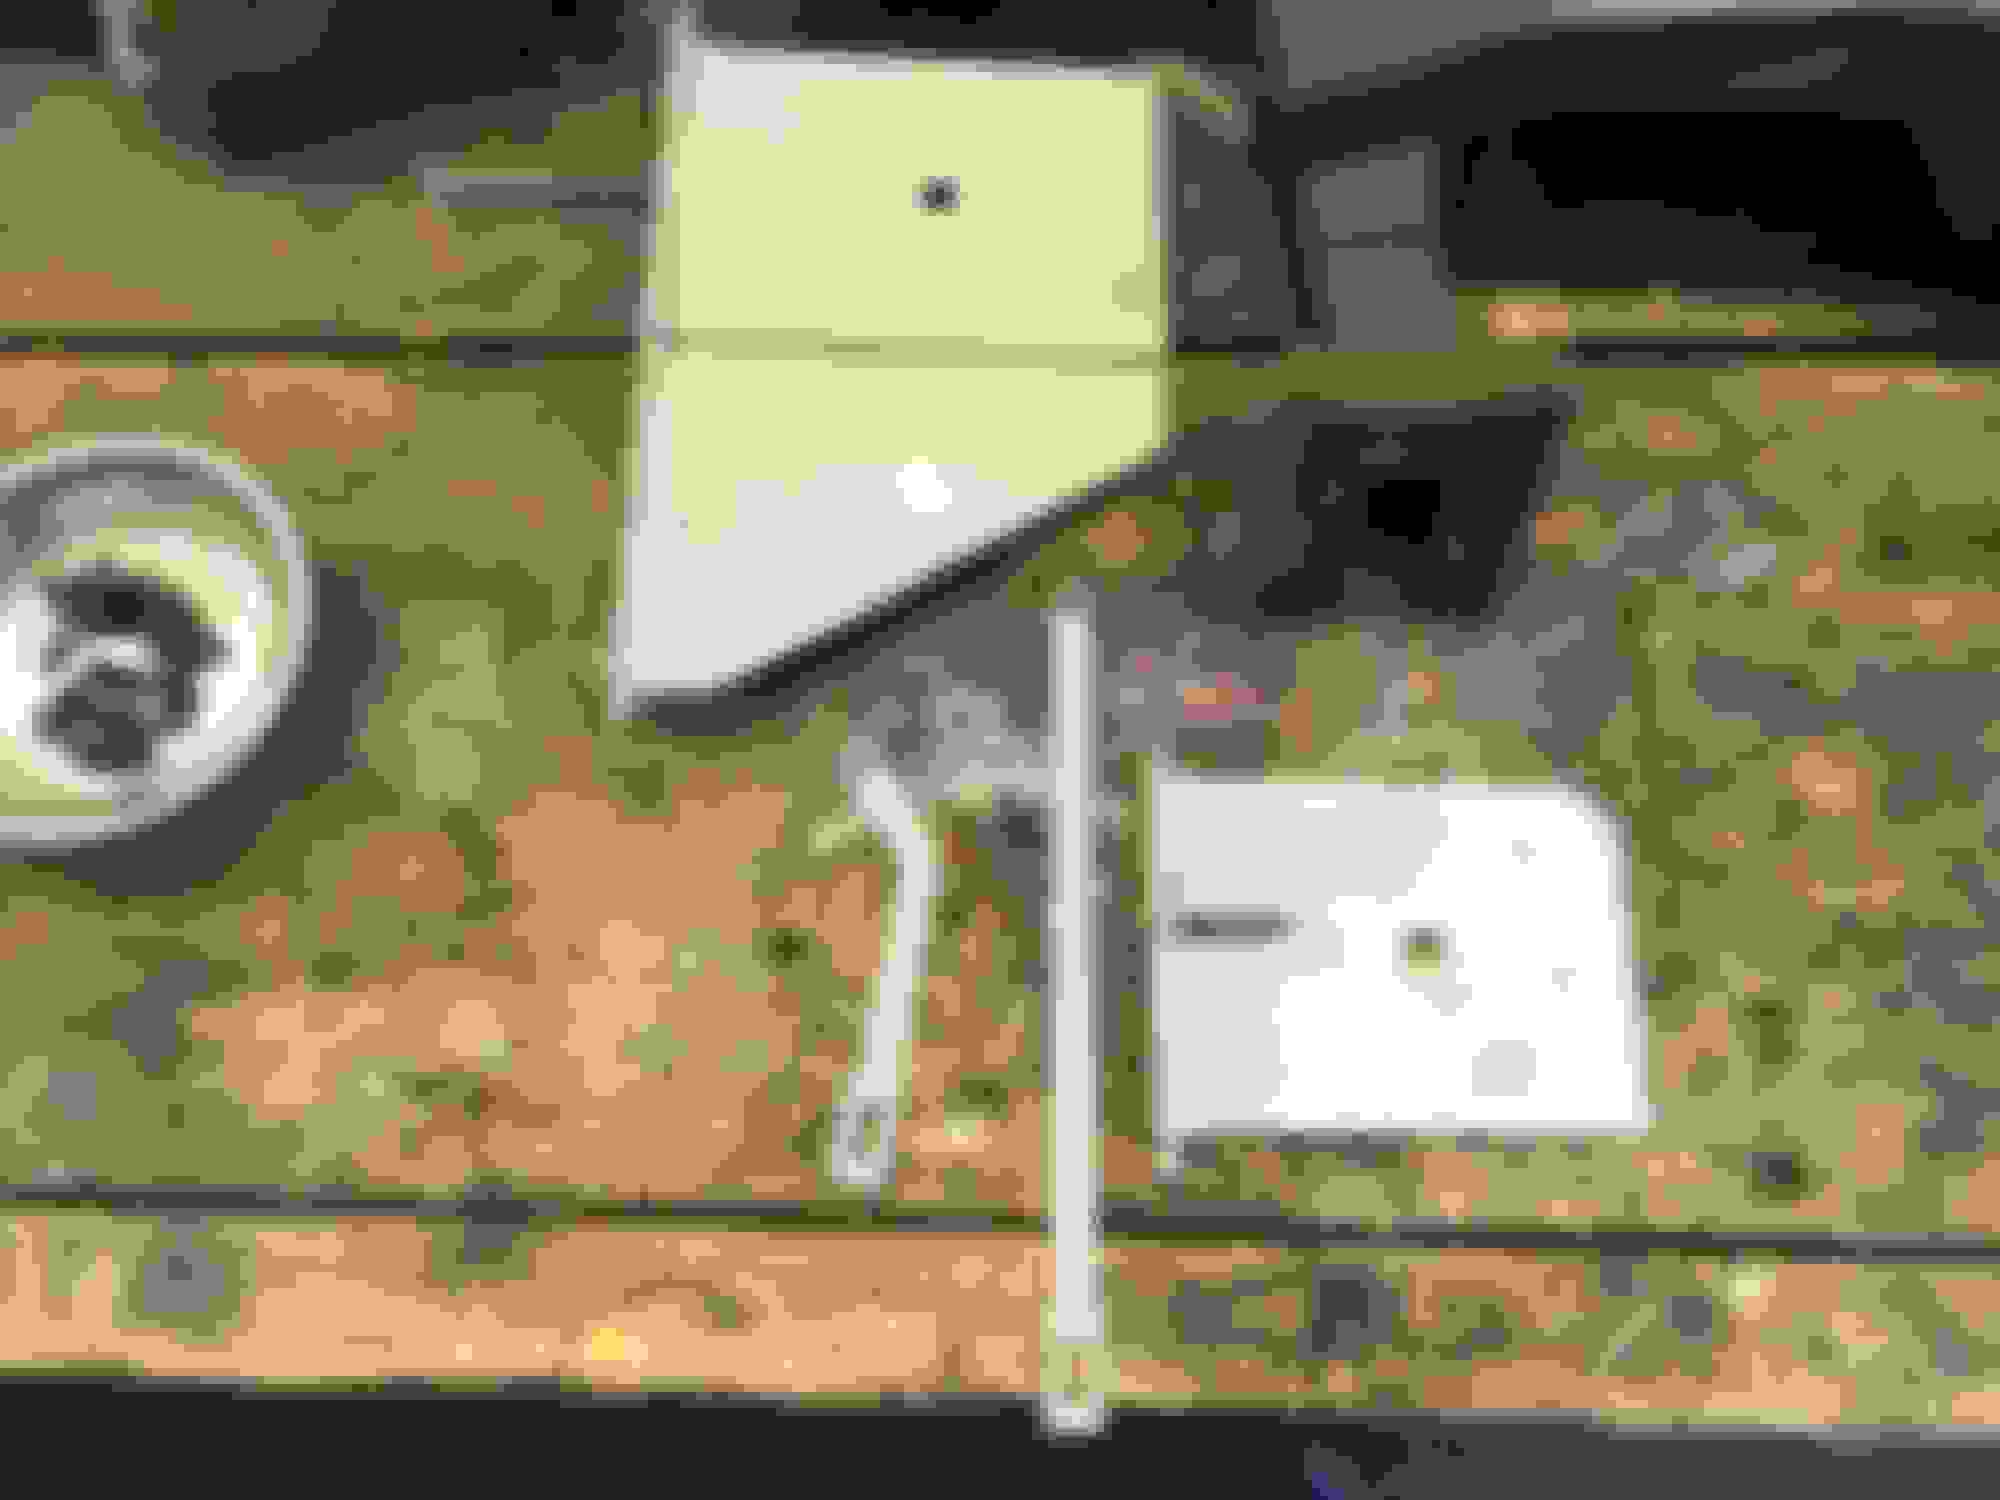
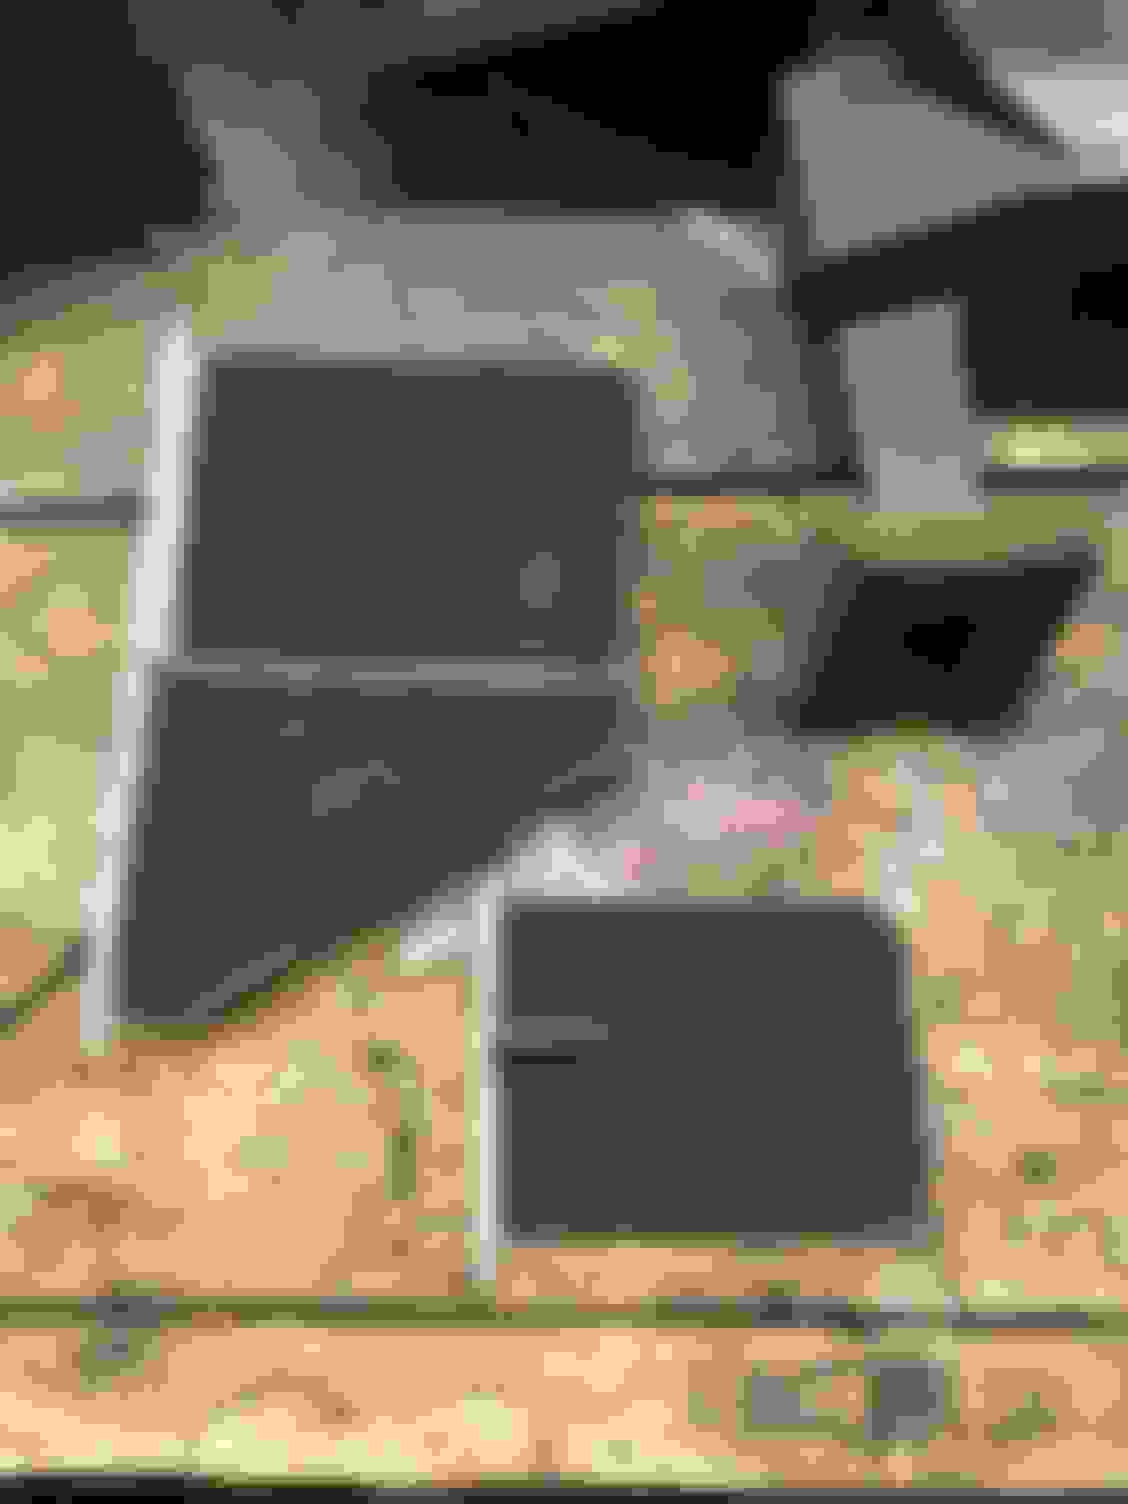
This is what I started with... aka trashed box. All cleaned and blasted hard pieces Came out super nice This stuff was $1.85 at the hardware store and identical to the stuff glued to the flaps, worked great with some 3M spray glue. Perfect All finished with new heater core. Installed and on to the next step. FYI, the triangular vent that sits to the right of the main box has to be installed first. Save yourselves some colorful language and do that part first. Ready to go. Pretty neat to hold power to the motor and get air flowing to the vents.
Spent the evening rebuilding the pedal assembly and installing it. Blasted all the pieces, painted them, replaced the plastic bushings and greased them. Pedals are hooked up to the brake master cylinder and clutch master cylinder. I used the dupli-color �cast-iron� to coat all the metal stuff. I know it�s not supposed to be painted but I don�t want this stuff rusting up again. Should last a while. Wiring is next.
Before After
Just a couple of observations and comments:
1. You seem to possess tremendous determination.
2. You have a very nice place to work on the car.
3. You're doing a very impressive job with restoring this car.
4. I can't wait to see it finished.
Not bad. Just like my restoration.
But, i will never understand one thing: If you do so MAGNOIFICEN restoration, how can you leave this parts on body?
All I will say is that is a very interesting position you have. I don�t think I�m a magnificent (I�m assuming that what you were trying to spell) anything. I just like working on cars and thought I�d try to help some guys fix stuff so they didn�t have to learn the hard way. But I do appreciate your input, I�ll definitely keep it in mind moving forward.
I sure wouldn't sweat a few pieces of hardware left on during the paint. GM painted the cars with more than that assembled. As soon as most of the car starts going back together no one will ever see those clip-nuts anyway. Pretty sure the upper fender rails weren't even painted beyond the factory sealer, and the hood latch support was in place when the cars were painted.
I sure wouldn't sweat a few pieces of hardware left on during the paint. GM painted the cars with more than that assembled. As soon as most of the car starts going back together no one will ever see those clip-nuts anyway. Pretty sure the upper fender rails weren't even painted beyond the factory sealer, and the hood latch support was in place when the cars were painted.
Thanks Drew, my thoughts exactly... but there’s always gotta be one “female cleansing agent” who feels the need to criticize. It’s all good, I’m happy as heck with how this thing is turning out and very appreciative of the support the majority of people offer.
Ofcourse amazing.
it was my opinion. Do not be so nervous.
I made total restaration, so i know what i am talking about.
I saw many restaration and this is one of the best.
There are whole range of possible restorations, ranging from a simple paint job to complete disassembly, etc., including replicating the exact factory paint, over-spray and inspection crayon marks. Clearly this effort isn't that extreme, but it's darn professionsl and more that I could everexpect to do.When I bought my '85 in 1999 it had just been restored by the previous owner, but not as meticulously as this. I'm really enjoying following this thread and learning stuff along the way. Fantastic job, Goodolboy0404!

 03-27-2018, 11:49 PM