When you click on links to various merchants on this site and make a purchase, this can result in this site earning a commission. Affiliate programs and affiliations include, but are not limited to, the eBay Partner Network.
I wish my fenders were that clean and not literally jacked up from the previous owners.
Whats your trick for removing the factory wheel well material?
Wire brush on a grinder doesn't do much, torch and a metal scraper is ok but smelly and a fire hazard, but I did find a scraper blade that pops in to my reciprocating saw and that does a pretty good job of it.
I'm super impatient so I understand how you feel when it comes to that undercoat. The easiest way but slightly dusty way I found it using a coarse paint and rust remover wheel. https://www.google.com/search?q=coarse+paint+and+rust+remover+wheel&client=ms-android-att-us&prmd=sivn&source=lnms&tbm=isch&sa=X&ved=0ahUKEwjkg4XexYrZAhVG3WMKHbUXDTEQ_AUIEigC&biw=360&bih=560&sfr=con#imgrc=fgbOM5q5QQBqjM:
That seemed to work best for me. Summit racing also has a "undercoat remover" I haven't tried it but it may be worth a shot? After 10 mins of trying to get it all you'll try anything
Originally Posted by TOM305T/A
just read the entire tread. great job, keep up the good work
Thanks!
Originally Posted by TOM305T/A
i can barely get my wife to move my car out the driveway..let alone pick up a tool...u got a keeper there
Its actually pretty easy. All I gotta do is feed her and give her beer. If she starts complaining I usually just buy her something shiney.
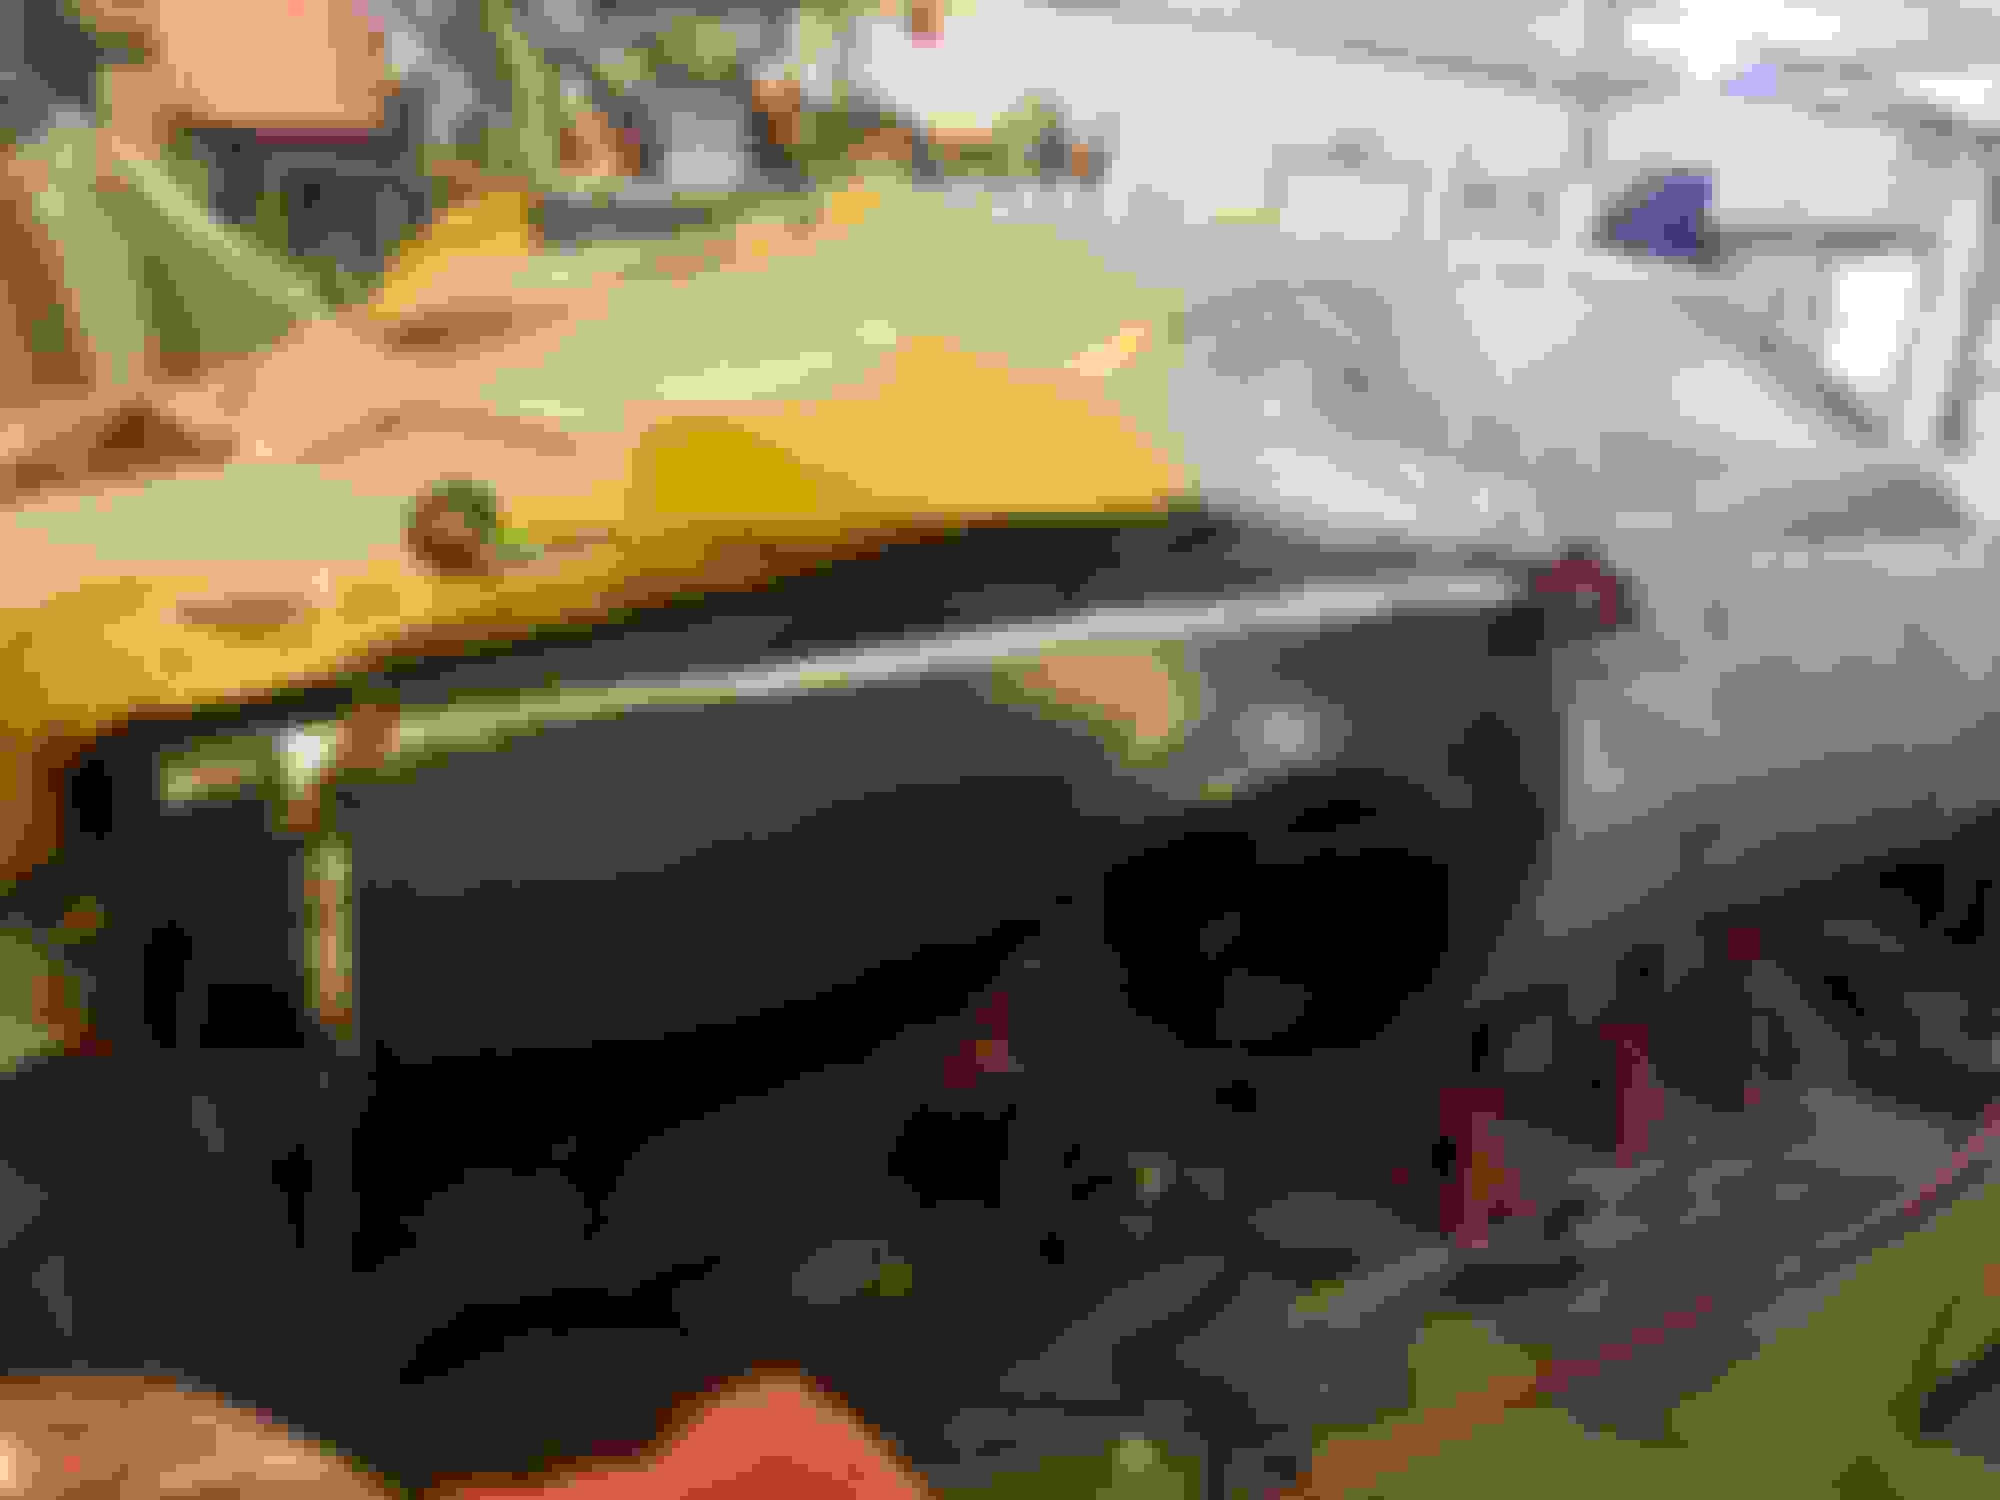
So the drivers fender came to a halt. I noticed a bondo crack at the top front corner by where the bumper mounts. No big deal, grinded the bondo out and it revealed a fairly deep dent. Which after further inspection was more than just a dent that caused that crack. The brace where the front bumper mounts is broke loose from the fender and was never fixed. The fender started ripping after trying to get that dent out. Whoever fixed it used a shim to get the fender to fit. It could be fixed but I went ahead and ordered a new one from goodmark so we will see what shows up. So in the mean time I gotta fix an odd rust spot. The donor car was super rust free but for some reason the front of the rocker has 2 holes
The goodmark fender isn't too bad. Its a typical aftermarket fender. Not the best stamping but its much better than their quarter panels. The top edge was slightly wavy so it got a coat of glaze. Other than that it needed a few little spots fixed. I got the front bumper fixed up and primed. The license plate holder really screwed up that area where it mounts. The holes for the screws are filled and we heated that area up and shaped it the best we could. It looks alright, I'm not too worried about it considering it's gonna be a driver. I need the rear bumper and bumper cover over the grey 86' donor because both mine were damaged. Got started on the quarter panels also. Started with the drivers side since it was the nicer side. A belt file makes grinding spot welds super easy, I'll never drill them again.
Awesome job. Would be nice to see how well the fenders line up for you once it's together as both of mine need replacing (passenger side got bent up from a previous owner jacking the car in the wrong spot, drivers side rotted away behind the ground effects and was also bent).
Whats your trick for removing the stuff the factory put on the wheel wells? I have tried a few different things, but nothing seems to do the trick for doing it in a timely manner.
Seems like all these cars end up being jacked up by the fender! The undercoat in my wheel wells was very thick, heating it up and using a scraper really wasn't doing anything for me. I found it's quickest to use a paint and rust remover clean up wheel. It's fairly dusty doing it that way so some sort of respirator and safety glasses are needed. These are typically at lowes and menards. https://www.amazon.com/3M-9099DCNA-Large-Paint-Stripper/dp/B00004Z4DV
Summit racing also makes a undercoat remover but I haven't tried it. The factory undercoat is thick so I don't know if that will help
Seems like all these cars end up being jacked up by the fender! The undercoat in my wheel wells was very thick, heating it up and using a scraper really wasn't doing anything for me. I found it's quickest to use a paint and rust remover clean up wheel. It's fairly dusty doing it that way so some sort of respirator and safety glasses are needed. These are typically at lowes and menards. https://www.amazon.com/3M-9099DCNA-L.../dp/B00004Z4DV
Summit racing also makes a undercoat remover but I haven't tried it. The factory undercoat is thick so I don't know if that will help
Awesome, I have some of those in the garage, just didn't cross my mind to give them a shot!
That's the worst part of the job so far for me, I did the torch with a scraper thing, flap discs and a bunch of other stuff.
Awesome, I have some of those in the garage, just didn't cross my mind to give them a shot!
That's the worst part of the job so far for me, I did the torch with a scraper thing, flap discs and a bunch of other stuff.
I started with flap discs, they were alright but got gummed up so quick and were useless after that. Thick undercoat sucks to remove
Originally Posted by TTOP350
Soooo why did you cut off the rear quarter skin?
the drivers side had a little more rust than I liked and had signs of body filler. I'll attach some pics, mainly was concerned that the wheel arch would eventually separate. It would probably have took awhile but still. The passenger side is a nightmare. I'm not sure what the logic was but they cut a section out then glued a patch over that. There was no body line and it rusted where it was overlapped.
I figured I've went all out so far so might as well.
Tonight I got the quarter trimmed up. Just need to trim the wheel arch lip then it's done. I clamped it in place and I don't think it fits too bad. Need to scribe it then trim the car the rest of the way then tack it in place tomorrow
Almost got it! About 2 hours of stitch welding and she's almost welded on. Not very impressed with the quality of the metal on the aftermarket quarter. Unless you have lots of experience I wouldn't recommend doing a replacement like mine
It's got a couple weird spots on the top edge, definitely cheap metal. I didn't even get it hot either so I don't get it.
Got all the welding done and got the welds grounded down. I got the rear marker light deleted and it turned out pretty good. I always thought it was dumb that camaros don't have the rear marker light but firebirds do. Looks much cleaner without it. I just need to finish stripping it to bare metal now.
I got the rear marker light deleted and it turned out pretty good. I always thought it was dumb that camaros don't have the rear marker light but firebirds do. Looks much cleaner without it. I just need to finish stripping it to bare metal now.
Th reason Camaros don' thave the rear side marker light is because the tail lights wrap around the side and that is used as a side marker light.
Th reason Camaros don' thave the rear side marker light is because the tail lights wrap around the side and that is used as a side marker light.
Originally Posted by scooter
It's there so you're not invisible at night to the traffic perpendicular to the side of the vehicle, it was federally mandated for safety.
aaaaaah ok thanks guys, that makes sense. They should have done something a little cleaner like the turn signals in the front fender.
The quarter is almost done, I actually got it ready for primer tonight and had just stirred the primer then my power went out. Go figure. So I'll get that primed tomorrow then start trimming the quarter for the passenger side. I'll block the primer to see how she looks so far. Props to the guys who do body work like this for a living. Getting a car straight requires so much patience. Considering my car is gonna be black I need to get it close to perfect. Here's some pictures
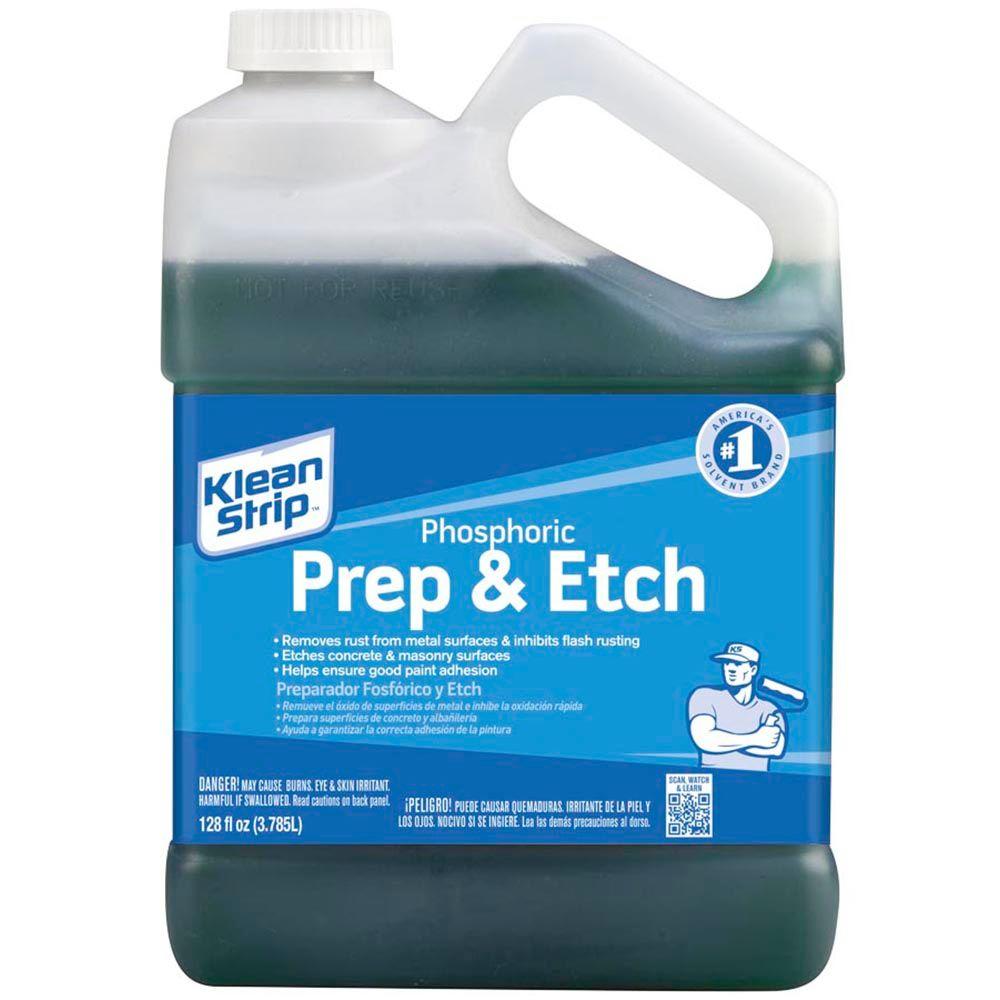
I should have mentioned this sooner, but although you sanded most of the rust off of this panel, those pits will continue to spread.
But there is an easy way of actually eliminating them:
I should have mentioned this sooner, but although you sanded most of the rust off of this panel, those pits will continue to spread.
But there is an easy way of actually eliminating them:
$15.31/gal at Home Depot. IT WORKS! Submerging the part works best.
Great work so far. I wish I had your determination.
No worries! I've been using SEM "rust mort". It works good also but a small bottle cost me over $15 so I think I'll pick up a gallon of that cause that's a much better deal. I'll definitely try that stuff out!
Got 2 nice coats of primer on it tonight. Needs a couple spots touched up like the rear body line but other than that it's looking pretty good. Had to get some primer on it so we are able to actually see everything. While that dried I got started cleaning up the wheel lip so I could find the spot welds. And of course I hit bondo once I started getting towards the back. Not that I didn't expect that due to the hackjob repair someone had done. I'm not sure if everyone reading knows what I'm talking about so I'll get everyone up to speed. From about the body line down on the rear half of the quarter there apparently was some damage that I guess whoever "fixed" it didn't want to mess with. So they cut what I'm guessing was a big dent out. They glued and tacked a new section onto the quarter panel and well....its a cluster
Drivers quarter is almost done! Went ahead and got started on the other side also. It's satisfying to see nice new metal on it rather than the hack job repair that was there before
Didn't get anything done tonight but I got the car turned around so I could work on the passenger quarter a little easier. I'm sure it appreciated being out of the garage for a little
Just read the entirety of your thread. Amazing work. I just picked up a 85 Iroc with front end damage nowhere near as bad as yours and I thought I may have to rebody it, but you honestly just gave me hope for fixing mine. Keep it up. Looks like you're on the home stretch now.
I highly support shenanigans at my house. The last good someone left on the highway was only a 1...
Originally Posted by texas_rebel
Just read the entirety of your thread. Amazing work. I just picked up a 85 Iroc with front end damage nowhere near as bad as yours and I thought I may have to rebody it, but you honestly just gave me hope for fixing mine. Keep it up. Looks like you're on the home stretch now.
I'm glad it gave you hope! These cars aren't too difficult to repair, let me know if you have any questions!
Originally Posted by PurelyPMD
Just weld some hinges on that quarter - makes it infinately easier to swap out that rear battery.
Seriously there is a mountain of work in that car!
I like your thinking! It would be like a camper special firebird And yes lots of work, it really doesn't look like I've made a ton of progress but I've been working my butt off. I think once I get some paint on it I'll feel better
I was pretty set on Ford tuxedo black but the more I saw it the more I was like eh there's something about it I don't care for anymore. So I believe I'm going to be painting it Subaru Java black. It's an awesome color and would go good with the wheels. This weekend I got the quarter welded in place. Tomorrow I'll make me a piece to fill in the marker light and then it'll almost be ready for some body filler
I will definitely let you know if I have any questions. I won't know exactly how bad it is until I pull the front end apart. I know it got tweaked on the upper side of the fender apron/strut tower, but not bad enough to make it impossible to align after the wreck. It drives straight from what I was told by my buddy I bought it from. I'm just not sure what it would take to get it actually straight again.
Just read this whole thread. Great work and even better coming from a younger person like yourself. Do this stuff now because life will get in the way and you won't have the time anymore. I'm sure a lot of people on here know what I am saying. Oh, and the girl. You could make a mint if you could clone her. Good luck and keep going.
I will definitely let you know if I have any questions. I won't know exactly how bad it is until I pull the front end apart. I know it got tweaked on the upper side of the fender apron/strut tower, but not bad enough to make it impossible to align after the wreck. It drives straight from what I was told by my buddy I bought it from. I'm just not sure what it would take to get it actually straight again.
depending how hard it's hit it made not need anything. My donor front end took a slight hit in the same area and is still straight
Originally Posted by Chopski
Just read this whole thread. Great work and even better coming from a younger person like yourself. Do this stuff now because life will get in the way and you won't have the time anymore. I'm sure a lot of people on here know what I am saying. Oh, and the girl. You could make a mint if you could clone her. Good luck and keep going.
Thanks for the kind words! I'm definitely trying to get it done while I have the time. I have a couple others but those can be tinkered on whenever I get the time, no rush on those. My girlfriend will appreciate those kind words also
The passenger quarter is all welded in place and I got my marker light filled in. It got it's first coat of metal to metal filler tonight. Feels nice to see a body line on the back for the first time since I've owned it!
depending how hard it's hit it made not need anything. My donor front end took a slight hit in the same area and is still straight
My buddy I bought it from said that the pass side fender rail (I guess that's what it's called) is pushed upwards about an inch to an inch and a half and the strut tower is moved a little. He took it to an alignment shop and they got it to drive straight, so that alone gives me hope that a good frame shop can pull it back straight.
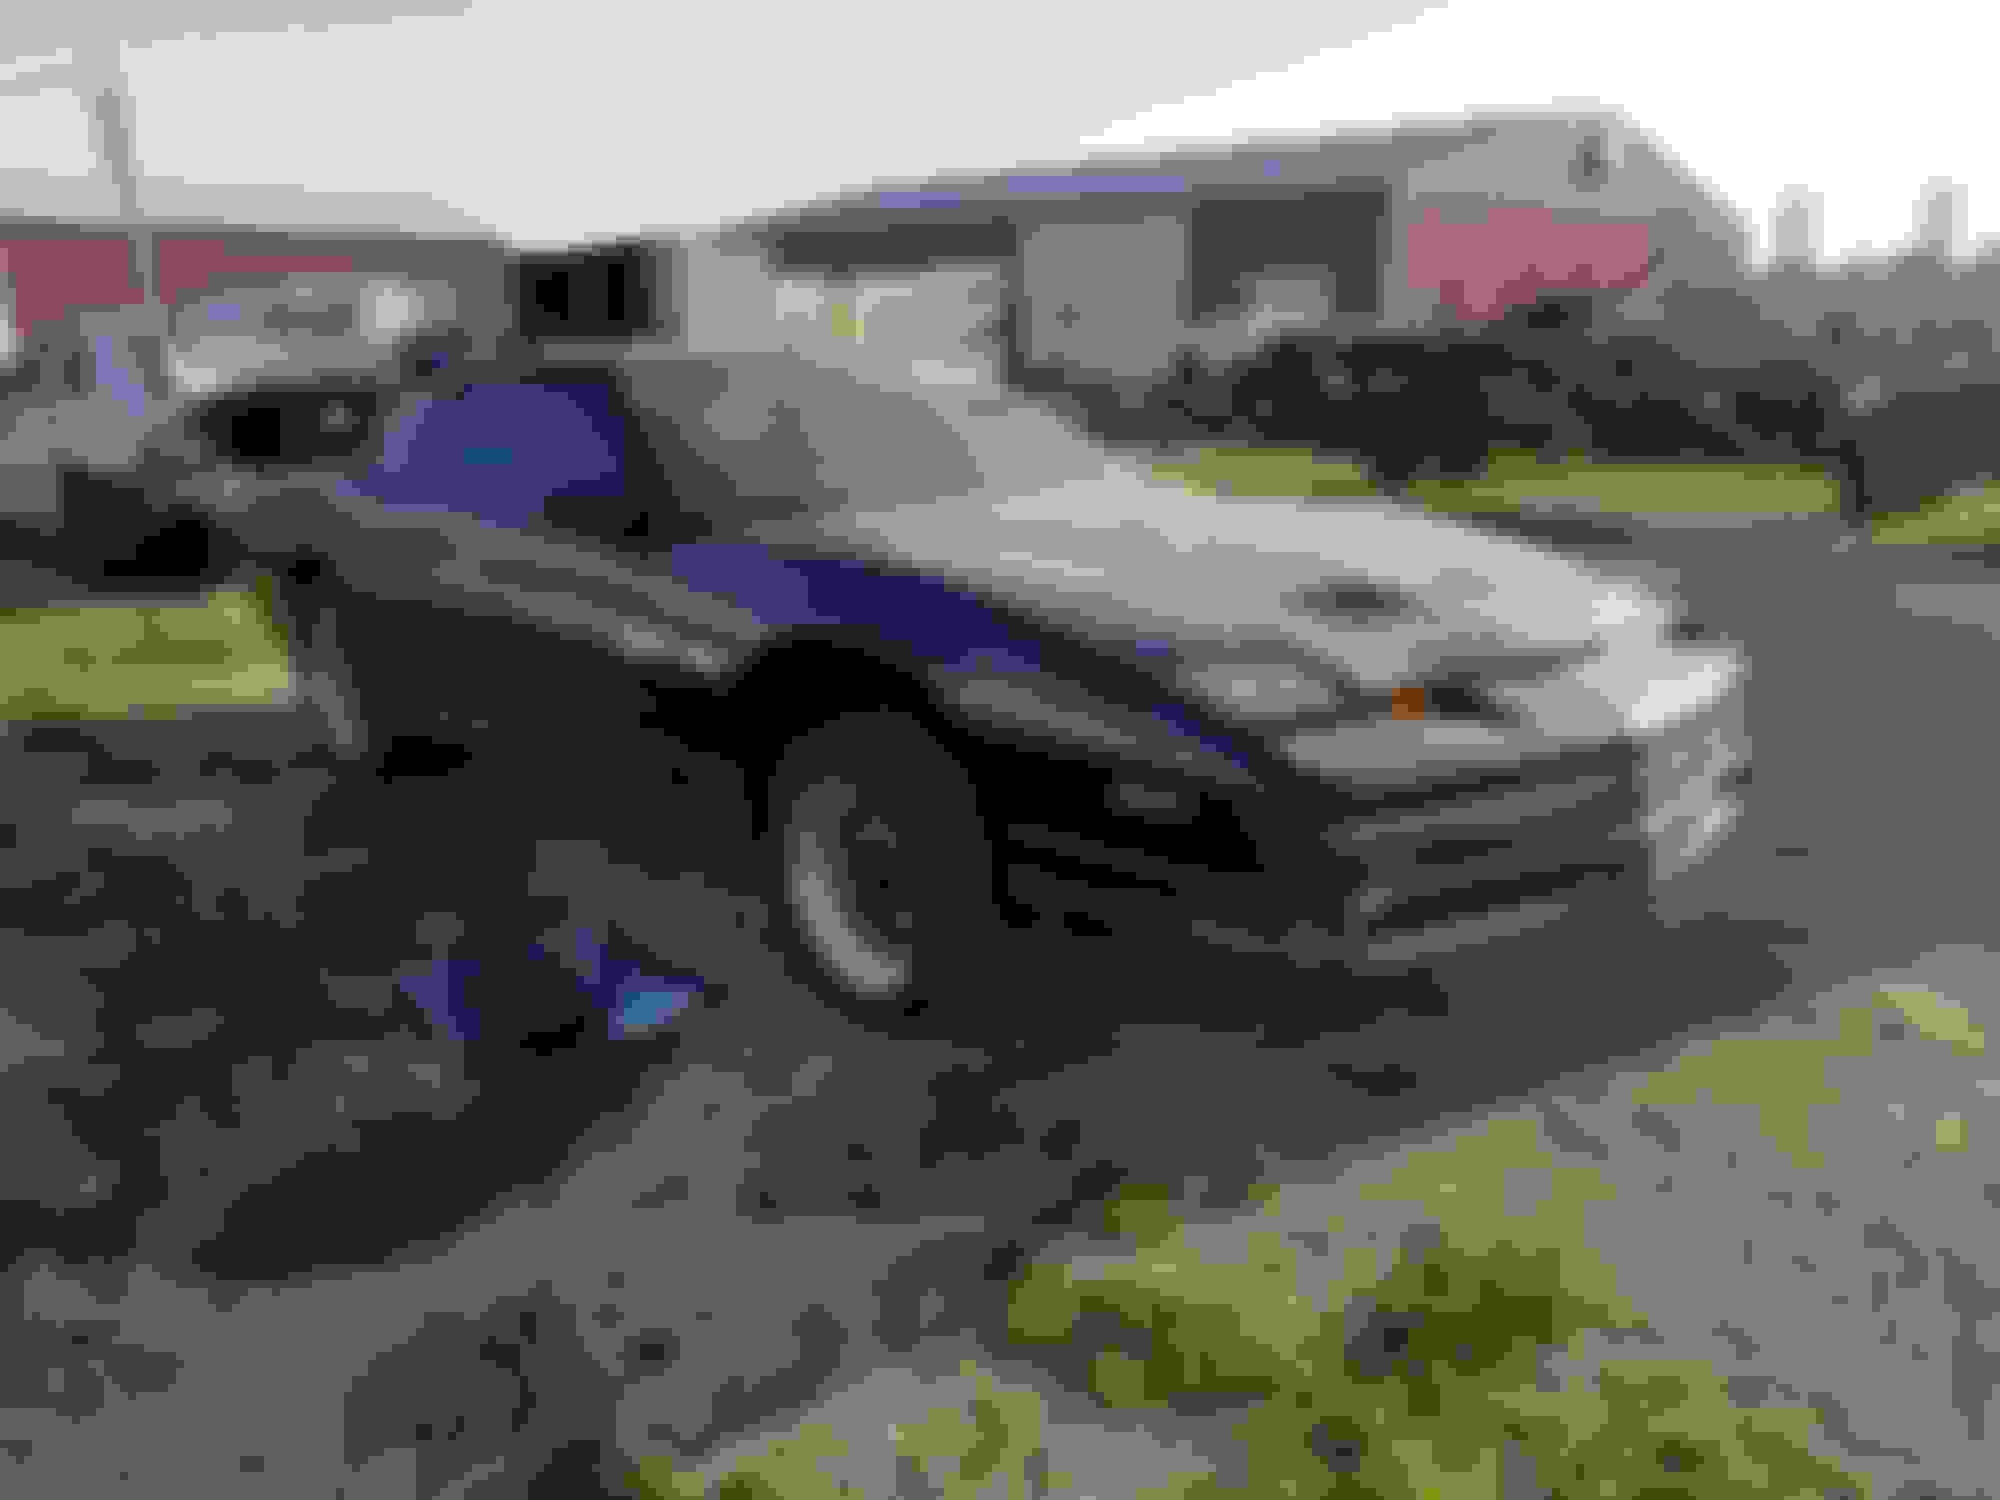
Been meaning to update this. Been busy but the passenger quarter and rocker have a couple coats of primer on them. Almost ready to fit the door and fender! Also my girlfriend is now a mu11et. I got lucky and won a copart auction on a 1988 Trans Am GTA with burn damage. It's gonna be her car to build. It came with a LT1 and a 6 speed. I'll post some pictures of it. Maybe she will start her own thread
No big updates, passenger quarter is almost done and I got the passenger rocker almost done. Waiting on my transmission to be built, and then I can get the engine stuck in. Running out of room in my garage so hopefully getting the engine in the car will free up space so I can get started on my hood. I haven't been working on it too much since I got my new toy. But I wanted to enjoy something this summer so I don't feel too bad, I'll get back on it once I get the new GTA where i want it.
This a really cool build. And, I get wanting to keep you car. But with the amount you've replaced I'm not sure I'd even say it's the same car. Given that you're replacing and redoing all that body work anyway, why not just take the whole donor car and swap everything over rather than cutting both cars in half? You certainly seem to be doing it right, I just wonder if it's really the most effective option.
This a really cool build. And, I get wanting to keep you car. But with the amount you've replaced I'm not sure I'd even say it's the same car. Given that you're replacing and redoing all that body work anyway, why not just take the whole donor car and swap everything over rather than cutting both cars in half? You certainly seem to be doing it right, I just wonder if it's really the most effective option.
The car of course has sentimental value, and I still had a lot of plans for it. Maybe that's why I was so stuck on fixing it in the beginning. But I will say I also wanted to take the opportunity to learn. Definitely could have just punted it and moved on but I've definitely learned a ton so far. In all honesty a lot of stuff I've replaced on the car would have to have been replaced anyways, both front strut towers were eh, the hood was junk, the front bumper was toast, I planned on putting new quarter skins on it, and all of the suspension was gonna be replaced with what's on it now. Really the only thing I didnt plan on replacing was the passenger door which is fine. I guess it depends how you look at it but the main shell of the car is still there so I still consider it the same car but maybe thats just me. Itll look like the same car when done, just a little bit lower and more shiney...
It was a great investment for the money! Been to a few shows with it and got 3 awards. I just talked to your brother and the Route 66 mother road festival. His RX8 is pristine!
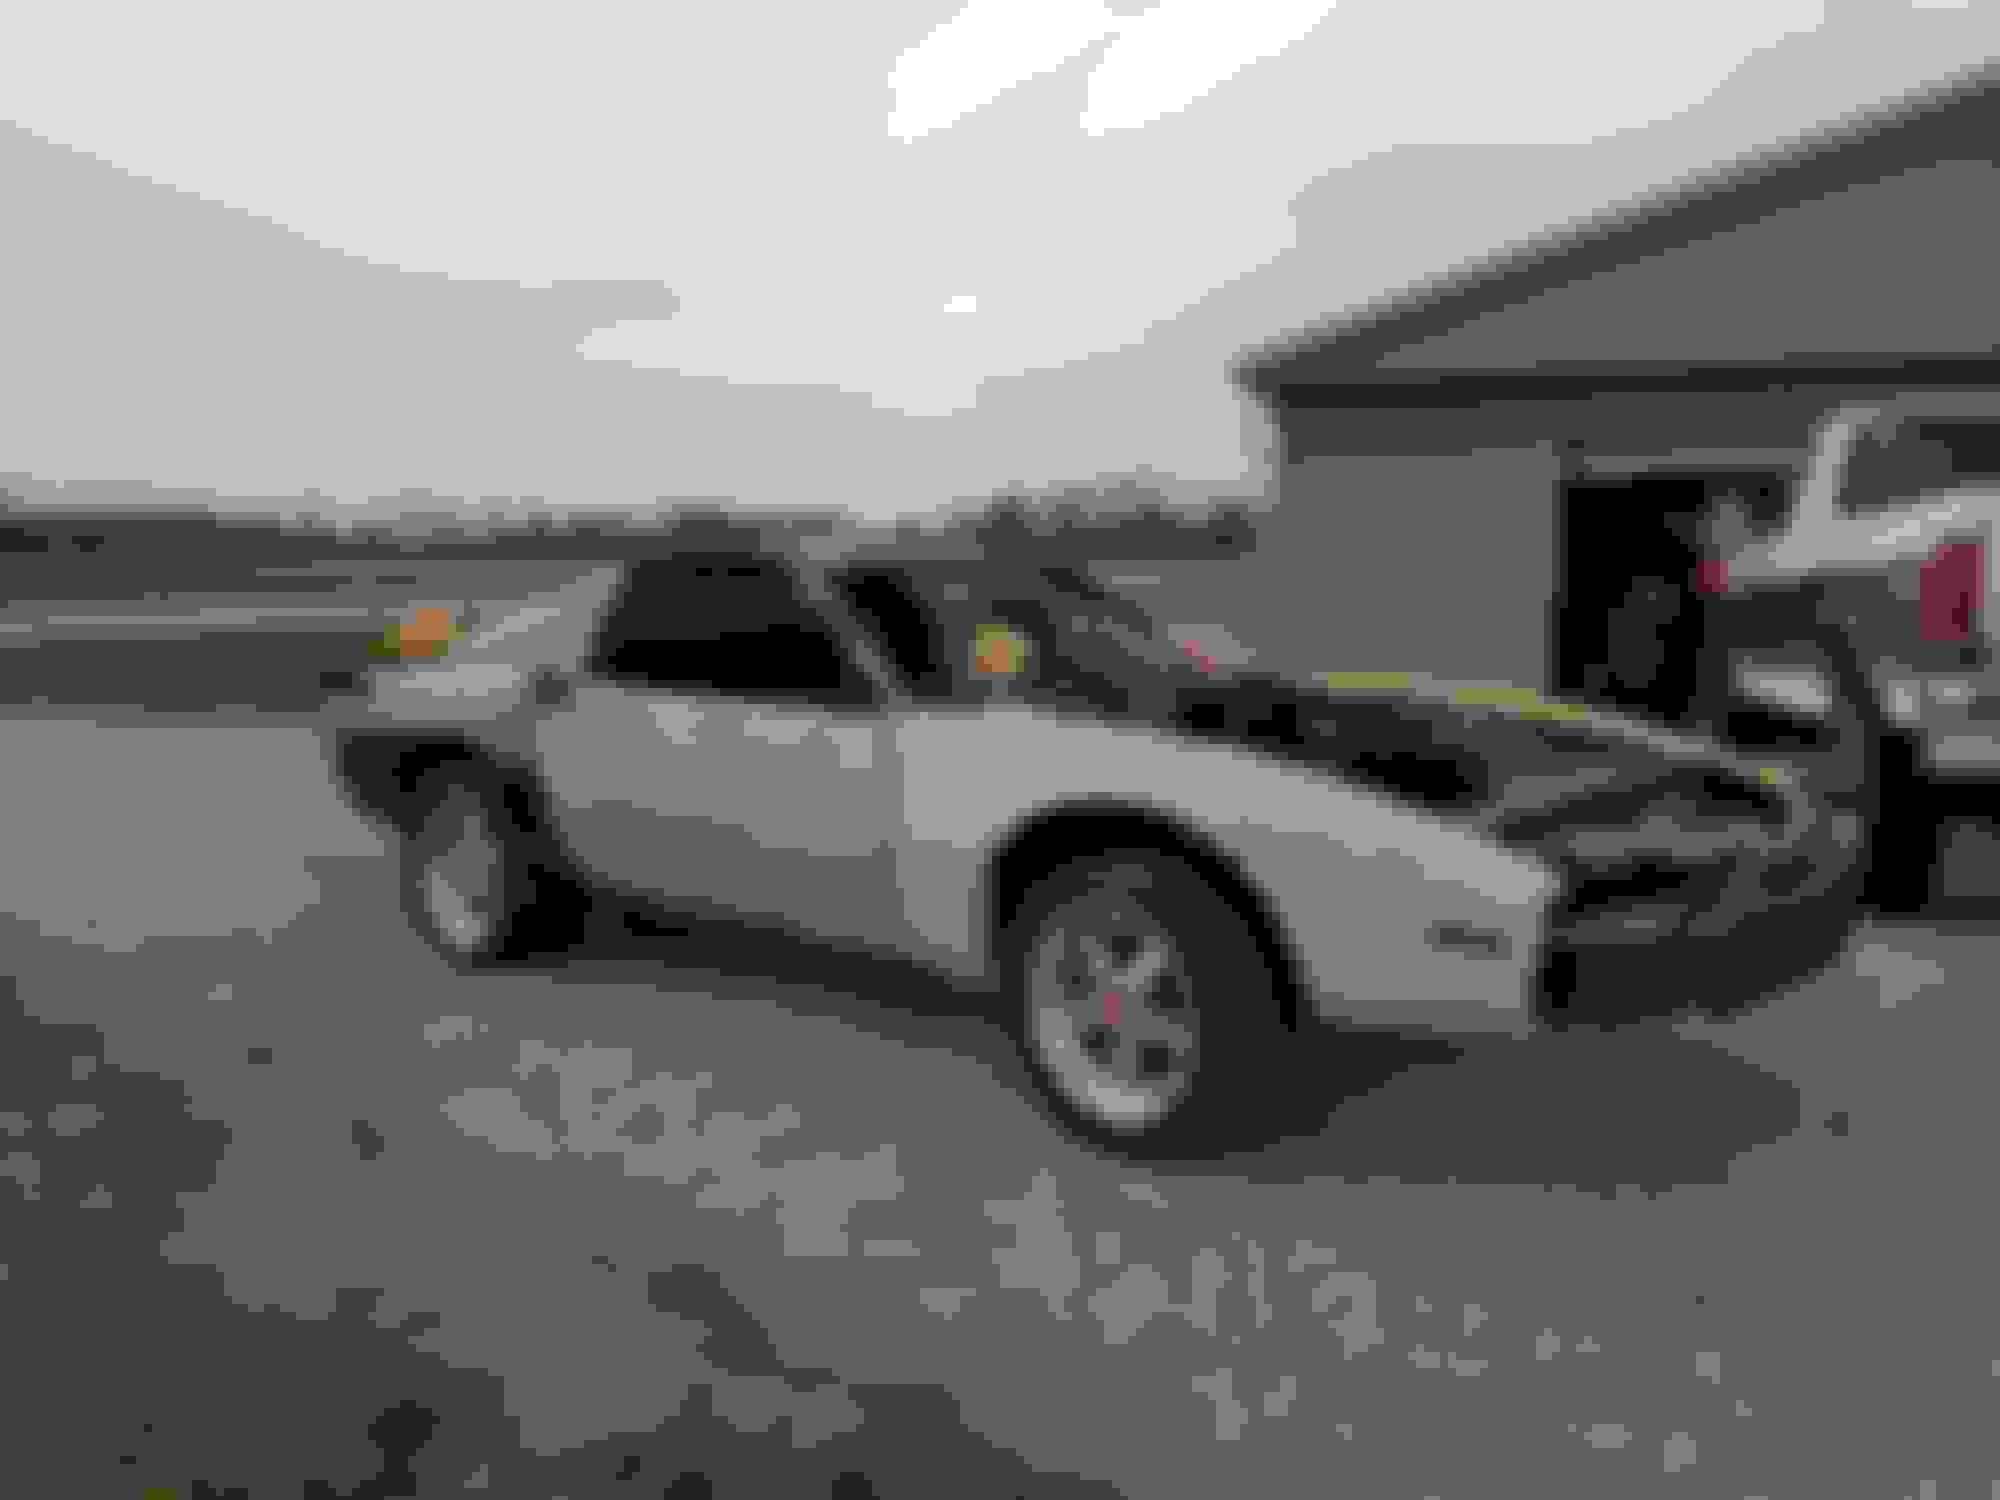
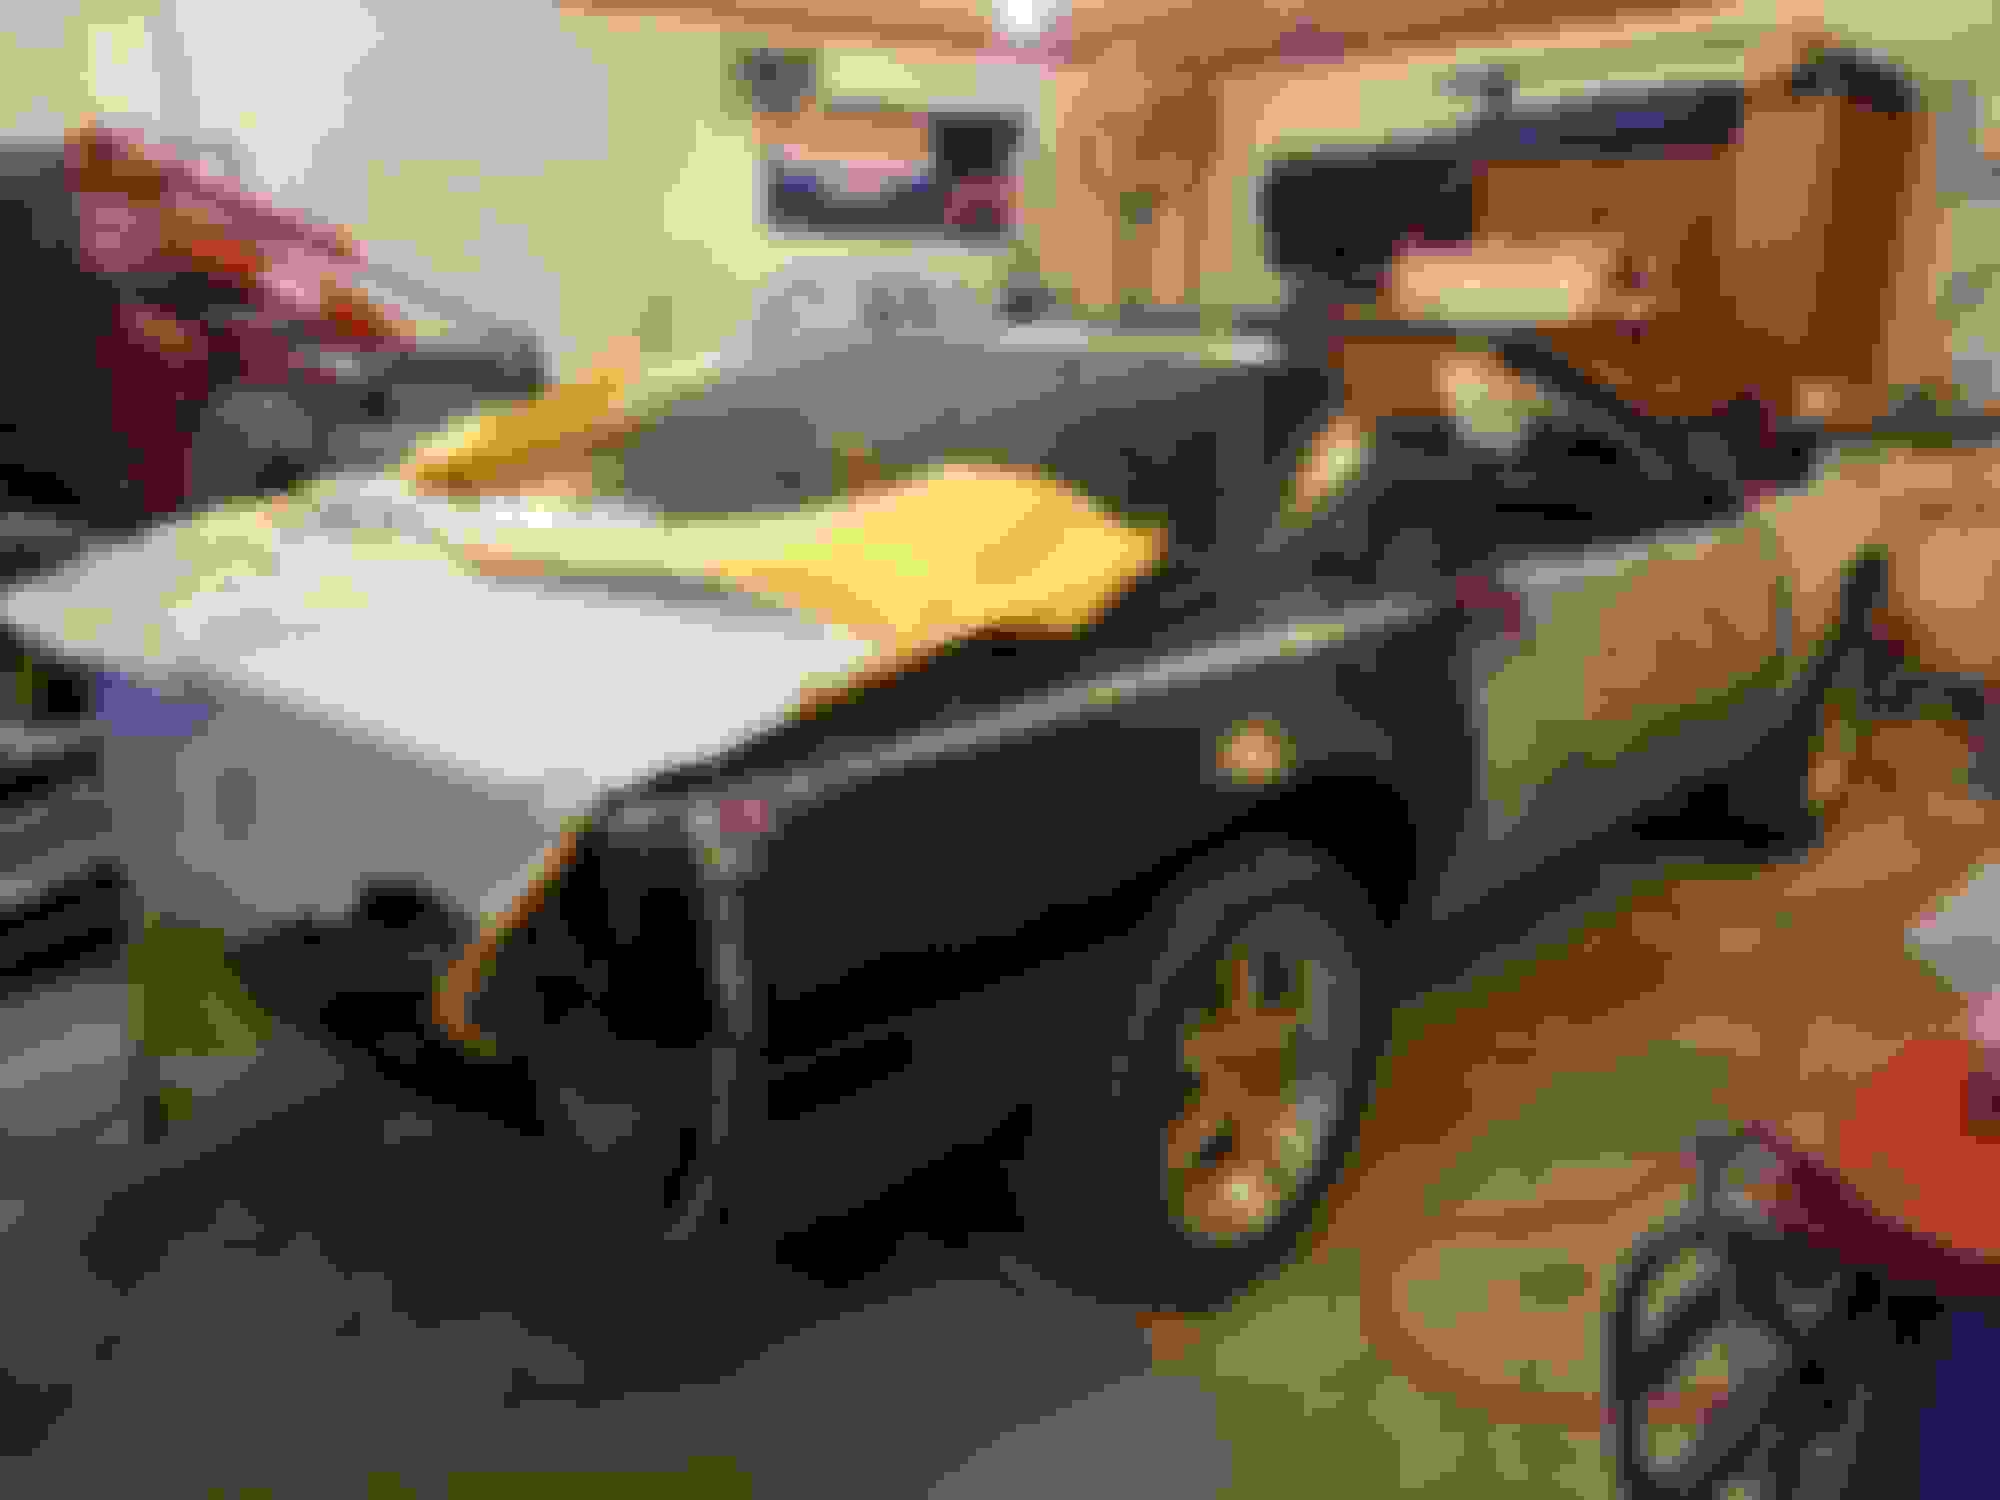
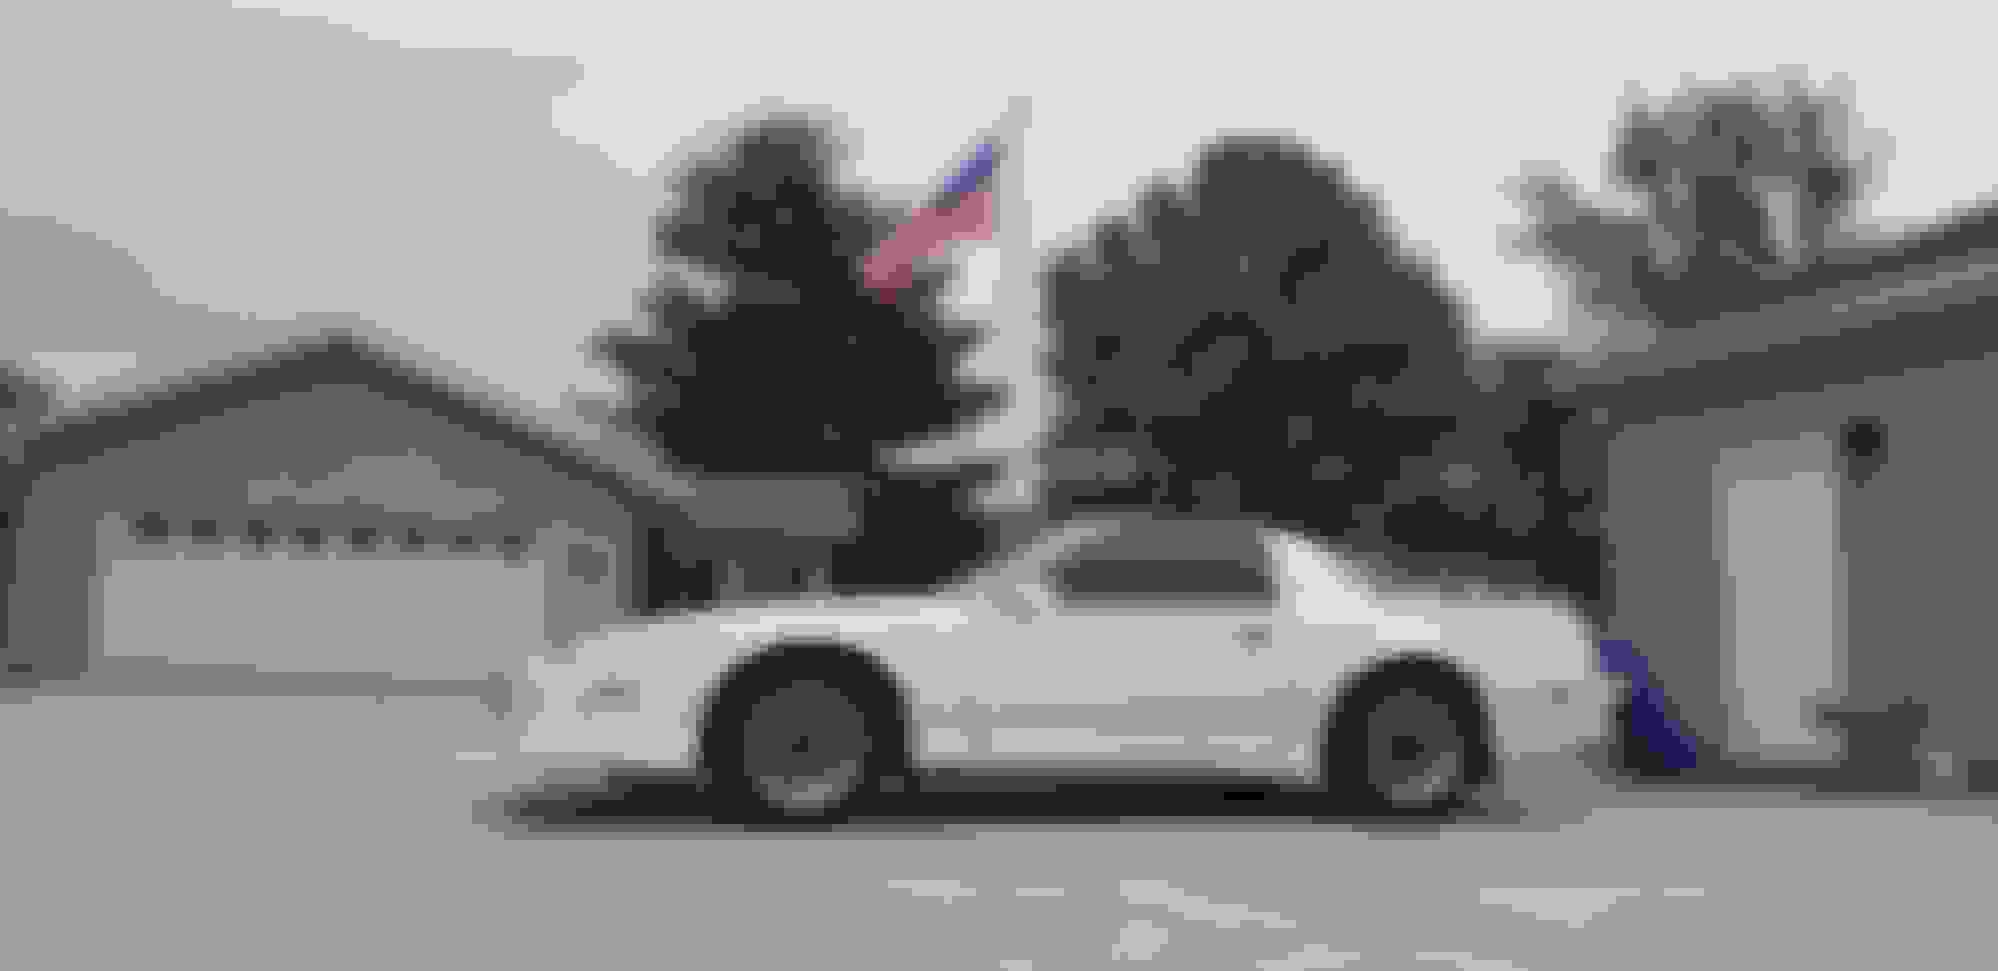
Fall is approaching quick which hopefully means nice weather. The poor 88' was looking sad up on jackstands for the past however many months it was up there. So I got her down and test fitted the rear bumper. Pretty much all the panels are loosely on so the gaps may look scary but the doors are pretty much where they need to be. I can almost see the light at the end of the tunnel! I like test fitting just so I can see it somewhat whole again I've been waiting on a friend to get the transmission redone but other than that the engine and transmission should be going in soon. Trying to kill two birds with one stone. I need more space in the garage so getting the engine in will free up room and we will be able to work on turbo piping.


 02-03-2018, 02:14 PM