When you click on links to various merchants on this site and make a purchase, this can result in this site earning a commission. Affiliate programs and affiliations include, but are not limited to, the eBay Partner Network.
I don’t really get the chance to post much but I’ve been beginning to gather parts and print some 3d parts in preparation of work when the weather gets nice on my 91 Z28. I posted in the audio thread pics of my double din reversed radio Bezel I printed and am working on still. Here’s some pics...
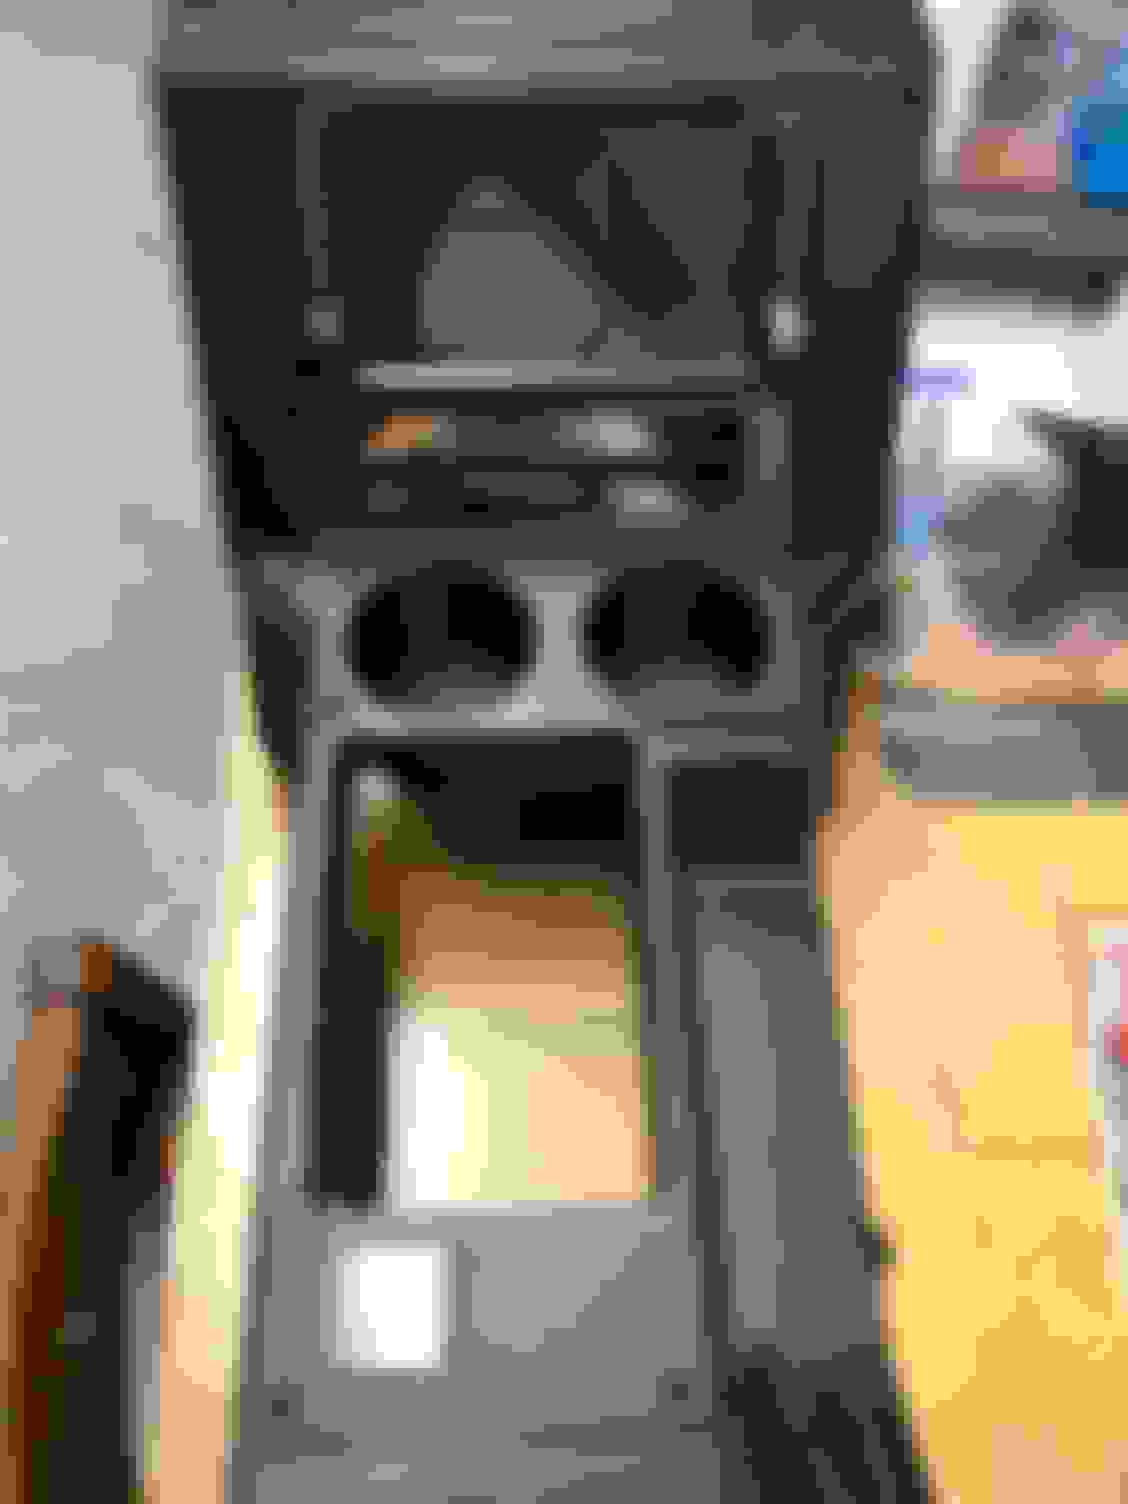
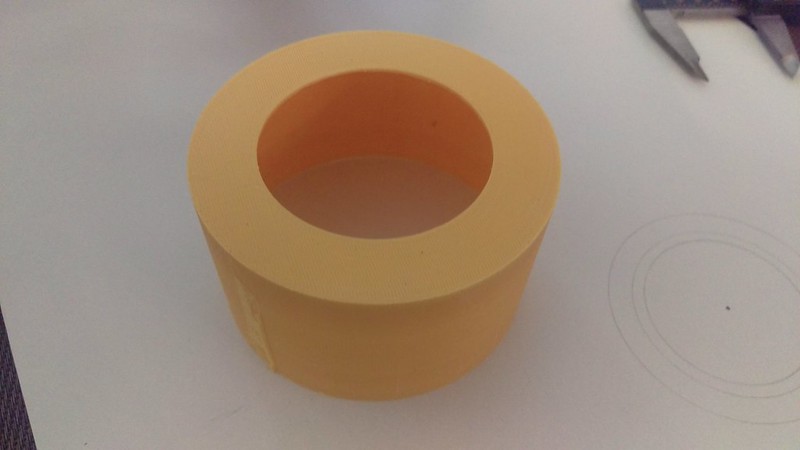
Currently in progress my dad and I are working on making cup holders for the ashtray area. We printed our first test and for my dad’s 88 iroc it turned out nice especially since we will be using a hurst dual gate in his car. It still needs sanded and texture painted like the radio Bezel but here’s some pics...
Soon to come will be some pics of how this mod can be done for my car as my 91 Z28 is a 5 speed so some other modification to the shifter plate will be needed. Stay tuned!
Also the Bezel pictured with the ashtray cup holders has not been texture painted yet. I like the way the SEM texture paint works and it matches close. Here’s my Bezel for my car already textured and painted so you can see how close it matches. Sorry for the dirty console in the pics...
Don't be sorry! It's work in progress, I would expect nothing less. Clean up when your done. That's a perfect spot for much needed cup holders in a car which has none. I might have to try something like that. Awesome idea and looks great.
Have you tried to relocate the heater controls down yet? I tried and couldn't make it work. The cables were to tight in mine.
When I tested the Bezel I Unscrewed the controls and moved them down and they seemed to reach okay. I didn’t fasten anything down but to me I don’t think there was any fittment issue. I wonder if there are different cable lengths?
I've seen others do it here on TGO but I found it interfered with the deck when I tried to place it in. Mind you I never went under the dash and tried to get slack on them either.
OK, I'm interested. I have an 84 TransAm and I have the Hurst Dual gate also.
The shifter plate is different than a Camaro, so I will need to come up with something.
Cupholders are a nice idea for that spot, but I don't want to move my coffee every time I need to adjust the heat (my controls will be staying in the stock location). I was planning to put 2 gauges in the ashtray location using these Autometer angled gauge rings. Visualize these in the ashtray location, angled toward the driver.
And they would not stick up enough to interfere with the radio controls.
Last edited by NoEmissions84TA; 03-05-2018 at 10:49 PM.
Ya and after thinking about it more with mine being a stick, I'm thinking I might be hitting the cups with shifting and my deck is right there. That might get a bit ugly. Dying to find a spot for cup holders though. I like my coffee.
I've got a design I modeled in AutoCAD for some usb ports where the ashtray mounts. It exports (supposedly) in an .stl file, but I've never done anything like that before. I'm looking for someone with a 3d printer and a camaro to test it out. Can I send you the files?
Ya and after thinking about it more with mine being a stick, I'm thinking I might be hitting the cups with shifting and my deck is right there. That might get a bit ugly. Dying to find a spot for cup holders though. I like my coffee.
That was the issue I was having is finding a place since I don�t want it to interfere when I�m shifting. I don�t like the idea of putting cup holders behind the window switch as I kind of rest my arm there but my dad and I purposely made the cup holders very deep and it seems the cup sits low enough that it won�t interfere with the shifter and I can still adjust my heater controls when they�re in the reversed position. Stay tuned because I will be doing a few things different for my car with the 5 speed!
Awesome work. Interested in seeing those with the controls and radio in. I just ordered a reversed bezel.
Thank you the support is appreciated. I will get some pictures up in a little while I need the weather to get better so I can go back to the storage unit my car�s in so I can work on it. Progress is slow in the winter but I�m trying to get some stuff done before the nicer weather comes!
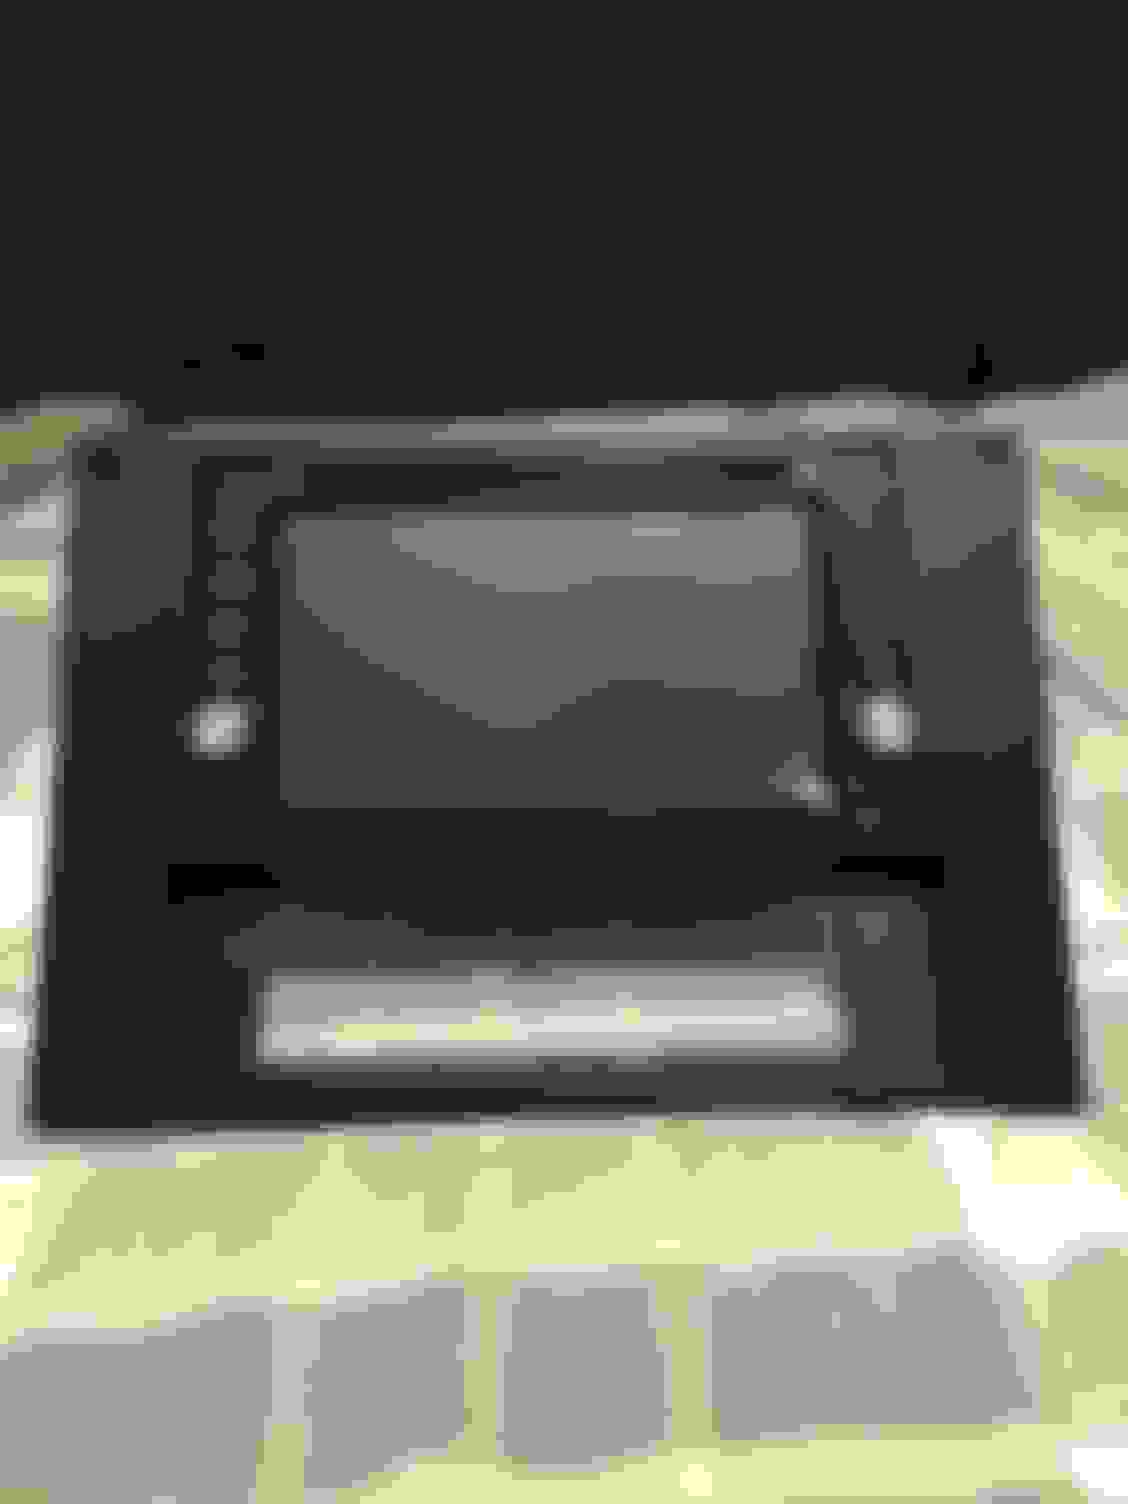
Thanks for all the support so far, this snow just won’t go away this year. Being from the Buffalo, NY area it’s always hit pretty hard but it’s still snowing unfortunately so sorry for such slow progress. I attached a few pics of the finished shifter Bezel with cup holders for my 91 z28. I ordered a real leather shift boot with red stiching as well as the real leather cover to apply to my center console lid with matching red stiching. My new shift ball is the z28 ball from hawks with the engraving and it looks nice. Once everything is in the car I will attach some nicer pictures. Here’s a little preview and again please excuse the mess stay tuned for the finished product.
That looks good and the holders do look deep. Nice job on the blend.
Thanks! I can put some pics up later showing a coffee cup in there I was surprised I didn�t take up as much room as I thought and wont be in the way of the shifter.
HI all dumb question .i downloded a file to print a double din for a firebird .personaly have not got a printer .this is licenced .how do i stand on geting this printed with out geting in a hole load of poo .dont get all this clever stuff !
This is the link for the double din Bezel with reverse hvac controls... http://www.thingiverse.com/thing:2281726
I designed the cup holder set up with the shift Bezel and haven�t shared that currently but I may run a limited supply off for sale. Not sure as of yet.
HI all dumb question .i downloded a file to print a double din for a firebird .personaly have not got a printer .this is licenced .how do i stand on geting this printed with out geting in a hole load of poo .dont get all this clever stuff !
All you have to do is find a 3d printing service and have them print it. If the file is on thingiverse them you can use one of there "apps" to have it printed and shipped to you.
-G92-Z28
Looks good man. Your settings for your prints look like they are working well.
All you have to do is find a 3d printing service and have them print it. If the file is on thingiverse them you can use one of there "apps" to have it printed and shipped to you.
-G92-Z28
Looks good man. Your settings for your prints look like they are working well.
Thanks everything has been turning up pretty well.
thats great joined thingiverse cant find how to get it printed .sorry give me a spaner im off and runing .a computer im stuck .thanks for all ya help .all wana do is go to ebay and bye one pay for it and it arives on door step .sory for being stupid !
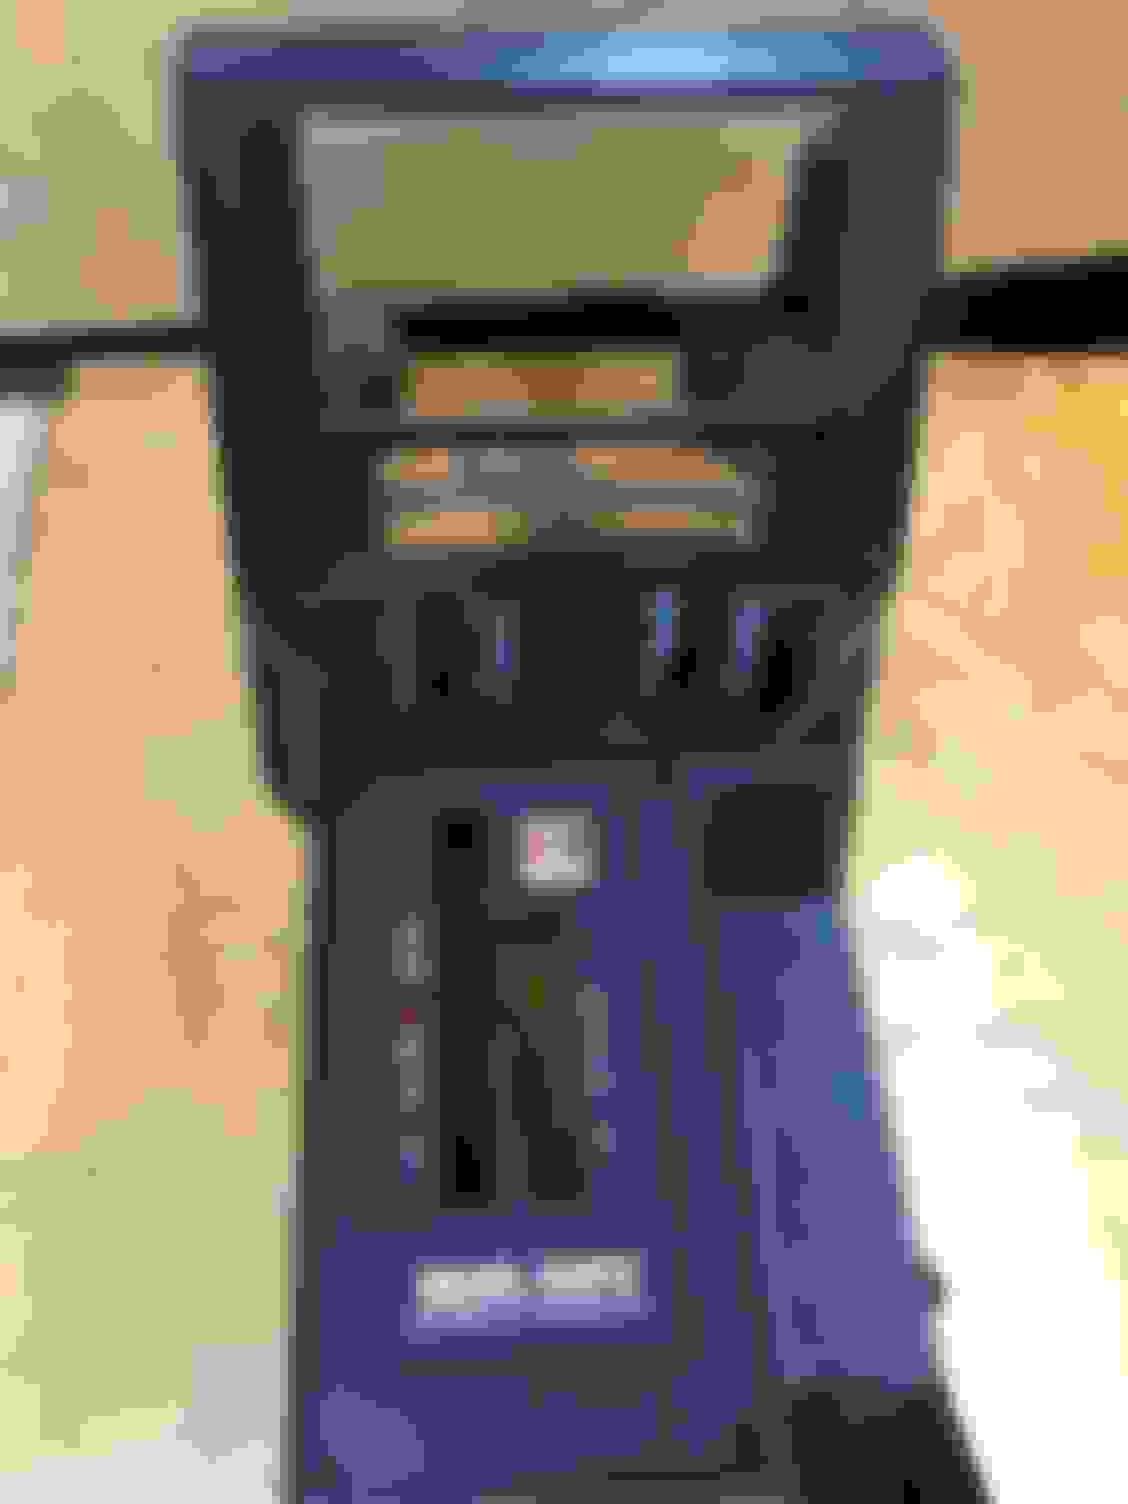
So my father and I came up with a way to print a stick shift shift plate with the cup holders and he has installed some leds in the cup holders. We also printed a shift boot plate as then it will be a whole kit. If anyone might be interested in buying one we may make some more to sell. Here’s some pics of the one in progress more info when it’s complete!
[QUOTE=G92-Z28;6212200]So my father and I came up with a way to print a stick shift shift plate with the cup holders and he has installed some leds in the cup holders. We also printed a shift boot plate as then it will be a whole kit. If anyone might be interested in buying one we may make some more to sell. Here’s some pics of the one in progress more info when it’s complete!
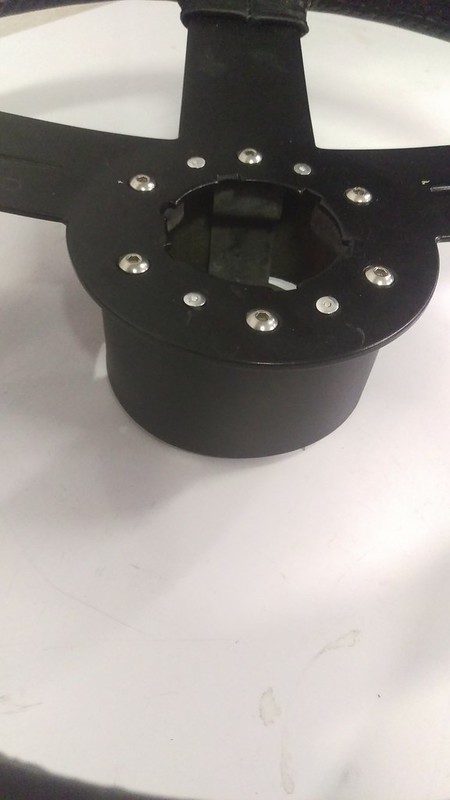
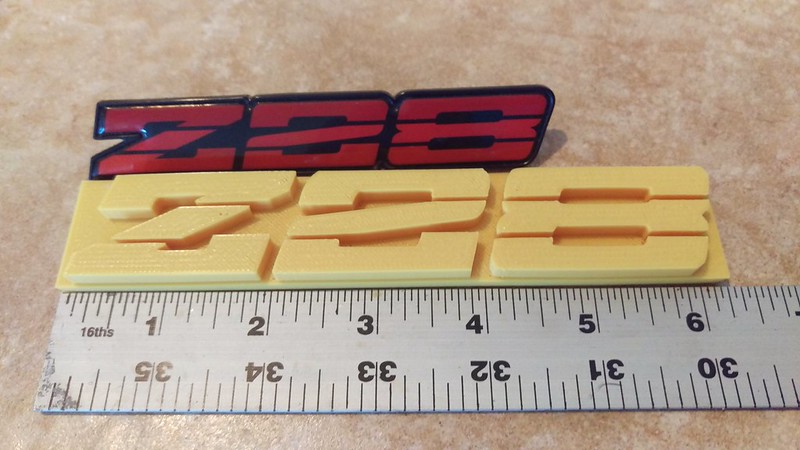
I also just finished the file and printing a steering wheel adapter cover for an IROC wheel (out of production) and a larger dash emblem. I'm finding the plastic my friend used in his printer is curling/distorting when subjected to periods of Arizona sunlight. What plastic are you using and are you having this issue? Would be terrible to have that big flat panel to warp.
If anyone is interested in these files let me know. Of course the emblem can be made smaller (stock size) or bigger.
So my father and I came up with a way to print a stick shift shift plate with the cup holders and he has installed some leds in the cup holders. We also printed a shift boot plate as then it will be a whole kit. If anyone might be interested in buying one we may make some more to sell. Here�s some pics of the one in progress more info when it�s complete!
[/QUOT E]
I am interested,How much?
Still trying to figure out pricing should be more info soon.
I also just finished the file and printing a steering wheel adapter cover for an IROC wheel (out of production) and a larger dash emblem. I'm finding the plastic my friend used in his printer is curling/distorting when subjected to periods of Arizona sunlight. What plastic are you using and are you having this issue? Would be terrible to have that big flat panel to warp.
If anyone is interested in these files let me know. Of course the emblem can be made smaller (stock size) or bigger.
Most of my parts have been printed in pla with the exception of testing some abs but I haven�t had this issue so far.
I uploaded an Interior Plastic panel screw 3d file here: https://www.thingiverse.com/thing:3221543
Hope you don't mind me posting on your thread.
There should be a stickied 3d Printing post where everyone can submit their 3d printed parts.
Last edited by Jaime-TA-84; 11-17-2018 at 10:50 PM.
I also just finished the file and printing a steering wheel adapter cover for an IROC wheel (out of production) and a larger dash emblem. I'm finding the plastic my friend used in his printer is curling/distorting when subjected to periods of Arizona sunlight. What plastic are you using and are you having this issue? Would be terrible to have that big flat panel to warp.
If anyone is interested in these files let me know. Of course the emblem can be made smaller (stock size) or bigger.
Would like to know how this is coming along. I'm wanting something for an Auto Shifter (Stock). Would also like to know what printer you are using and material.
Like Campos and Bad Wolf, I would also like to see more of this and possibly purchase one. Very nice. Just add a spot for dual USB ports on the right side of the unit by the right cup holder, and it would fix yet another issue for many of us...

 03-05-2018, 09:02 PM


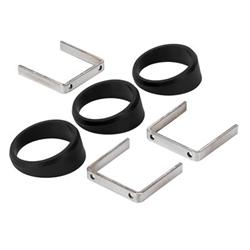 Visualize these in the ashtray location, angled toward the driver.