When you click on links to various merchants on this site and make a purchase, this can result in this site earning a commission. Affiliate programs and affiliations include, but are not limited to, the eBay Partner Network.
I just love polished TPI pipes. The purists say its "incorrect" but it's better than the crappy natural, chalky aluminum look. TPI is the most beautiful induction system in automotive history, might as well make it sparkle. You did as good a job as I have ever seen. It must have been difficult to get into all those tight little grooves. You will find the plenum is both easier and more difficult to polish. The texture of the plenum is naturally not as smooth as the runners. But once you get that smoothed out, polishing the flat surface is a piece of cake.
Although I am putting quite a lot of time on the car, the recent effective progress is somehow slow. During assembly I am finding a lot of small tasks to do such as small brackets which need to be either sent for powder coating or sprayed by myself which delay the overall progress. My aim is to start up the engine within the next couple of weeks then take it for spraying.
From my last post, engine has been installed, and the stuff around it is slowly being reconnected together. I had to bend the Oil cooler lines of the tranny myself and I can tell you they were a real pain to form.
I also opened the whole wiring loom to inspect wires for cuts or splices. All was OK apart from a broken vacum line going to the coolant valve from the dash which I fixed by using a rubber pipe. As the wires were all open, I took the chance of changing ALL the split tubing to clean new one.
You can see progress below. Slowly taking shape
NOTE... Valve covers will be swapped for chrome ones. Those are there just for protection.
Small update. Progress slowed down a bit due to other commitments and waiting for parts.
I removed the windshield to ensure there is no rust under it. While I was at it I cleaned and removed all the paint. Painted with rust converter just in case. Can be seen on the side pillar. All the car is now on bare metal with reactive thinner to avoid rust coming out.
While waiting I also started restoring the headlight motors as the brushes were almost all worn out. Bought a generic set with pigtails. Glued with JB weld marine as it sticks to more materials than the normal ones. Sanded them to the shape of the commutator.
I also queried in another post re trying to straighten the front bumper cover as soon PO bent it with the front license plate. This is how it was. I really like the straight edge on the front of these cars so I had to do something
After numerous attempts of heating and pressing I figured out that if I leave the car in the sun for a while this cover is going to bend again so I took a drastic measure and glued (Wurth Bond and Seal) sheet metal to the back secured with some countersink 4mm bolts. You can see the way how I sandwiched the sheet metal until the glue dried
Also blasted and painted the GFX brackets as they were starting to rust. While I was at it I hammered out the silly speed nut studs and replaced them with proper 6mm studs.
While waiting for the sprayer to finish another car (been waiting for a couple of months now) I decided to take the GTA to a steering alignment shop to get something else out of the way. No big deal really... Couldn't get the caster to be competely within the recommended limits as I am using the factory struts mounts and I guess I need to get the caster camber plates to be able to be spot on however this is going to be a weekend car so I will keep it as it is.
I took a couple of photos with all the body panels temporarily installed with a disasterous alignment and the whole car to bare metal. It has reactive thinner on it to avoid rust until it gets to the body shop.
We had to re-align the hatch from scratch as I have removed the decklid so as to be able to properly spray / clean the underside of the lid. I have also changed the hinges to the billet ones to ensure that hinges do not bend when I install the new hatch struts. MAN THAT HATCH IS HEAVY. Had to use shims under the driver side hinge and on the decklid to glass bolts. Still have to drill new holes for the self tapping screws holding the glass surrounding to the lid as the locations changes slightly form the original ones. These screws are extremely important as they make sure that forward/rearward movement is not permitted. There is a common misconseption that this lid is mainly held by the urethane sealant. Its not the case. This is only for waterproofing.
Unfinished Fiberglass spoiler has been placed on hatch to start working on refining it and removing the 'defects' of the donor spoiler. After this stage, hatch has to come off again but only from the hinges.
Spray is also progressing. Front doors, decklid and hood underside are ready together with some other small bits and pieces. Still have to drill the hole for the 3rd brake light in the lid. I am finally seeing this phase approaching completion....
There is a common misconseption that this lid is mainly held by the urethane sealant. Its not the case. This is only for waterproofing.
Not a misconception, I took a deck lid off and when I removed all the fasteners I couldn't figure out why it wouldn't come off, I thought I was missing some somewhere. Urethane IS what holds the windshield in, after all, and it does stiffen up the body because of how well it holds.
For sure urethane will hold the lid if you remove the nuts as it sticks to the glass and metal however by design it is meant to seal off water. The 4x bolts are there to hold the majority of the lid’s grip to the glass and the 4x self tapping screws on the sides are used to ensure that the 4x bolts don’t lose forward/rearward grip.
If these 4x self tapping screws are not there things that are described in various posts where the sun starts melting the urethane and lid sliding back will start happening. The strength of the windscreen adhesive is meant to sustain pulling action not sliding.
Very nice build. I had an 88 TA that was Maui Blue. It was a TA but was ordered with GTA door panels, Aluminum drive shaft and other GTA parts. Back in 88 they had these packages available. They were usually RED, BLK, GREY, MAUI BLUE and had SILVER bottoms. Regardless of what your car is you're making it very nice and what you want�.
You mean underside? The pics I have are without exhaust but I will for sure post some as soon as I get the car back from the shop. This week is polishing week.
Today I spent half day stiffening the front fender and getting them to align to the doors.. Man what a pain. I am aware fender are probably aftermarket so the thinner material used on aftermarket parts needs re-infrocement even more.
I had to enlarge the bottom hole to move the fenders to the front as the door was almost rubbing. This led to the bottom part of the fender to point inwards so I had to fabricate some brackets. I saw some pictures on the forums where suppostedly there should be a bracket which grabs the lip and bolts the fender to hold it outwards however as I never had these and as I wanted something stiffer I made my own. Pics below. Most probably the hole I used on the fender is meant to hold one of three bolts of the GFX so I will probably have to use the bolt to hold the side skirts.
Fendes are now rock solid however have to adjust driver's side fender to hood as it is bowing a bit outside. I probably can fix this by losening the top bolts and pushing the fender inward (towards the center of the car)
I went to check today if that hole in the fender lip that I used to attach the bracket is used by something else. Glad to say that neither the GFX nor the inner fender plastic cover uses it so bracket is staying as it is. Re the bow towards the middle of the hood.... it improved a bit but is still there and have to live with it.
Some updates.
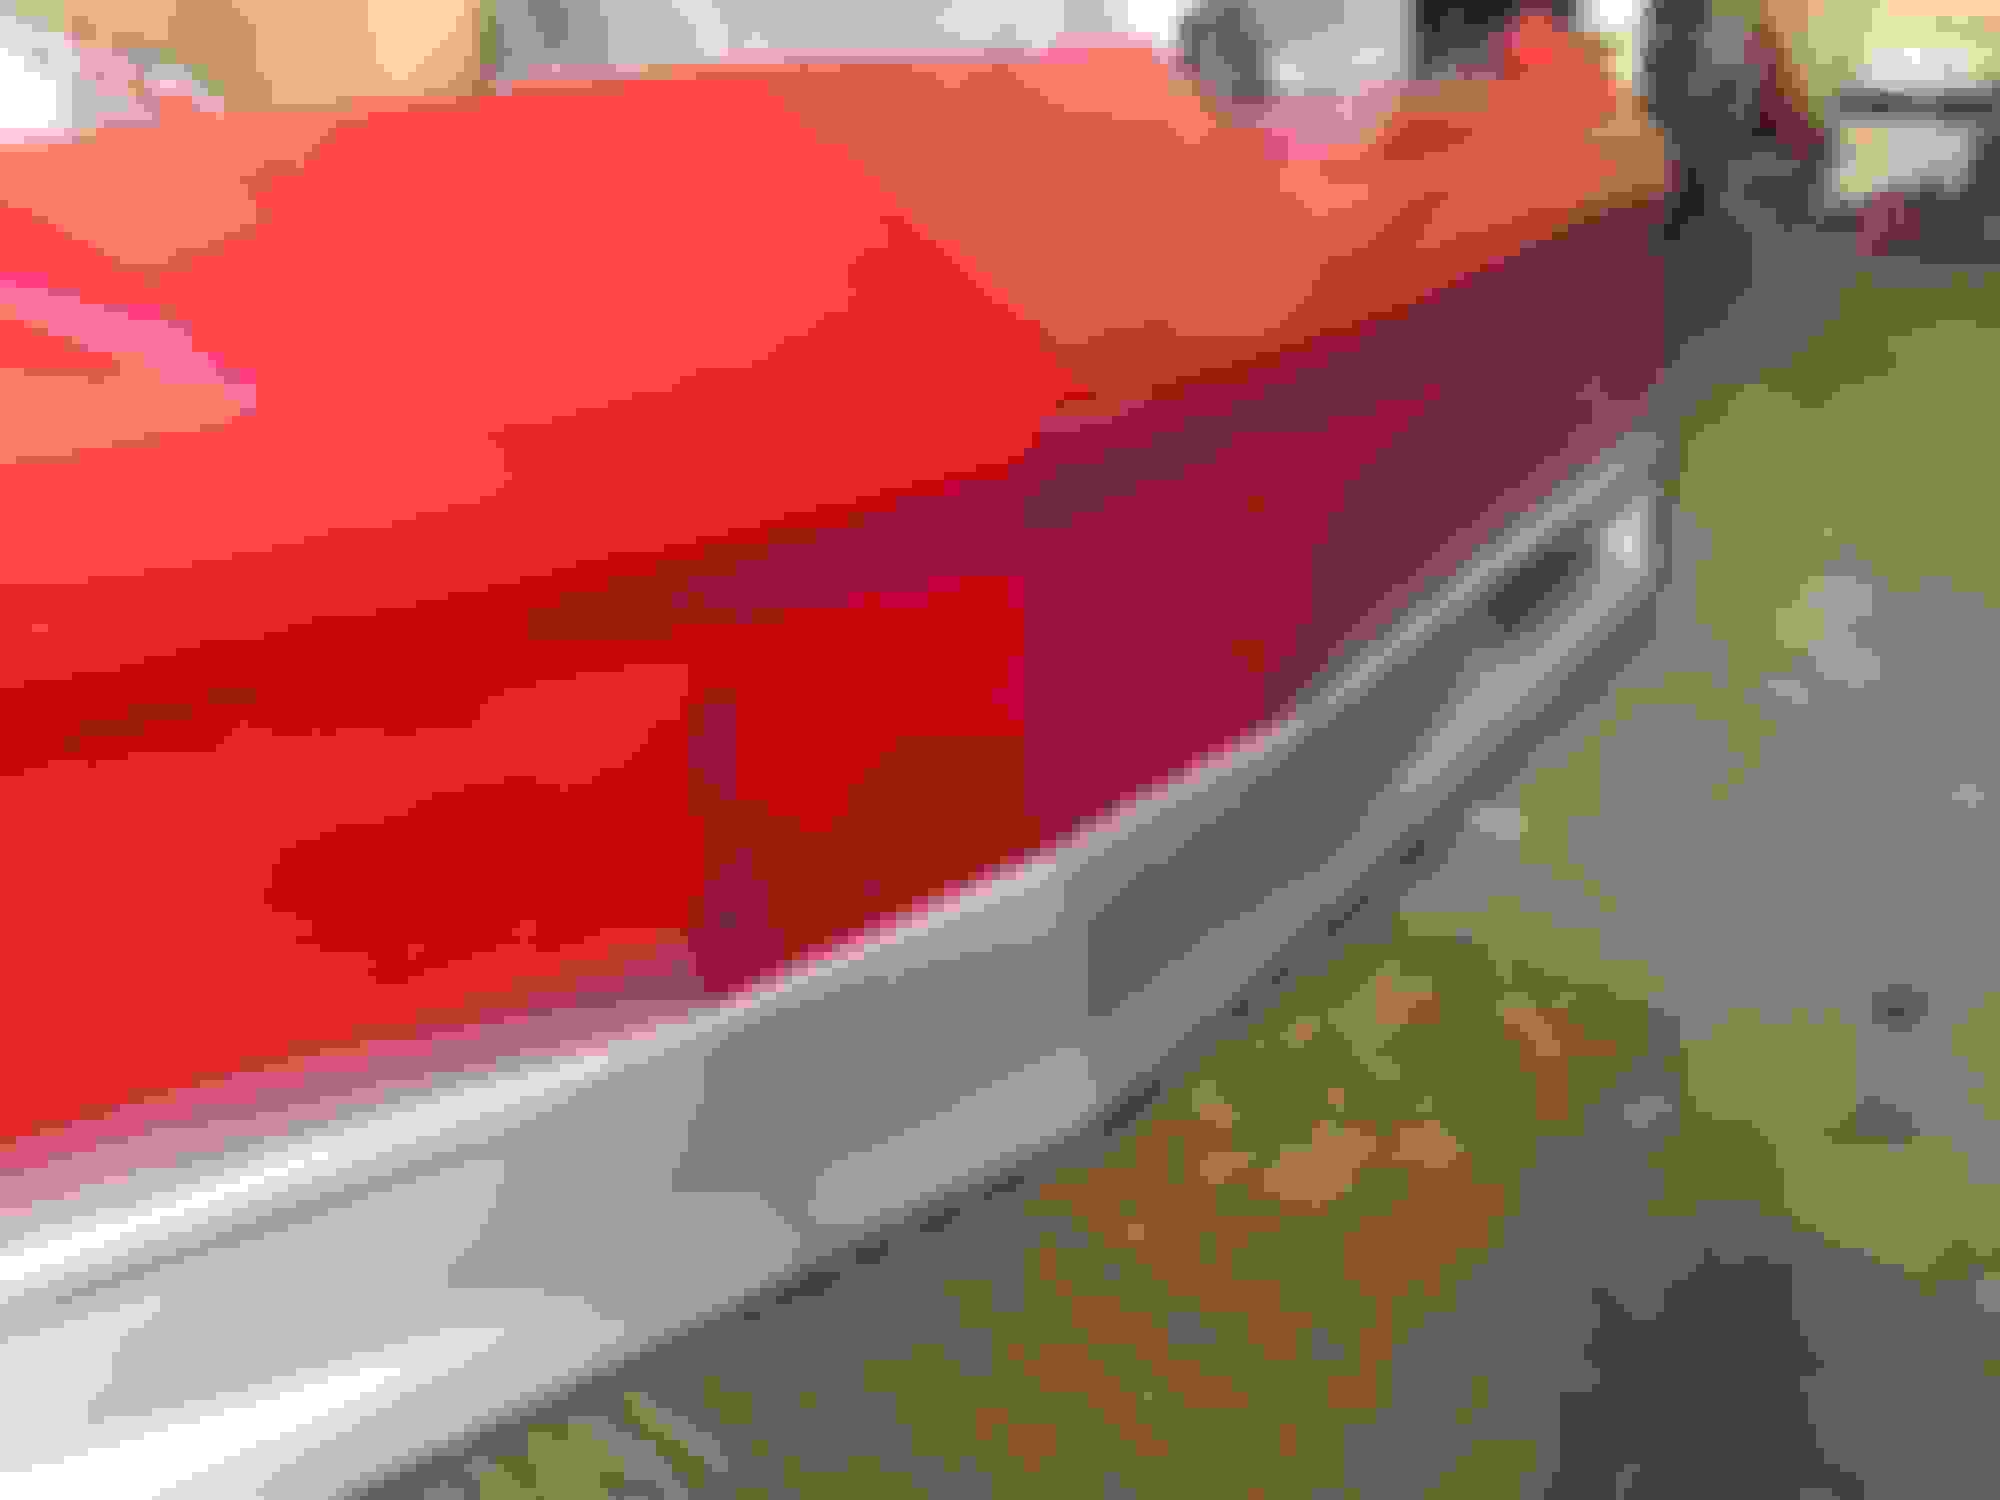
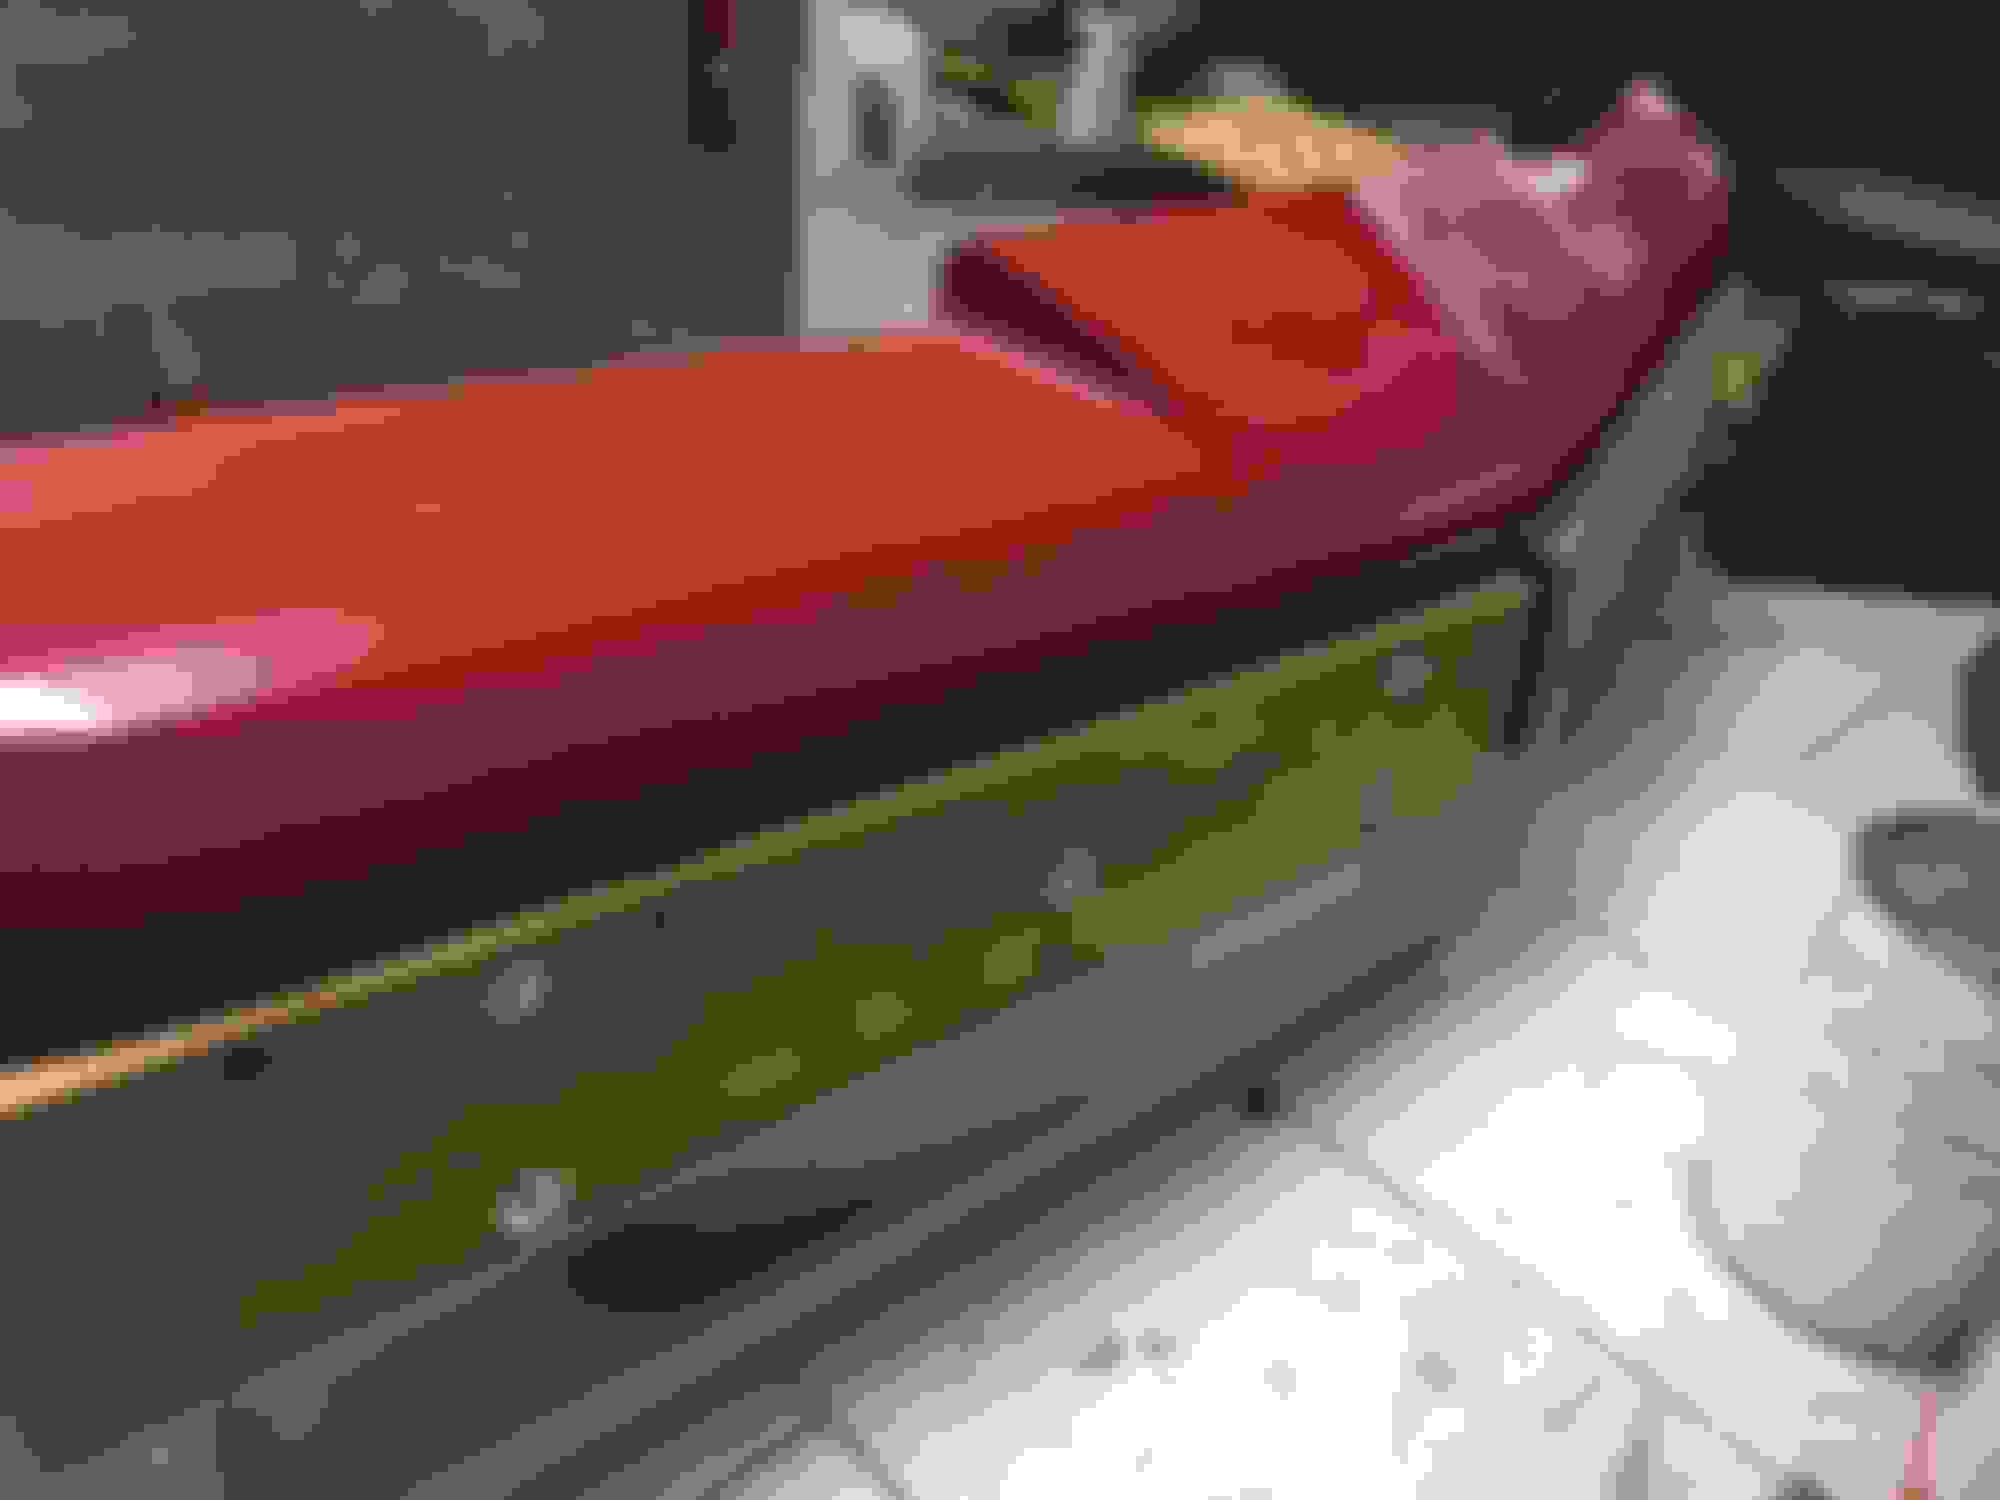
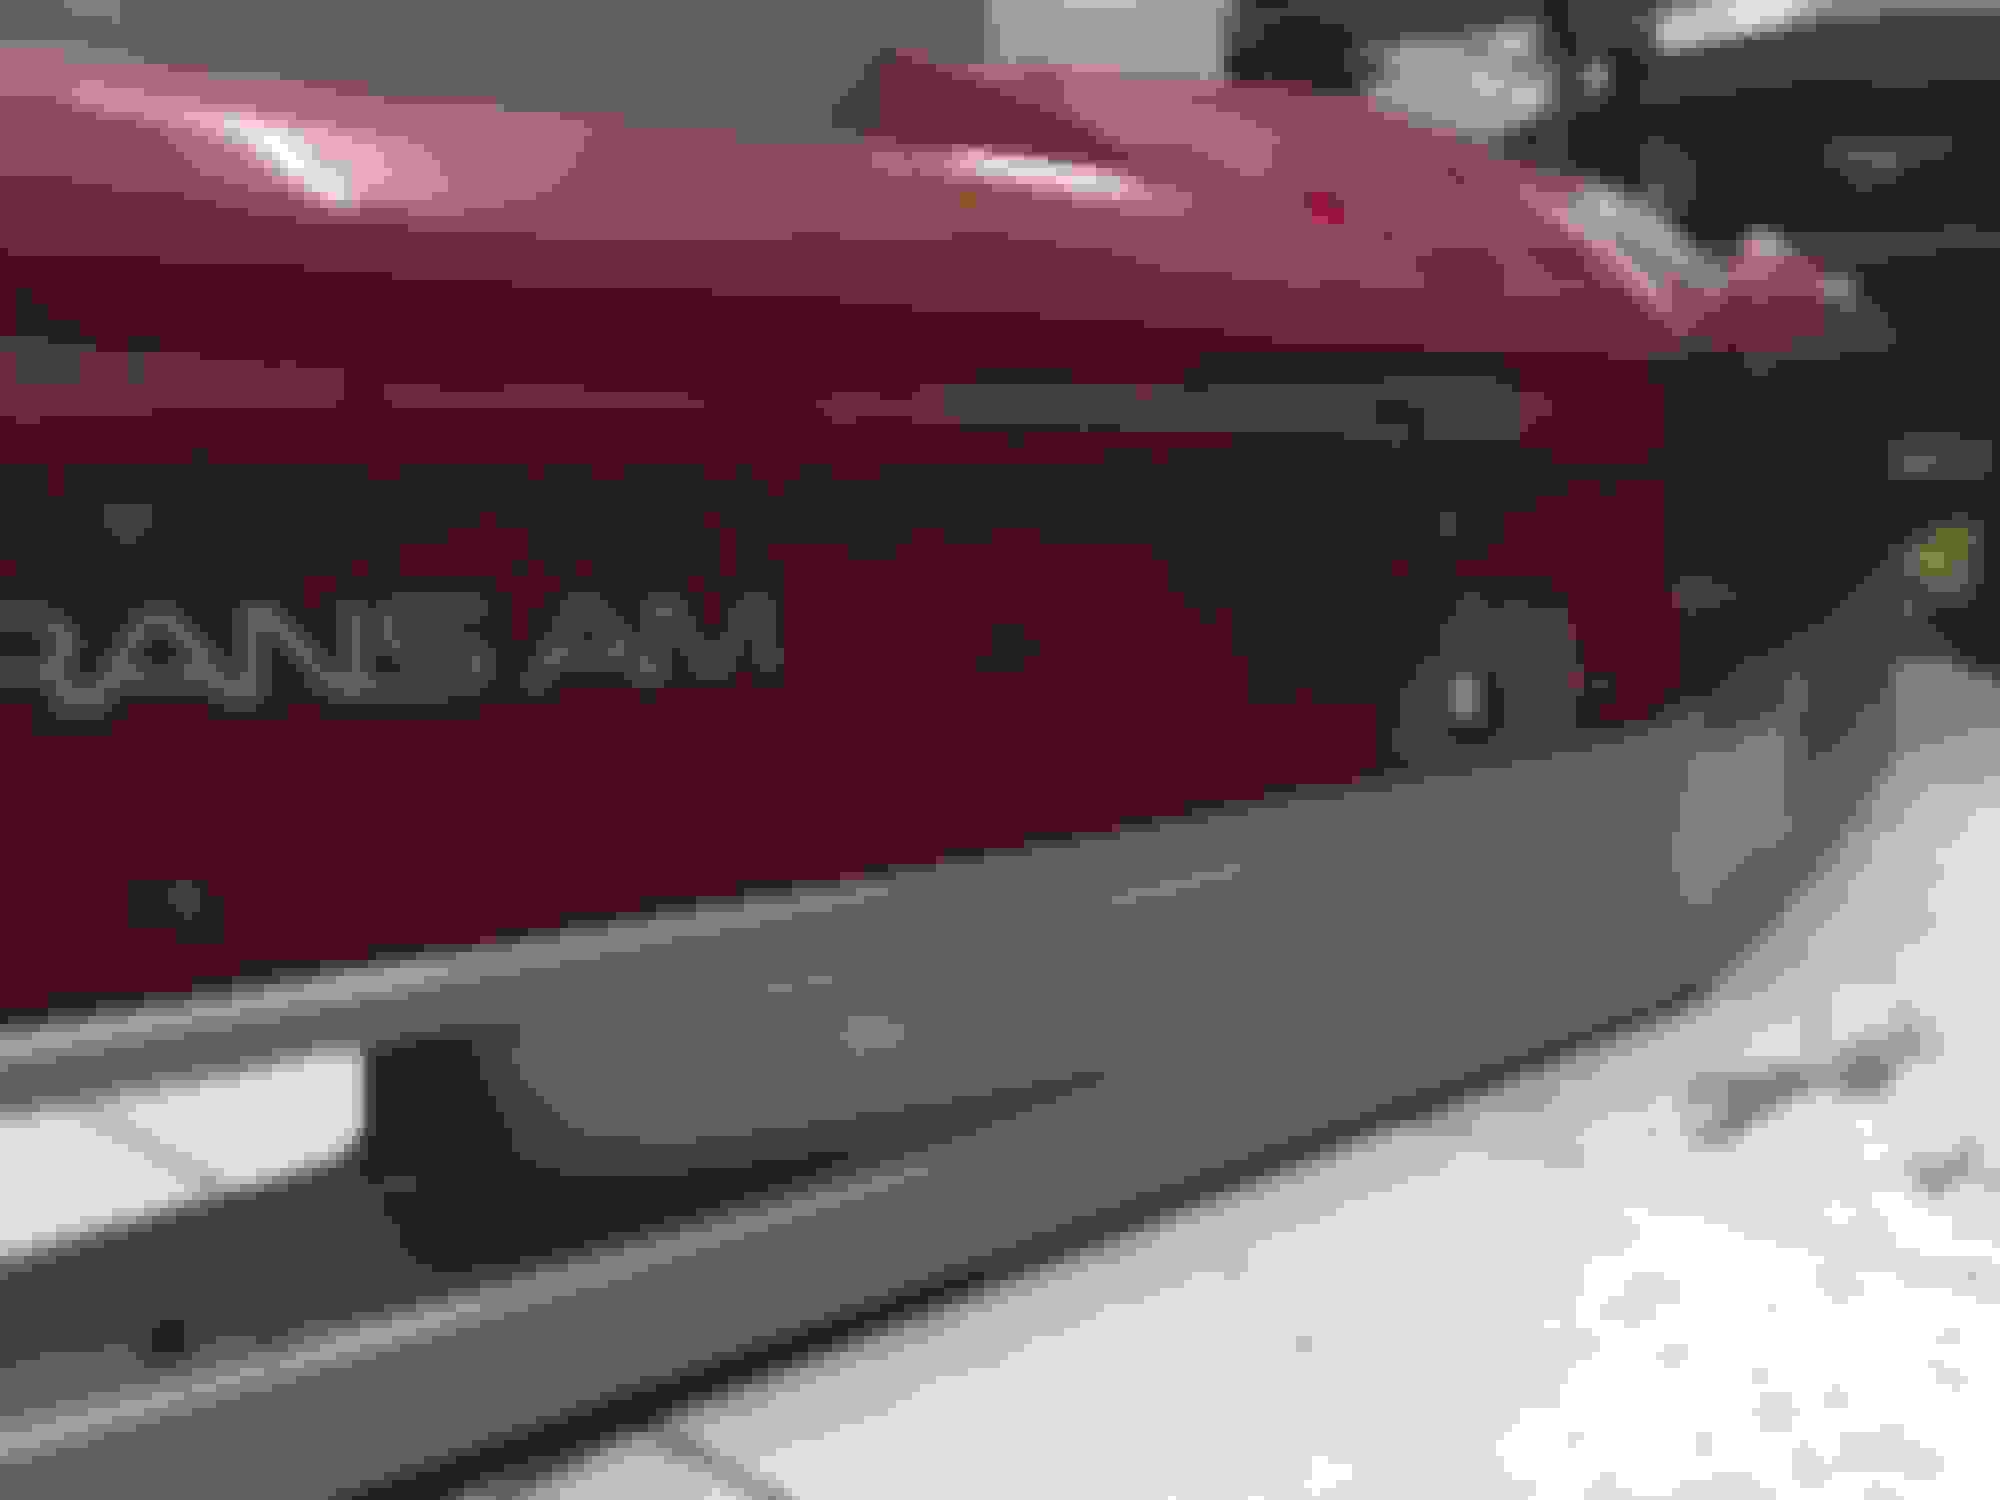
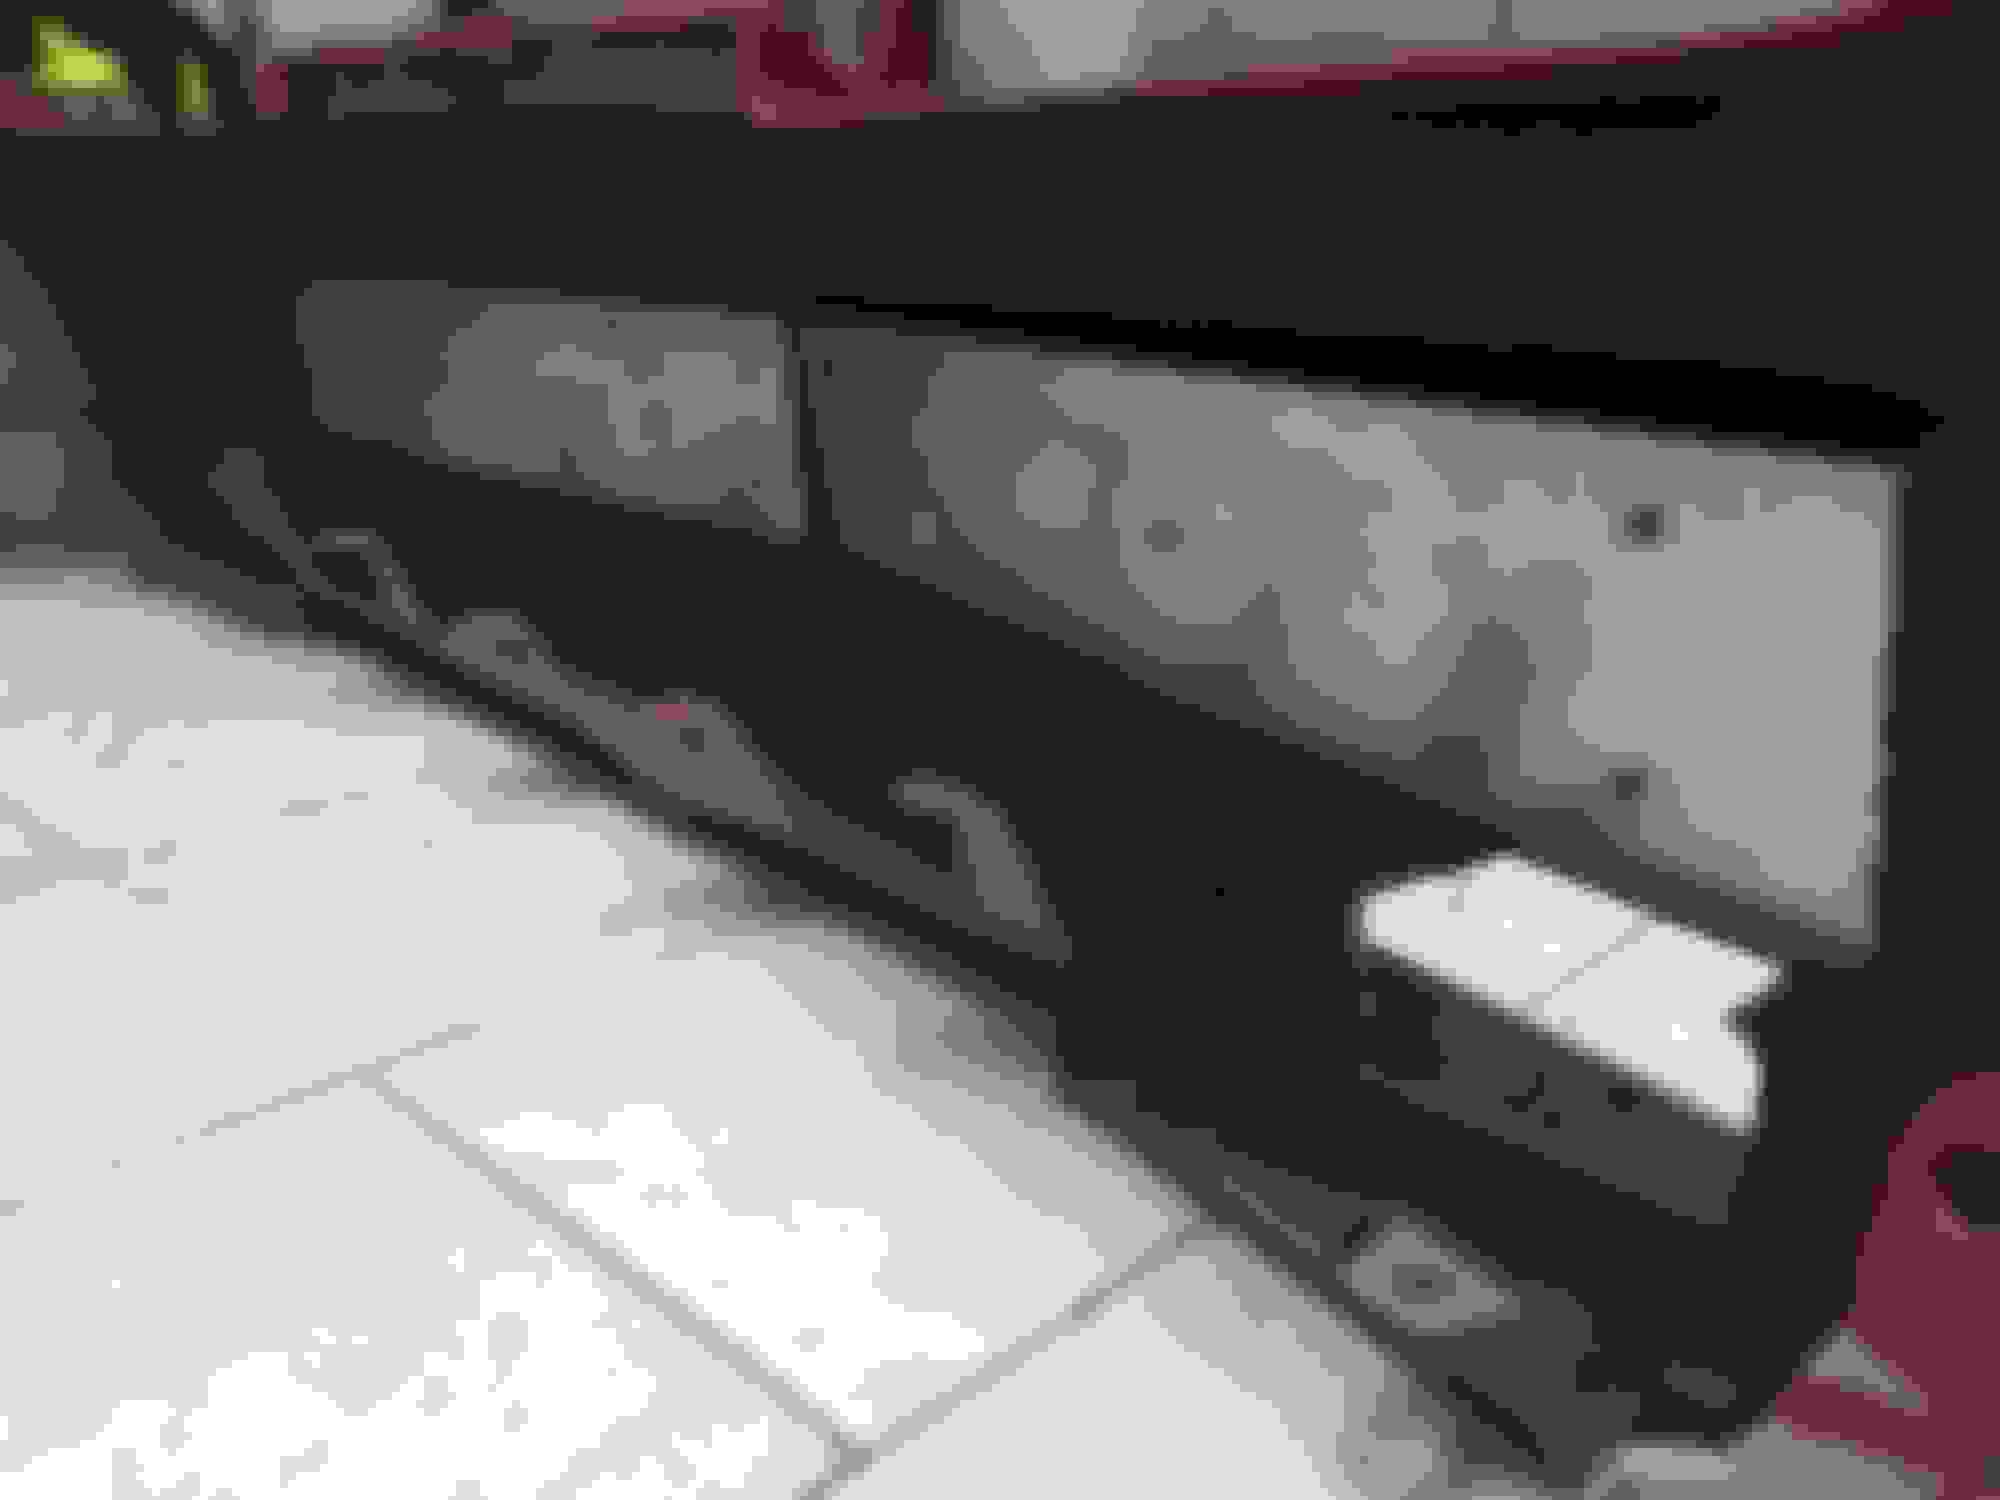
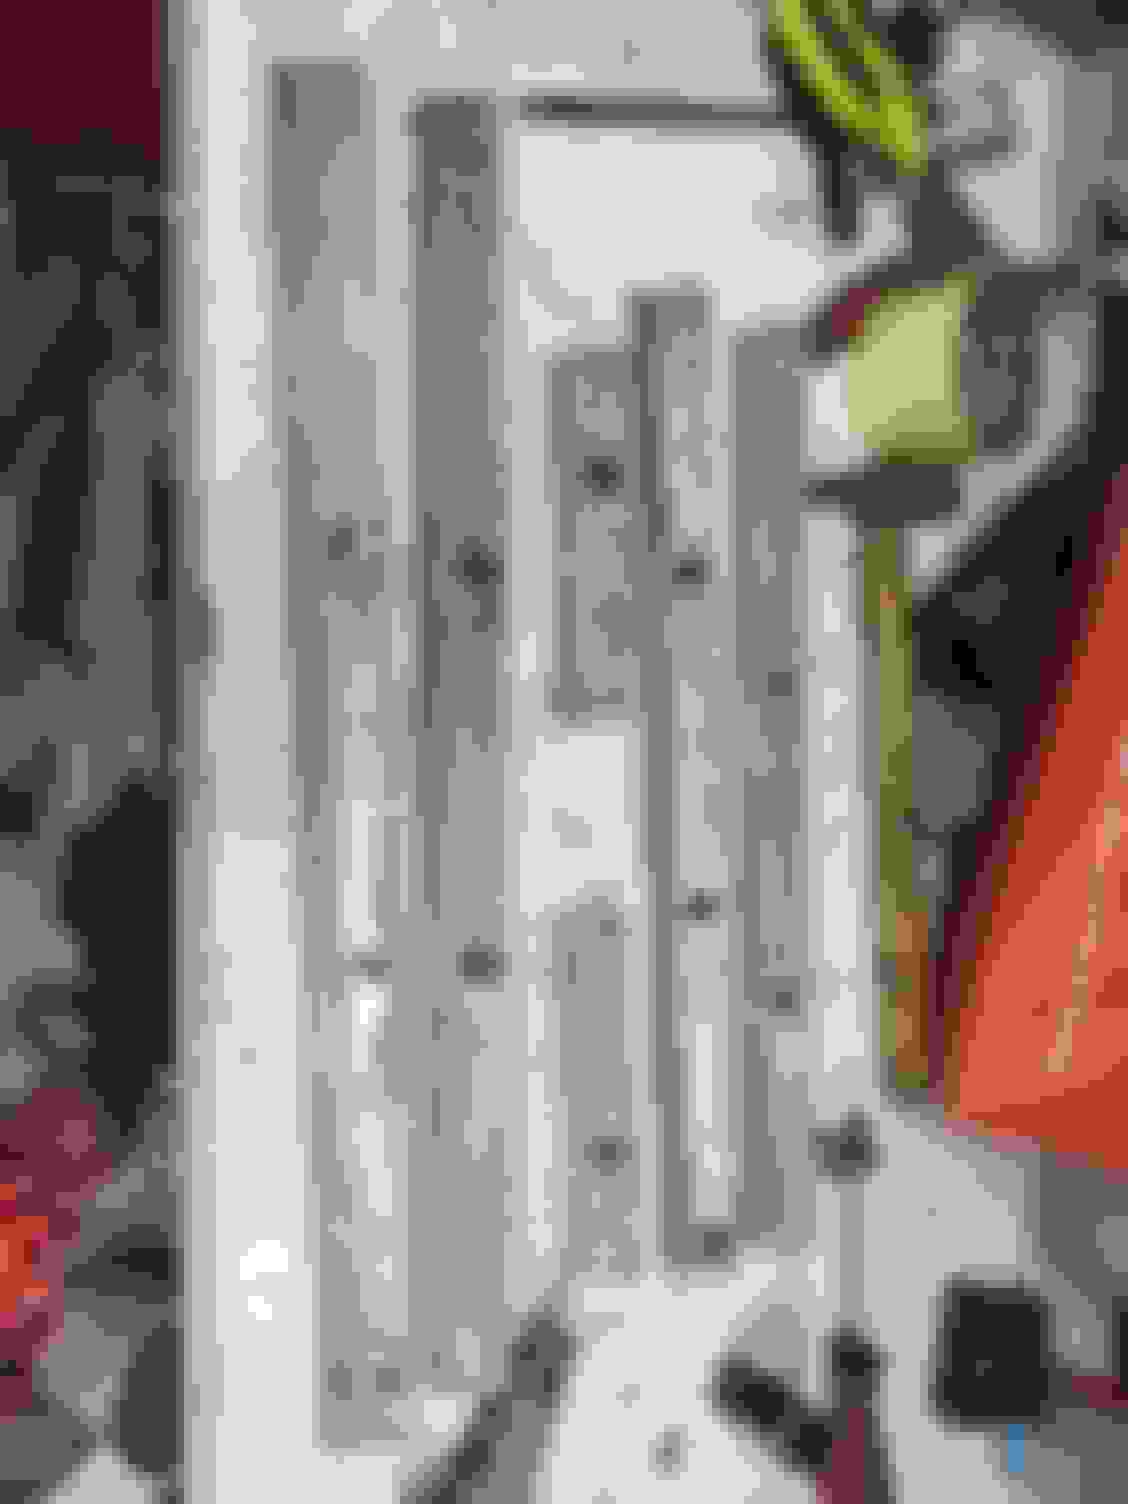
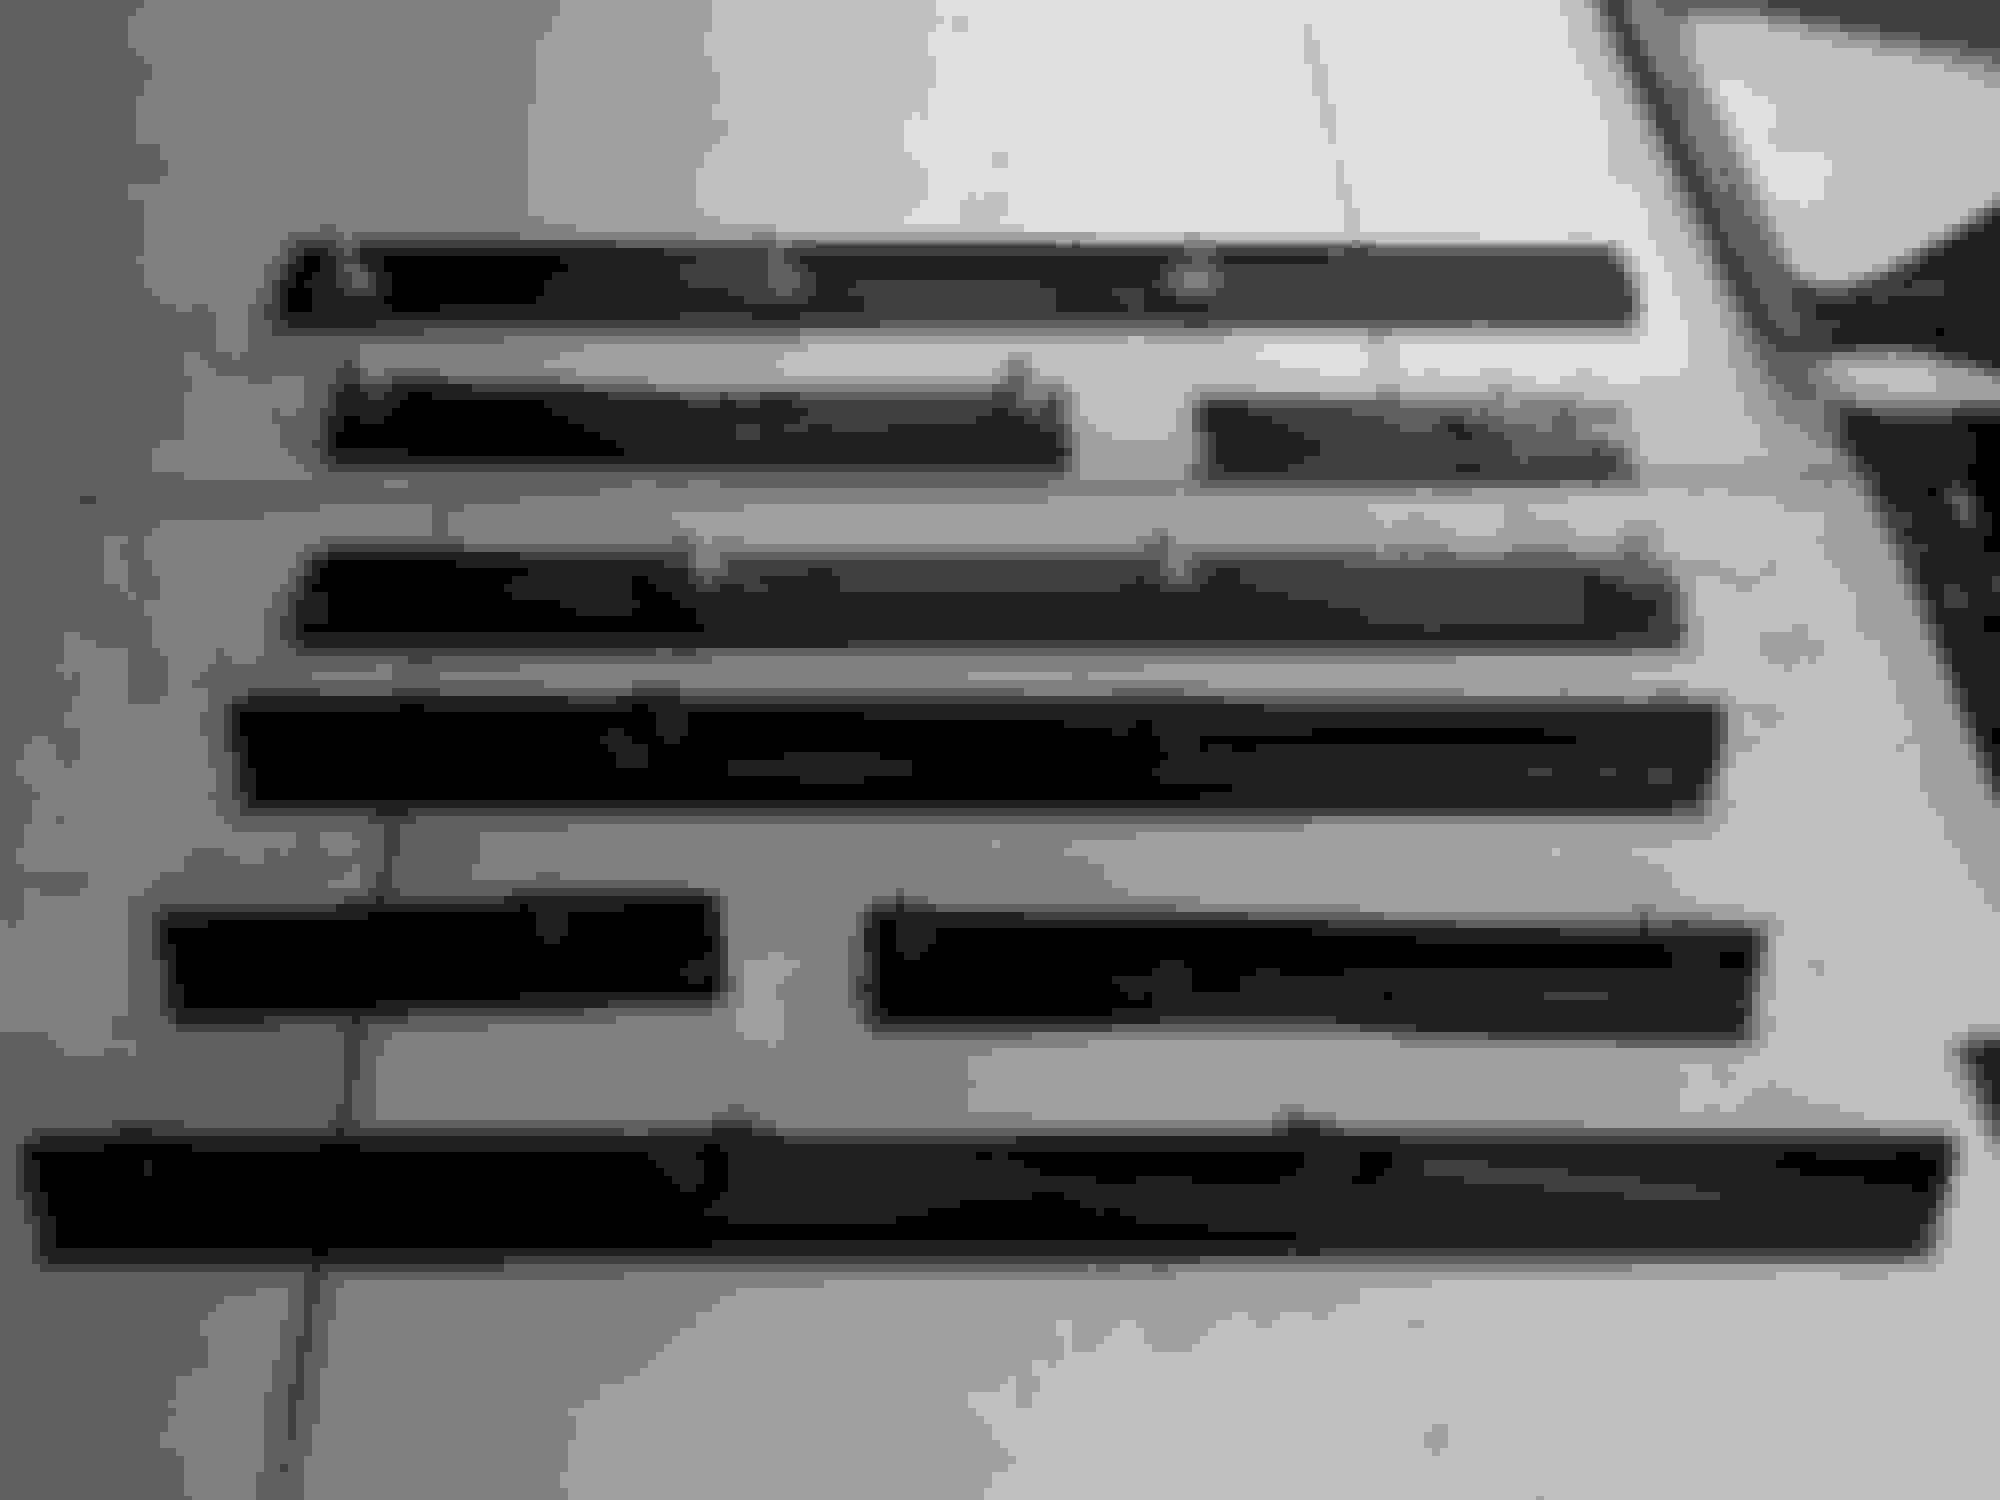
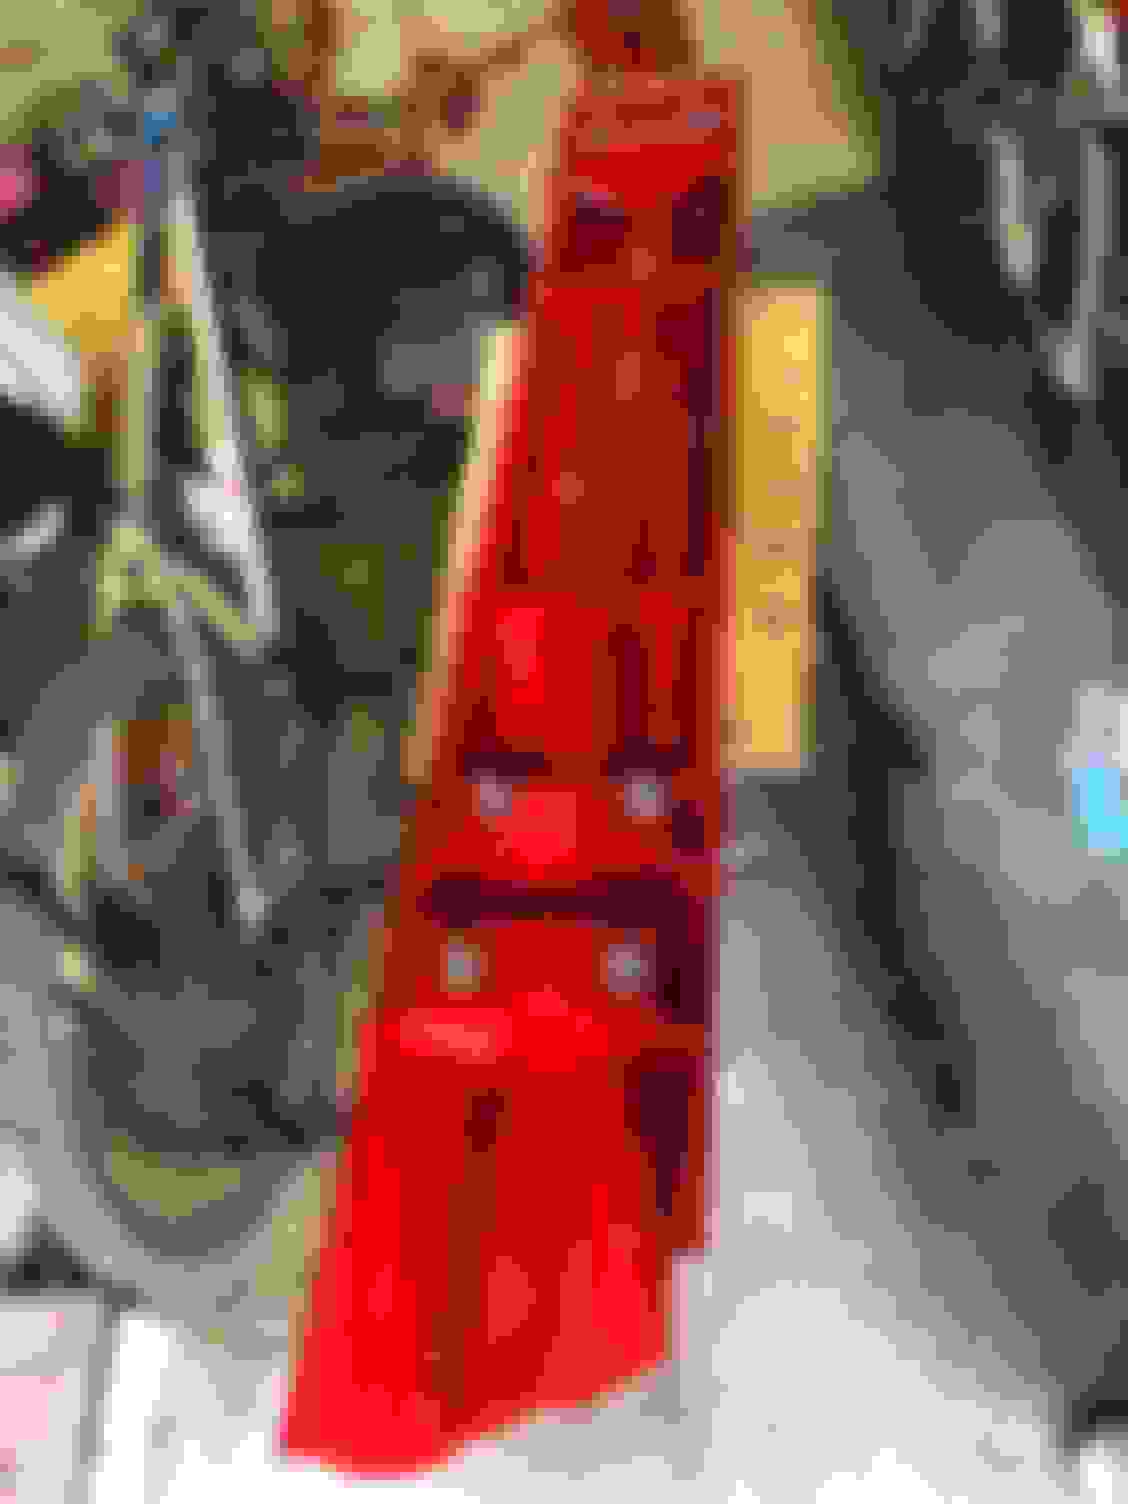
After AN AWFUL LOT of work to get the front skirts straightened up and fixed with Aluminium brackets, I finally managed to complete the front part from top to bottom.
Some pictures below. Next step is side rocker covers.


 02-04-2017, 05:09 AM