When you click on links to various merchants on this site and make a purchase, this can result in this site earning a commission. Affiliate programs and affiliations include, but are not limited to, the eBay Partner Network.
Very nice work! The pics work on my phone but not my PC. Wierd. Makes me rethink parting out a wrecked trans am I have! Haha. I'd love to have that 86 SE hood. I think it's a 2 year only hood. I have a 86 SE in the junk pile myself waiting on its turn.
I appreciate all the kind words everyone!!! Definitely an overwhelming/exhausting project at some points but will be worth it in the end. And spudz I haven't decided what I want to do with that S/E hood. I'd consider selling it if the price was right but then again I was thinking about using it on my 1987 Trans Am GTA. It's completely rust free and I haven't found any dents in it yet (there is probably a couple small ones I'm sure).
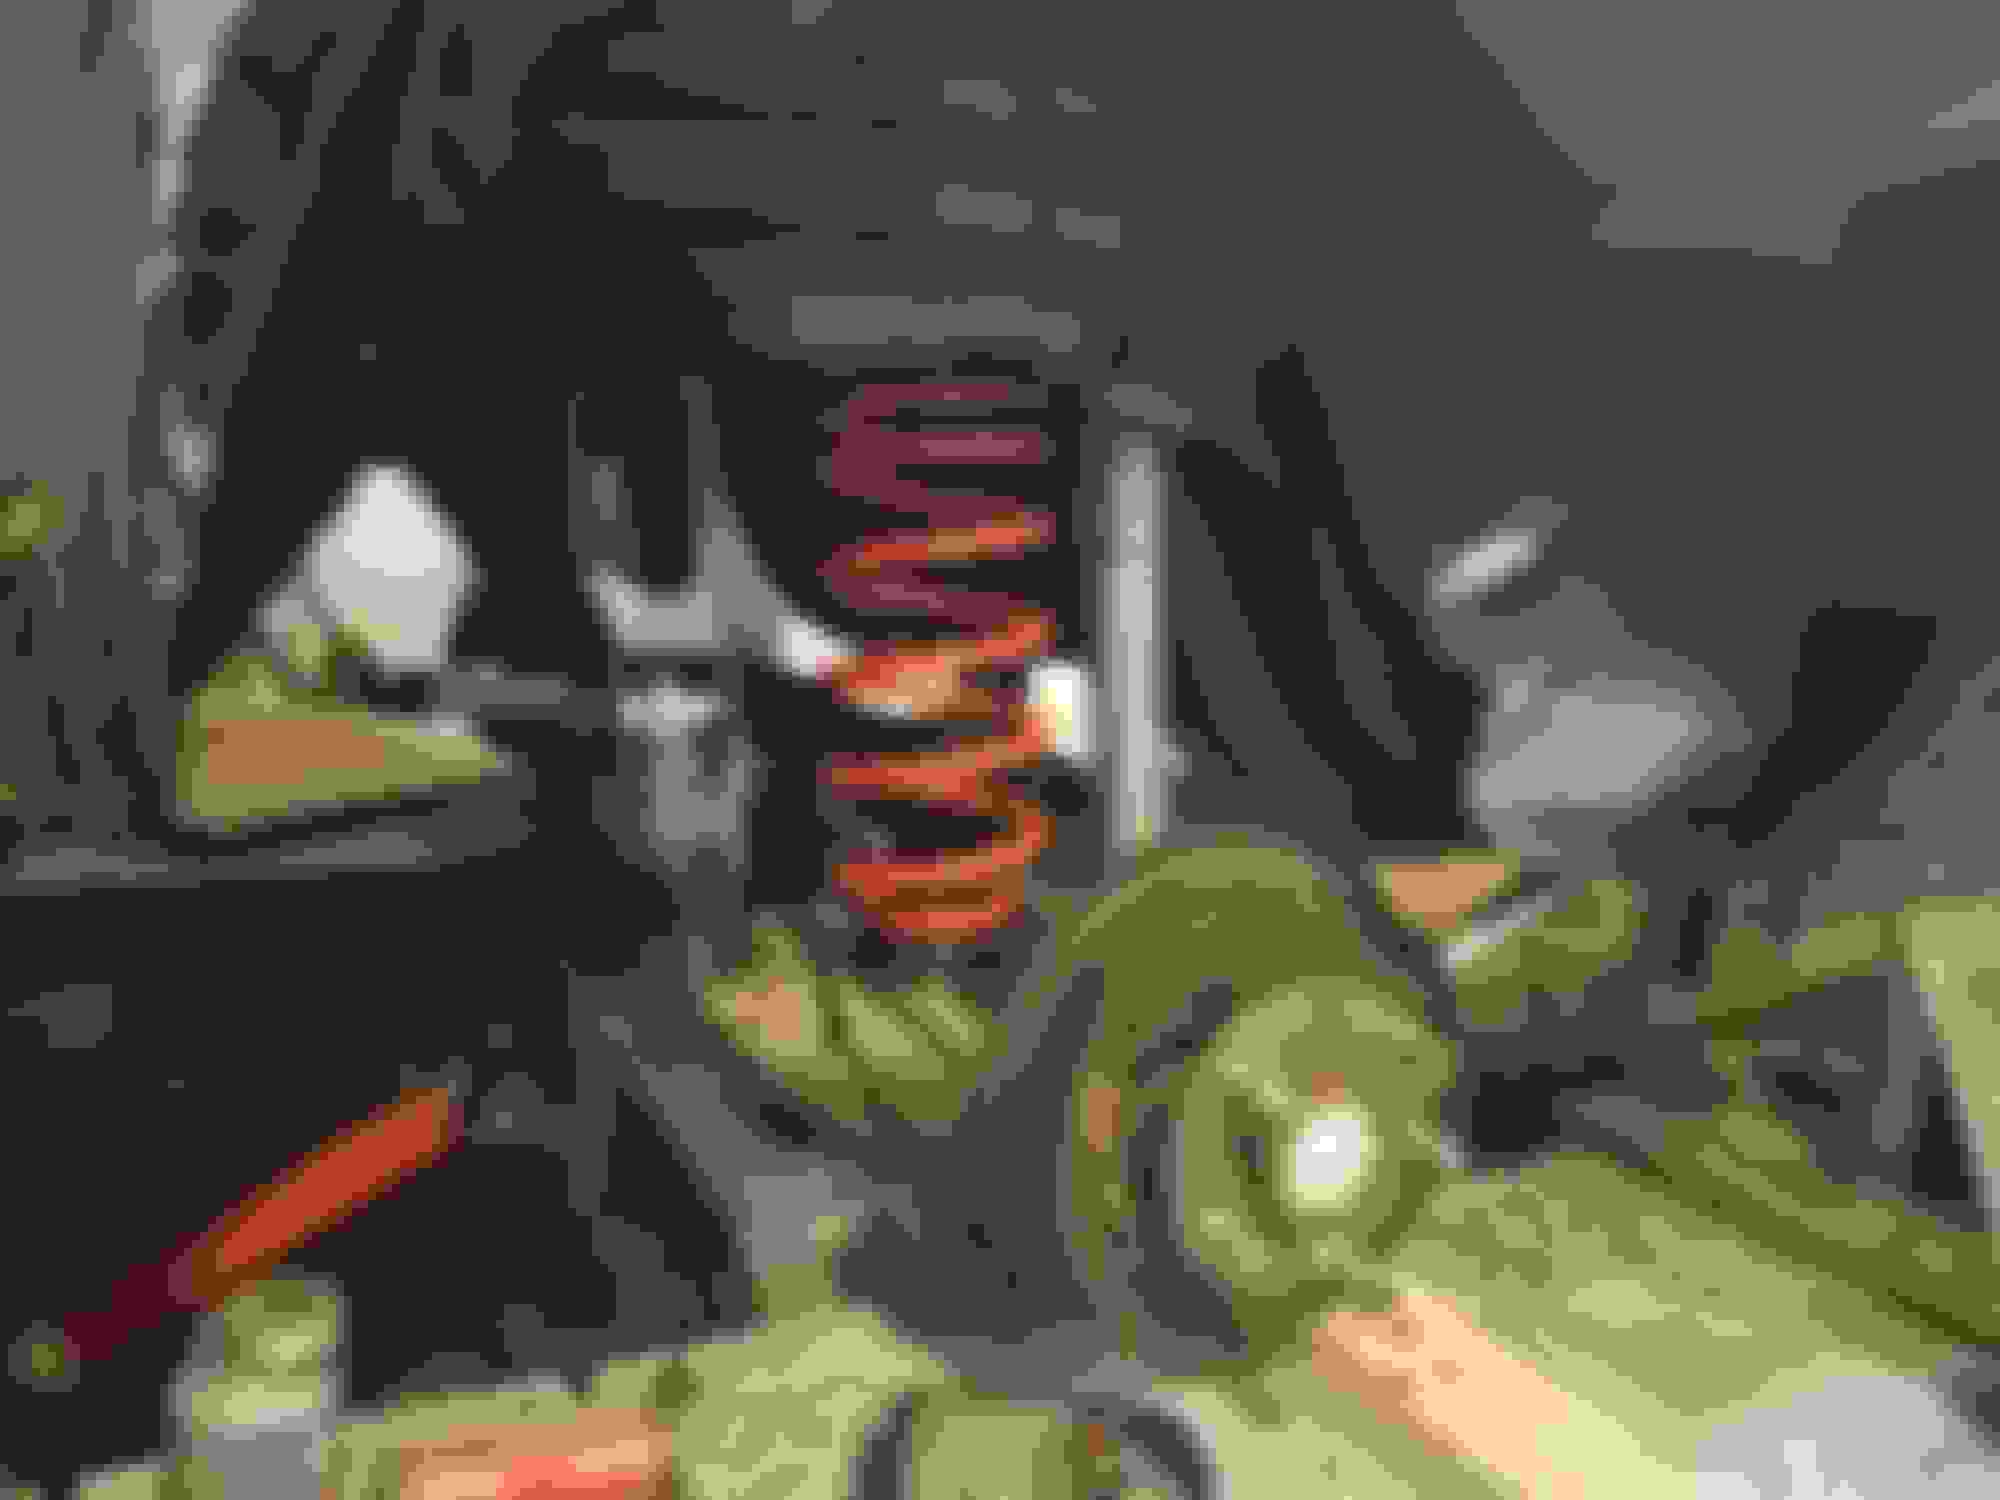
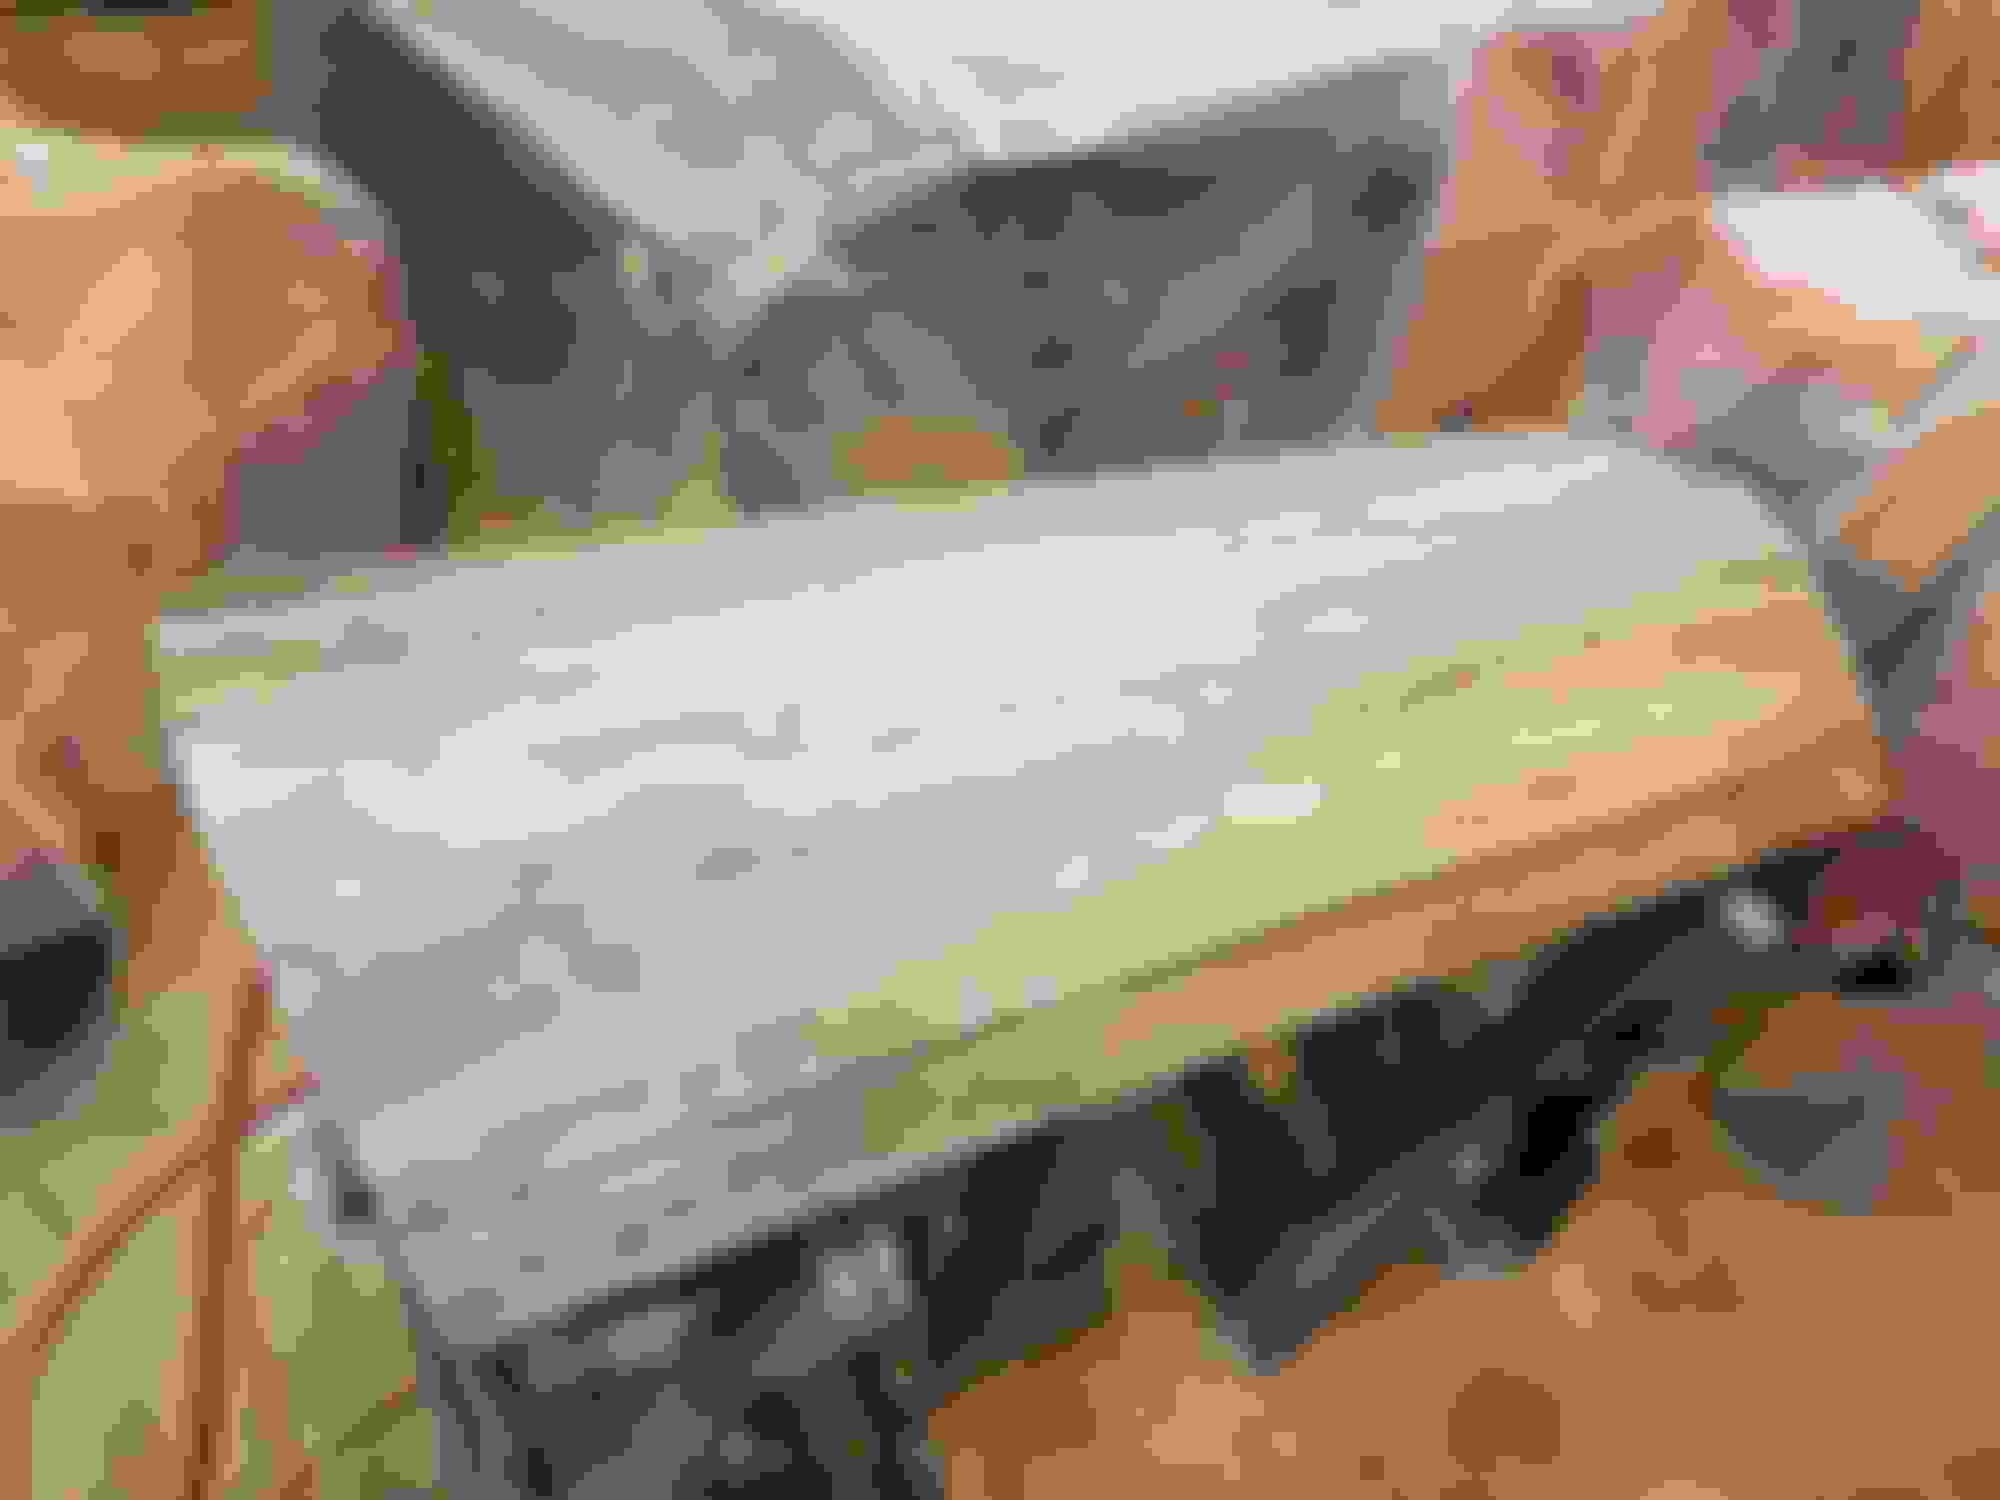
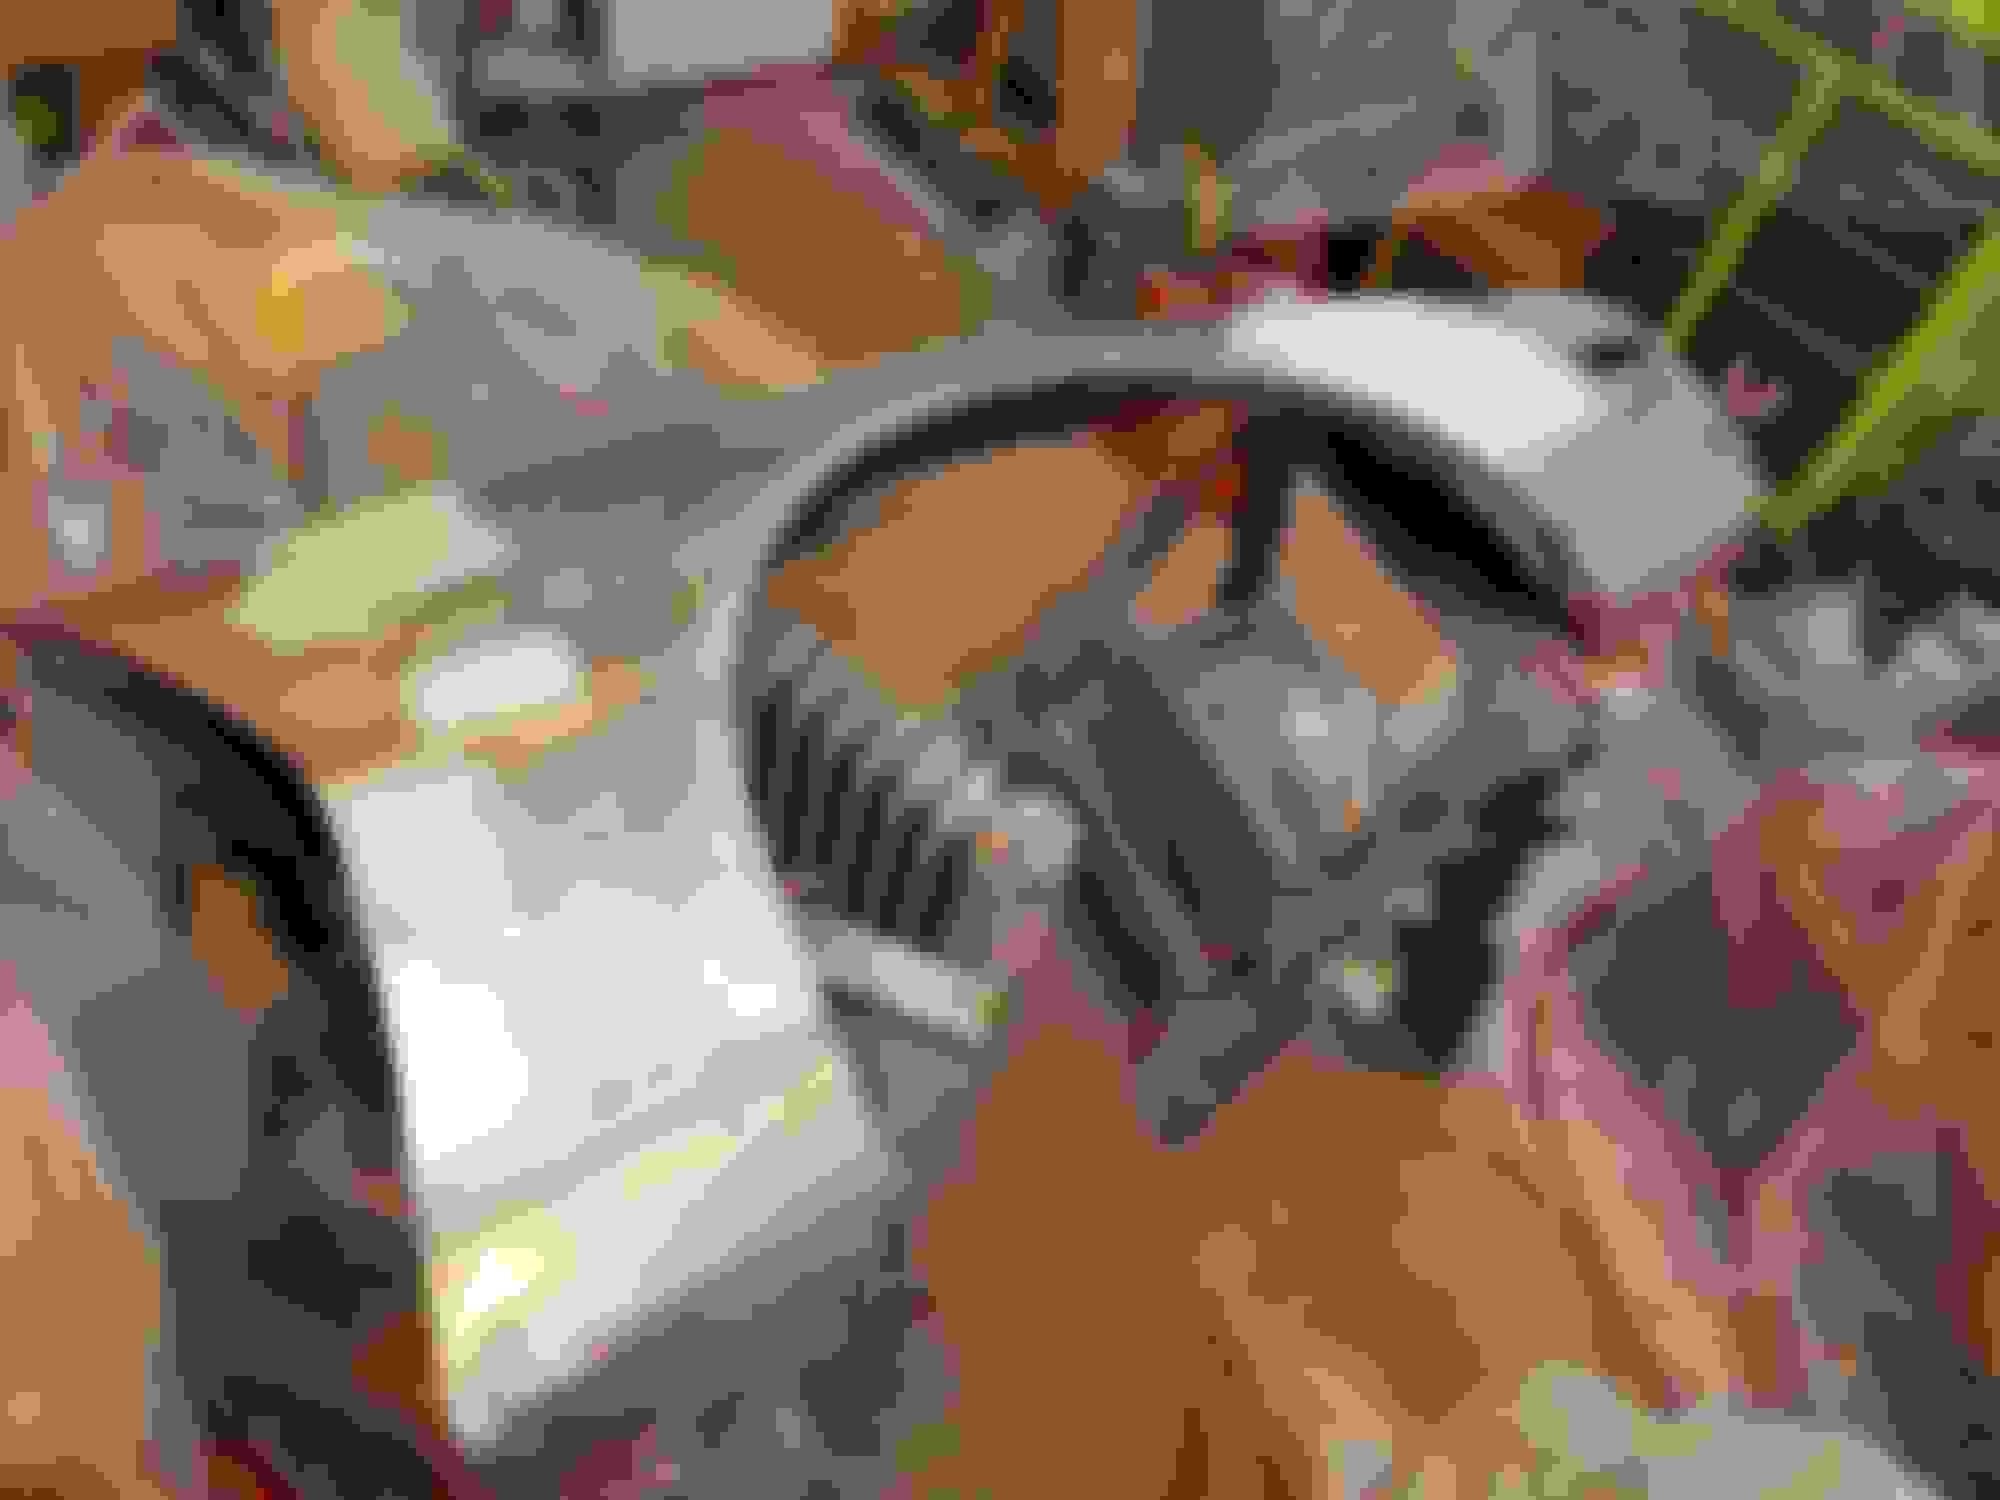
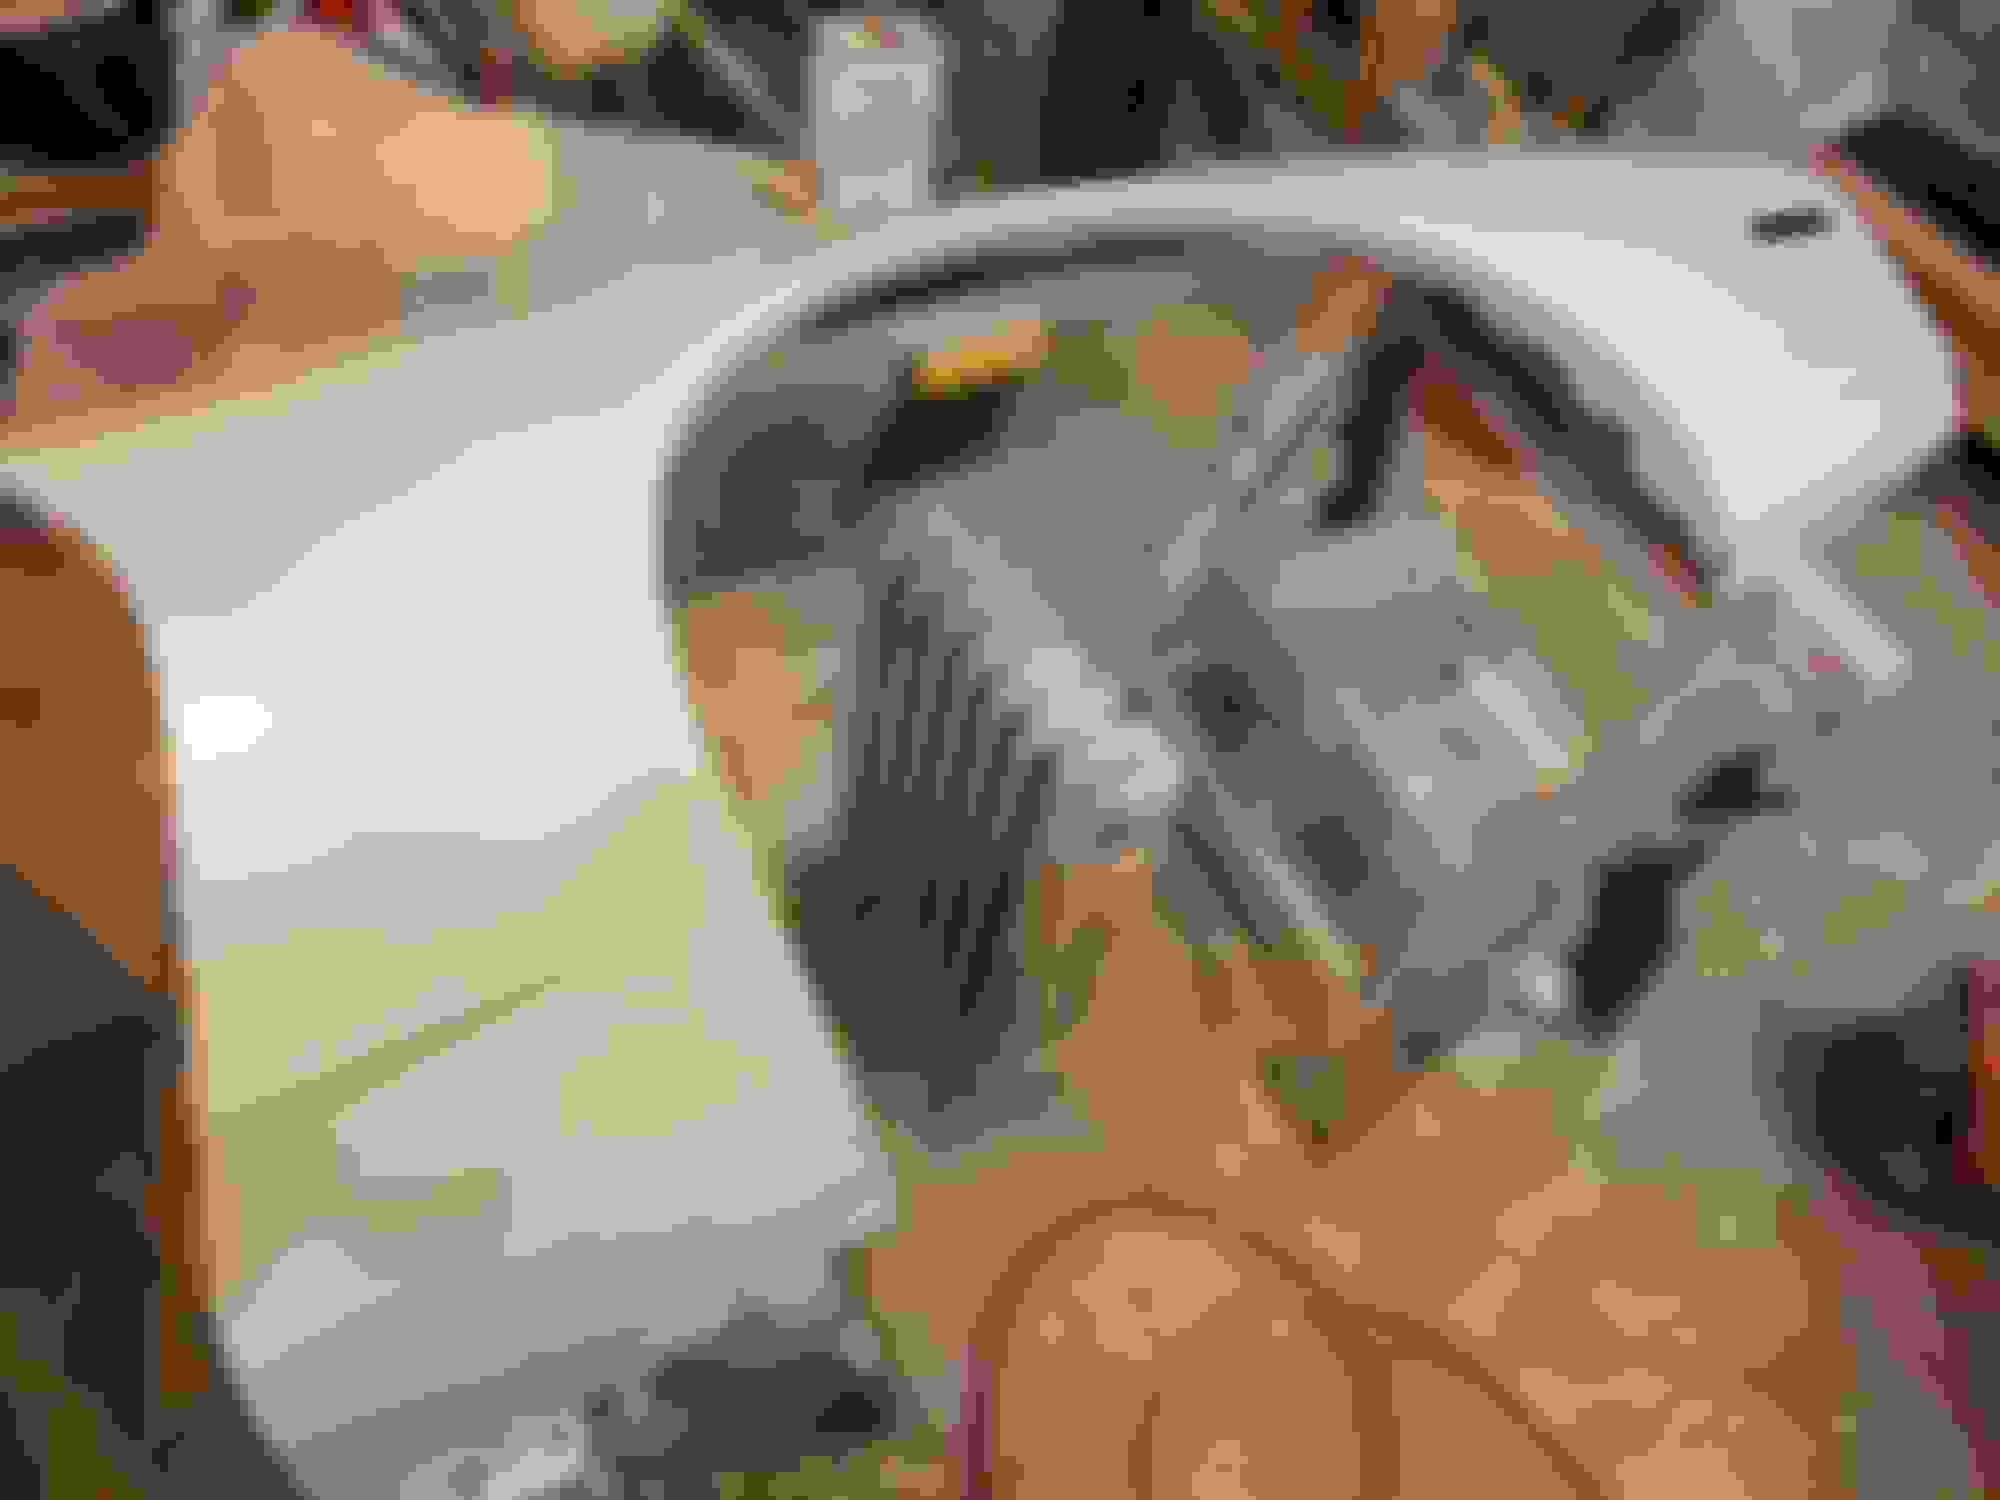
Anyways I have a very overdue update. I have been getting everything winterized so I haven't messed with the car as much as I should. I installed a nice little garage heater for this winter cause last year was miserable working in a winter coat/bibs. Now I should be able to keep it about 60 degrees or so in there. I'm also making a little room for our tractor to squeeze in there. But anyways I just finished up patching the passenger side wheel well and I think it turned out pretty good. Now I'll have to figure out how to get my welder to the other side of the car to do the patch work on it. I think I'm going to go over seems and what not with some POR 15 Patch once everything is welded in. Seems like it'd be perfect for that kinda job.
The lip along the top was pretty much crumbling before. I used the paper and dirty finger method to trace the area so I could make a accurate patch panel.
Been following this since you started, and man, I'm just in awe. It's coming together nicely, and once it's done I think you should win car of the month just by default lol. Keep it up!
Glad you have heat for this winter. Not fun working in the cold.
I had not heard about POR 15 Patch. Interesting stuff. They sold an epoxy putty year ago that I used to patch a few holes. Seems like a similar approach.
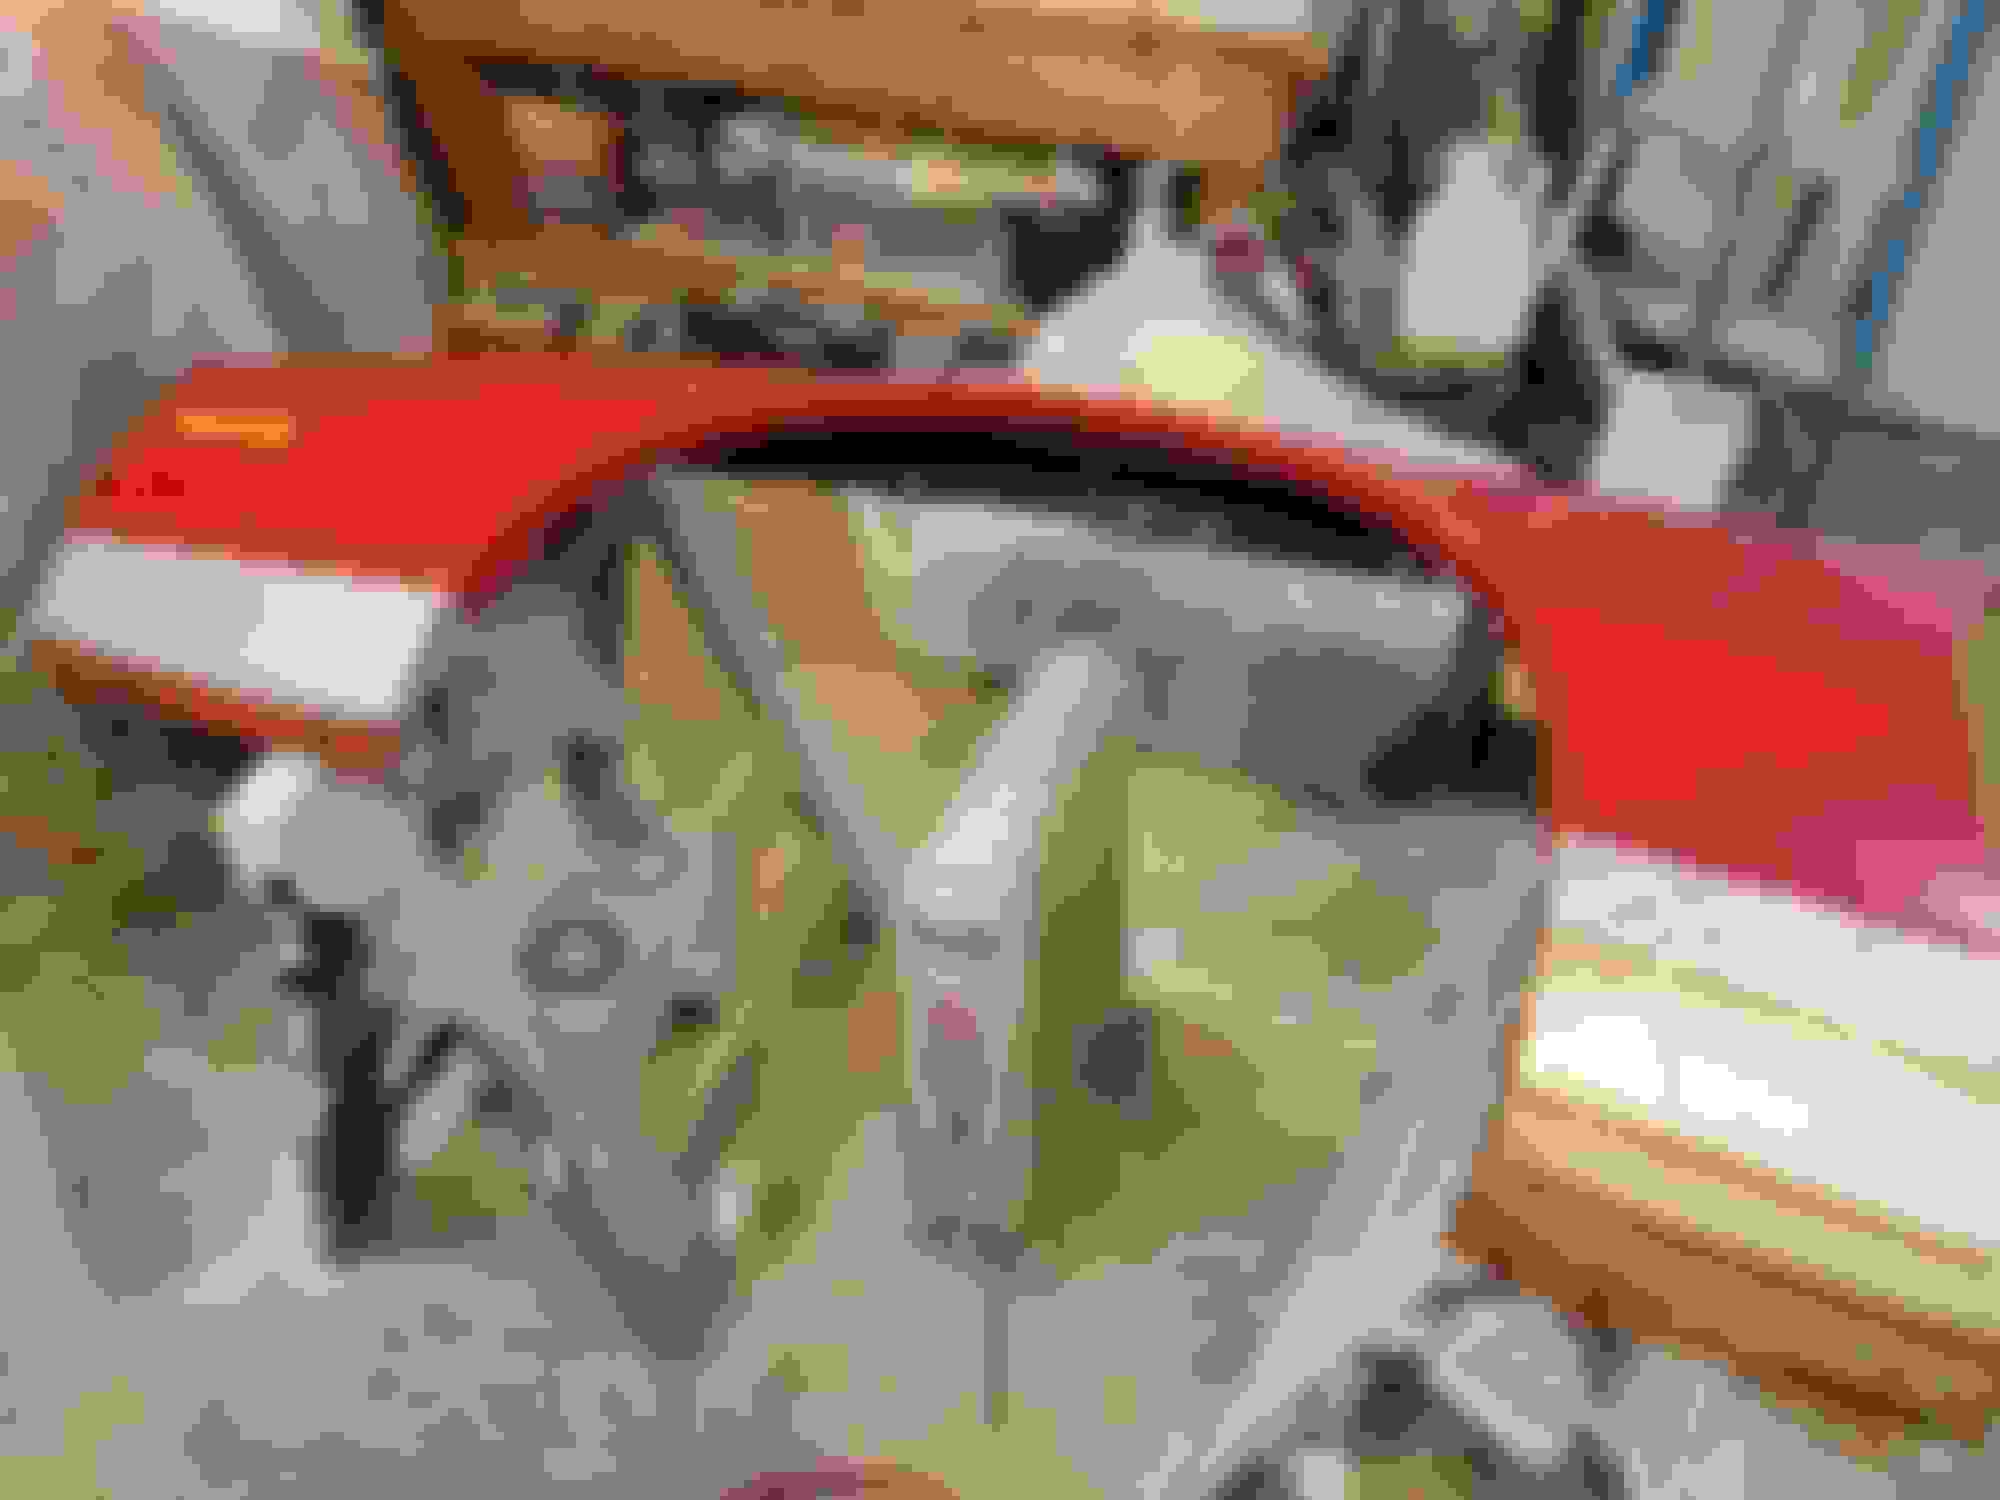
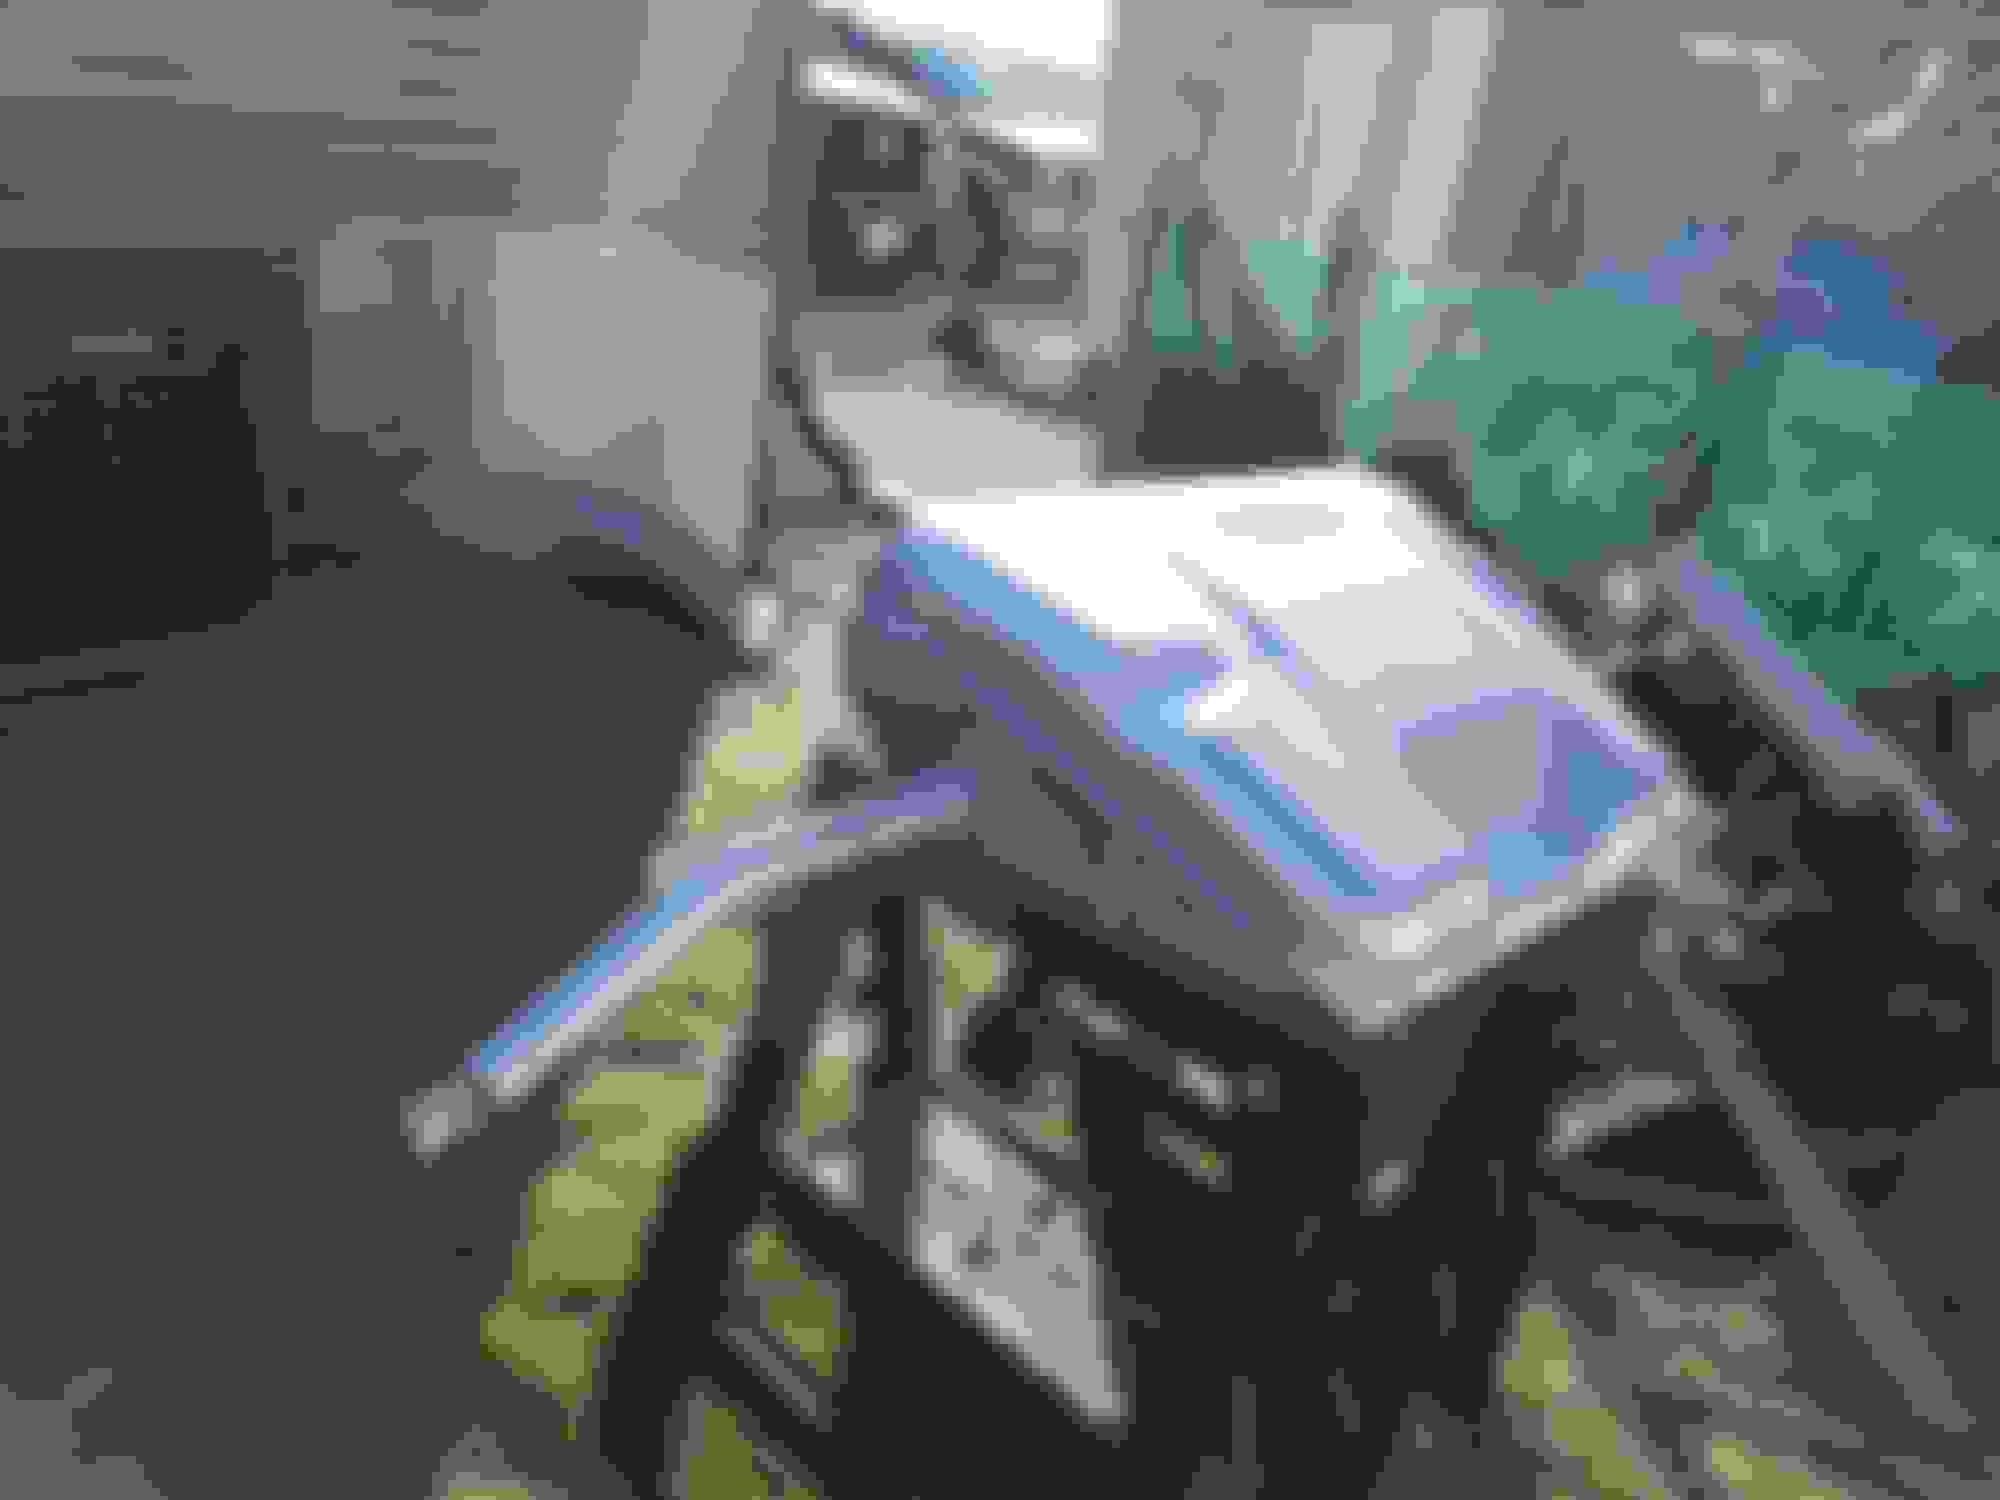
Thanks for the kind words everyone! I feel bad that I haven't updated this in quite awhile, but hey stuff happens. Anyways I've got both my wheel wells done all thats left is some seam sealer and Raptor liner. Currently I am patching the areas in front of the rockers, I thought it was odd because the grey car was honestly super clean. I got the passenger side done and primed. The drivers side is a little worse and will need some more care lol. After these two areas I believe the rest of the patches can be done during bodywork. After this I need to get the underside prepped and primed, then it will get some Raptor liner also. I need to figure out what gas tank I'm gonna be using, I was really considering using a 4th gen tank. After I get that figured out it will be time to start putting some rear suspension back in. Lately I've also been considering the FiTech Ultimate LS Self Tuning EFI kit that just came out. Seems like it'd be great for my Turbo 5.3 and more budget friendly than the holley stuff. Sorry I had to add the pictures on here rather than uploading them to another site and posting them, I couldn't get that site to work.
Got the drivers side all done! That should be it as far as patching rust for now. Theres a few spots in the rockers that need some attention but those can wait till bodywork. I need to work on fixing the trunk pan and getting the square tubing welded in the rockers next.
The wheel wells are almost ready to be primed. I did some seam sealing with the POR Patch. My fantastic helper lent a finger to help spread the POR Patch on a few areas. Tomorrow I will shoot some primer!
Keep it up and you'll be ready for this summers activities!!
I see burnouts in my near future.....lots of burnouts!
Got the rear wheel wells all primed, I'm pretty impressed so far with the Rustoleum Self Etching Primer. I also touched up the area behind the fuel tank filler neck splash shield with some undercoat. It was clean back there so I saw no point in removing all of it in that area. Once I Raptor line the bottom side I will do the wheel wells also. Until then those are done for now!
Just read through the complete thread, awesome dedication and skills man. Keep at it, I can't wait to see this thing rolling.
Thanks for reading, and thanks for the kind words! I can't wait to see it roll myself. I'll have to put a seat in it just to remember what it feels like haha
Originally Posted by Bob88GTA
13 months and going strong! Been keeping up with it! You got this.
Thanks for the support I really appreciate it
Originally Posted by thtanner
I read every update. Can't wait to see it together.
I appreciate you reading them! It's gonna be a relief to see it done, I can't wait for that day
Originally Posted by Degweiser
Thank you!!
I finally got the gash from the exhaust hanger welded up. It was cool to see the metal go back in place when I massaged it with a hammer. I also started getting the new battery tray welded in the trunk, fits almost perfect. A few small things left to do and then I'll get going on the subframe connectors. Maybe by the end of this month the car will be almost rolling? I hope to have the underside done and raptor lined at the least!
Got some progress done in the last few weeks. I restored my gas tank and it turned out looking like new. I used Rustoleum aluminum metallic. I need a new sending unit and a Aeromotive 340 pump to finish it up. I just got done welding in the passenger side subframe connector. I wasnt going to pay $330 for Detroit speed subframe connectors so I went and got $50 worth of metal to make my own. I'm gonna tie the S&W subframe connectors into these aswell. So anyone skepticall on the strength of the car after being cut should be confident driving it
So an update is definitely overdue here. All I can say is working full time, going to school 2 days a week, and having a project car keeps you busy! In that time my dad got a 91' Mustang LX and I bought a 1982 Firebird SE to part out.I saw that Craigslist ad where the guy used a pic of my car, kinda odd how he found and used that pic? Anyways I got the custom subframe connectors completely done and seam sealed the welds up. The bottom of car is prepped and ready for some raptor liner. Me and my girlfriend made a little custom booth to keep from getting overspray all over this evening. I ordered a stainless brake line set of classic tube so I'll be all ready to button up the underside after I weld in the S&W subframe connectors. I have a set of 4th Gen LT1 fuel lines that were removed out of a firebird back when they were fairly new. I also bought a Aeromotive 340 Stealth pump. So this weekend I should be spraying some raptor liner on the bottom of the car, which means it'll be rolling in no time!
I ran into T-Top350 at Cars and Coffee a few weeks ago. You'll be there too in no time.
You ran into Tony? Tell him watch where he's going next time . I'll definitely make it up to cars and coffee when it's done.
I guess I kinda hit another milestone today. It was a pretty productive Sunday I would say. I installed a brand new sending unit and Aeromotive 340 Stealth fuel pump in my gas tank and got it ready to install. I also raptor lined the bottom side, it was pretty easy to spray with the U-POL spray gun. About 40 PSI worked good for me spraying in a tight space. The underside turned out great. Now it's all down hill from here. I'll be installing the gas tank tomorrow. The front suspension and steering is done minus the steering gear box. I ordered a Astro Van steering shaft now I just need to figure out if I want a new gear box or if I should reseal my stock one. Either way it seems risky. Gotta weld in the S&W subframe connectors too! I went and visited the other half of that 86' SE also
Thinking about buy the other half and building another car?
I do have 2 other parts cars....dont tempt me
Originally Posted by TEDSgrad
If you put a table in front of it, you could make a booth out of it - a backseat booth for the man cave (LOL).
I really want to do something cool with it, my thought was make it look like the car drove through the wall or something. If I had a basement I totally would!
Originally Posted by 88Greg
Are those aftermarket axles on that rearend ?
My rear end, yes. Her rear end, stock
Last night I got the gas tank In! I am going to get the rear end ready to go in this week
Thanks! We did not test the fuel pump first I guess I got a lot of faith in it lol.
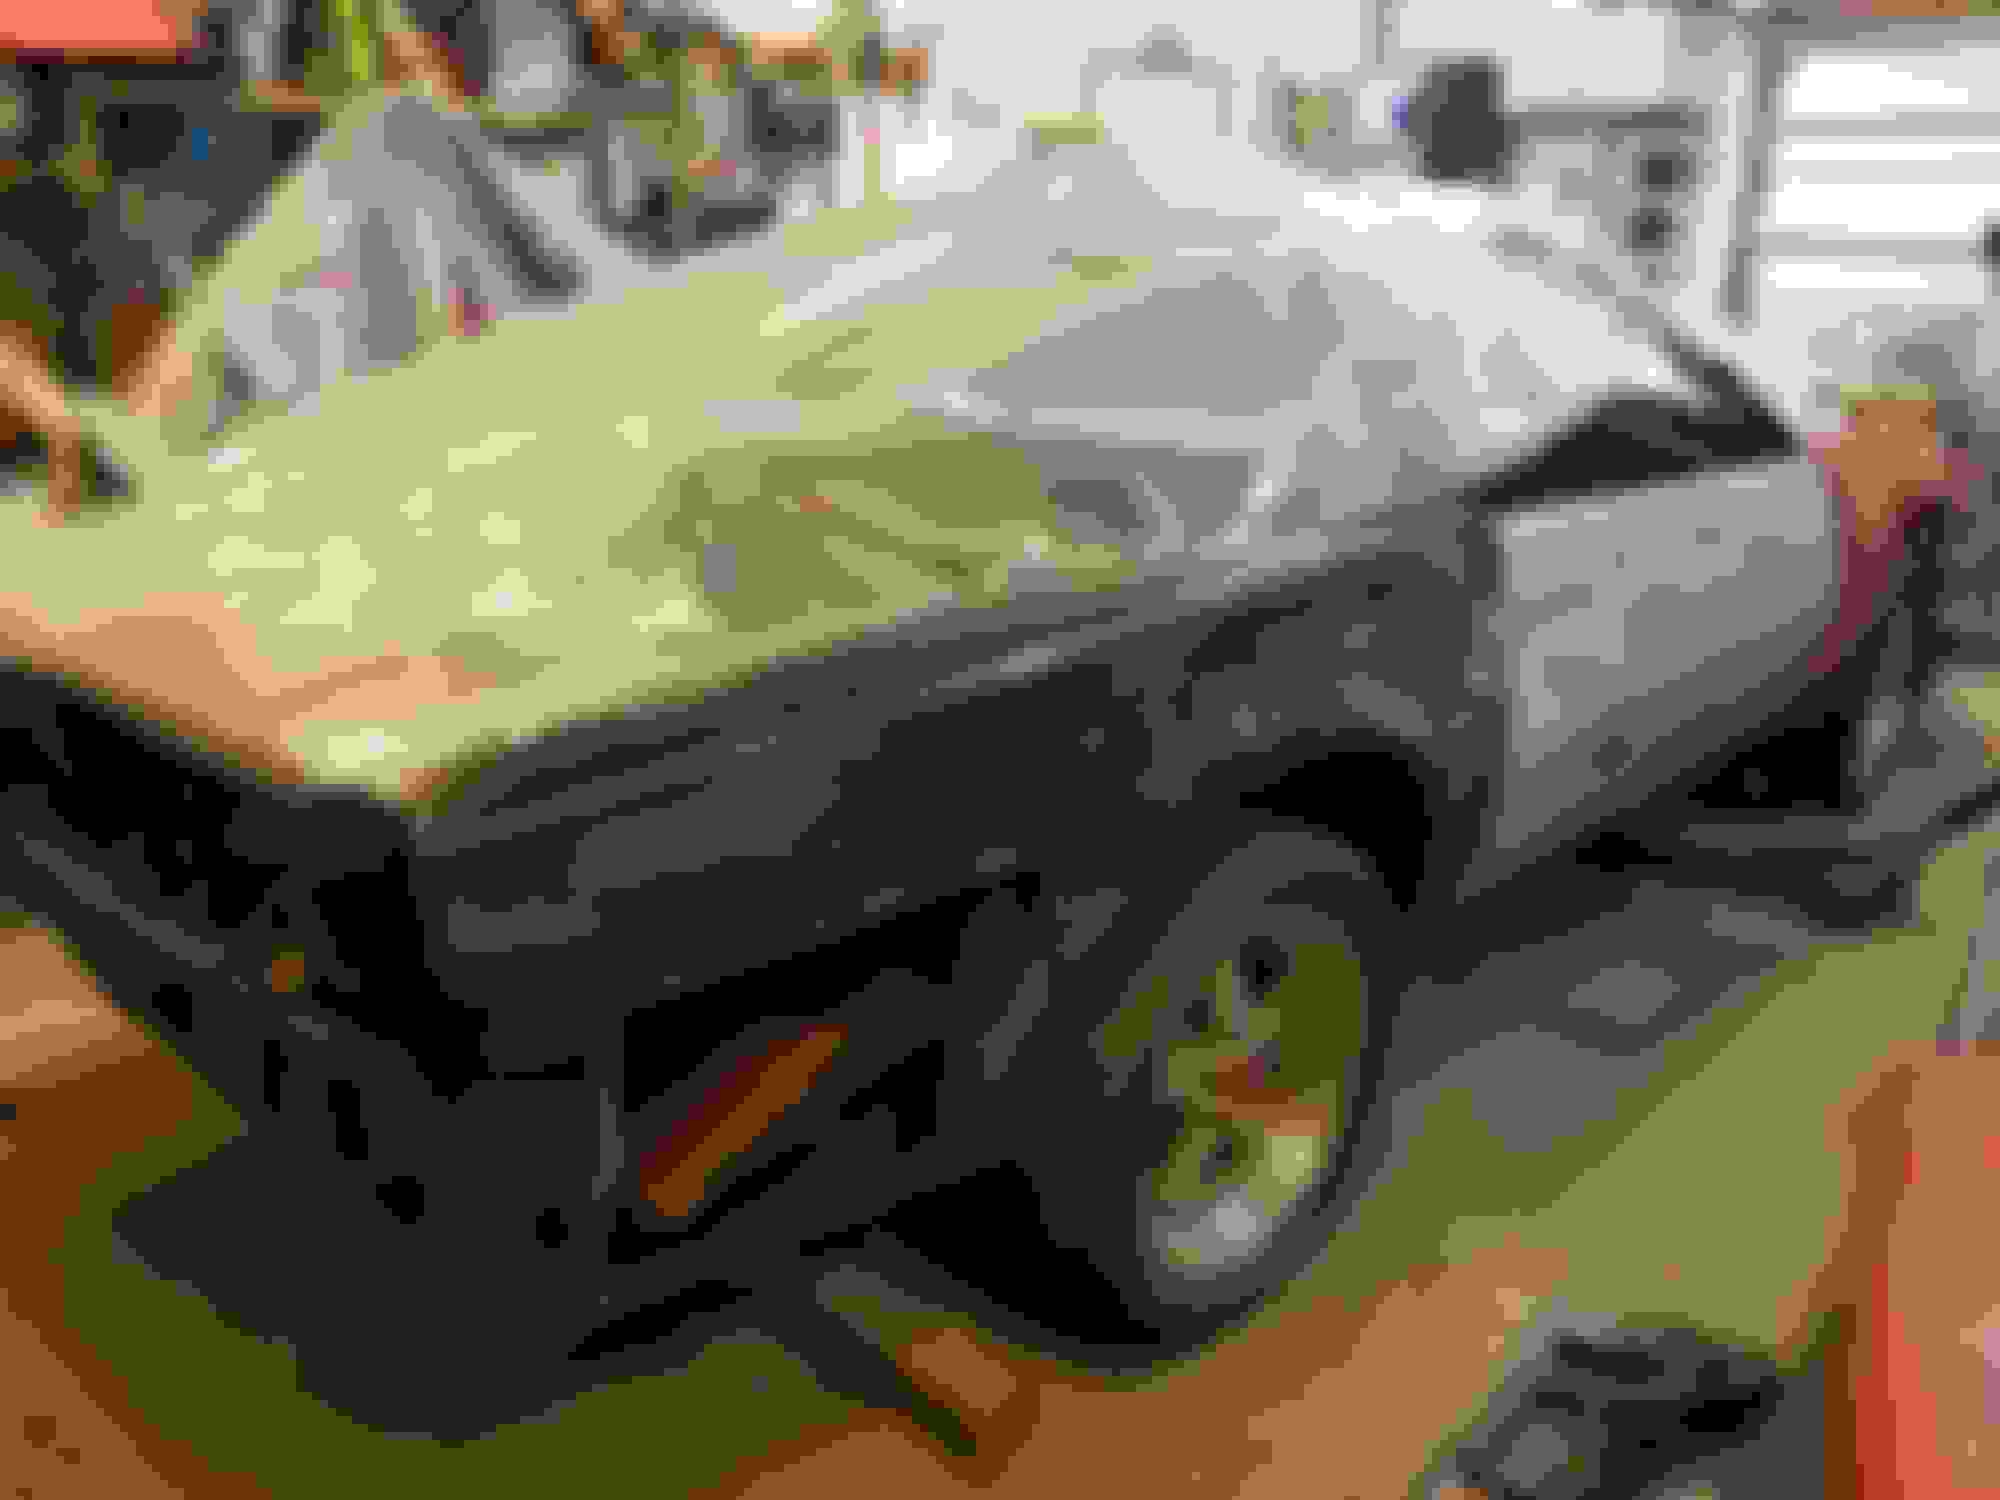
I was gonna wait to post this update till the rear end was completely in but I couldn't wait. Other than bolting the shocks up it's pretty much in. It's so weird seeing nice clean and shiney parts. It's nice to see hard work start coming together
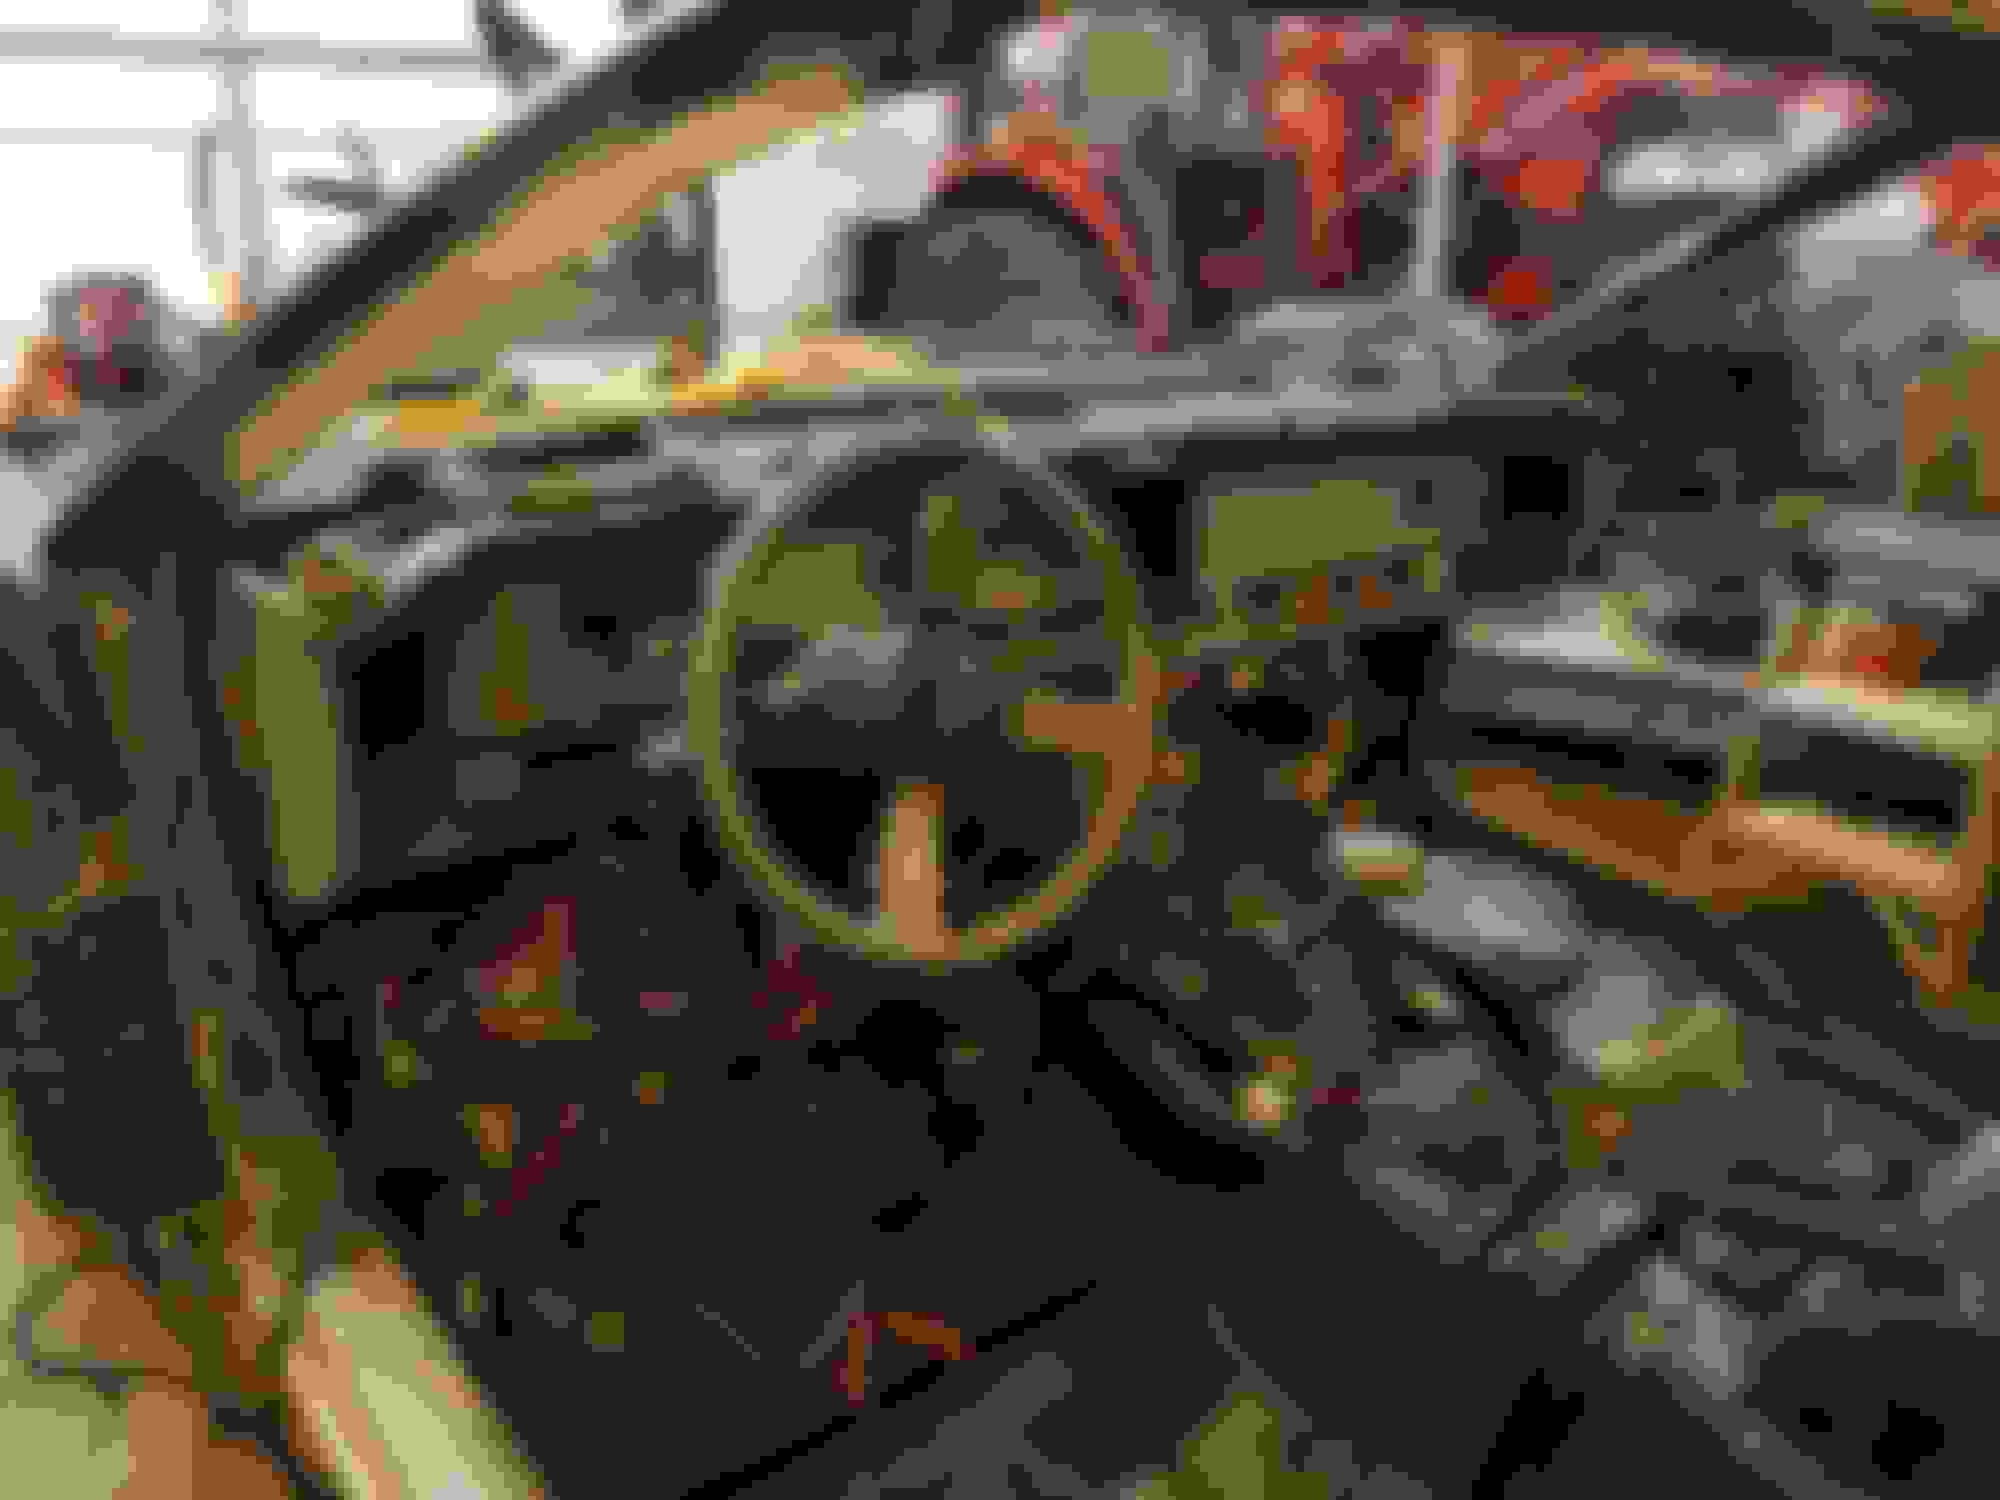
Uh yeah I have been meaning to update this! There's been a lot going on these past couple months but I've still been working on it. I took a break for about a month just so I wouldn't lose interest. It's back on all 4 and off the frame machine! Im trying to sum up everything I have done since the last update. Dash, wiring, and sound deadener is installed. Modified the radiator support for the 4 core aluminum radiator, trans cooler is installed, fuel lines, brake lines, manual brake conversion is all done, steering is all done. Currently I'm working on body work. Just primed my passenger door tonight. The previous owners left me a couple gifts including all the horrible body work on the drivers door. I'm gonna try to get some better pictures and show what Ive done better when I have some time.
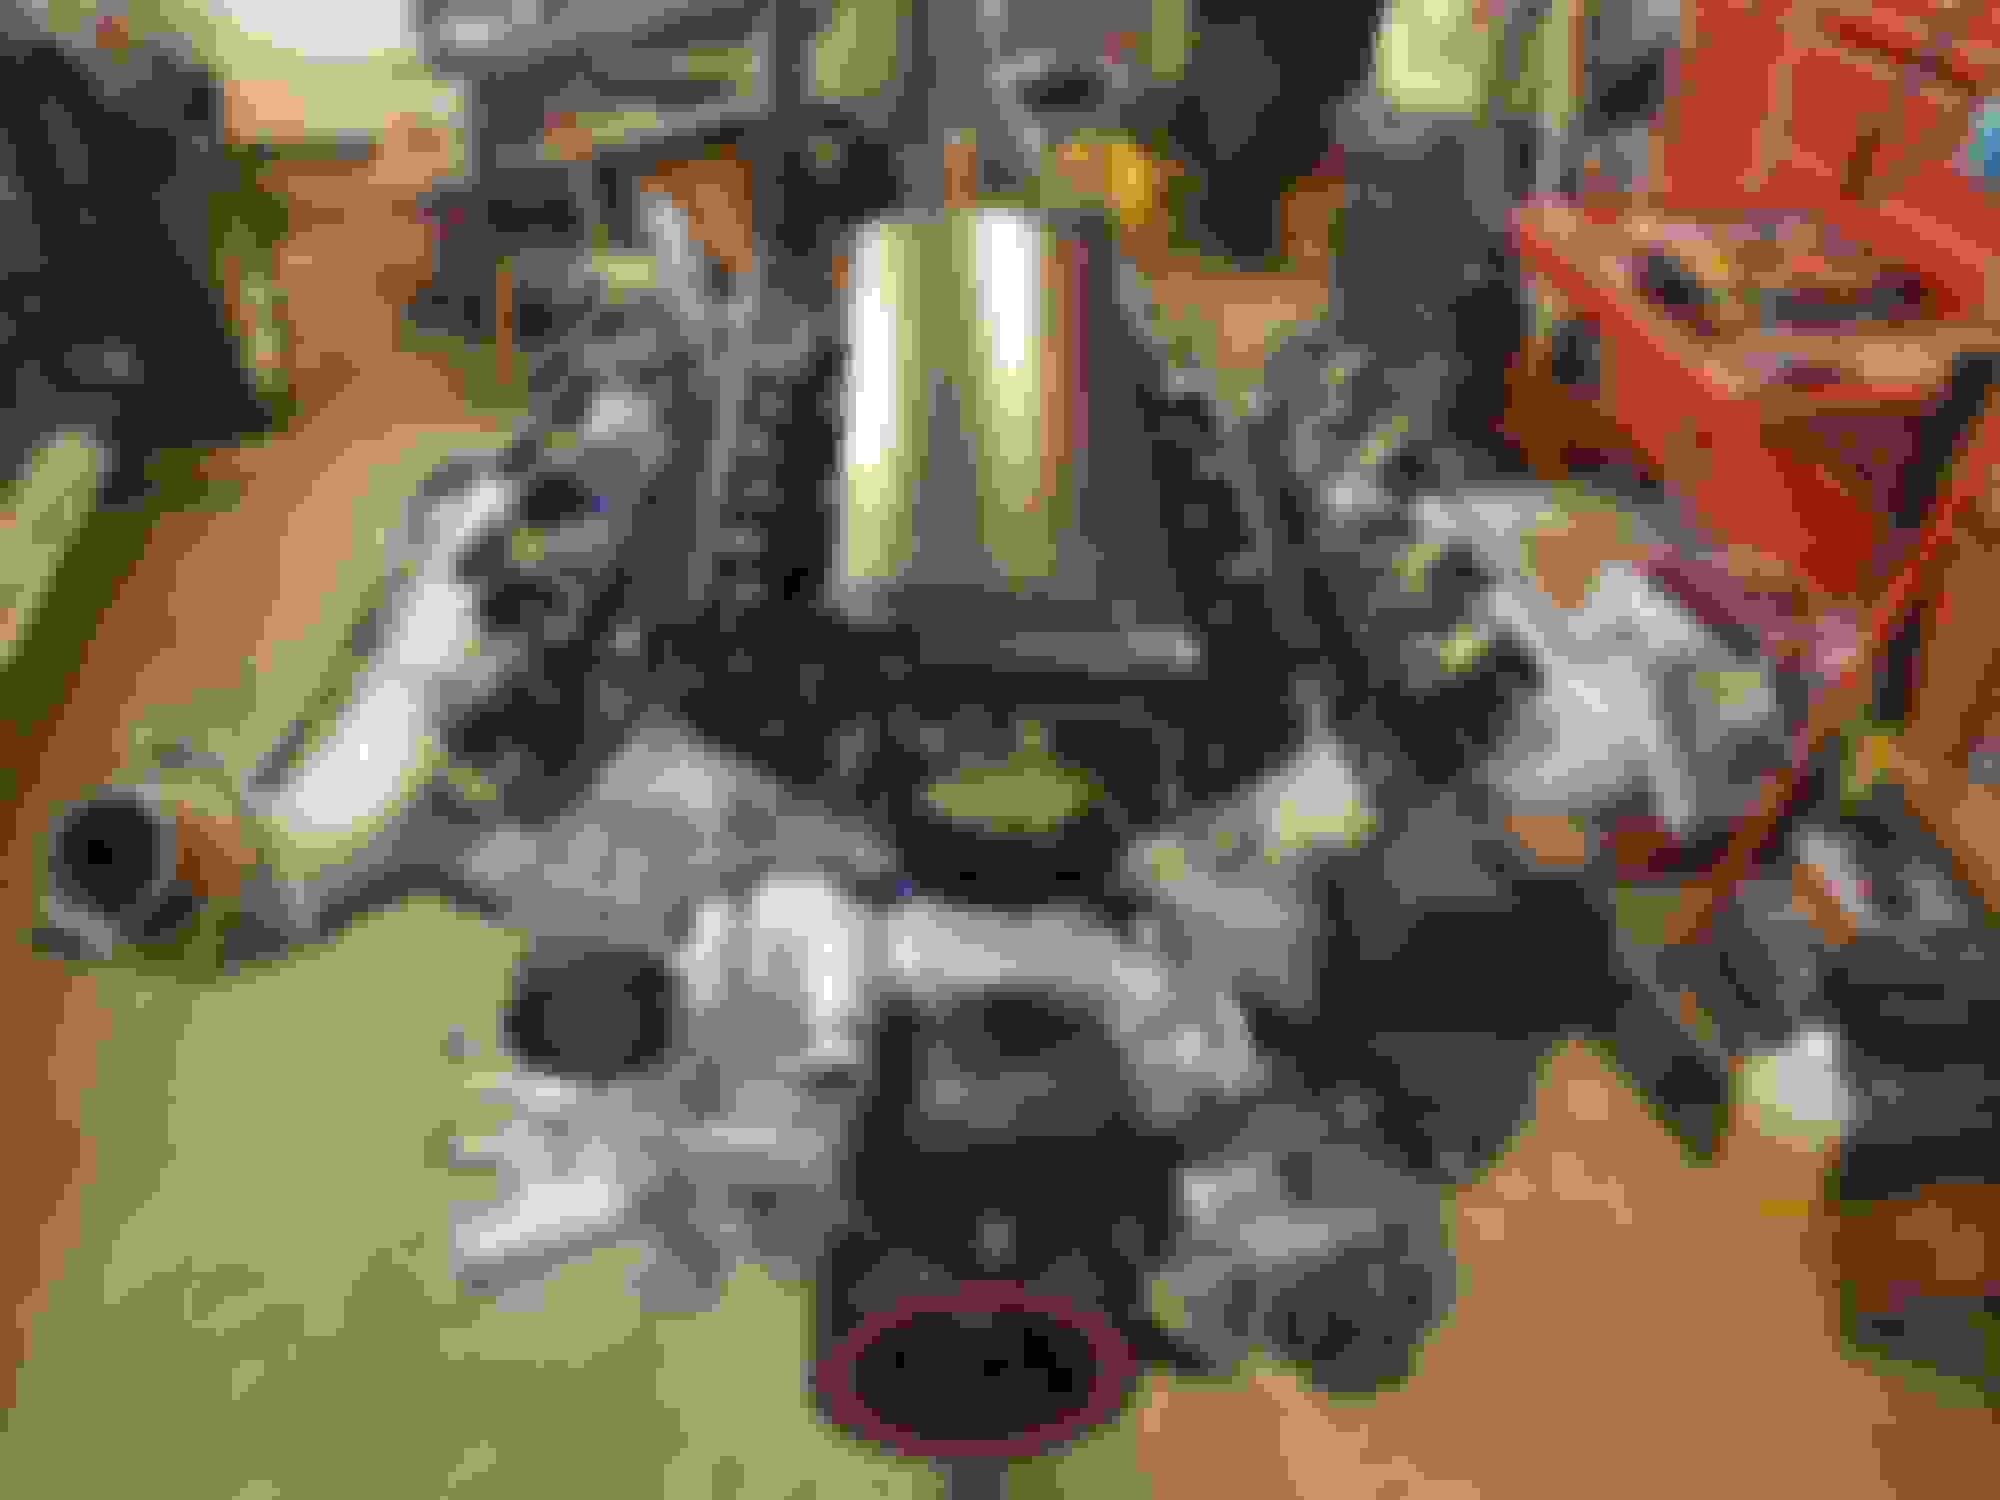
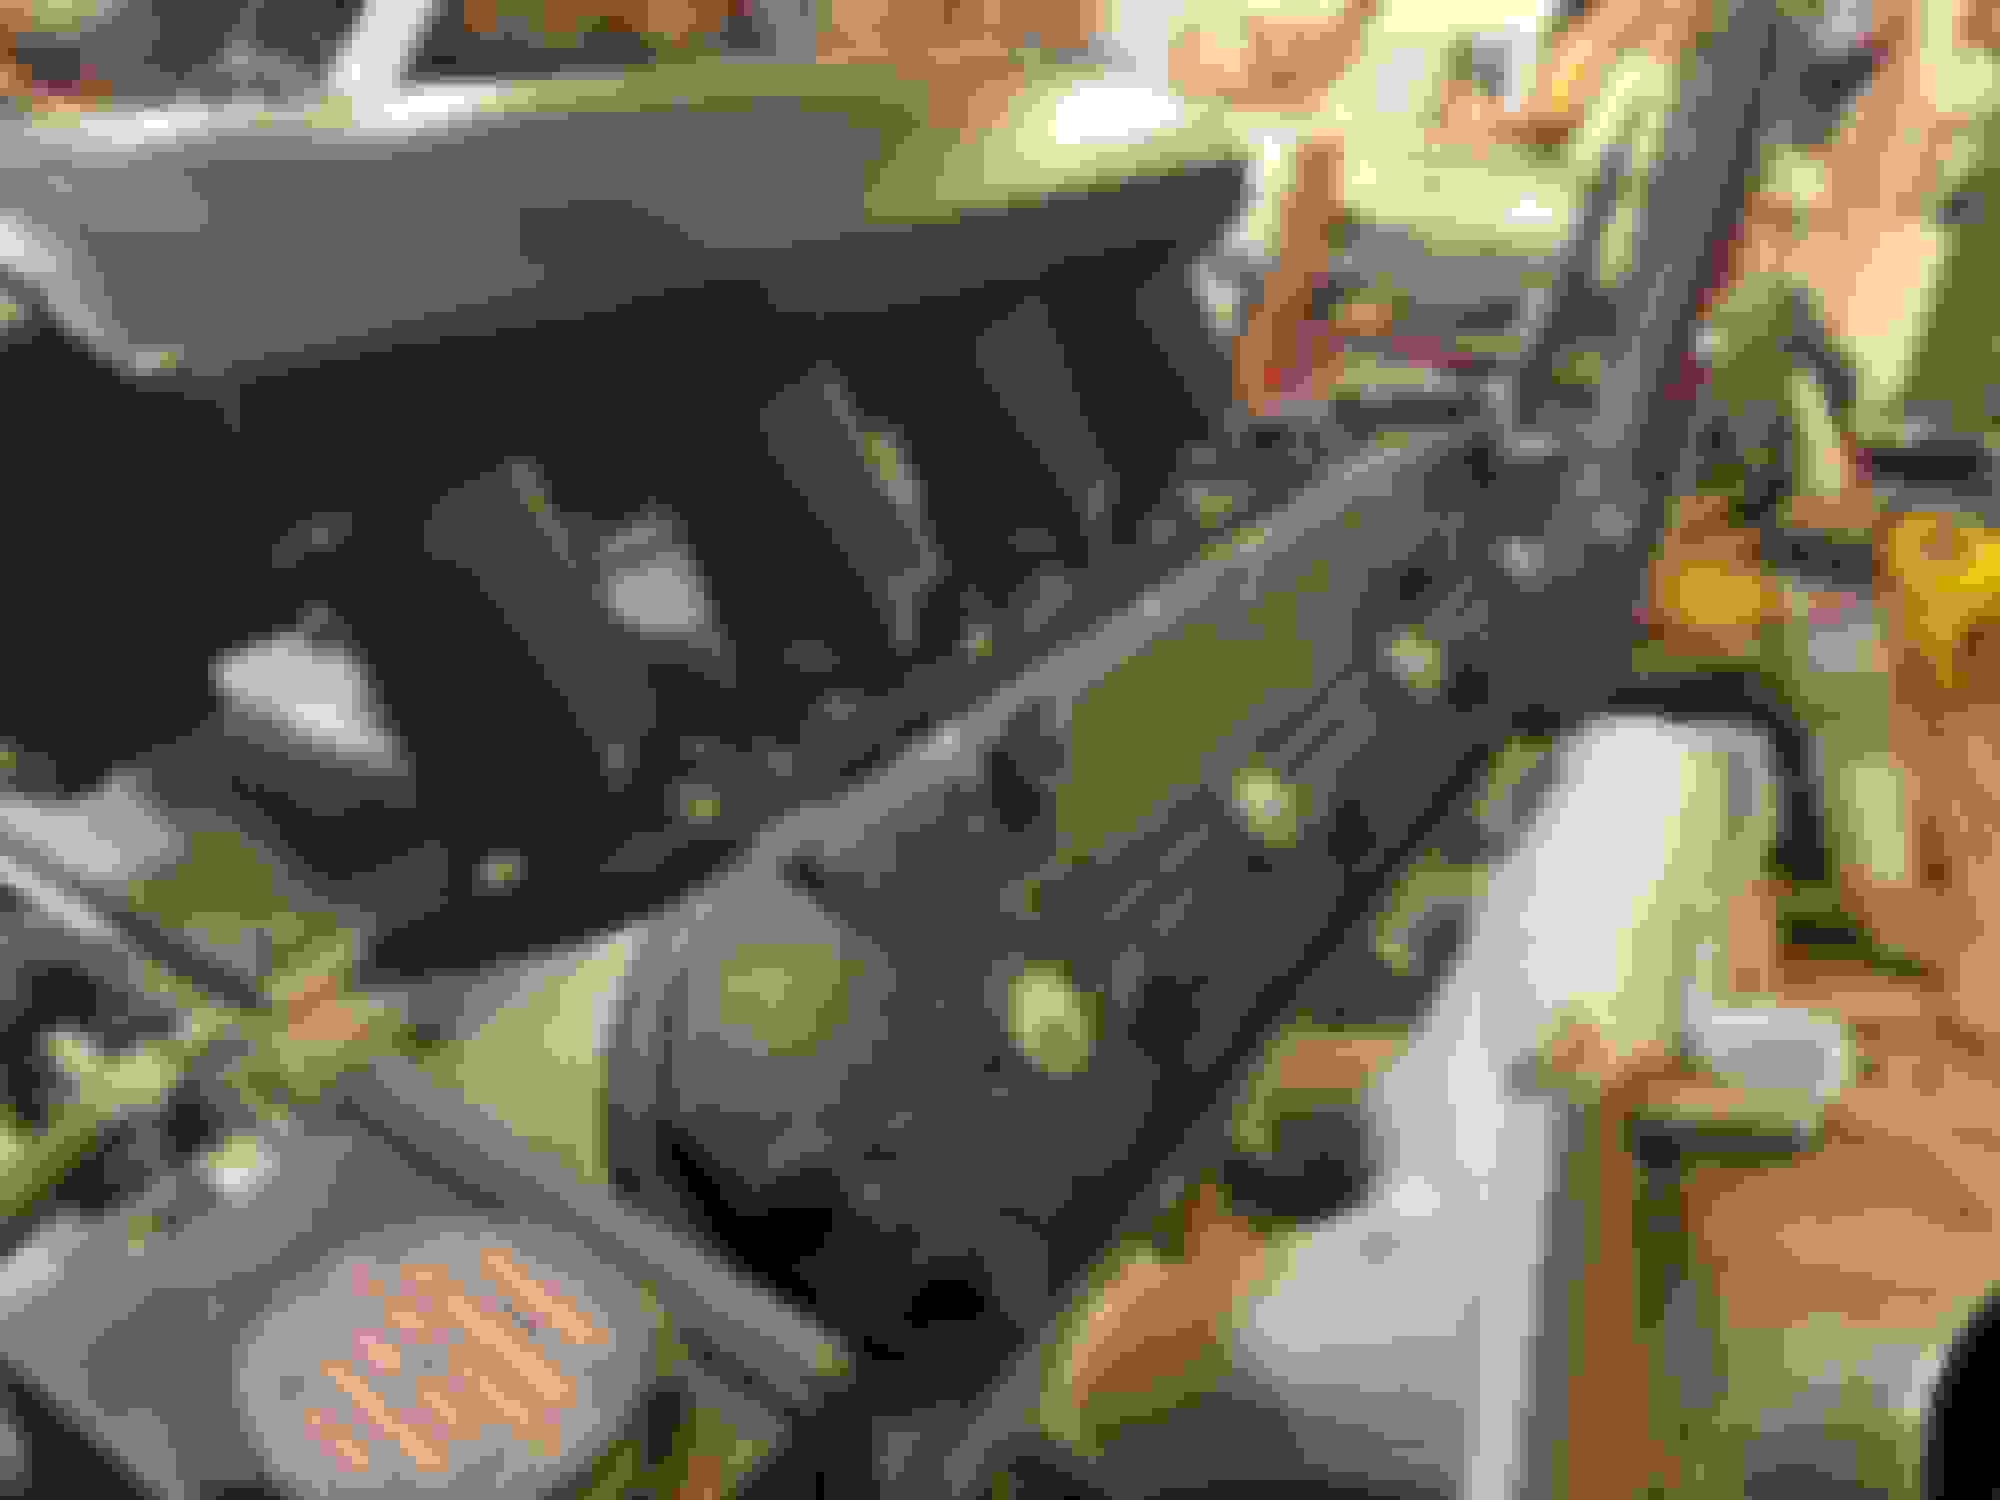
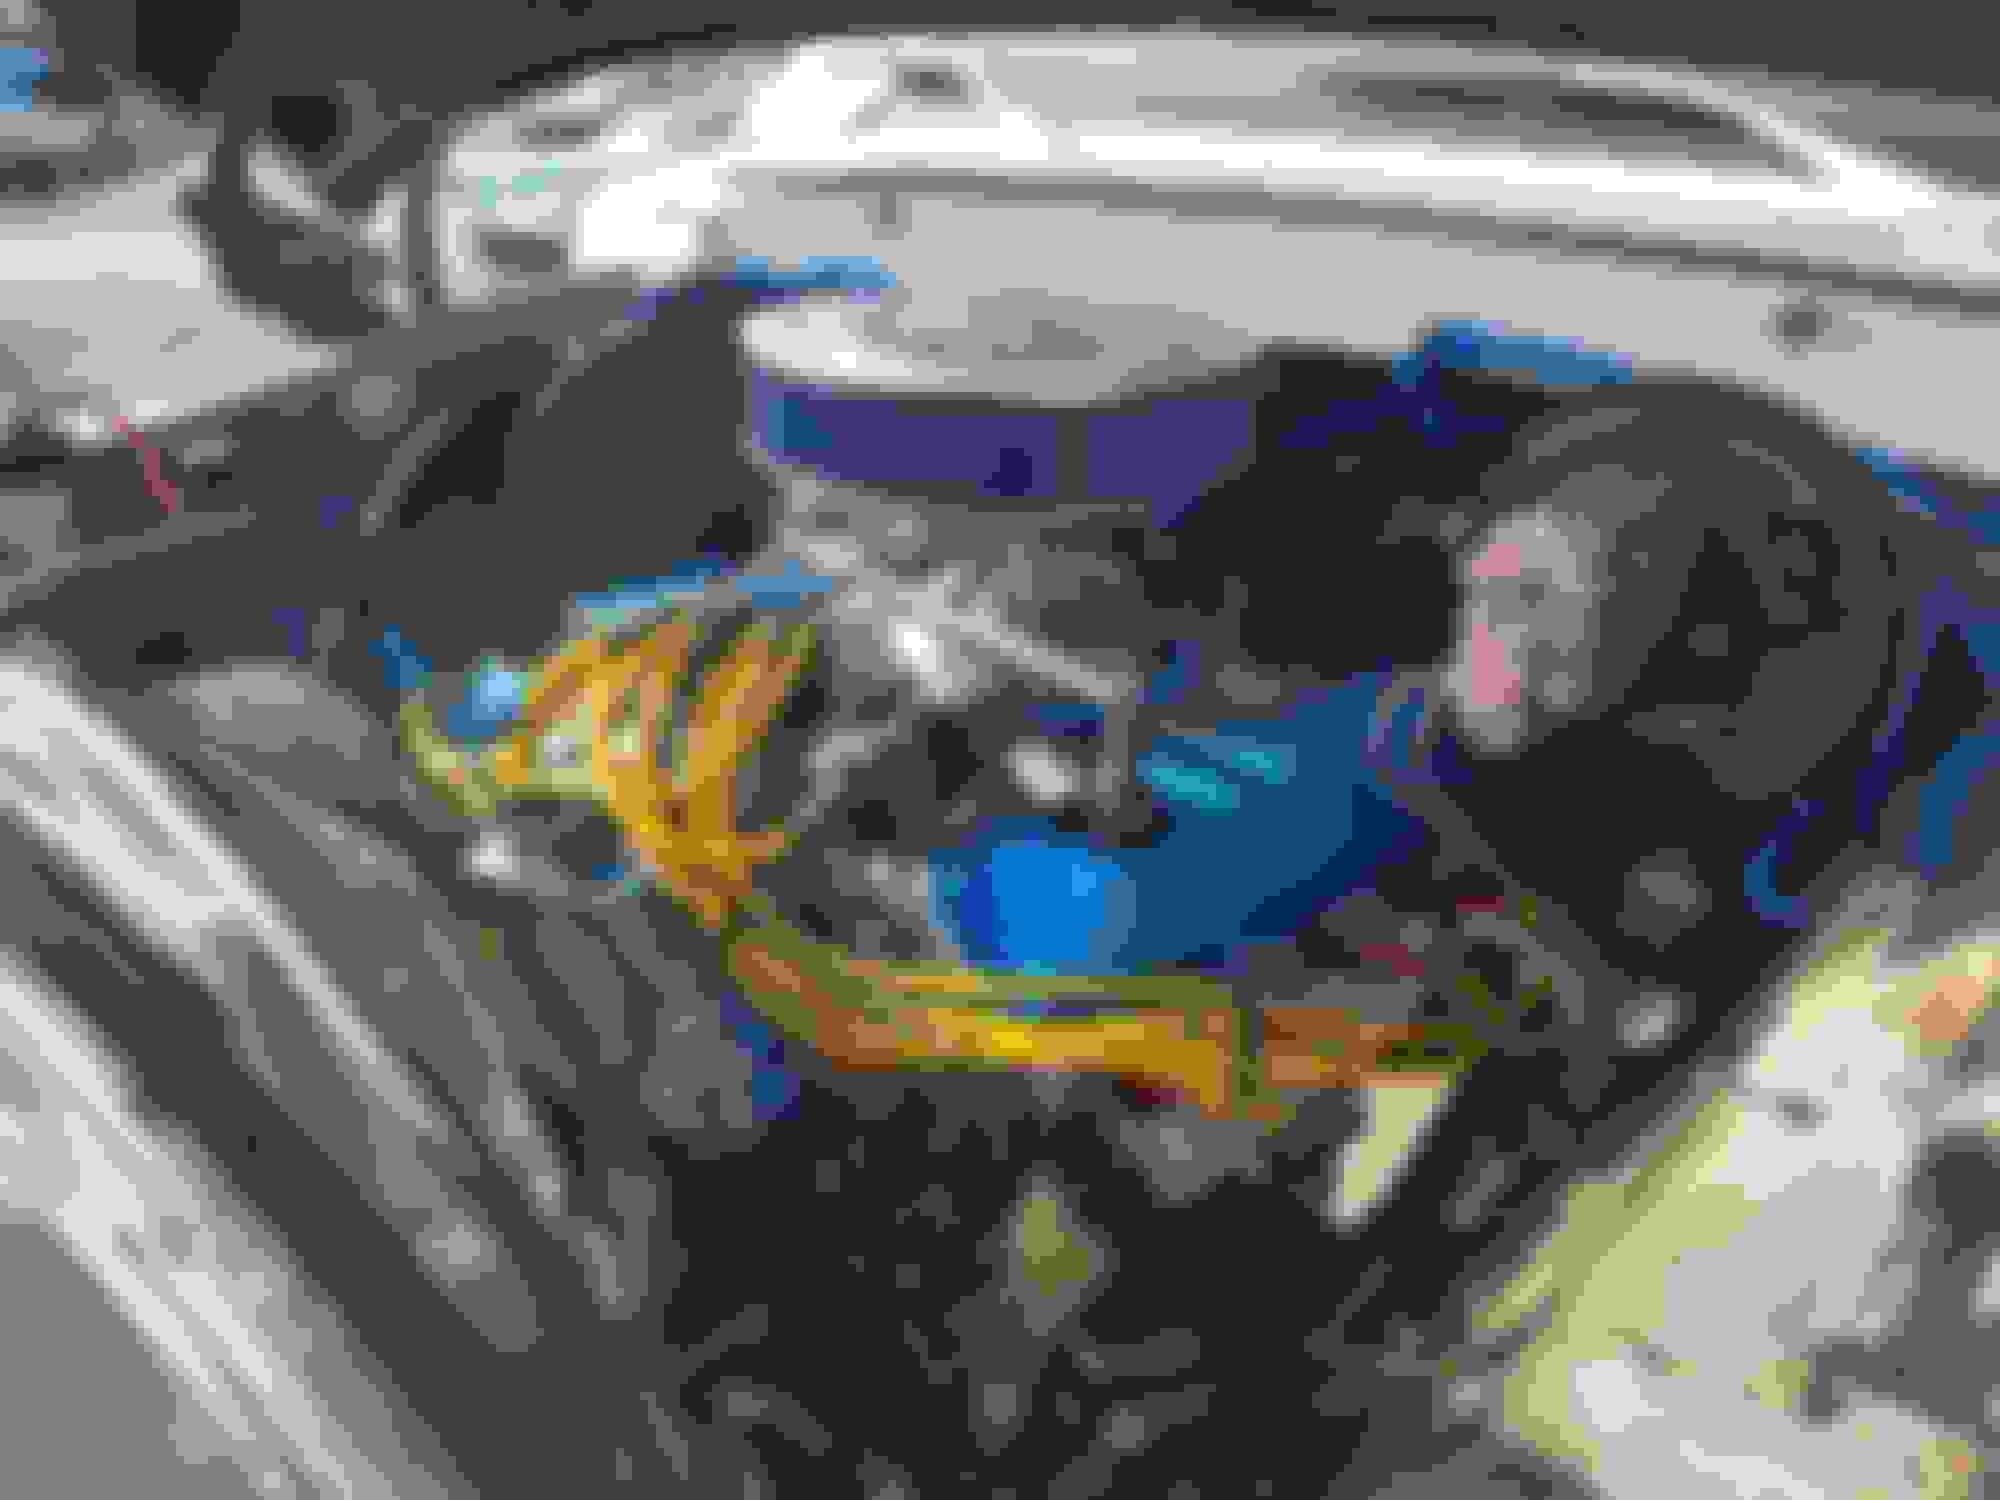
Aaaand for those who want to see what my girlfriend has been working on here you go. We built a 460 for her 79' F150 in 2 weeks for big local carshow. (Route 66 mother road festival)
Car is coming along very nicely. Engine looks good, but you put your manifolds on backwards.
And congrats to the young lady and her truck! Very cool. I'm hoping to make it down to that show in the next year or two.
I actually found another set of turbo manifolds I like that aren't upside down and backwards. Those may be my next investment . That would be great if you made it down, there's some guys that usually meet up and get a couple F bodies parked together.
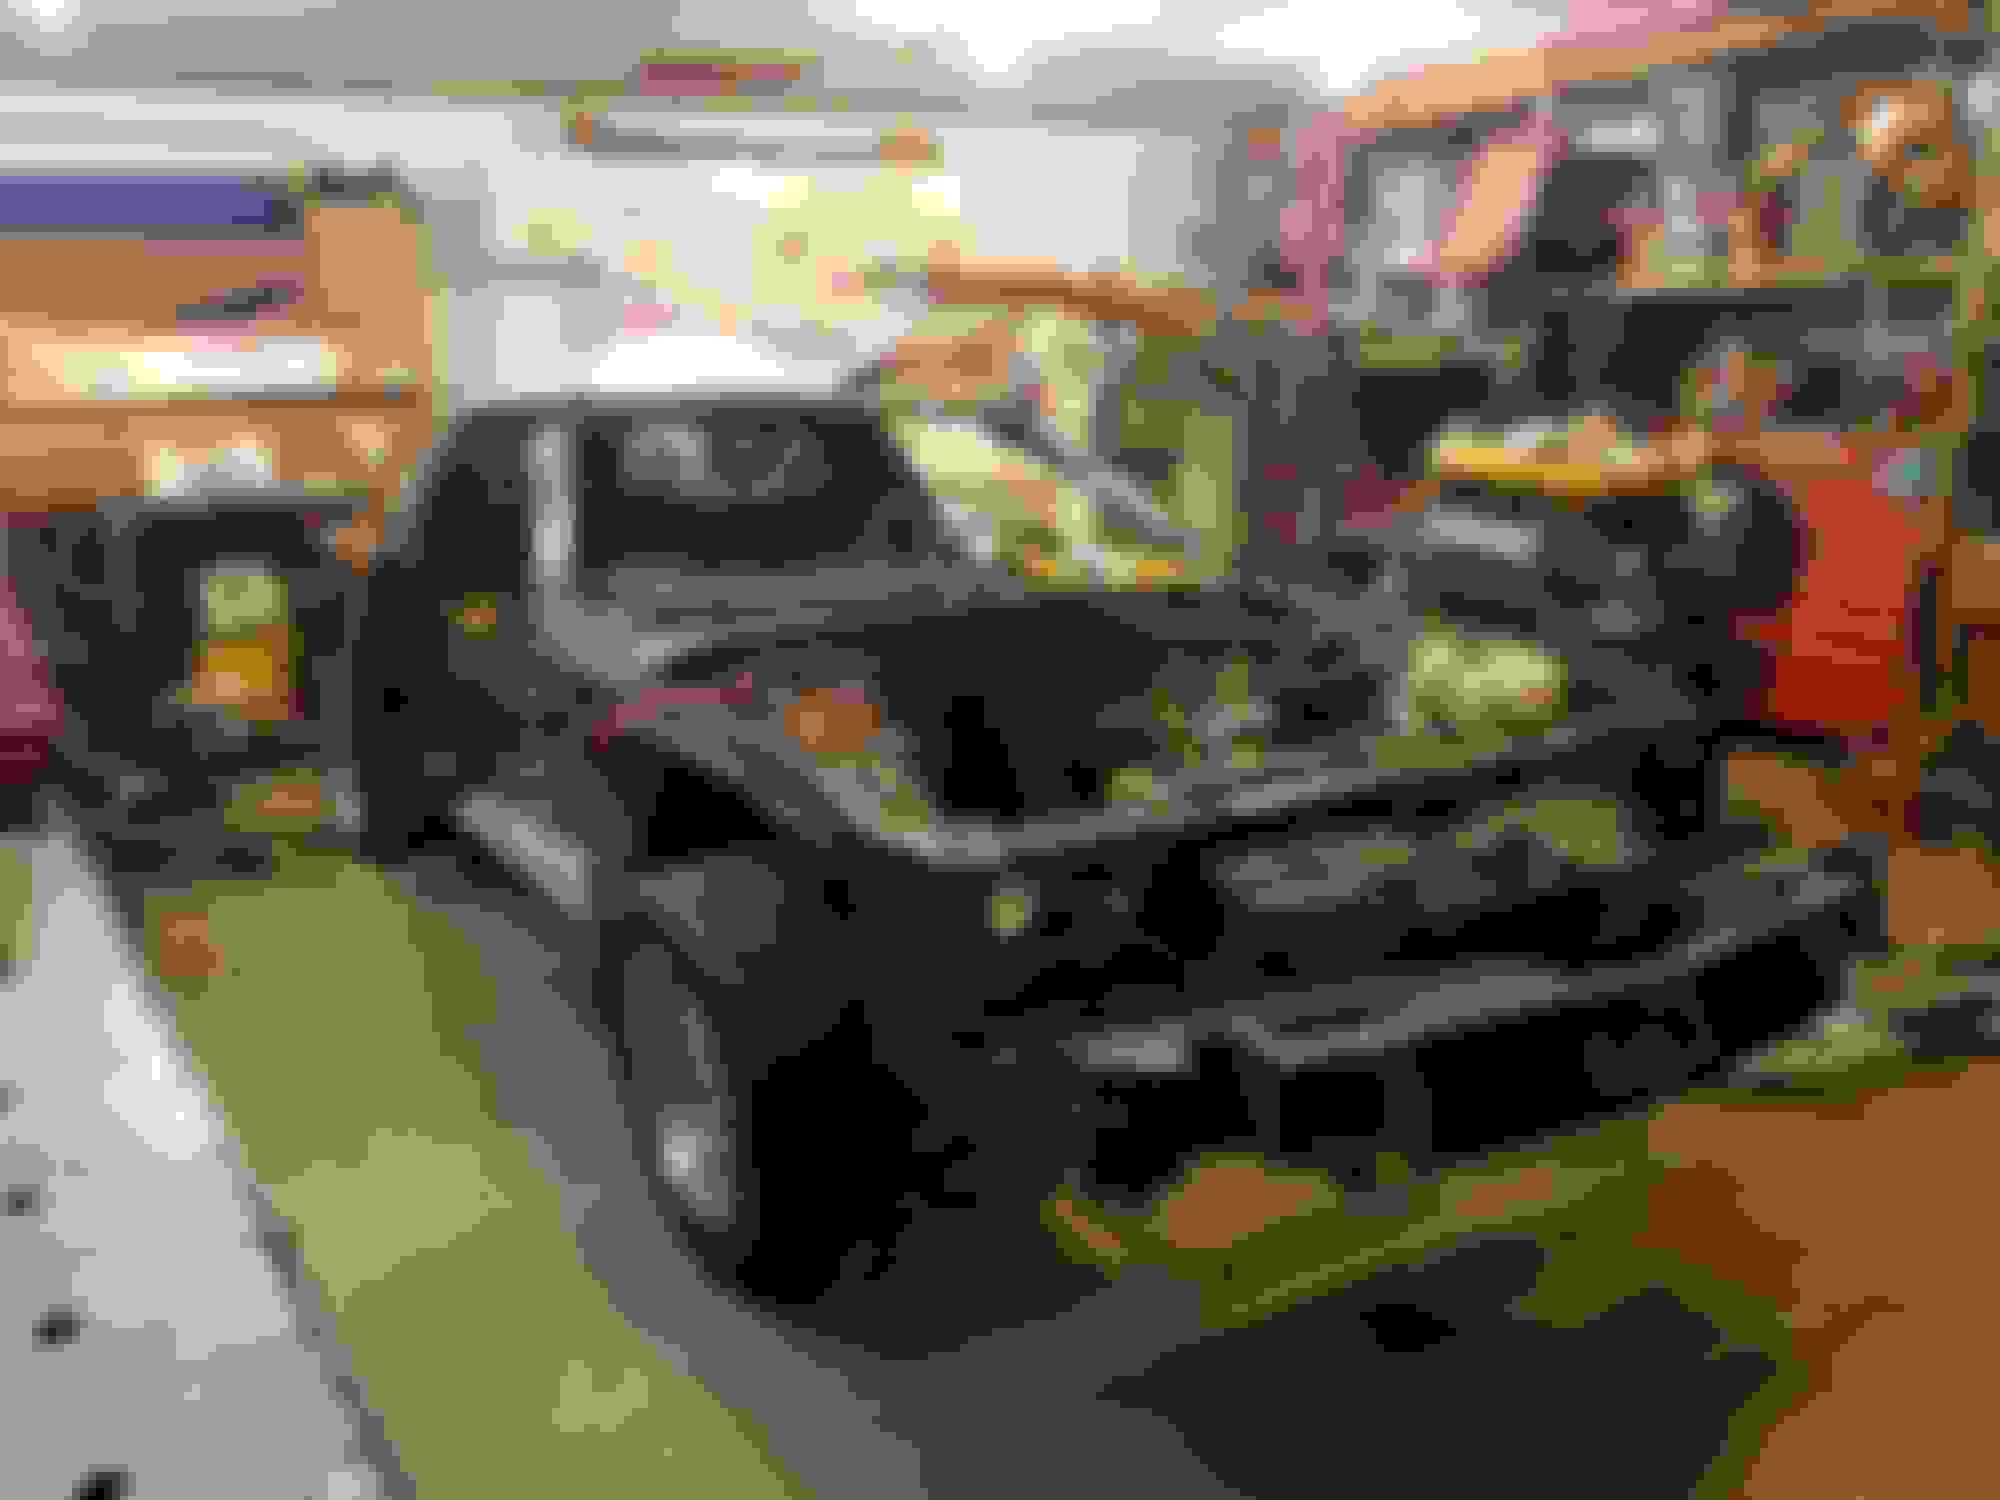
Last night we got the passenger door put on, mainly just test fitting and I don't have space to store it anywhere else lol. Even threw a fender on for giggles to get a vision. Everything seems to be fitting fairly good
Thank you, there's days I wanted to give up but I've came to far for that!
Originally Posted by DynoDave43
Wow, if those panels are bolting up pretty easily, you did a great job of getting the car straight!
So far everything seems to be fitting nicely. The area where the striker bolt is on the driver side needs some love but other than that I'm happy with the door fitment. I work at a bodyshop and the newer frame racks have lasers you can set up and it does all that jazz for you, pretty cool! The tape measurer served me just fine on this though
Originally Posted by TTOP350
On track to see you at some shows (with your car) this year!
I'm excited! I'm trying my best to keep at it. Should be ready for paint around spring.
We have been sanding our lives away but we are getting there. Got the drivers door on, the area where the striker bolt is needs some love. The door drove it back just a tad in the wreck. My girlfriend has been working on the hatch and trying her hand at bodywork. It's been a good learning experience for both of us. I'm not sure if I'll ever master the whole bondo application but practice makes perfect I got started on the passenger fender. It was an aftermarket fender so it didn't need too much. We beat a couple dents out and fixed the antenna hole(for some reason it was dented in). Sand, sand sand!
Prime...sand...prime...sand...... The passenger fender is pretty much done, the hatch finally got some high build primer, and I started on the drivers fender. They are aftermarket fenders but both had a little bit of filler in them. The drivers has a slight bend at the bottom but it's better than the usual "thought it was a jacking point" dent.
I wish my fenders were that clean and not literally jacked up from the previous owners.
Whats your trick for removing the factory wheel well material?
Wire brush on a grinder doesn't do much, torch and a metal scraper is ok but smelly and a fire hazard, but I did find a scraper blade that pops in to my reciprocating saw and that does a pretty good job of it.

 11-03-2016, 02:25 PM


 Definitely an overwhelming/exhausting project at some points but will be worth it in the end. And spudz I haven't decided what I want to do with that S/E hood. I'd consider selling it if the price was right but then again I was thinking about using it on my 1987 Trans Am GTA. It's completely rust free and I haven't found any dents in it yet (there is probably a couple small ones I'm sure).


 . I'll definitely make it up to cars and coffee when it's done.


 I guess I got a lot of faith in it lol.