When you click on links to various merchants on this site and make a purchase, this can result in this site earning a commission. Affiliate programs and affiliations include, but are not limited to, the eBay Partner Network.
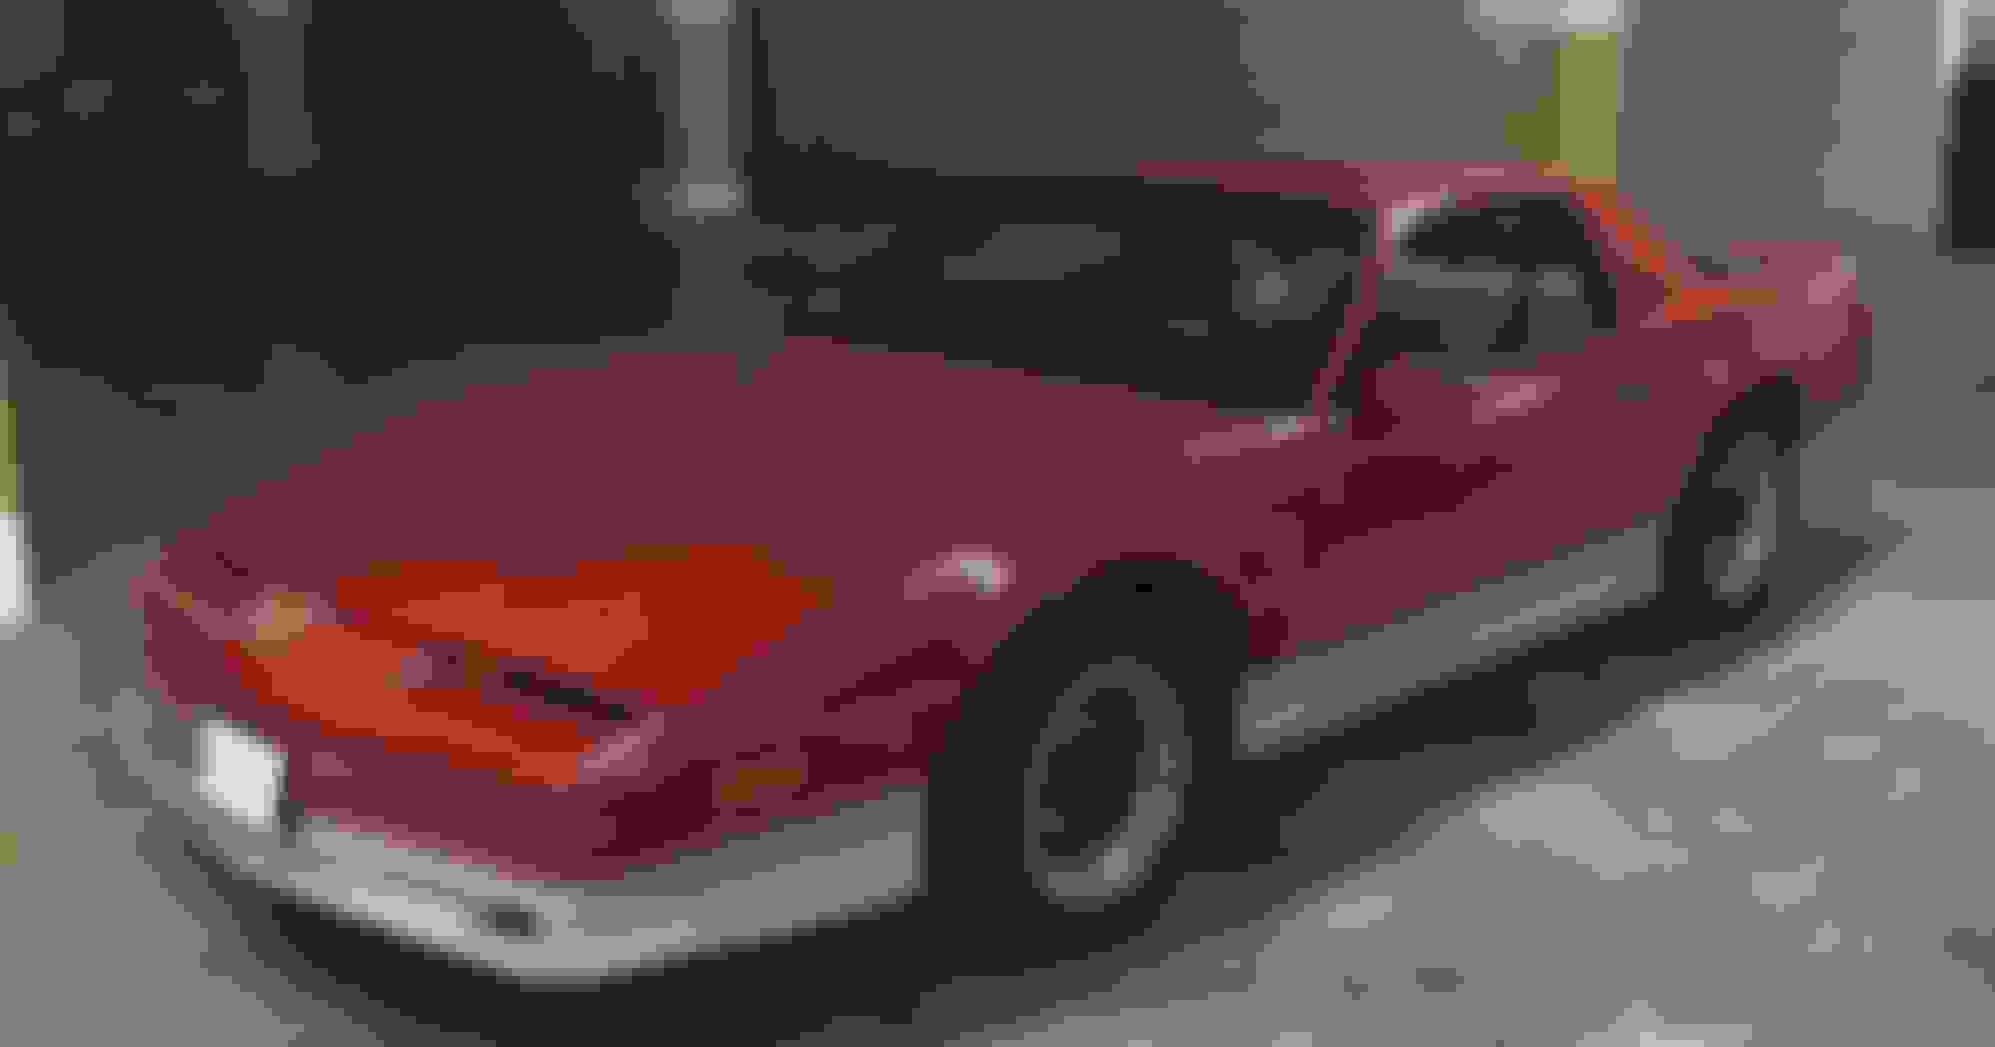
This is my build thread of my 88 Bright Red GTA. I live in Malta Europe and these cars together with ANY parts for them are impossible to find locally so everything needs to be sourced from the US or rarely from Mainland EU.
I bought the car in April '16 from a guy who had just brought it from the US. After a lot of searching to discover if it is a Trans AM or a GTA, I concluded that there is a big likelihood that it is GTA. What doesn't match to a GTA:
- Body Colour. The bottom part is coloured grey. I can confirm it was sprayed as I can see the red paint under the grey.
- Front Fenders. They have the TransAm air ducts. Fenders are not stock for sure. I blanked the ducts already.
- Rear Hatch. I am sure it came off a Camaro as there were the spoiler bolts of the Camaro ducktail. I welded these off.
All the rest (including build sheet that I found under the carpet which was never removed) show that it is a GTA.... so that part off... Let me put some pics.
How it all began
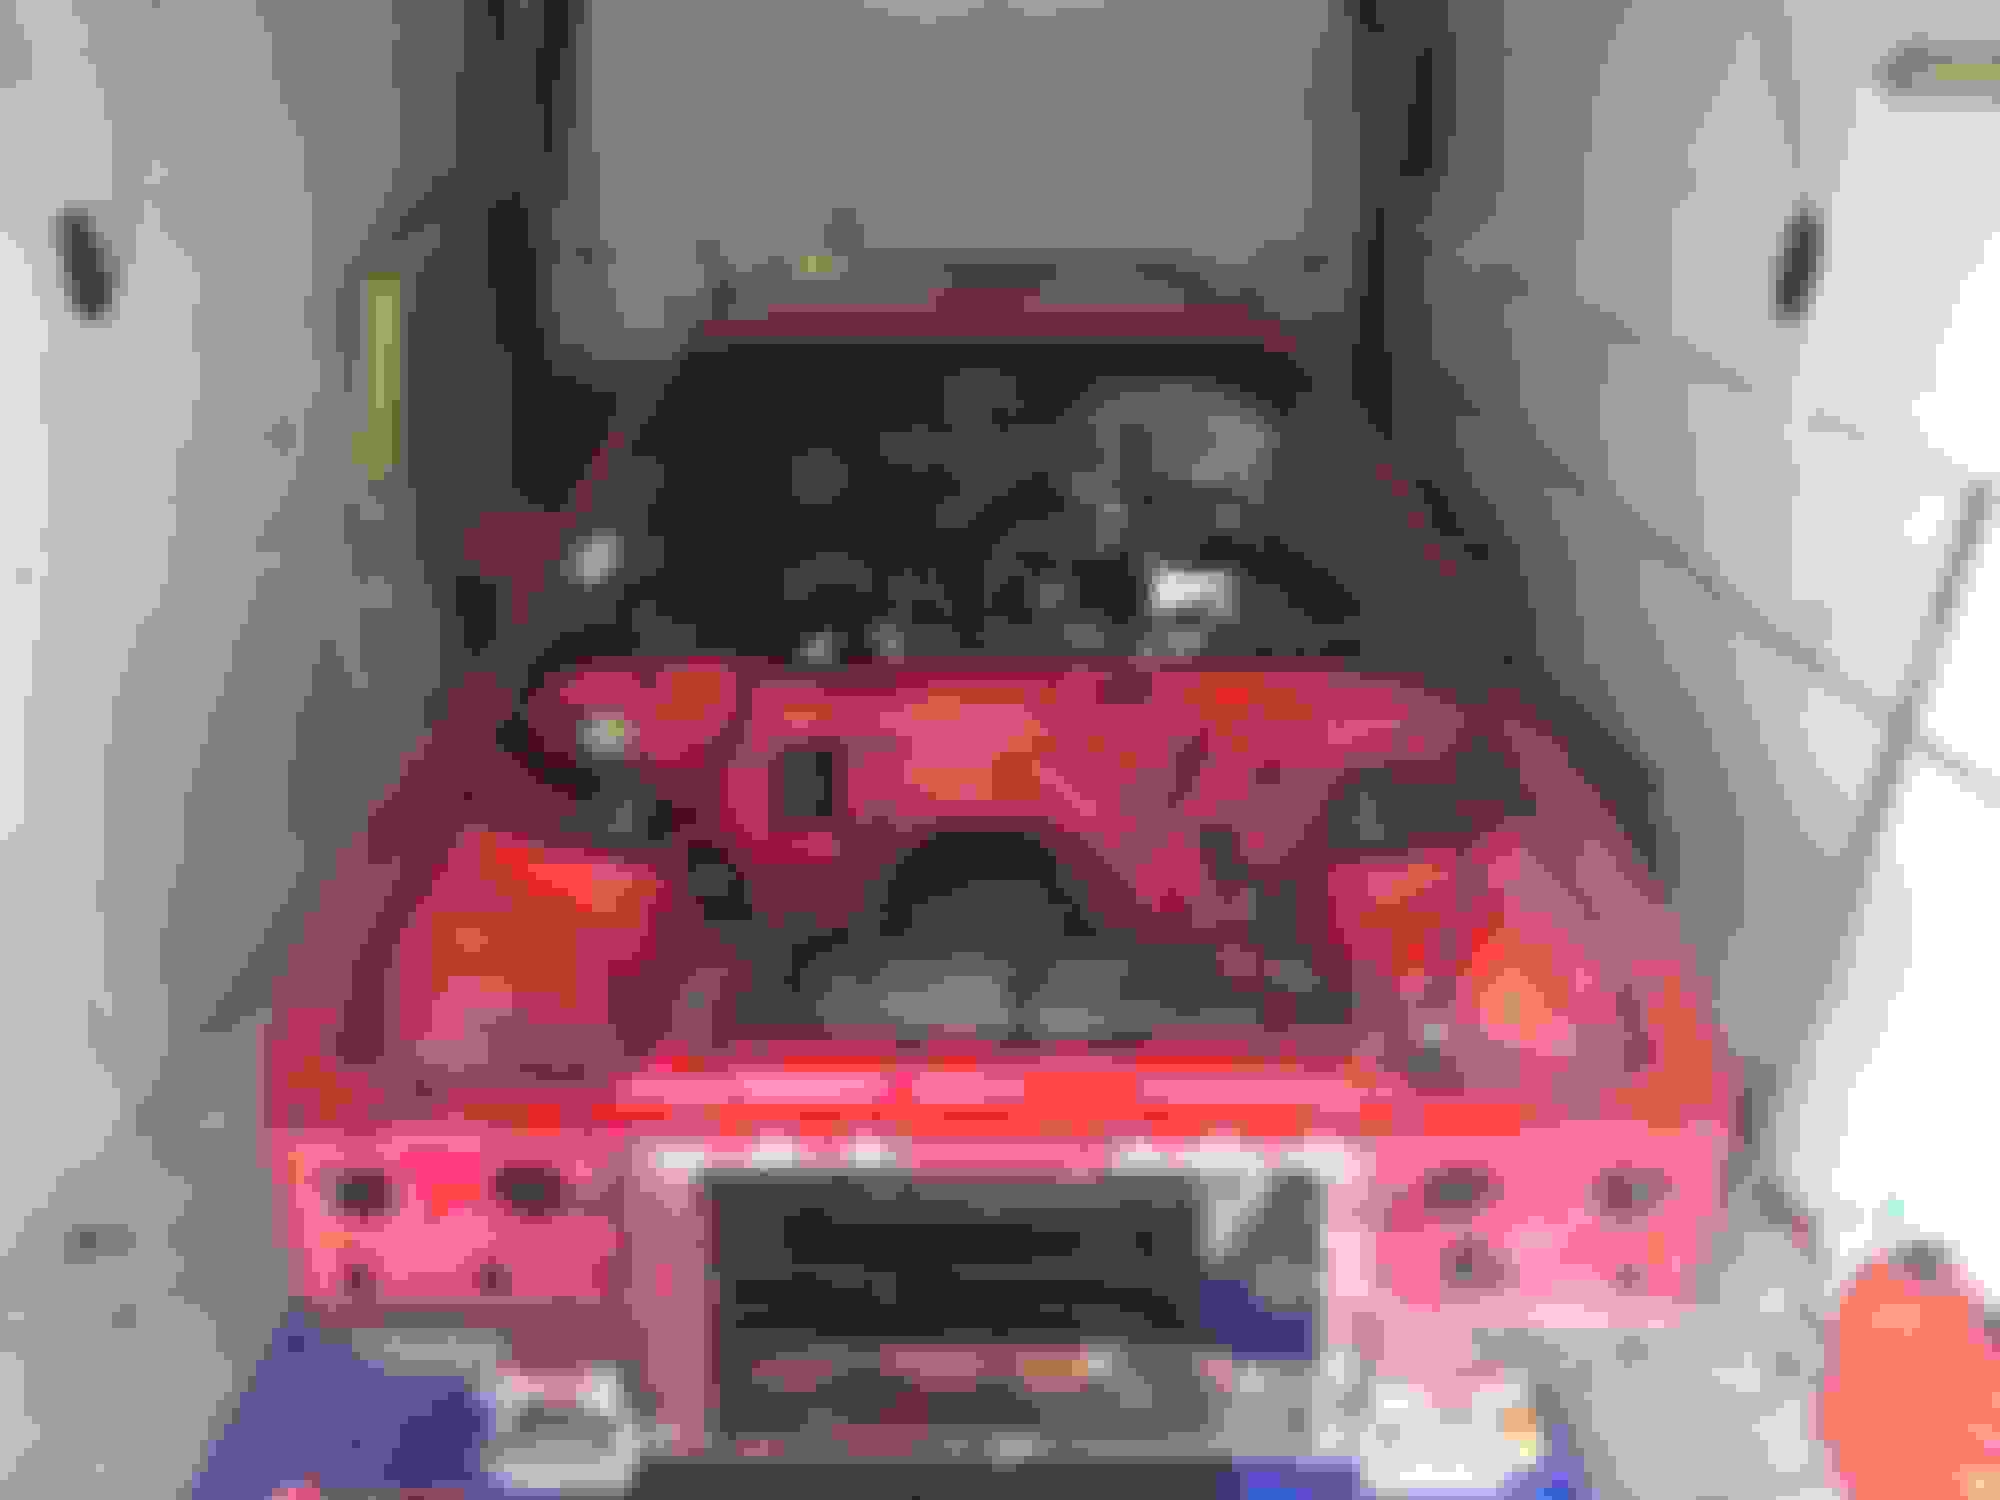
Started by removing the interior
Am pleased it is quite a clean car
Had only some rust on the driver side floor
And a bent Side Rocker panel which was causing the passenger door to rub
Front fenders and hood are not aligning so decided to remove the front fenders, bumper and hood to explore further
True. That's what baffled me the most. I had my doubts before I began finding red paint under the grey. Whoever didn't the previous paint job failed miserably...
Beleive me I went through it 100 times. Don't have the SPI label which would be the definitive confirmation but all in all everything seems to be there. Digital dash, ultima seats, aluminum prop shaft, aluminum spare wheel, dash pocket with GTA emblem.....VIN doesn't help.
Anyway not really the point of this thread. Will post more progress tomorrow..
Welcome aboard aseychell. That's a great looking bird. Malta...I cannot imagine the challenges in getting parts and info. I look forward to following along.
Thanks to this forum and some other sources on the Internet, getting info is not a big issue. Problem is to source the parts. They take too long to arrive, and the taxes we get charged almost double the price.
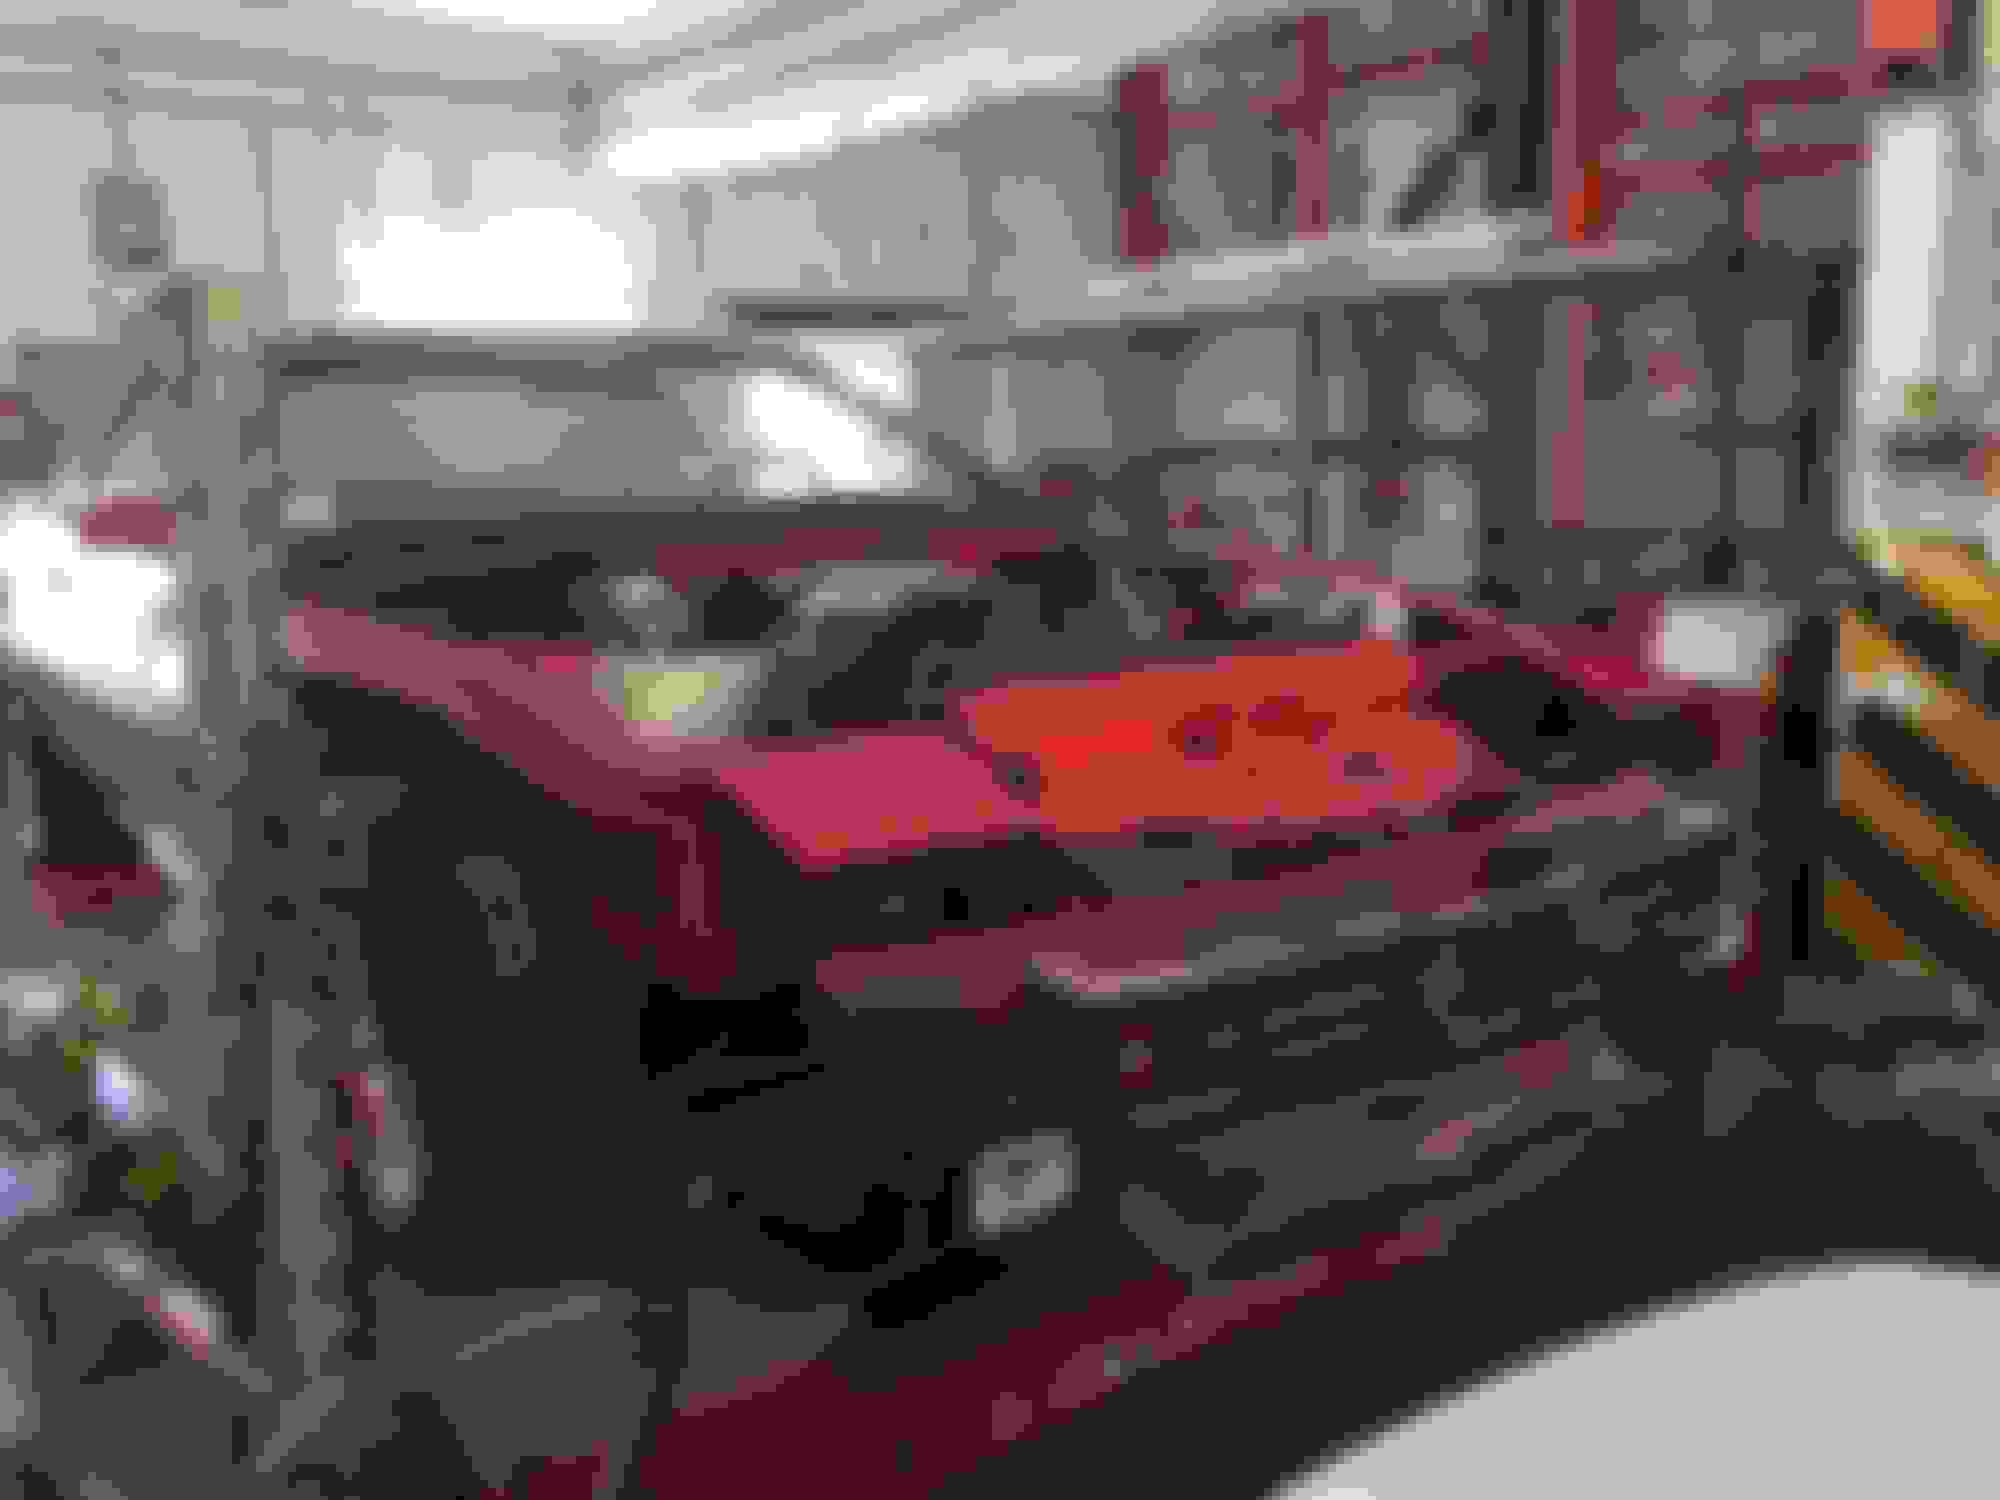
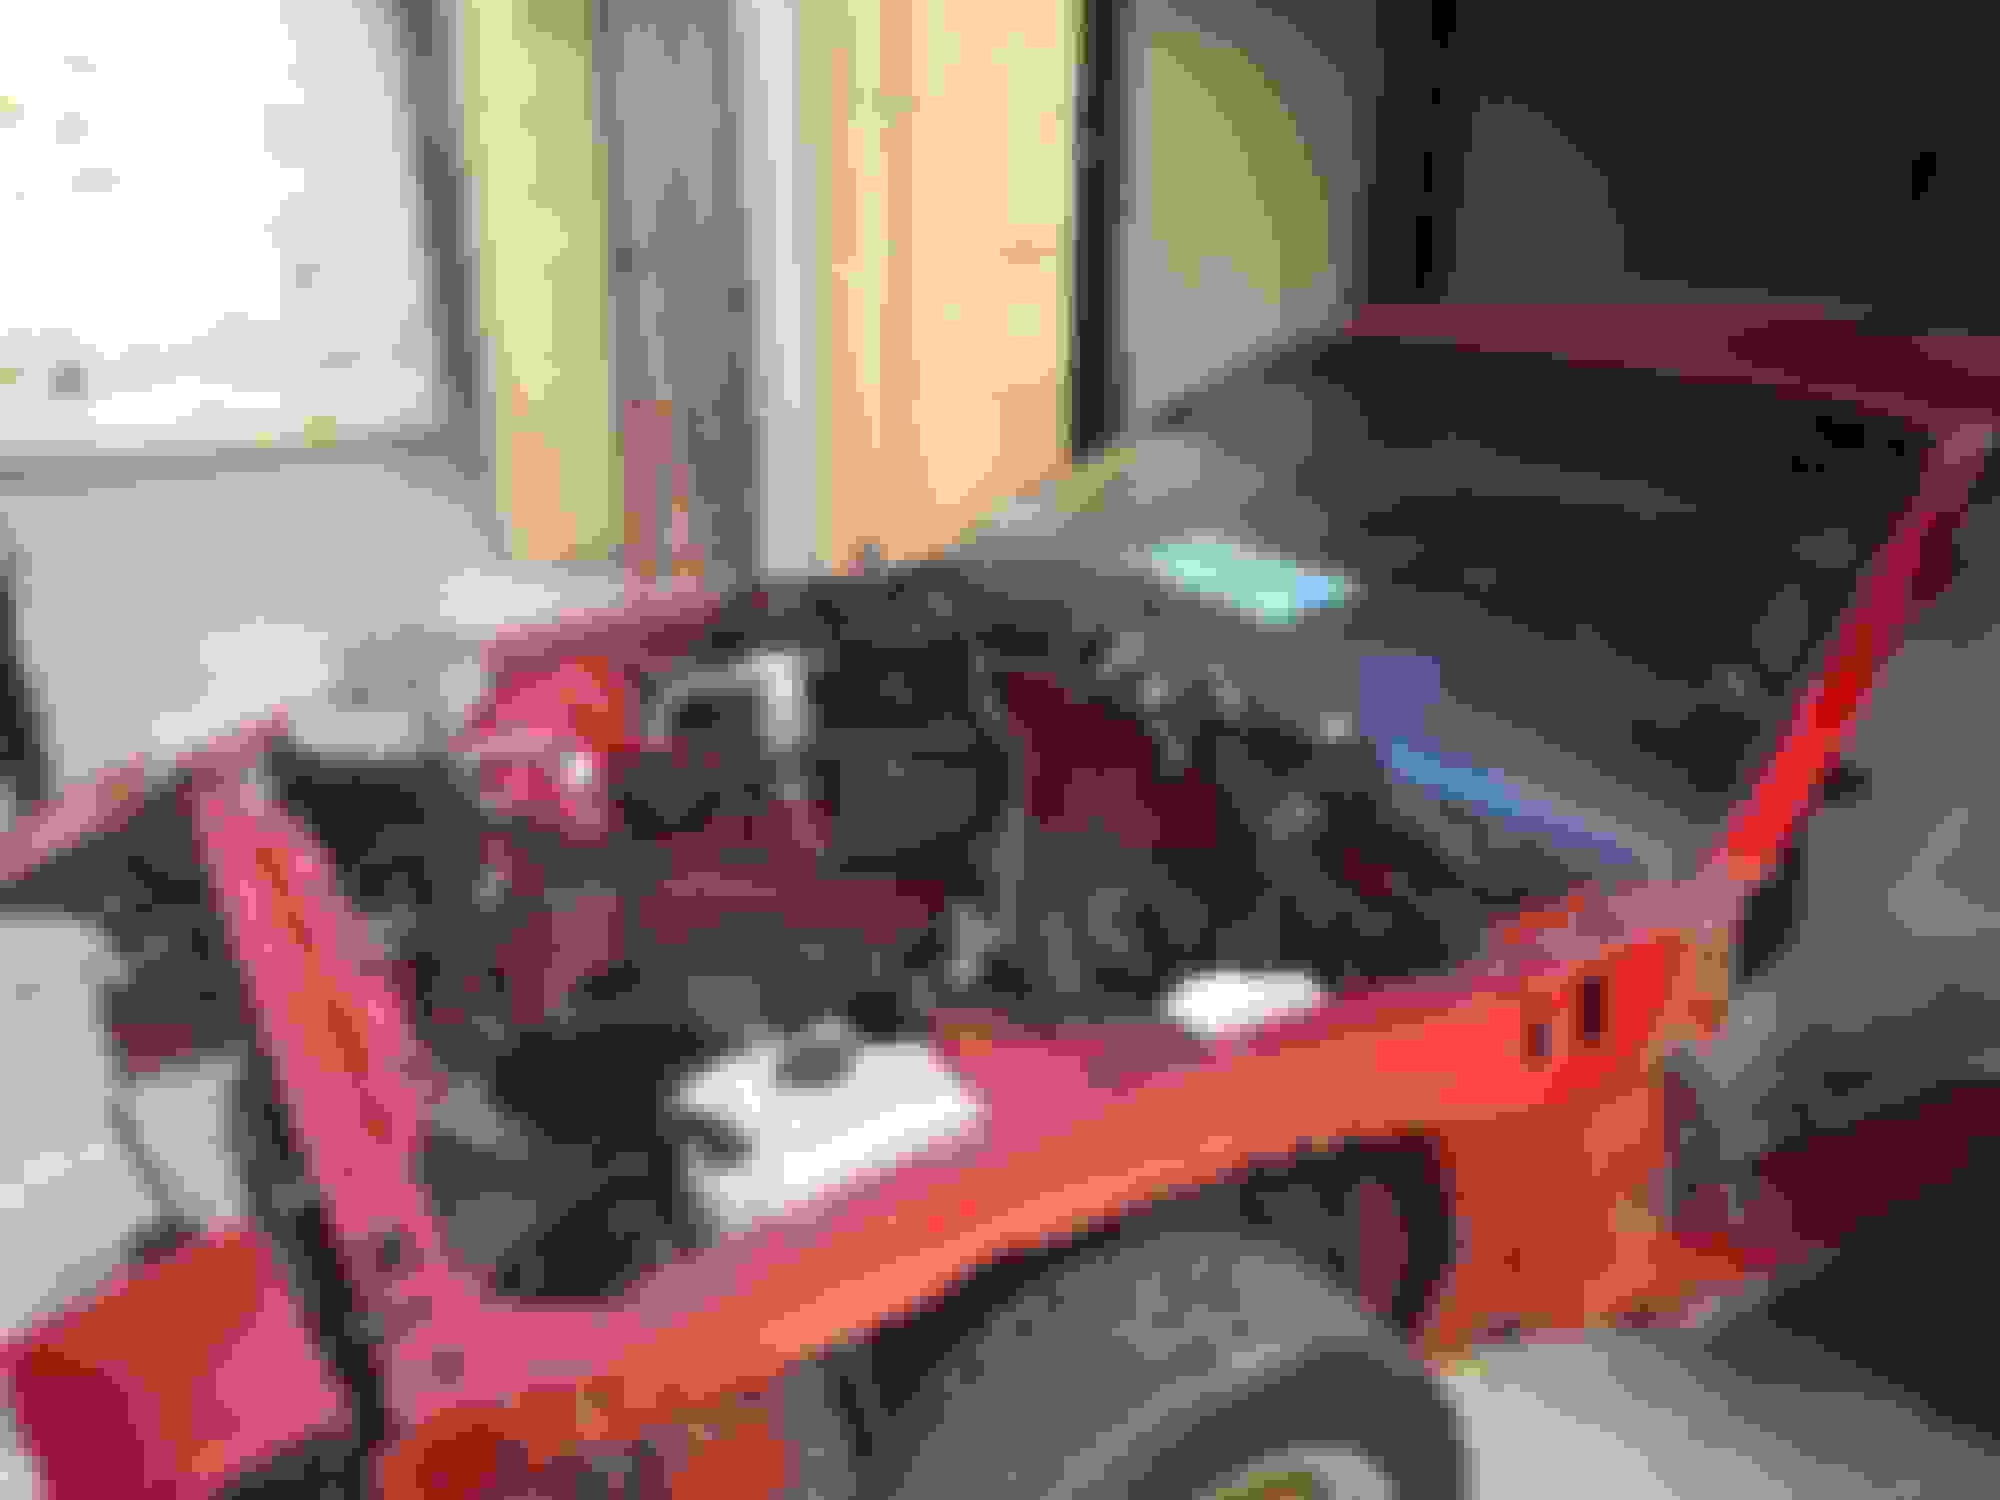
Obviously the engine had to come out. Although it was running fine without any issues I had some oil leaks mainly from the sump of both the engine and the auto trans. I also want to re-spray the engine bay and blast the K-Member.
The engine will have a complete bottom and top gasket set replacement. Ordered the Fel-Pro set. I will also clean the valve seats and change the valve stem seals while I am at it. Will probably also change timing chain and sprockets. Will post pics when I am at that stage..... (Hopefully not too far away).
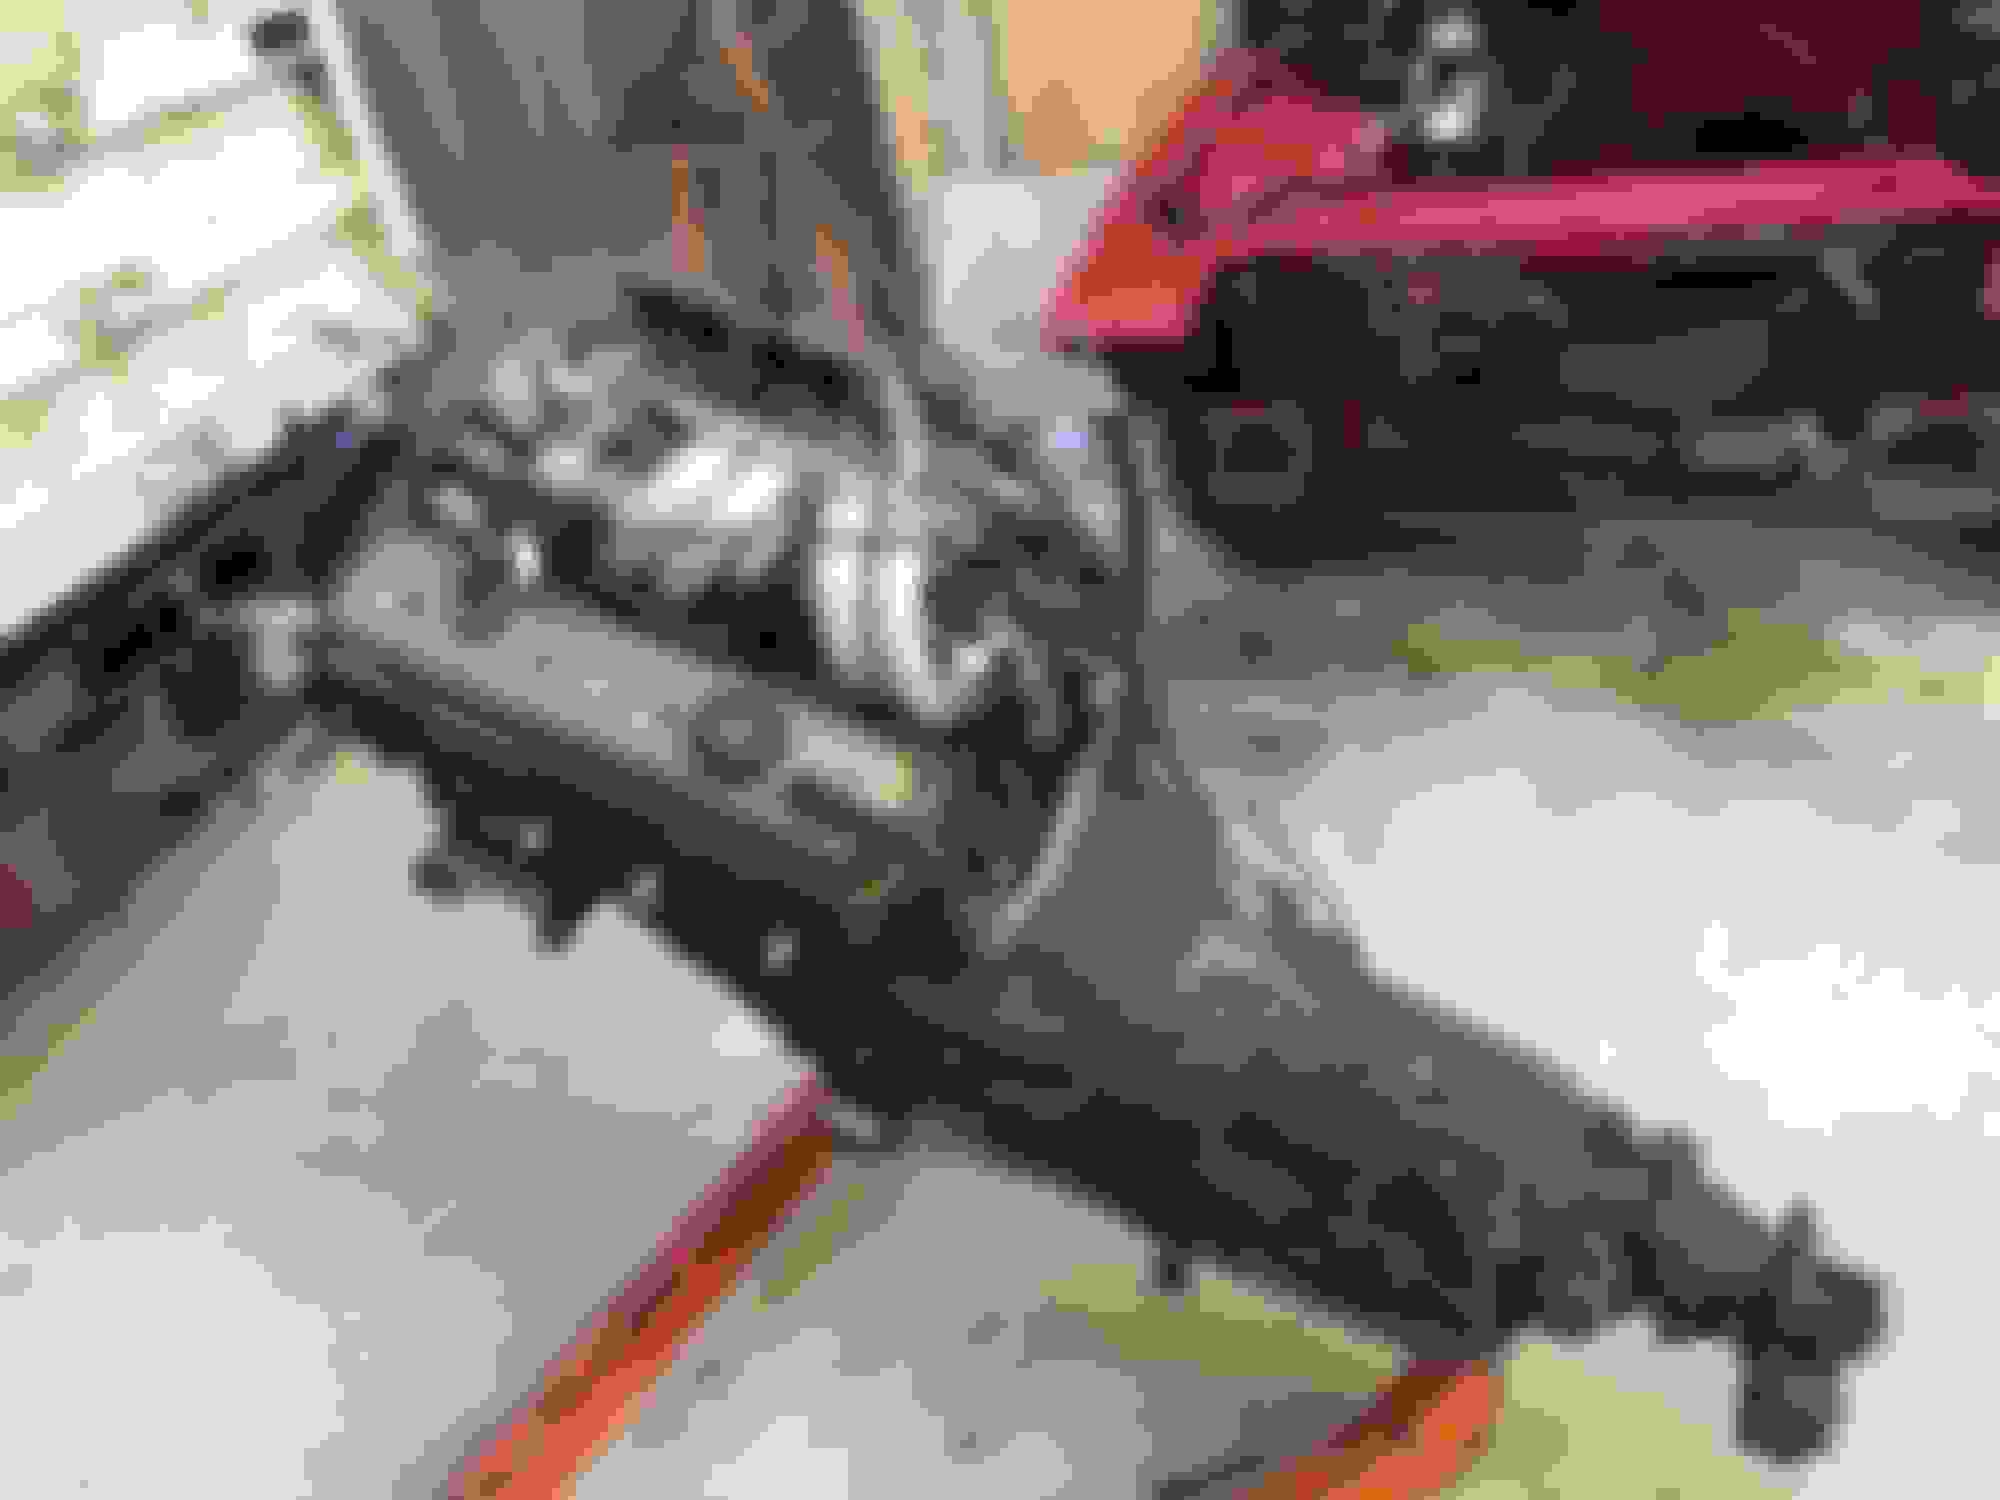
I was undecided if I was going to remove the engine and tranny separately or as a whole. After researching a bit I decided to remove both at once. What really helped is raising the car from the back so that the angle of the engine+box does not hit the body or the floor. I raised it around 1 metre from the back by using my 4-post . Came out quite easily.
The real pain was to remove all the stuff from around the engine. Make sure you disconnect all the cables especially some ground cables fixed to the engine between the engine and the firewall to avoid surprises.
What a great project, you're not wasting any time. I'll be watching with interest...always good to see another one getting some much deserved attention. Are you restoring back to original?
Thanks for the encouragement. I am trying to use all the free time that I have available.
My aim is to take it to stock looks however I wont shy away from putting in improved parts such as steering brace, chassis connectors, aftermarket exhaust, aftermarket bushings....
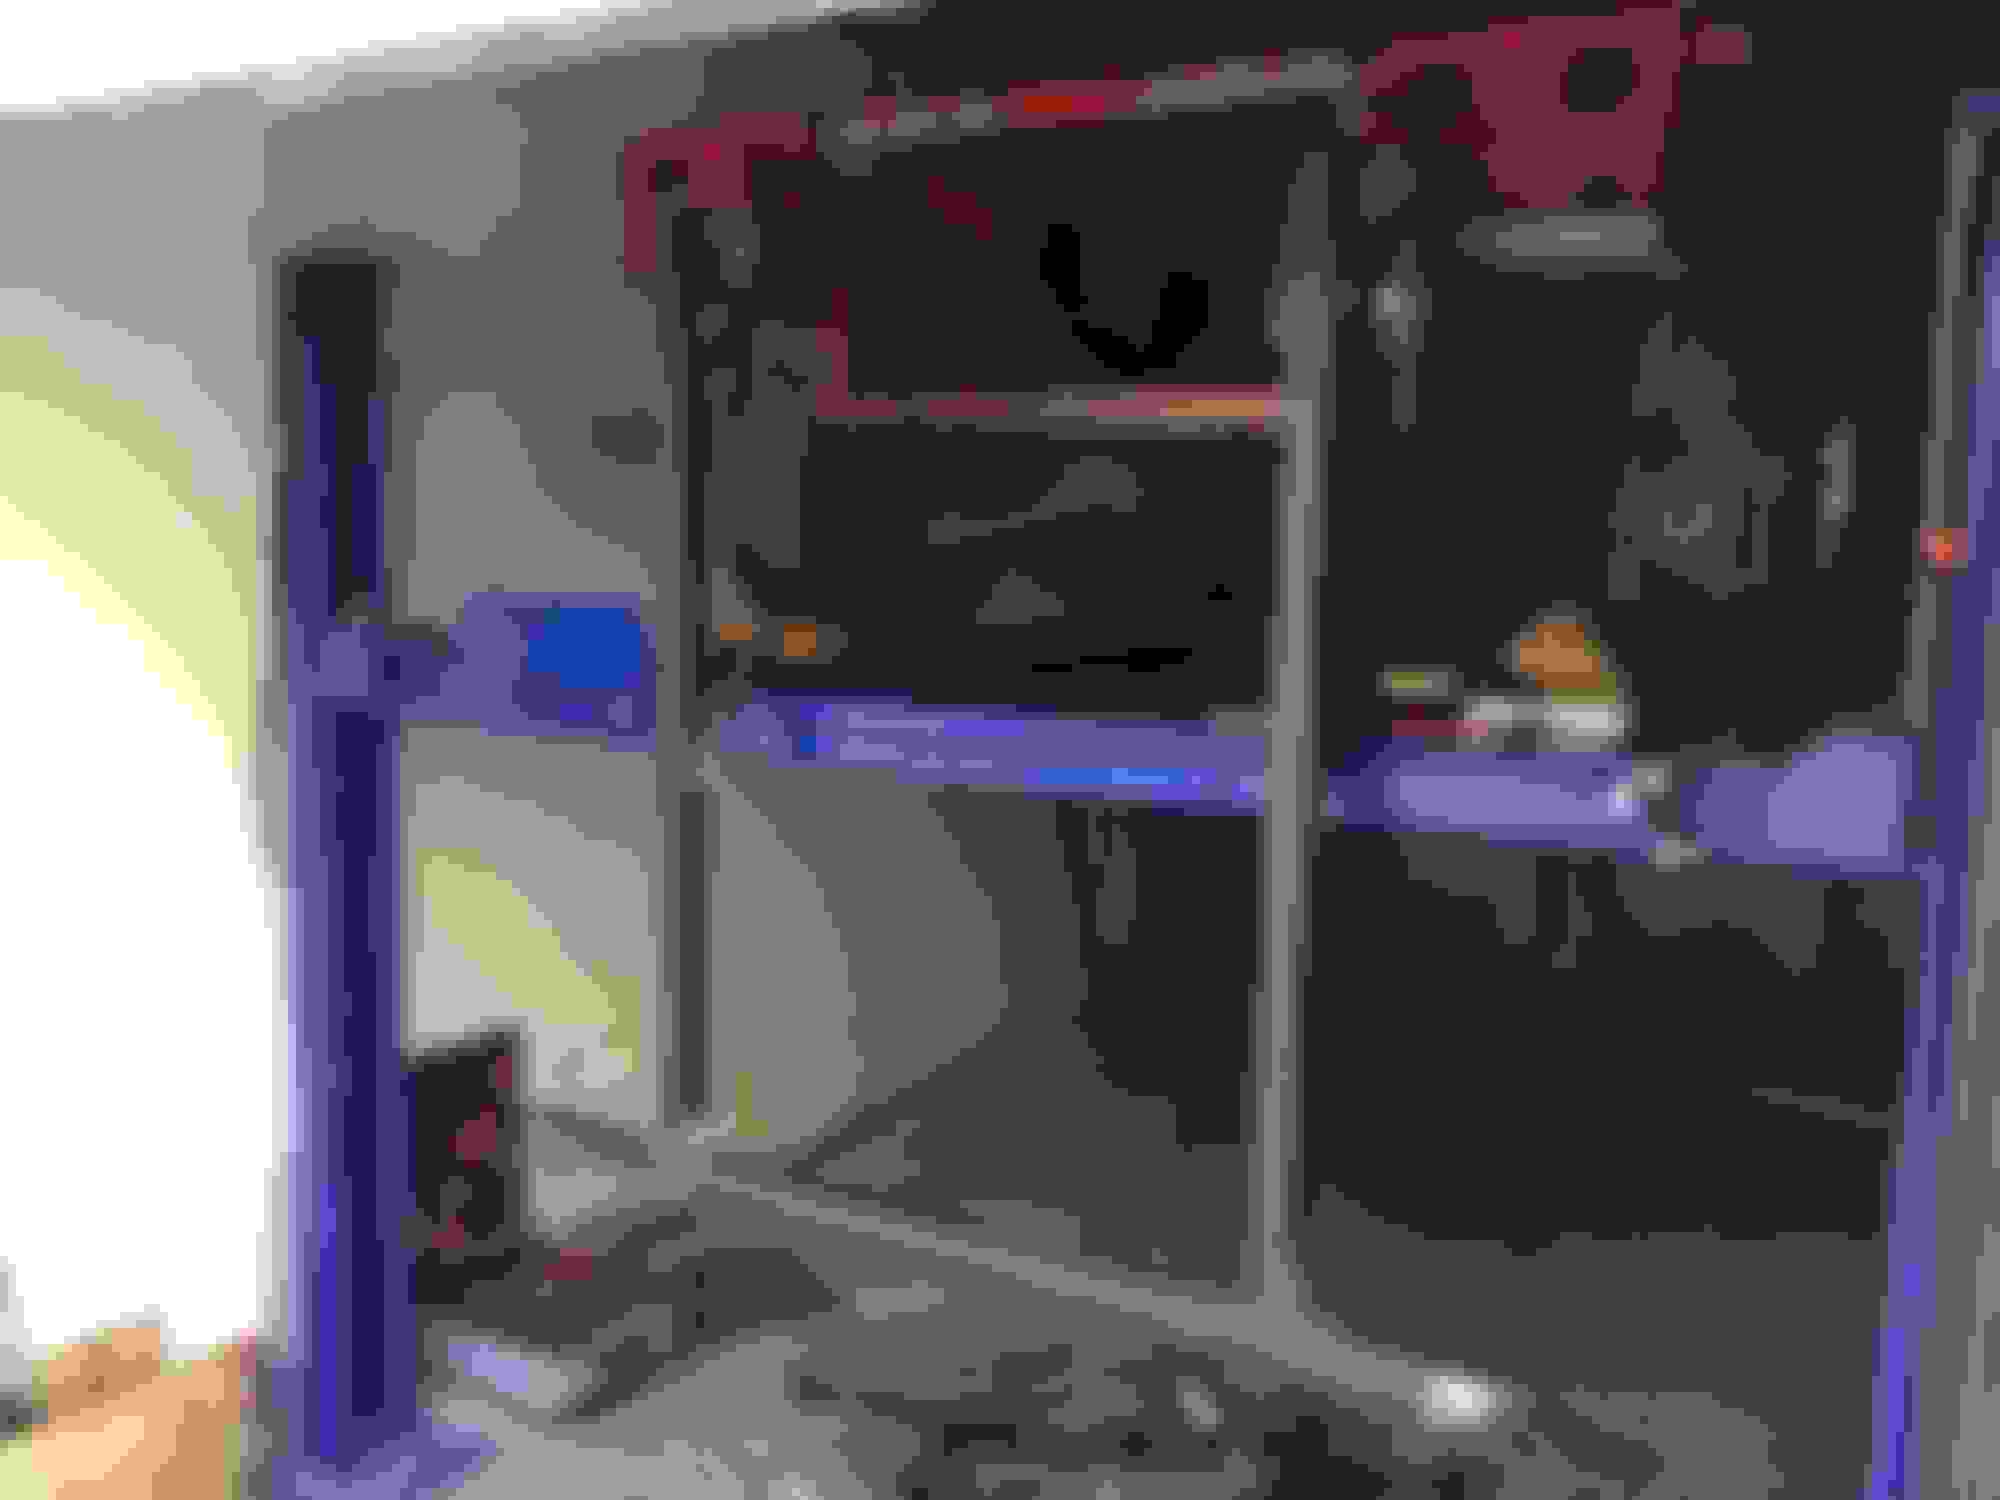
Not a lot of progress really. I removed all the stuff that is removable from the engine bay in preparation for the blasting which is now booked for the second week of September.
Empty engine bay
I will work on the temporary stands to use them as a dolly this week and aim to drop the K-Member and Rear Axle by this weekend.
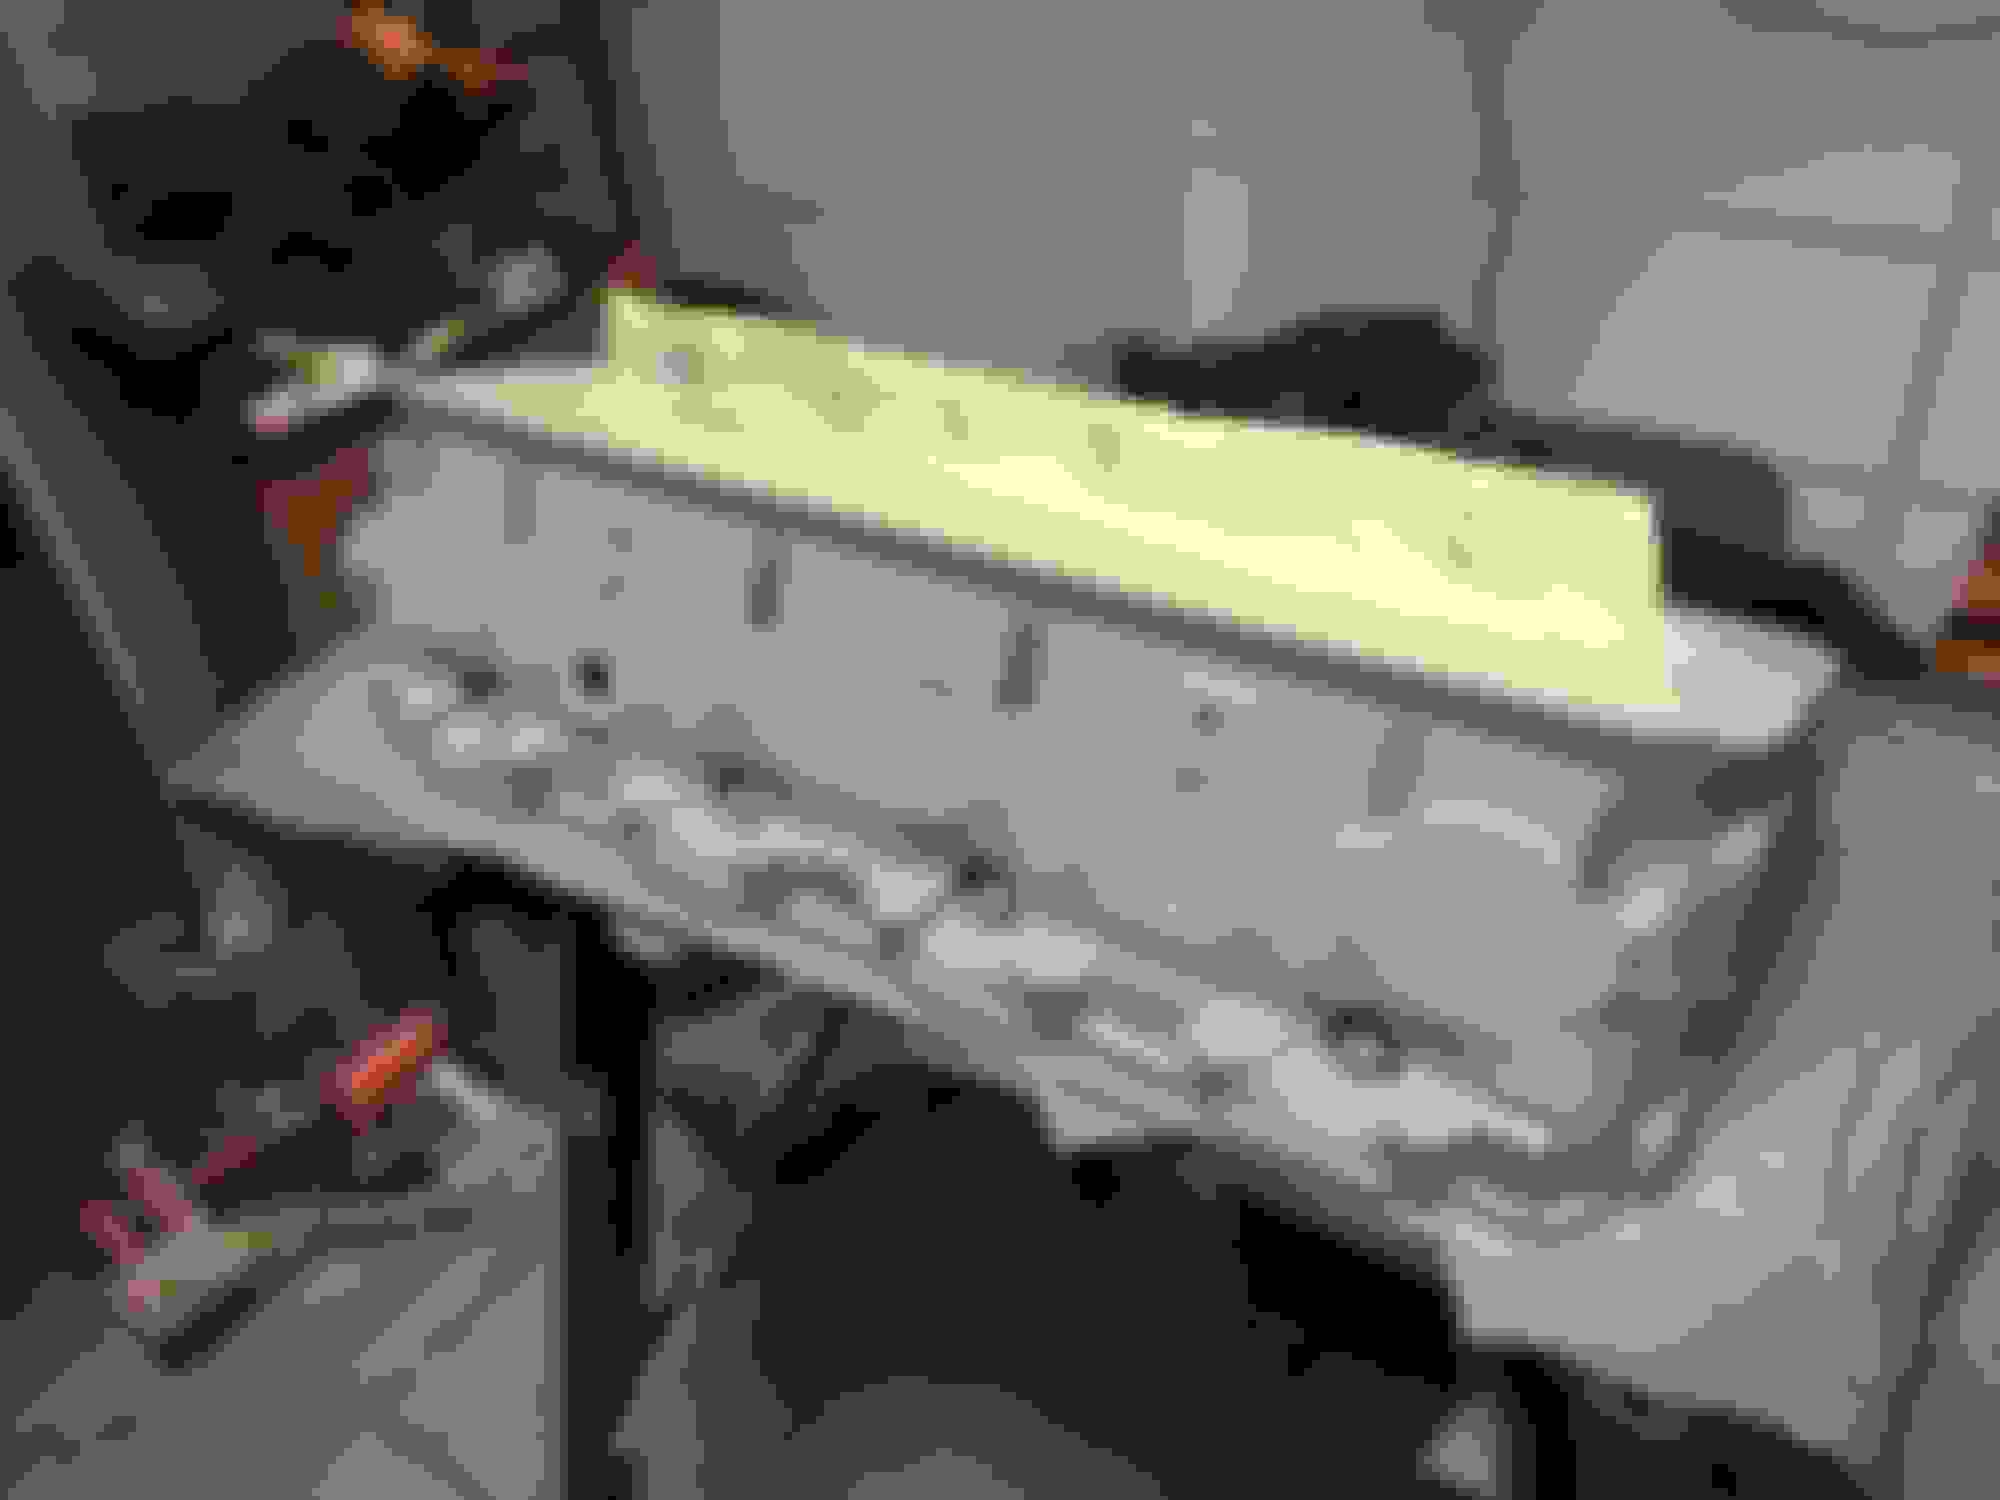
In the meantime, me and my friend are working on a fiberglass aero spoiler as the original one was a complete mess. Its quite a challenge getting it right as the wing tip angle can vary a lot just with a few mm discrepancy on the decklid part. This is a picture of half of the spoiler temporarily fixed to the car waiting for the top half to be joined.
I have also managed to remove the fuel tank after A LOT of fiddling around. Had to lower the diff to be able to remove it properly.
I know there are a lot of debates on this but what is the latest opinion on opening an inspection hatch for the fuel pump / sender unit? I mean if I do a proper hatch with rubber seals and modify the hard lines to have flexible pipes wouldn't it be a huge advantage being able to replace / fix the pump without removing all that stuff?
As for the rest, this week once the stands are ready I will continue sealing all the cavities with tape to stop the blasting dust to enter unwanted areas. Engine side firewall has already been sealed.
Today I have just finished fabricating the front and rear stands. They came out quite good and VERY sturdy.
I used 5mm Plates for the bumper brackets and wheel brackets, 2x2x3mm Hollow Sections and 40x40x5mm angle bar for the webs. The webs are removable so that I can store them somewhere easily once I am ready from them.
As you can probably see, I have welded two hollow section on top of eachother at the bumper plates. The aim is to be able to clear the 4-post jack from its length so all I need to do to put the car on the stand is just install them and lower the jack. The axle and K-Member will go down with the jack while the body will stay on the Stands
All that remains is to complete all the welds on the stands as currently they are just tack welded.
Blasting Phase is now on its way. Today I took the car to the blaster. Hopefully should have the car blasted and etch primed by end of this week. You can see the car floating in the air below.
Will also have the low part of the rear fenders fixed after blasting as the previous owner simply filled up the rusty spot with hard metal. It can be seen in the photo above
Thanks mate. The body is currently officially rust free. The rear quarter panel issue had been solved. Currently getting the underbody sprayed with final cost and engine bay.
Will post more pics soon. But you can see the repair for the rear quarter panel below
It has been a while since my last post. I thought to give you an update.
Car is still on wood beams. I have all the suspension components ready to install. Fuel tank freshly cleaned and sprayed. Repaired a leak around the filler neck with solder. All fuel and brake hard lines sanded, primed and sprayed.
On a separate car section, rear fiberglass aero spoiler is almost ready. Some refining is still needed but this is not a priority for now.
This weekend I vacuumed all the grit from the blasting from inside the chassis. It's incredible the amount that was still in there. I then applied an abundant amount of Dinitrol (a rust inhibitor spray on) using a radial long nozzle and left it dripping. Beleive me all cavities and seams are bleeding oil
Next steps for this week :
- clean underside from excess dinitrol
- glue anti squeek to fuel tank and tank straps
- install new fuel dampener and strainer
- install tank
- install exhaust heat shields (freshly sprayed hammerite smooth silver)
Depending on the arrival of an order from Hawks, I can also try to install the hard lines (waiting for new clips), rear axle which I still need to drain from oil ( waiting for spohn control arm bolts) and front cross member ( also waiting for spohn bolts)
Not sure if I will manage everything but I will keep you updated on any progress.
Some small progress. I installed the fuel tank and heat shields. Installed also K member.
Slowly getting assembled. I also changed brake master cylinder internals and sanded / sprayed brake servo. Hopefully will install tomorrow as it will allow me to begin laying the hard lines.
Today I spent almost a full day installing the front suspension. The energy bushes were quite hard to get into the shells, the A-Arms were a pain to get into the K-Member but the most painful and SCARY part were the springs. Man are they hard..
I used a spring compressor. TIP invest time in ensuring the compressor is attached properly centered in the spring as it will save you time and sweat. Anyway I ensured the springs are properly indexed then began the attempts to try to close the A-ARMS enough for the front struts to reach the knuckle using a jack under the arms. Car body was lifting as a whole so I also had to strap the car to the lift.
After approx 5-6 hours I was ready. Very happy with the results though.
One other tip. If you ever take out the springs and need to change the engine mounts, do it before reinstalling the springs. I installed the mounts afterwards and had to waste a lot of time fishing the nut using magnetized telescopic prongs. With the springs off it is way easier.
Some more updates. Parts are slowly finding their way back.
Cleaned and serviced steering box and linkages. Installed front A Arms. Springs were a real pain even with the spring compressor. Couldn't get them to close enough so I had to jack the arms while strapping the car to the jack.
Installed Diff and the rest of the suspension parts. Car is on wheels on the rear now. Cleaned and serviced calipers. Came out really nice.
Installed all hard lines and brake servo / master cylinder.
Next step is assembling last pieces of the front suspension and put on the wheels there also.
Thought of putting a small update on where I stand now. I am currently on the engine side of things as the underside including suspension and brake lines are all done. This is where I am beginning with.
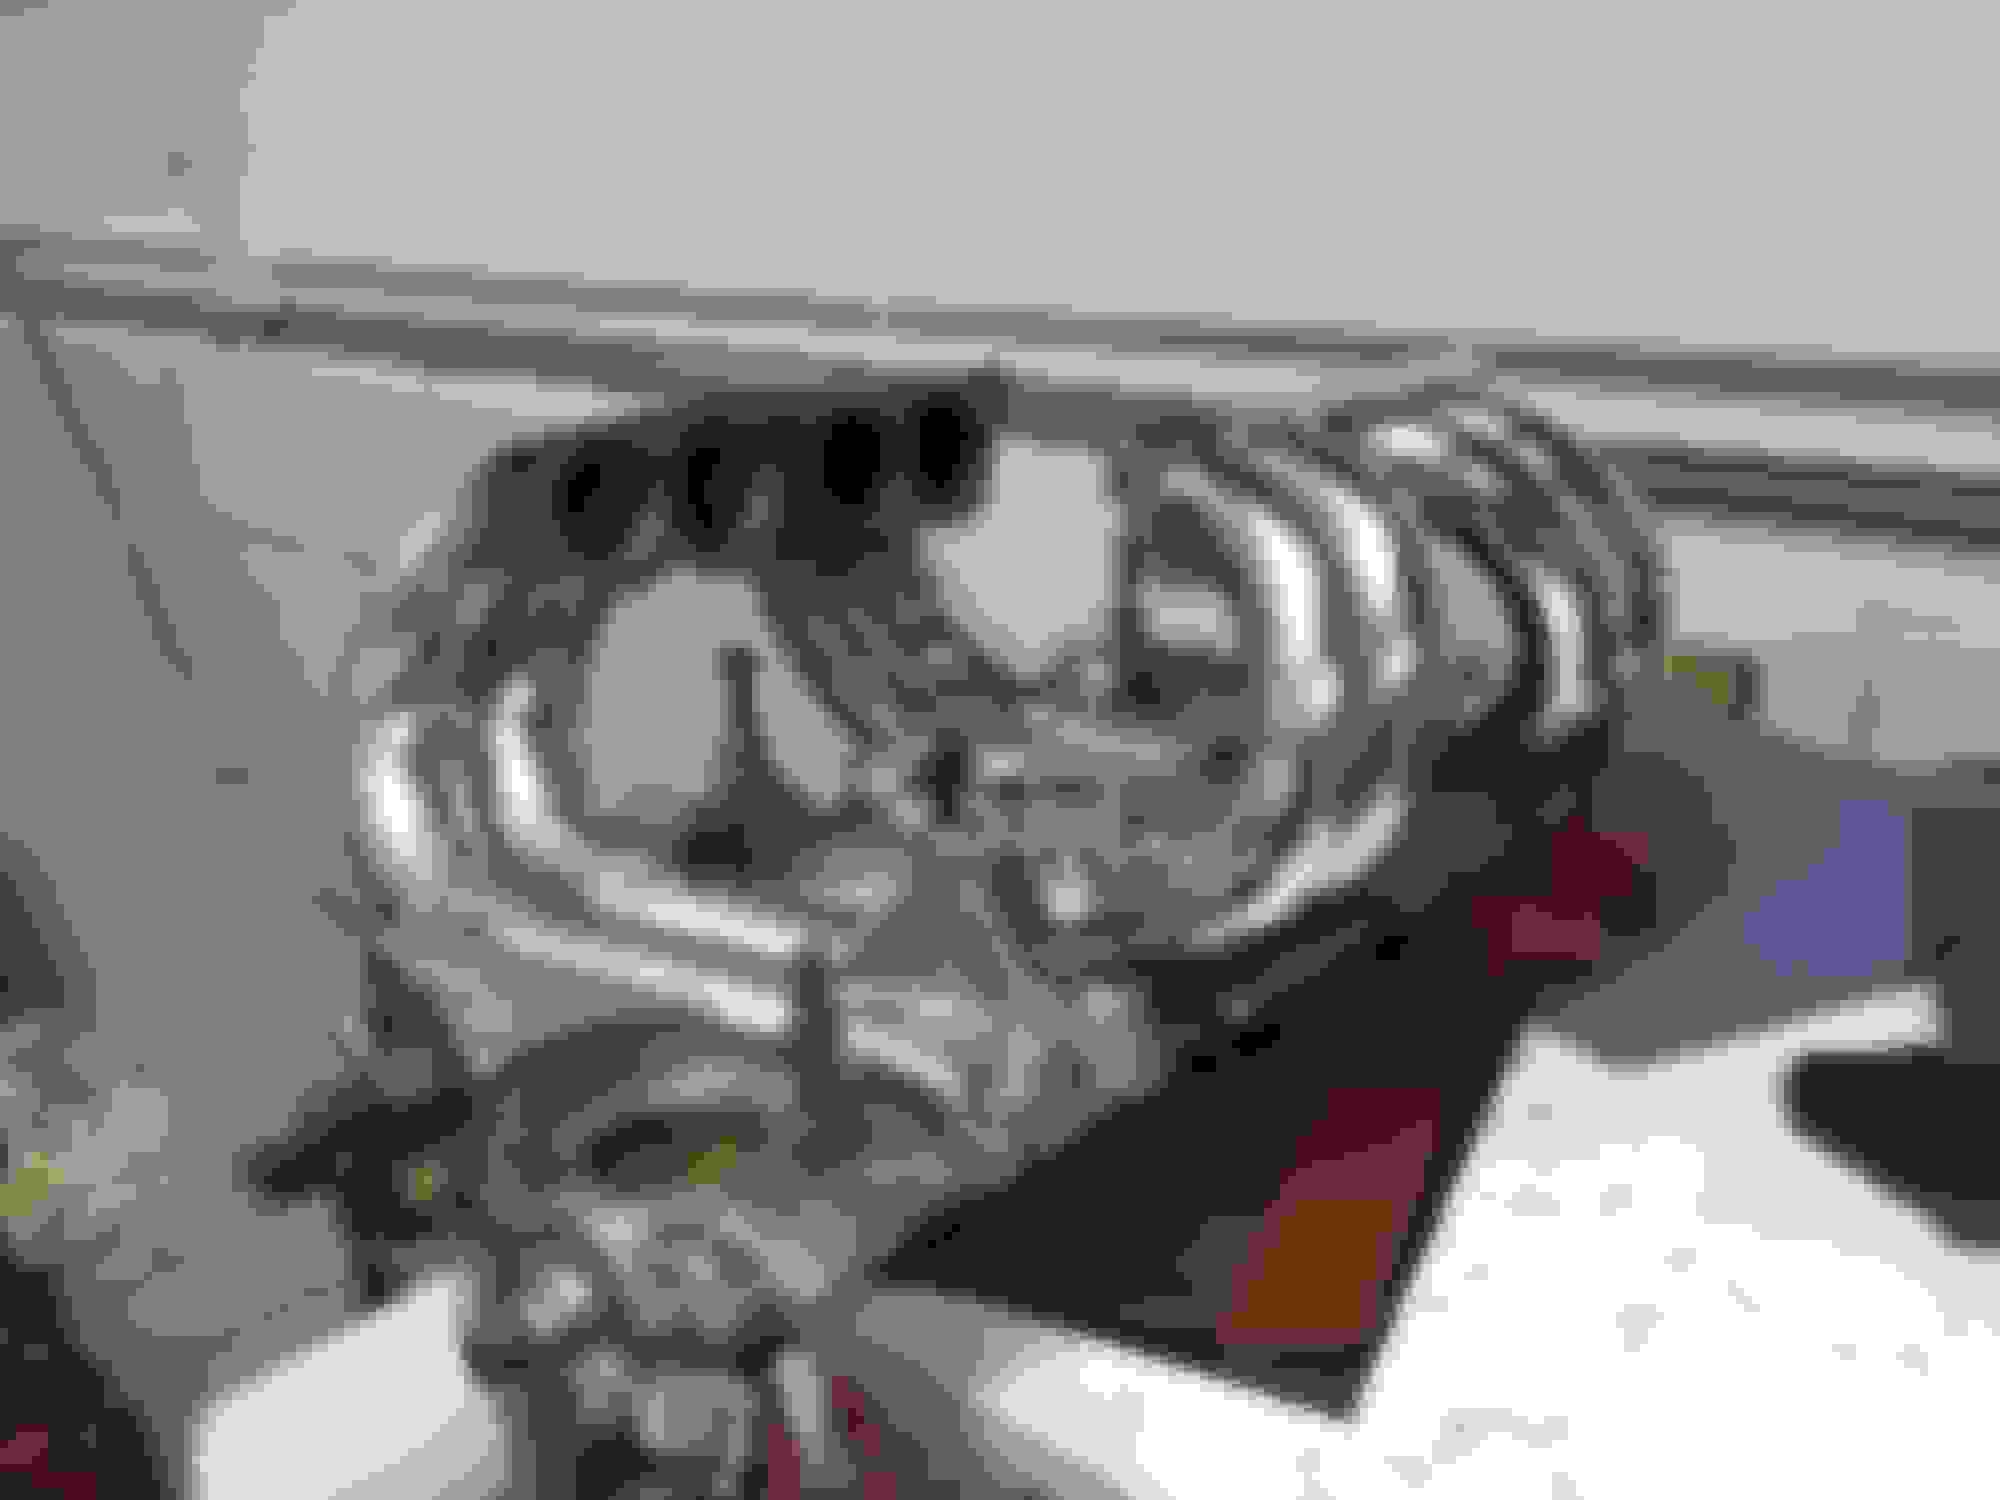
Dismantled heads and block and found a small surprise between chambers 3 and 5. There was almost bridging between the two so I took the drivers side head for filling and milling. Passenger side has been prepped with high temp undercoat. Once all the parts are ready everything will get a final coat of black 2K.
While waiting for the engine block to be repaired at the engineering shop I spent the last week wet sanding and polishing one runner....yes only one for now!!!! You can see the results below which are quite good (not perfect). I am still thinking of chrome plating them but it all depends on the price which I am still waiting.
Project looks great. When you refinished the underside of the car did you spray a clear coat over the etching primer or is it just the primer finish on the bottom?
Small update but very time consuming!!!
Managed to get both runners polished.... Was a real pain and still have the plenum to do but all in all it came quite nice.
 08-15-2016, 04:40 AM