When you click on links to various merchants on this site and make a purchase, this can result in this site earning a commission. Affiliate programs and affiliations include, but are not limited to, the eBay Partner Network.
Re: Installation of CXRacing's LS based third-gen turbo kit
I just sent my PS header & crossover back for modification. The stuff fit but was still too close to the tensioner for my liking. Now I'll have to wait to get the stuff back, mock everything up again, weld new O2 bungs like you did and sent out for ceramic coating.
How did you install the aligning tubes? Did you weld those pieces on the inside of the pipes?
You might want to install rubber isolators on your turbo support. You might have some movement between the engine and body. Whenever I've seen a turbo support, it usually goes back to the engine.
Re: Installation of CXRacing's LS based third-gen turbo kit
Originally Posted by battmann
I just sent my PS header & crossover back for modification. The stuff fit but was still too close to the tensioner for my liking. Now I'll have to wait to get the stuff back, mock everything up again, weld new O2 bungs like you did and sent out for ceramic coating.
How did you install the aligning tubes? Did you weld those pieces on the inside of the pipes?
You might want to install rubber isolators on your turbo support. You might have some movement between the engine and body. Whenever I've seen a turbo support, it usually goes back to the engine.
since we all have different crossOver pipe configurations just by looking at them all it seems like each one is different. They prob have a jig and they just slap stuff together till it fits. I hope your new pipe gives u better clearance but it might not and might be worse lol.
The 02 bungs were a PITA as I wiped out 2 brand new step bits drilling through the stainless, eventually I got the hole big enough for my carbide bit but be prepared. I got the contoured 02 bungs off eBay for like $5 a pop with plugs, SS bung and steel plug but you won�t be using them anyways. The curve it too sharp (better for 1 3/4� pipe) but alittle grinding to flatten them out a bit works fine. The plugs are alittle Long so I used them to help align the bung for TIG welding.
The tube aligners are just short prices of pipe, some are angled, some not. It depends on the vband (pipe on the inside). How much you can add on or the angle etc. I basically measured with a tape measure how much distance from the shortest point to the edge of the vband and then measure the other connecting vband the same way. So say I got 3/4� added together, then cut 3/4� off some stainless pipe and layed it in there and put a couple of tack welds to hold it in there. I didn�t fully weld it, just a few tacks to kee the pipe from rattling, since it can�t fall out or do anything else. The overlap should help with leaks as well.
Turbo support i could add a small small piece of silicone under it for vibrations but I run solid motor mounts so I have no Engine movement etc. any vibrations I�m getting already is through the engine lol. Most turbo supports I see that are at the Engine are bc the turbo is close to the Engine (ours is wayyy off) and people are running rubber or poly mounts.
Re: Installation of CXRacing's LS based third-gen turbo kit
Looks good. Your box looks better than mine did. What are the black pieces that look like plastic? Also check to see if you got bolts to mount the turbo as I did not.
your turbo box also looks different than mine. Mine was a plain white box. What turbo did you go with?
Re: Installation of CXRacing's LS based third-gen turbo kit
Black pieces are 2x4 stands from a palle i believe, there was various other "garbage" tossed in there, and I got a set of V6 headers for free apparently! Probably send those back, I imagine some poor guy didn't receive them and somehow I accidentally got them.
Re: Installation of CXRacing's LS based third-gen turbo kit
Originally Posted by 89FormulaLS
Black pieces are 2x4 stands from a palle i believe, there was various other "garbage" tossed in there, and I got a set of V6 headers for free apparently! Probably send those back, I imagine some poor guy didn't receive them and somehow I accidentally got them.
Aside from that the turbo hardware is missing.
oh man lol... urs was packed worse than mine. My box was just destroyed. What turbo did you go with?
Re: Installation of CXRacing's LS based third-gen turbo kit
Originally Posted by 89FormulaLS
That's just what the kit came with, Im actually running an S480 92/1.1 hot side.
So in the box is the CX 76/65 .82AR p trim? Just wondering bc my box was very plain and white with a printed label from copy paper just taped on.
Interested to to see what that turbo spools like and if the pipes will all line up. The DP, crossover and WG dump pipe are basically all touching at the same time. I couldn�t move the WG tube at all once everything was installed. It�s wedges between the crossover and the sway bar.
Re: Installation of CXRacing's LS based third-gen turbo kit
For those of you running truck accessories, how did you get the IC piping to work without running into the alternator? I did a test fit and it will run right into the pulley. Also, I modified the crossover to work with two cuts and about 1" more piping. I'll post photos once I get it back from my welding buddy.
Last edited by Raunchtastic; 10-15-2017 at 09:58 PM.
Reason: Accidentally posted early
Re: Installation of CXRacing's LS based third-gen turbo kit
Originally Posted by Raunchtastic
For those of you running truck accessories, how did you get the IC piping to work without running into the alternator? I did a test fit and it will run right into the pulley. Also, I modified the crossover to work with two cuts and about 1" more piping. I'll post photos once I get it back from my welding buddy.
NNBS intake on mine requires nothing and it clears. But I don�t run the CX intercooler piping. It probably puts the BOV right into the alt. On my older style truck intake with the 3 bolt TB I had to run a 1� TB spacer to push it out so my piping cleared the alt. Here is my new NNBS intake and 92mm WARR TB clearing the stock truck accessories.
Re: Installation of CXRacing's LS based third-gen turbo kit
Originally Posted by Raunchtastic
For those of you running truck accessories, how did you get the IC piping to work without running into the alternator? I did a test fit and it will run right into the pulley. Also, I modified the crossover to work with two cuts and about 1" more piping. I'll post photos once I get it back from my welding buddy.
probably exactly what I did. I did about 3/4� of pipe tho. Interested to see if it was what I did. 1� would have given me more clearance on the tensioner but I have about 1/4� already so that�s all I needed.
Re: Installation of CXRacing's LS based third-gen turbo kit
Originally Posted by 89FormulaLS
Why not drill a hole and run oil drain down past the battery tray and over to front cover/oil pan? My kit is finally getting delivered tomorrow 😵. Been busy getting everything else in order for my install....
so far,
MS3 Pro Ultimate
Quick Performance 9", Yukon center 35 spline
1200hp built TH400 FM RVB with trans specialties brake
stock 5.3 with hone and gaps opened up
Jegs turbo cam and PAC 1218 springs
Dual in tank walbro 450s, -10 feed -6 return (e85)
I was looking at those same rims and tires on summit. $105 a rim can't be beat. What size tire did you go with and brand... looks like MT SS? I wonder how they wear on the street and how many miles you can get out of them.
Re: Installation of CXRacing's LS based third-gen turbo kit
Those fittings don't look like they're going to fit if you're going to put that rear sheetmetal back - unless there will be a hump in the cover or something.
I'm using a plastic LS1 tank with a Squash Performance dual pump kit. Everything seems to fit pretty good so far. http://www.squashperformance.com/199...stem_p_44.html
Re: Installation of CXRacing's LS based third-gen turbo kit
Ill most likley make an inspection panel with some small screws. Ive got a ton of fab work to do in the next few weeks, I am going to cut my front frame rails and start making a tubular front end. SW 10pt install and some mini tubs at the same time.
Those tires are Nitto 555r's 275/60/15 wheels are 15x8 5.5bs
Last edited by 89FormulaLS; 10-17-2017 at 08:42 PM.
Re: Installation of CXRacing's LS based third-gen turbo kit
I've run into my second major snag, with a few smaller ones. Did anyone else have issues with spark plug boots resting right on the manifold? I was going to buy some fiberglass sleeves to insulate them a bit, but I wasn't sure if someone had a good part number for plug wires that don't need to be covered.
the major issue, though, is that my down pipe will run directly into the heater hose ports on the truck water pump. I don't know if the turbo that comes with the kit has that issue, or if having the LS1 pump with spacers would fix it, but as it stands I will need to do some tricky stuff with the down pipe to make it functional, or just do a dump under the hood, which I was trying to avoid.
Re: Installation of CXRacing's LS based third-gen turbo kit
Originally Posted by Raunchtastic
I've run into my second major snag, with a few smaller ones. Did anyone else have issues with spark plug boots resting right on the manifold? I was going to buy some fiberglass sleeves to insulate them a bit, but I wasn't sure if someone had a good part number for plug wires that don't need to be covered.
the major issue, though, is that my down pipe will run directly into the heater hose ports on the truck water pump. I don't know if the turbo that comes with the kit has that issue, or if having the LS1 pump with spacers would fix it, but as it stands I will need to do some tricky stuff with the down pipe to make it functional, or just do a dump under the hood, which I was trying to avoid.
Yup on both counts!
I posted pics of it on page 2 in this thread. I had removed my water pump heater nipples and tapped for NPT plugs. This is with a Car LS1 waterpump with spacers. So I think your screwed either way.
You could try to run 90* fittings but that prob still wont clear... or drill and tap the housing on the under side and run the hose off that if you need the heater.
Spark plug wires I'm running taylor firepower 9mm wires and the boots are tiny and clear the headers but the the wires touch the headers per say. So I'm running heat sleeves.
Last edited by customblackbird; 10-18-2017 at 02:54 PM.
Re: Installation of CXRacing's LS based third-gen turbo kit
Originally Posted by battmann
How did you remove the water pump nipples??
Not fun. Basically twist and pull them out. They aren't screwed in, they are pressed in with some form of locktite on them. Its a huge PITA. But once they are out they are the exact size for a 3/8" NPT and 1/2" NPT pipe plug. Just tap and your done.
If you can't get them out by putting it in a vice and twisting and pulling it out (large locking pliers or plumbing wrench) then you can cut a small slit in it and bang it inward to deform it enough where it will fall out. Not sure how to cut a slit in the part thats in the waterpump bc I never had to do it. Ive been able to get it out with some time and strength on 2 waterpumps now.
They should make this an option when ordering or just leave them tapped so people can add their own fittings or plugs.
Re: Installation of CXRacing's LS based third-gen turbo kit
Just thought about it, u might be able to ditch the mechanical pump and run an electric. Will free up a ton is space and then you can figure out the heater lines easier.
Re: Installation of CXRacing's LS based third-gen turbo kit
I removed the two lines by heating the housing slightly with a map gas torch. grabbed them with some pliers and the slid right out, literally with no resistance.
I think I might order a set of those taylor race fit wires too, and some DEI 1800 degree sleeves... Blackbird do you think these are going to hold up being pressed on the headers?
Last edited by 89FormulaLS; 10-18-2017 at 09:22 PM.
Re: Installation of CXRacing's LS based third-gen turbo kit
I assume you guys are using AN fittings with the NPT fittings on the water pump - is that correct? If so how are you connecting the lines to the heater core?
Re: Installation of CXRacing's LS based third-gen turbo kit
I'm going to be fitting NPT plugs. I removed my heater when swapping to the LS. My camaro was retired from daily driver status about two and a half years ago, so I'm not worried about having heat in it.
Re: Installation of CXRacing's LS based third-gen turbo kit
NPT plugs in the heater ports on the waterpump. 3/8� npt and 1/2� npt.
Remember when you plug the heater ports on the water pump u loose the bypass feature and you will overheat possibly. Only fix is to loop the heater lines on the WP which we can�t bc of the turbo down pipe. Or to drill a bypass hole behind the TB from the back to front heater ports. Or you make sure your thermostat has the open holes on the back side for the bypass area. My Mr. Gasket thermostat has the holes and thus no overheating issues. A lot of people don�t know that the LS pump is a 2 chamber design.
Re: Installation of CXRacing's LS based third-gen turbo kit
not too much turbo stuff going on, but finally got my converter from circle D, installed the engine and trans together today. Did a little fuel line routing up to the rails. Getting closer on my twin 450 cram job to the stock tank.
Re: Installation of CXRacing's LS based third-gen turbo kit
How close was that low mount starter to the steering box? my PS pump pulley was stupid close So I had to run the 5" dirty dingo pulley.
Also make sure that return fuel hose in the tank is submersible.
I just spent a few hours trying to find ways to give me the most room with the stock style wires in the stock coil location... and none make me certain I won't burn through a wire. I just ordered up some cheap taylor street wires with 90* boots and some separate LS style coil boots, going to run them out and around and plug in from the underside... all with the coils in the stock location. There is NO room to mount the coils on the pass side due to the starter and Down pipe. I think your stuck putting it real low by the oil pan or on the down slope of the stock Kmember (if your still running one). The DP runs right next to the top of the coil spring so not a lot of room there. Mounting to the firewall on that side low where the AC exchanger was is prob the best bet and running the wires around the back to the underside.
Re: Installation of CXRacing's LS based third-gen turbo kit
I'm also possibly adding an AEM 380 inline high pressure pump to help with fuel duties. I was worried about losing fuel flow at higher pressures, 58psi base = 12psi is 70psi. Fuel crank pressure is 80psi on the 267 walbro 450 and of course i didn't get the 274 like I should have! I don't need the volume as its the pressure that kills the 450 pumps. Adding the 120psi AEM pump should cut psi in 1/2 for the walbro but give me a 20% jump in flow (2 pumps in series). Basically means 1000hp at the wheel but at pressures above 80psi.
Re: Installation of CXRacing's LS based third-gen turbo kit
Originally Posted by customblackbird
How close was that low mount starter to the steering box? my PS pump pulley was stupid close So I had to run the 5" dirty dingo pulley.
Also make sure that return fuel hose in the tank is submersible.
I just spent a few hours trying to find ways to give me the most room with the stock style wires in the stock coil location... and none make me certain I won't burn through a wire. I just ordered up some cheap taylor street wires with 90* boots and some separate LS style coil boots, going to run them out and around and plug in from the underside... all with the coils in the stock location. There is NO room to mount the coils on the pass side due to the starter and Down pipe. I think your stuck putting it real low by the oil pan or on the down slope of the stock Kmember (if your still running one). The DP runs right next to the top of the coil spring so not a lot of room there. Mounting to the firewall on that side low where the AC exchanger was is prob the best bet and running the wires around the back to the underside.
Big photo dump here.....
I have good clearance on my pitman arm with the low mount alternator. (dirty dingo bracket... with pulley modified to give some more bite to the waterpump)
ahahah I ordered those taylor wires and some boots because I thought you said they would fit.... I didnt see it but assumed you were more creative than me LOL. I am going to just keep them, leave coils on the valve covers and run the plug wires to the back of the engine, under the header then forward to the plugs if that makes sense. Still waiting on IGNA coils to arrive from DIY autotune.
I am running the stock K member, I think a aftermarket one would have saved me maybe 20lbs.... BUT advice to everyone, I rerouted the passenger side brake line to behind the K member, there is absolutely no clearance there and the F body oil pan hits the brake line!!! Crap! hope I didnt kink my brake line. Brake line needs to stay on top of the stock K member! (dont judge my 100,000 mile block, she isnt going to last long with what I am going to put this thing through, all i did was install cam, springs and hone with some new moly rings gapped to .030, .030.... Didnt even clean the block)
Switch wiring and sweet relay panel I got from Nitrous Dave,
Here is the belt setup I went with, small alternator clears the pitman arm and makes for a clean install, I am running a manual steering box from a 84 S10 4cyl, ordered the box from advance auto.... Think it was 80$ all said and done after core return and the online coupon they had going a couple weeks ago.... FYI if you plan on changing a 100,000 mile steering gearbox lots of penetrant and heat will get the pitman arm off, mine was damn near welded on.
Last edited by 89FormulaLS; 10-26-2017 at 11:37 AM.
Re: Installation of CXRacing's LS based third-gen turbo kit
Well I did get it all to work but I�m not the type of person to chance it. I would say the issue is like 2-3 wires per side. With low height 135*F boots the wires clear the headers but they might possibly be touching when they are in there fiberglass heat shields. They also got closer when I added the header wrap to the headers. I�m not saying they won�t work but might have a burnt wire or 2 down the road. It would be safer to run the wires around the back side and under. But that leaves all the wires running next to each other. Running the 2 front together out toward the front of the Engine will keep wire length to minimum and run the back 2 out the back and under.
I even added some restraints to keep them up against the head. It could work but it�s still a bandaid to running around correctly. I would have done the coil relocation but there is no room under the pass side.
Re: Installation of CXRacing's LS based third-gen turbo kit
Your "band-aid" is basically how I intend on running mine permanently, haha. I'm planning on wrapping the manifolds extra thick and using sleeves on the wires. I have no sleeves and no wraps when running NA with a few of the wires resting right on the manifolds with no issues.
Re: Installation of CXRacing's LS based third-gen turbo kit
On an NA app the manifolds or headers don�t get very hot. On a turbo system it�s a completely different story. The headers or manifolds could even glow. Not to mention the exhaust is under pressure in like 2:1 ideally. This means the hot exhaust is literally spending a lot more time in the manifold/header.
Also so there are 2 theory�s on the heat sleeves and almost all heat wraps for like starters etc. as you heat up they reflect the radiant heat = good but as soon as things get warm enough and heat soaked the starter wraps and other sleeves will literally hold the heat in = bad. So in theory spark plug heat shields can cook the wires they are surrounding. I�ve actually had experience with wrapping my starters on a BBF build where the exhaust was right next to it. The wrap worked initially but after being heat soaked the starter stayed warmer longer which lead to killing the starter. RemovIng the starter wrap and making a quick heat sheild worked out much better and I never had to change starters again.
It also has a lot to do with air movement which there is none if it�s covered. Think about wrapping headers... holds the heat in and that�s not what you want in a plug wire.
Re: Installation of CXRacing's LS based third-gen turbo kit
I’m planning on getting my hot side ceramic coated so hopefully that will help with the plug issues you guys are talking about.
On a side note, CXRacing reworked my crossover and PS header. I should be receiving them back this Tuesday. I’ll have to mock everything up again to see if their rework fixed the clearance issues. Fingers crossed.
Re: Installation of CXRacing's LS based third-gen turbo kit
Originally Posted by battmann
I�m planning on getting my hot side ceramic coated so hopefully that will help with the plug issues you guys are talking about.
On a side note, CXRacing reworked my crossover and PS header. I should be receiving them back this Tuesday. I�ll have to mock everything up again to see if their rework fixed the clearance issues. Fingers crossed.
not going to help that much. The ceramic coating I�ve been getting as well and it provides good insulation about as much as a header wrap maybe. It will still burn through a plug wire in a hurry. Your lucky for 30-50% reduction in heat with wrap or coating. Turbo systems run much hotter than NA so you will see 1200*F + temps easily and most plug wires are rated up to 500-600*F. Last thing U want it to burn a plug wire and arc to the header and loose that cylinder under boost.
If your not running truck accessories you�ll be fine. If your running truck accessories your going to have to modify it.
Re: Installation of CXRacing's LS based third-gen turbo kit
The amount of heat when you have pressurized exhaust is unbelievable and your wires have a lot less clearance than the one of mine that cooked recently. Just keep a close and frequent eye on them and hopefully you will get some mileage out of them. Mine used to hold up for weeks until I got to the track two hours away!
Re: Installation of CXRacing's LS based third-gen turbo kit
My longest drive will be to work about 40 minutes away in stop and go. It likely won't see the track often, since I have zero intentions of caging it ever. If I end up running into problems, I can get different wires and re-route them.
Re: Installation of CXRacing's LS based third-gen turbo kit
Originally Posted by customblackbird
Customblackbird - have you tried closing your hood yet? I got my reworked PS header and crossover back today. The rework gives great clearance around the tensioner but my wastegate looks high - like the hood might lay on it. Might not be an issue but I don�t have my car put together enough to install the hood & check. Based on the pic you posted the wastegate position seems OK but wanted to ask.
Re: Installation of CXRacing's LS based third-gen turbo kit
slow progress here due to some fall pasture spraying work, I actually had to go work for the first time in two months! Waiting on hardware for the manifolds. Ive gotta pull my front cover off to tap and install a -10 drain fitting for the turbo. I ended up selling my truck coils and ordered a set of IGN-1A coils, im going to try and mount them somewhere down by the subframe and do custom wires. Fuel system is about done, need to mount my regulator and waiting on some -6 90* fittings. Hoping to get this thing running soon, then off to the driveshaft shop for my TH400 9" combo. Ended up buying a trailer for this thing, got a steal of a deal.
I have officially proven with 60$ in fittings and hose you can put two 455s in the stock tank, and keep your fuel gauge! LOL
Re: Installation of CXRacing's LS based third-gen turbo kit
Originally Posted by battmann
Customblackbird - have you tried closing your hood yet? I got my reworked PS header and crossover back today. The rework gives great clearance around the tensioner but my wastegate looks high - like the hood might lay on it. Might not be an issue but I don�t have my car put together enough to install the hood & check. Based on the pic you posted the wastegate position seems OK but wanted to ask.
if I remember right I might have tested it. But most likely not. I know I did test the NNBS truck intake with the charge pipe on to verify hood clearance. At that time I don�t believe I had the turbo fully mocked up. I can test but it�s going to be a few weeks till I�m done in the Engine bay and can clean up the load of crap in the hood latch area and on the windshield.
I personally think the wastegate is in a horrible spot. I would have put it on the end of the turbo adapter elbow and dumped the wastegate out right in front of the rear pass tire area.
FWIW, in the turbo system install you have to mock up the downpipe first, then install the pass header, then the elbow and turbo as a unit. Then attach the downpipe to the turbo with the vband and then install the Wastegate and dump, then mock up the crossover and tighten it down. Otherwise u can�t get the downpipe in and you basically need to remove everything to put it in lol... took a while to figure out the sequence. Also you should do the plug wires before your put the downpipe in bc there is NO room to really get to 1/2 I�d them once your get it all installed... ask me how I know lol.
Re: Installation of CXRacing's LS based third-gen turbo kit
Originally Posted by Raunchtastic
My longest drive will be to work about 40 minutes away in stop and go. It likely won't see the track often, since I have zero intentions of caging it ever. If I end up running into problems, I can get different wires and re-route them.
40 min is about 35min longer than you need to take out a plug wire lol. I would do it once and not worry about it. I just wrestled with mine to get the plug wires off and I had to do it from under the car and man was it a PITA! I just ran my new wires under and out the back and have lots of clearance and no worries now. But it�s still hard as hell to get the wires on esp on the pass side since the downpipe blocks them almost completely on #2 and #4.
Re: Installation of CXRacing's LS based third-gen turbo kit
For those that want to see. I did my new rerouted plug wires today. I went with Taylor street wires 8mm and some taylor LS coil boots separately. Total cost was about $60 together. I only finished the driver side but need to get seperators tmrw. Taylor wires have 90 degree boots on them and 500ohm/ft resistance which is a lot worse than the taylor 9mm thunder series i had which was 22ohms resistance total per wire. But as long as it fires I�m good and doesn�t melt. I miss my SS Long tunes already as i had full access to the plugs, and wires easily.
First off, getting the plug wires off was a PITA! The pass side is the worst as the downpipe all but blocks the #2 & #4 Spark plugs completely. I don�t even want to think about doing spark plugs on this things. Honestly might be easier to remove the whole turbo system. Only real way to get to them and install was from under the car. So I hope u got it up high enough lol.
I almost pulled the trigger on remote mount coil brackets but decided to try it out first. I was able to leave the coils on the valve covers and just run the wires out the back. They all still fit under the coil covers too which is nice. Don�t mind the look as I�m not done and they need seperators to keep them from touching. Driver side is done and fully assembled but not cleaned up and organized. Pass side I started and got the wires on the plugs and run to the top side. I just need to terminate and crimp the coil ends on and organize. I did leave the heat sleeve/boots on and out them on the plug side to help alittle with radiant heat.
For those of you on the fence, it�s worth it. Wires have tons of room away from the hot headers and it�s easier when u do it the first time lol. Cost is about the same if not slightly less than good premade stock LS wires (taylor 9mm was $70 ish) these wires were $38 and $19 for the coil boots.
Re: Installation of CXRacing's LS based third-gen turbo kit
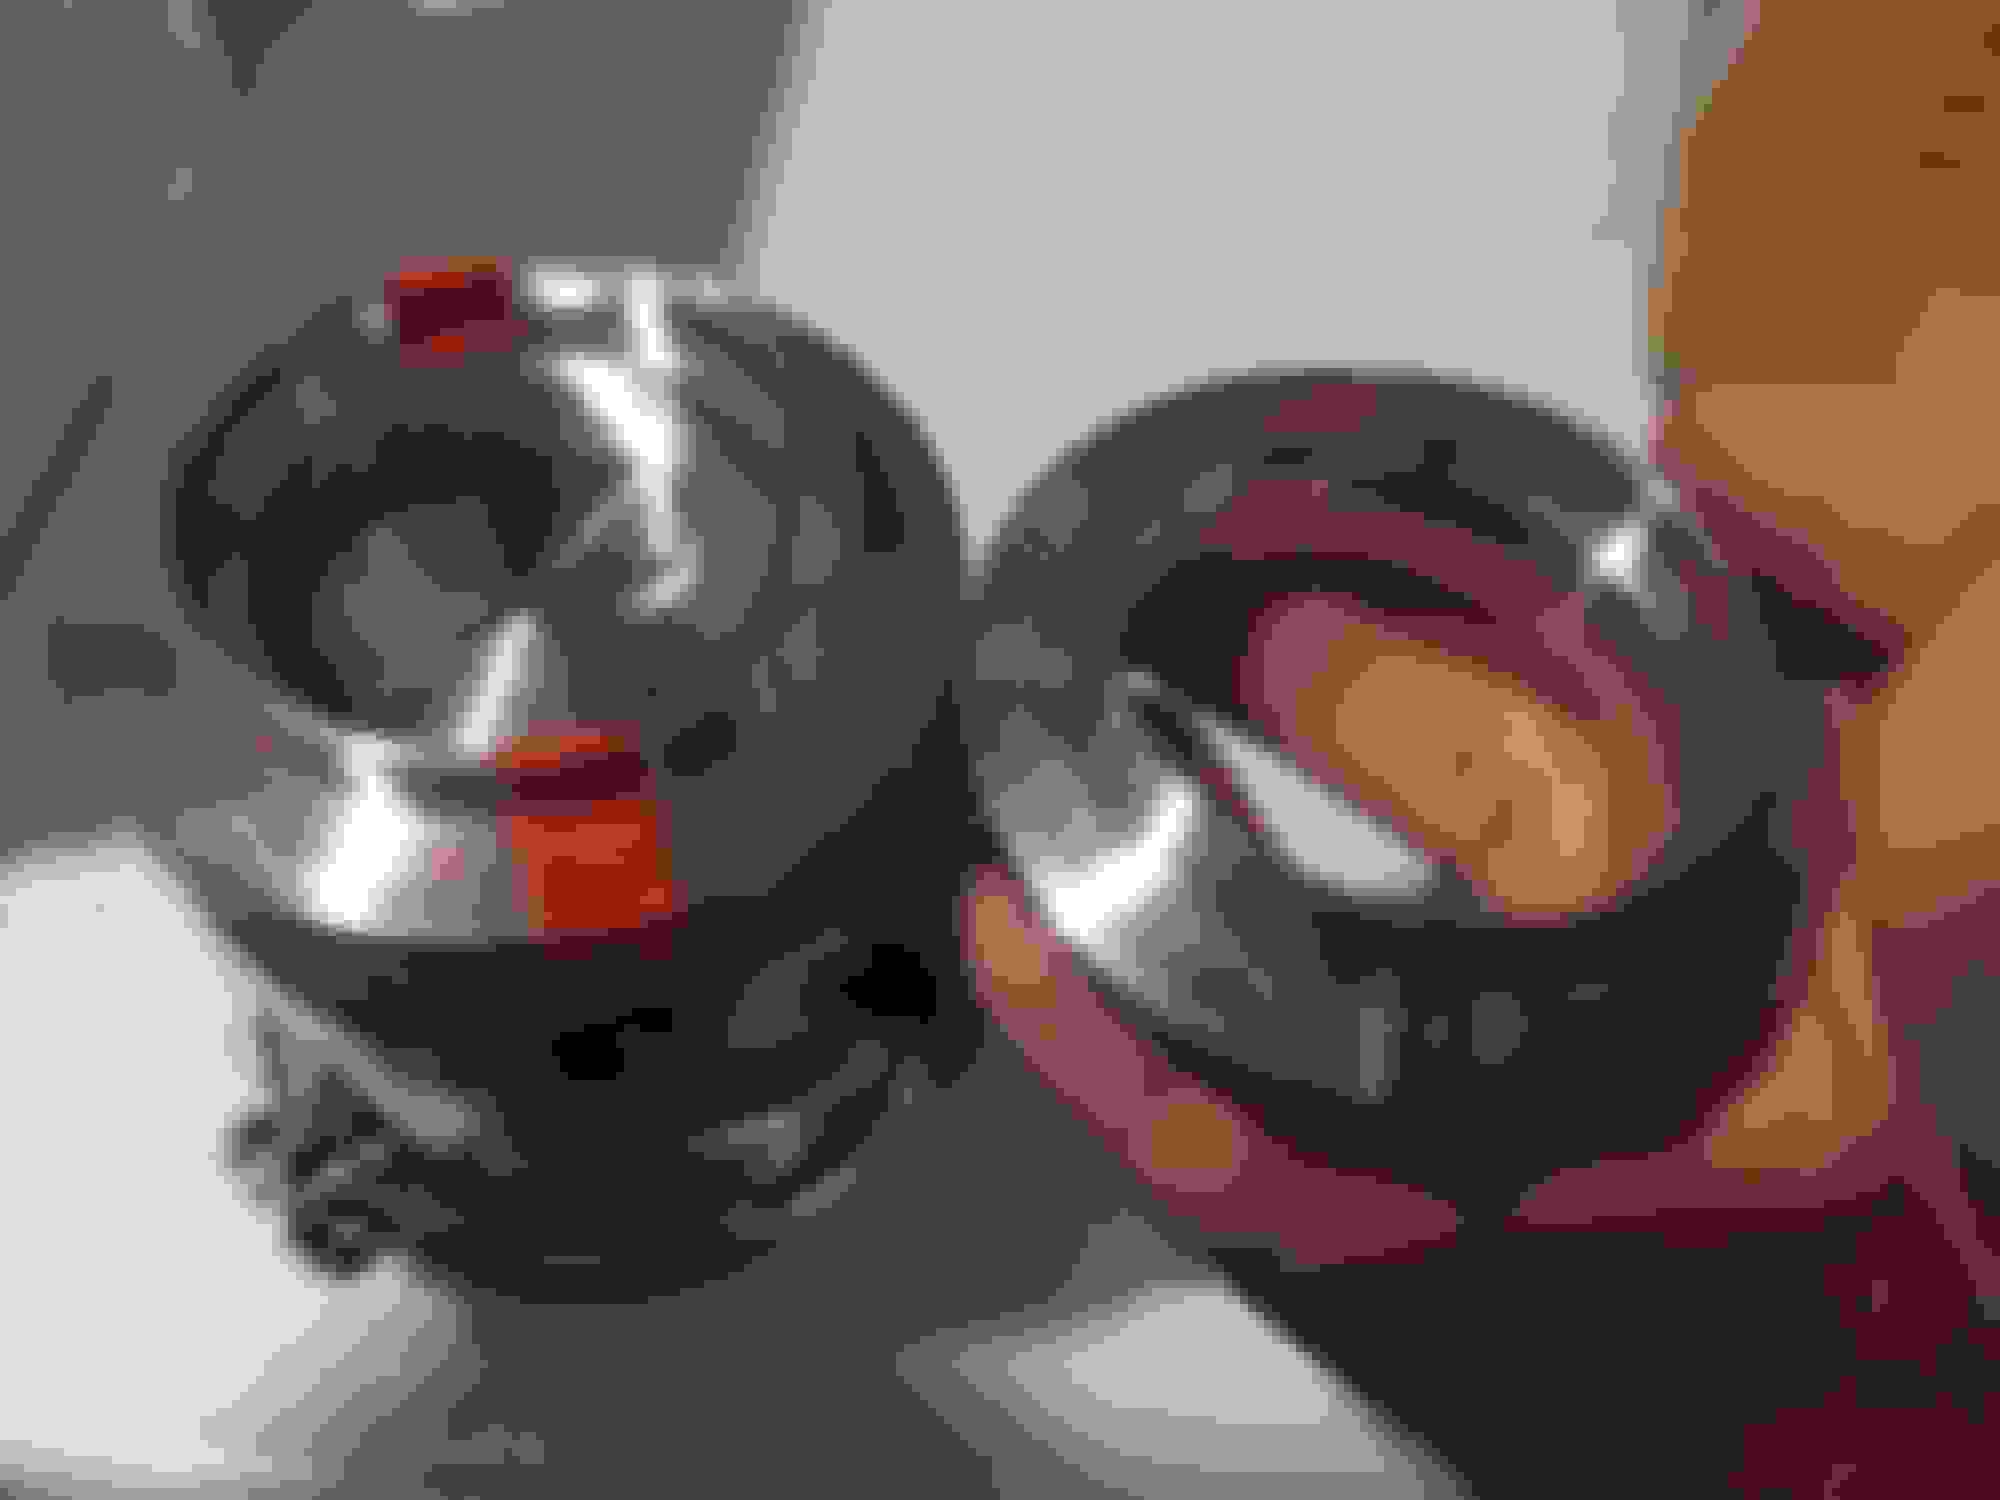
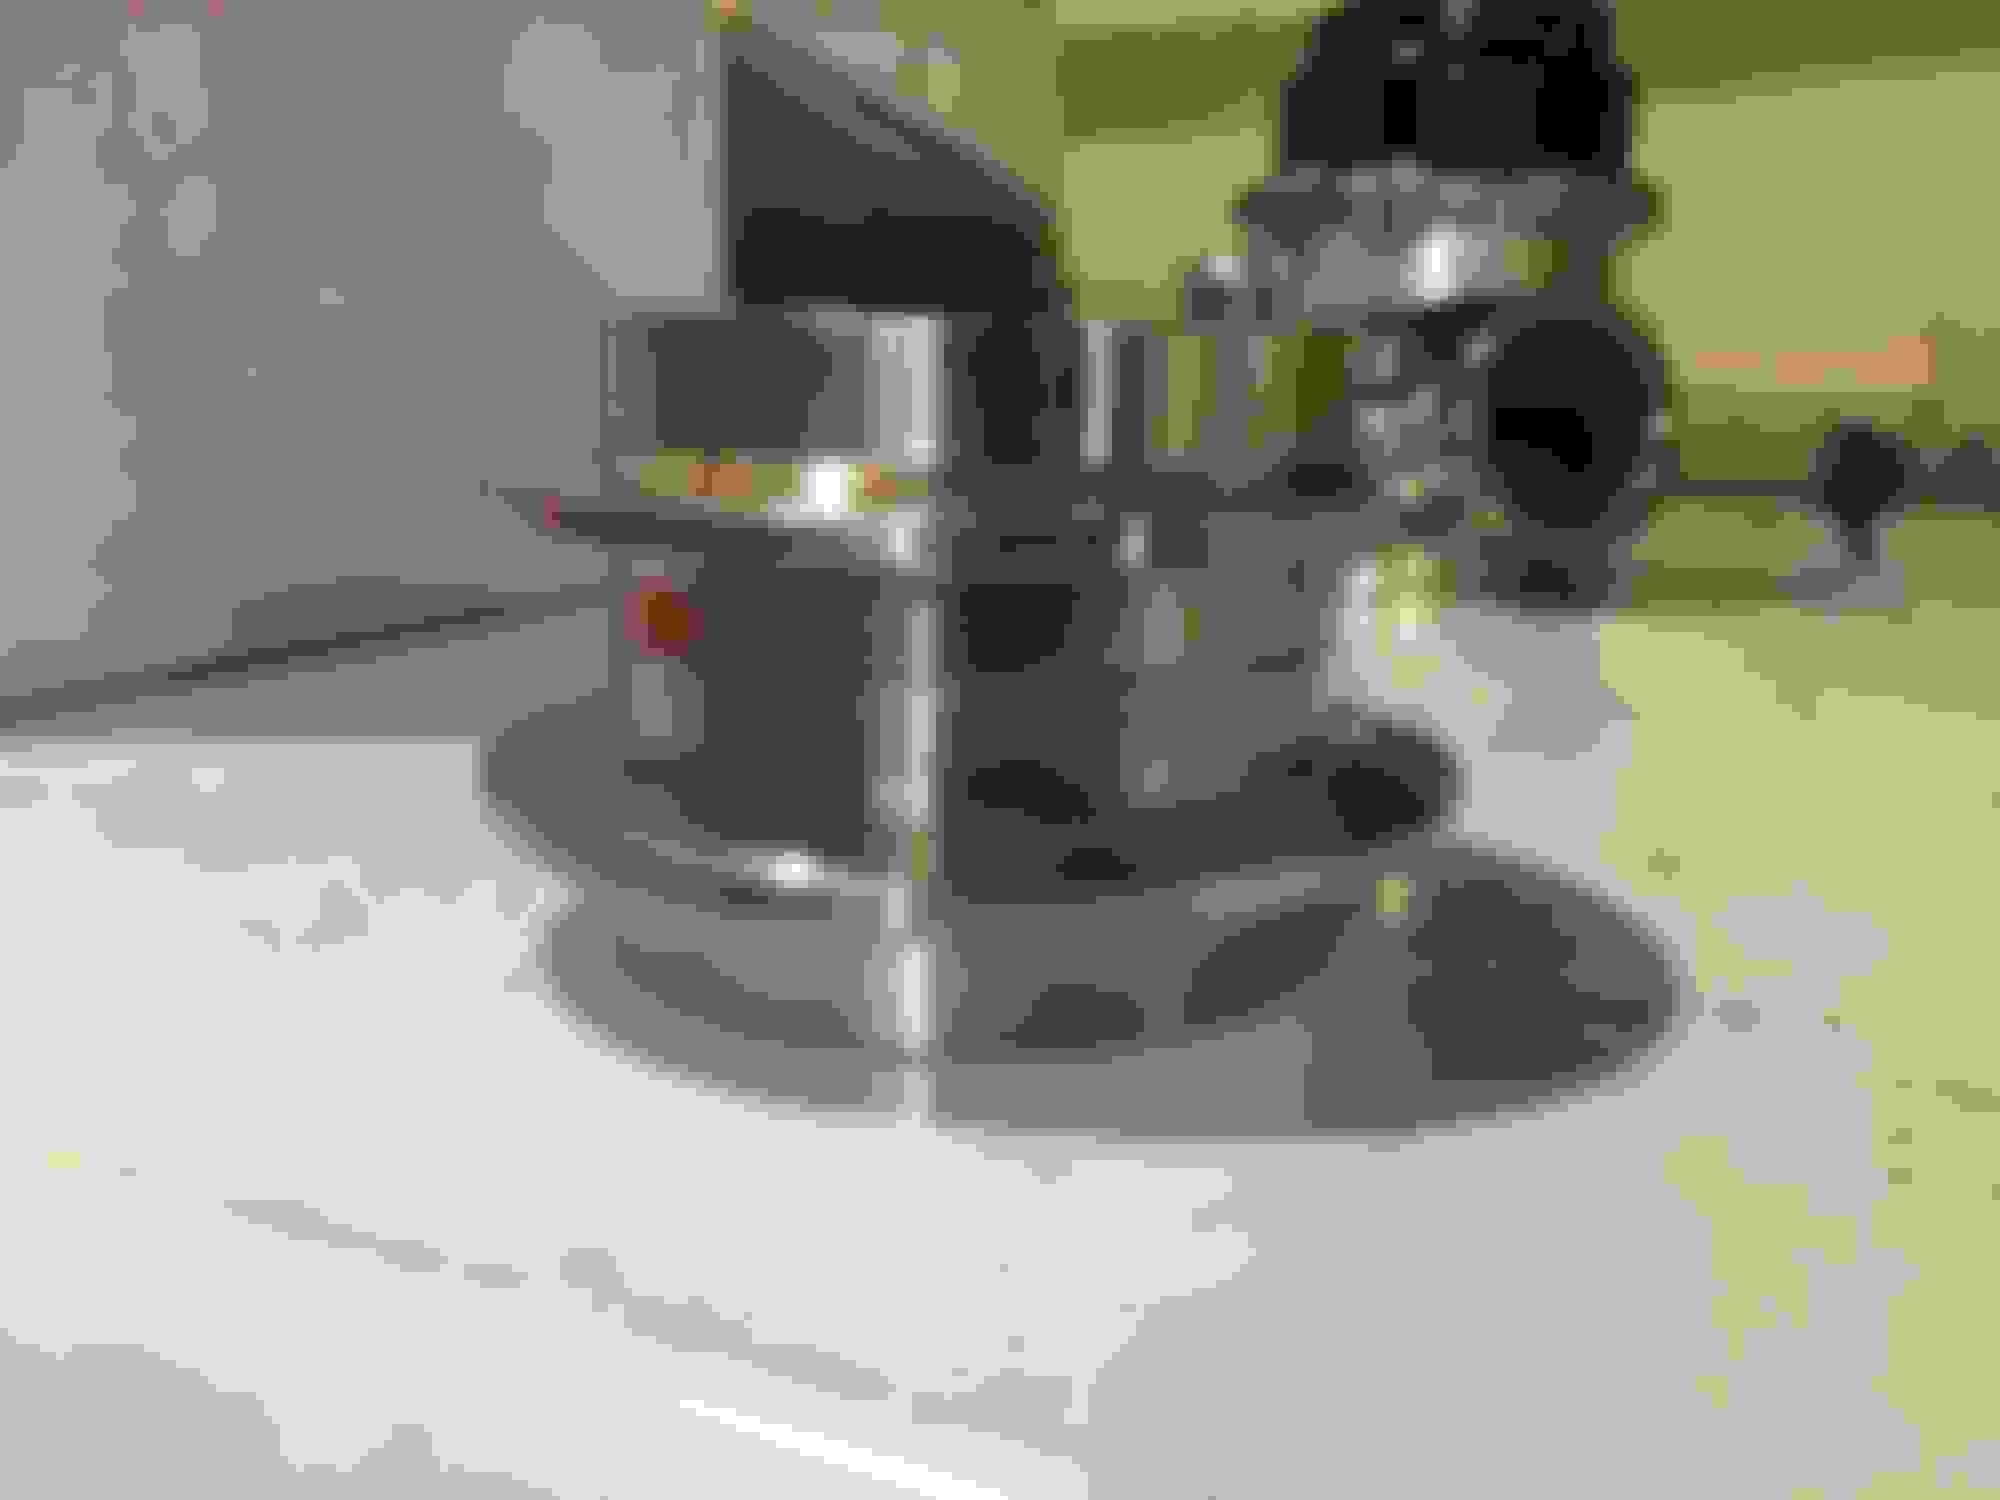
Hey guys, can�t remember what thread it was in but assumed this one about the CX racing HkS knockoff wastegate being all by itself out as far as it�s unique flange setup. I called BS and said i possibly found an alternative for it with the same flange sold by a seller called wyntom on eBay. I�ve used his stuff in the past and it�s my go to cheap quality BOV and wastegate store. I�ve run his stuff on my turbo Suzuki katana build, my supercharger build and now my turbo build possibly. As far as quality goes they are pretty good and cost half that of CX racing. I decided to try his 60mm version which is and looks the same flange wise to CX racing version. Well i got it today and sure enough the flanges are basically the same. Only difference is the height of the CX is more due them just giving you more material. But i verified they have the same flange for the entrance and either will
work for the exits. They are both 44mm exits and both have a 2.6� roughly entrance.
Reason i say this is parts, costs and quality. No idea what CX will do longevity wise but these wyntoms have lasted for me. Plus this wyntom comes with a 14psi spring where the CX comes with a 12psi max spring.
Anyways just wanted to share.
Wyntom on left with red tape, CX on right CX on bottom CX on left CX on left. CX on left.
Re: Installation of CXRacing's LS based third-gen turbo kit
I actually ran into an odd hiccup, speaking of wastegates. The flange pre-welded on the header was a different flange than the one the came with the wastegate from CXRACING. At first I thought I was doing something wrong with the install, but I could not get the wastegate to seat enough to get the clamp on. After inspection, I see that the flange was different, or possibly backwards. Not very confidence inspiring. Since I ordered the wastegate separate, I have the flange I need, but now I need to cut the old one off and weld the new one on. I just wish I had caught this prior to wrapping the headers. I was hoping to be done working with fiberglass for a while.
Re: Installation of CXRacing's LS based third-gen turbo kit
Originally Posted by Raunchtastic
I actually ran into an odd hiccup, speaking of wastegates. The flange pre-welded on the header was a different flange than the one the came with the wastegate from CXRACING. At first I thought I was doing something wrong with the install, but I could not get the wastegate to seat enough to get the clamp on. After inspection, I see that the flange was different, or possibly backwards. Not very confidence inspiring. Since I ordered the wastegate separate, I have the flange I need, but now I need to cut the old one off and weld the new one on. I just wish I had caught this prior to wrapping the headers. I was hoping to be done working with fiberglass for a while.
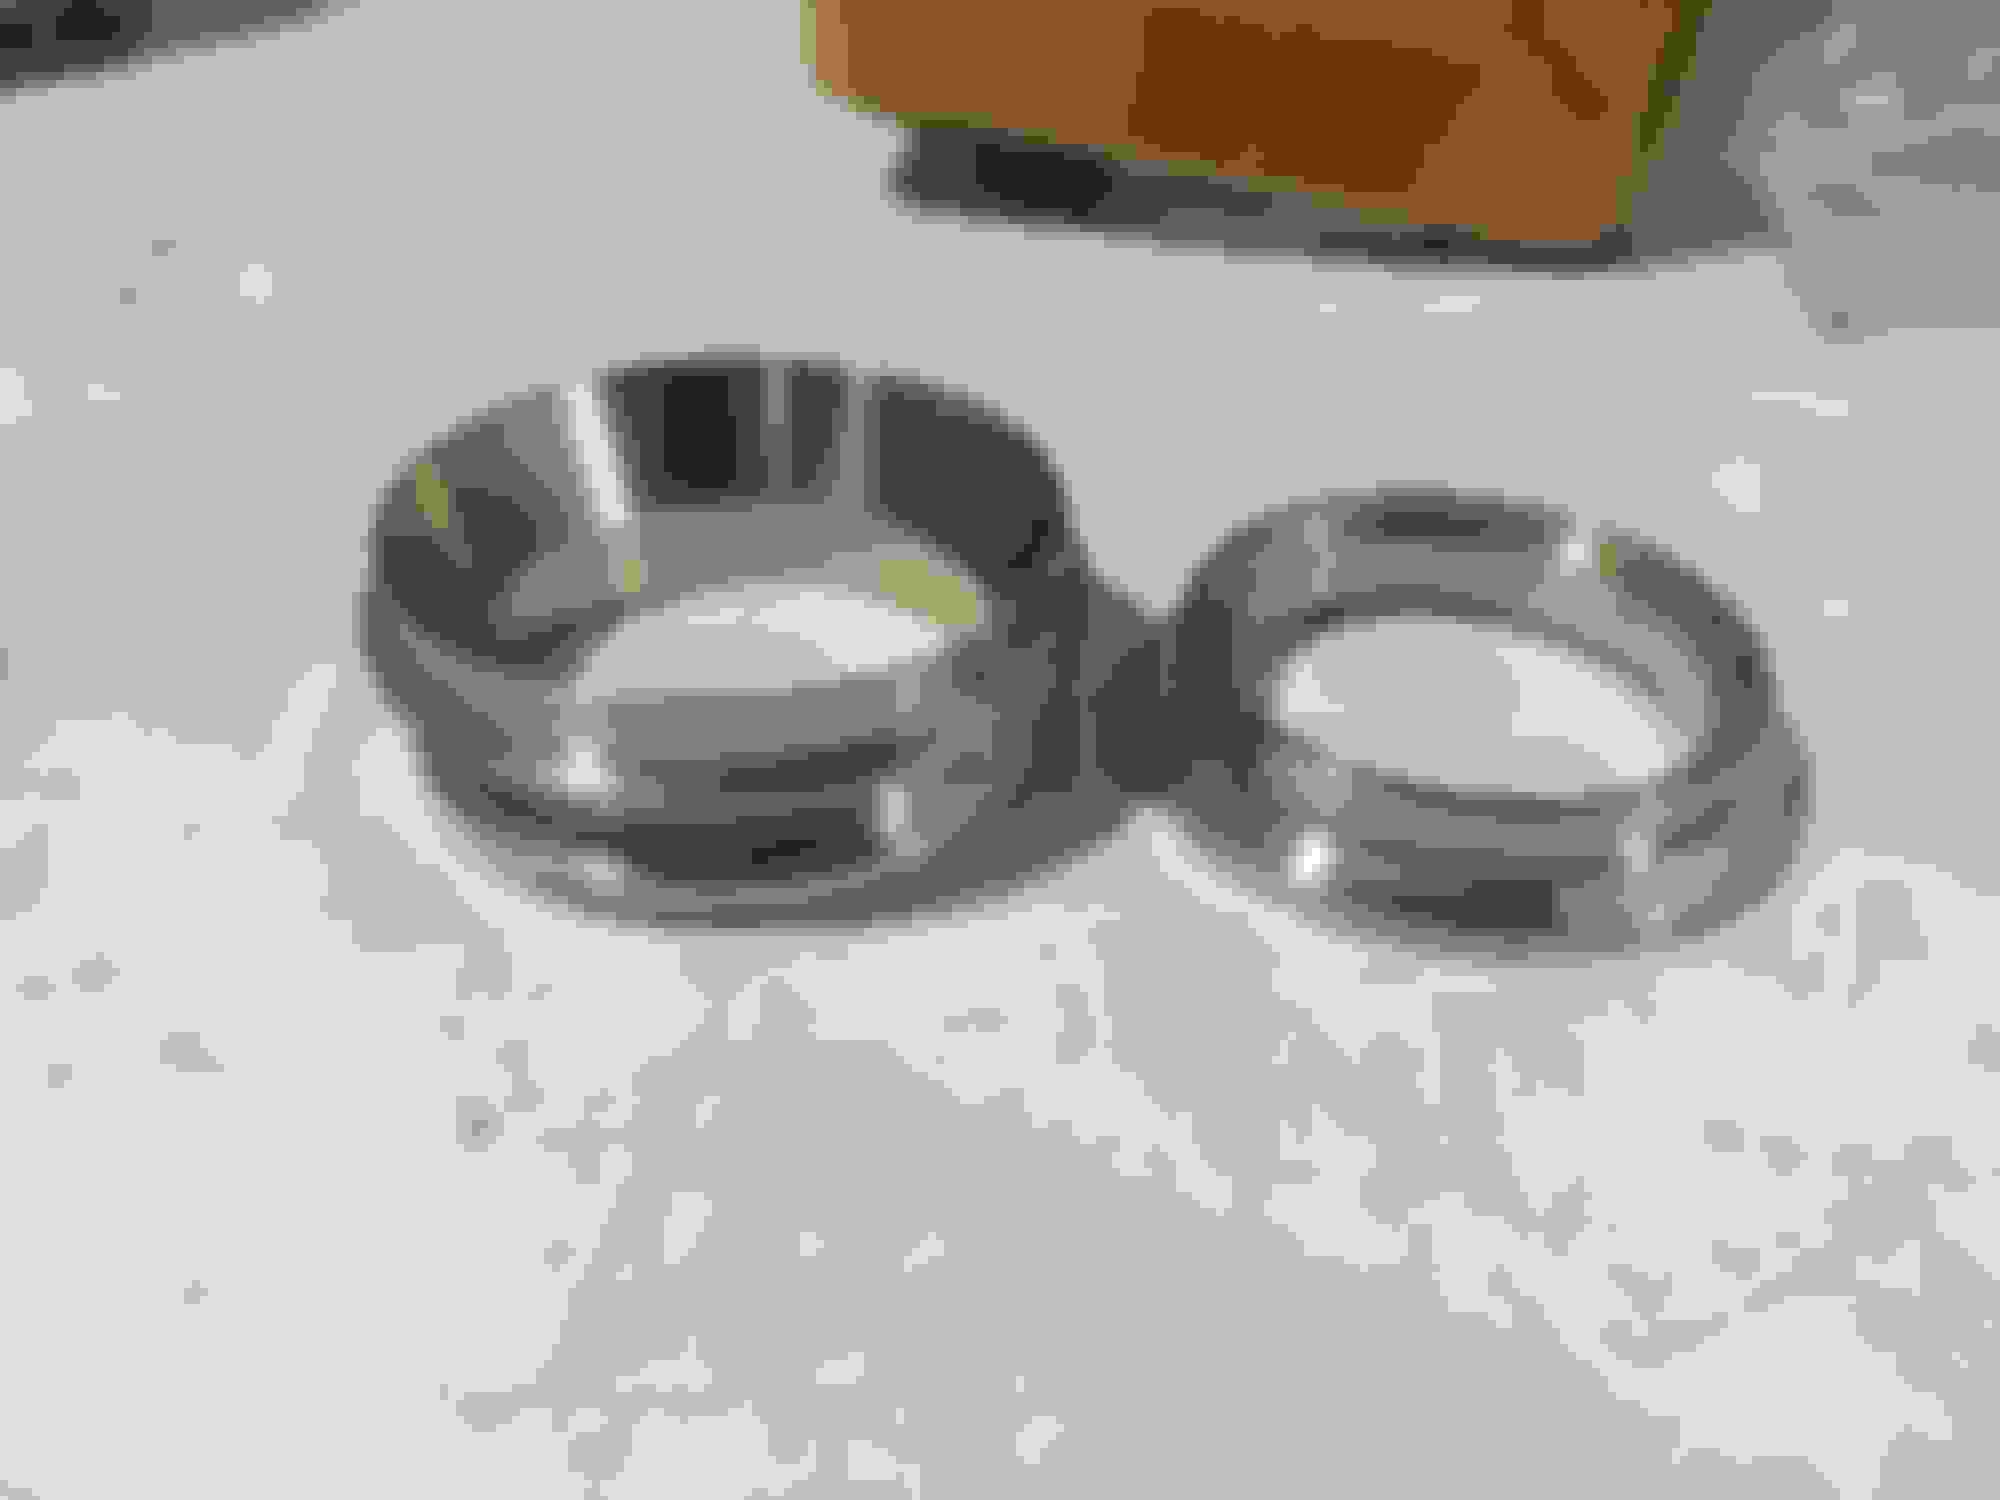
pics? Before u start cuttting. The CX wastegate requires a good bit of force to get on as the flange preloads the wastegate piston on install. My 2nd to last pic shows how the flange should be installed, the inner beveled edge should be on the piston side. That beveled edge is what contacts the wastegate piston for the seal. You will have to get the clamp on or started and then push on the wastegate and then grab the clamp and hold it compressed as your tighten the clamp.
Cx drills a small dimple on the waste side for easy recondition which is what i knoticed on mine and u can see it in the pics.
Re: Installation of CXRacing's LS based third-gen turbo kit
Yeah, I looked it over real good before I came to that conclusion. With the flange that came with the wastegate I am able to compress the spring a bit, but it is a noticably different flange than the one that came with the boxed WG. Otherwise I should have all the parts, just no time to get this done.
Re: Installation of CXRacing's LS based third-gen turbo kit
I would just order the correct wastegate and not mess with cutting the flange off and welding on a new one. The wastegate is like $99 on eBay free shipping.
Re: Installation of CXRacing's LS based third-gen turbo kit
I have the CXracing wastegate, the one that normally comes in the full kit. Cutting off the flange and welding the new one on is way easier than ordering a bunch of wastegates and hoping one of them fits. Just cut the old one off, I'll get the new one welded on eventually, and I know it's paired to this wastegate. Other than an oil drain line and a usable way to route the cold side, I've got everything I need to get this done and running.
Re: Installation of CXRacing's LS based third-gen turbo kit
I guess I�m confused then. If u have the CX kit (headers etc) and the CX wastegate then i don�t understand why your flanges are wrong. cx racing should send you the correct parts.
welding the flange on is going to be tricky. You have to line everything up especially with the wastegate dump as it all fits super tight. Mine literally rests on the downpipe and crossover and the sway bar underneath. Of course my crossover is modified and the header wrap takes up some of the clearances. I did flatten out the crossover where the dump ran to make sure i had enough clearance.

 10-13-2017, 08:01 AM