When you click on links to various merchants on this site and make a purchase, this can result in this site earning a commission. Affiliate programs and affiliations include, but are not limited to, the eBay Partner Network.
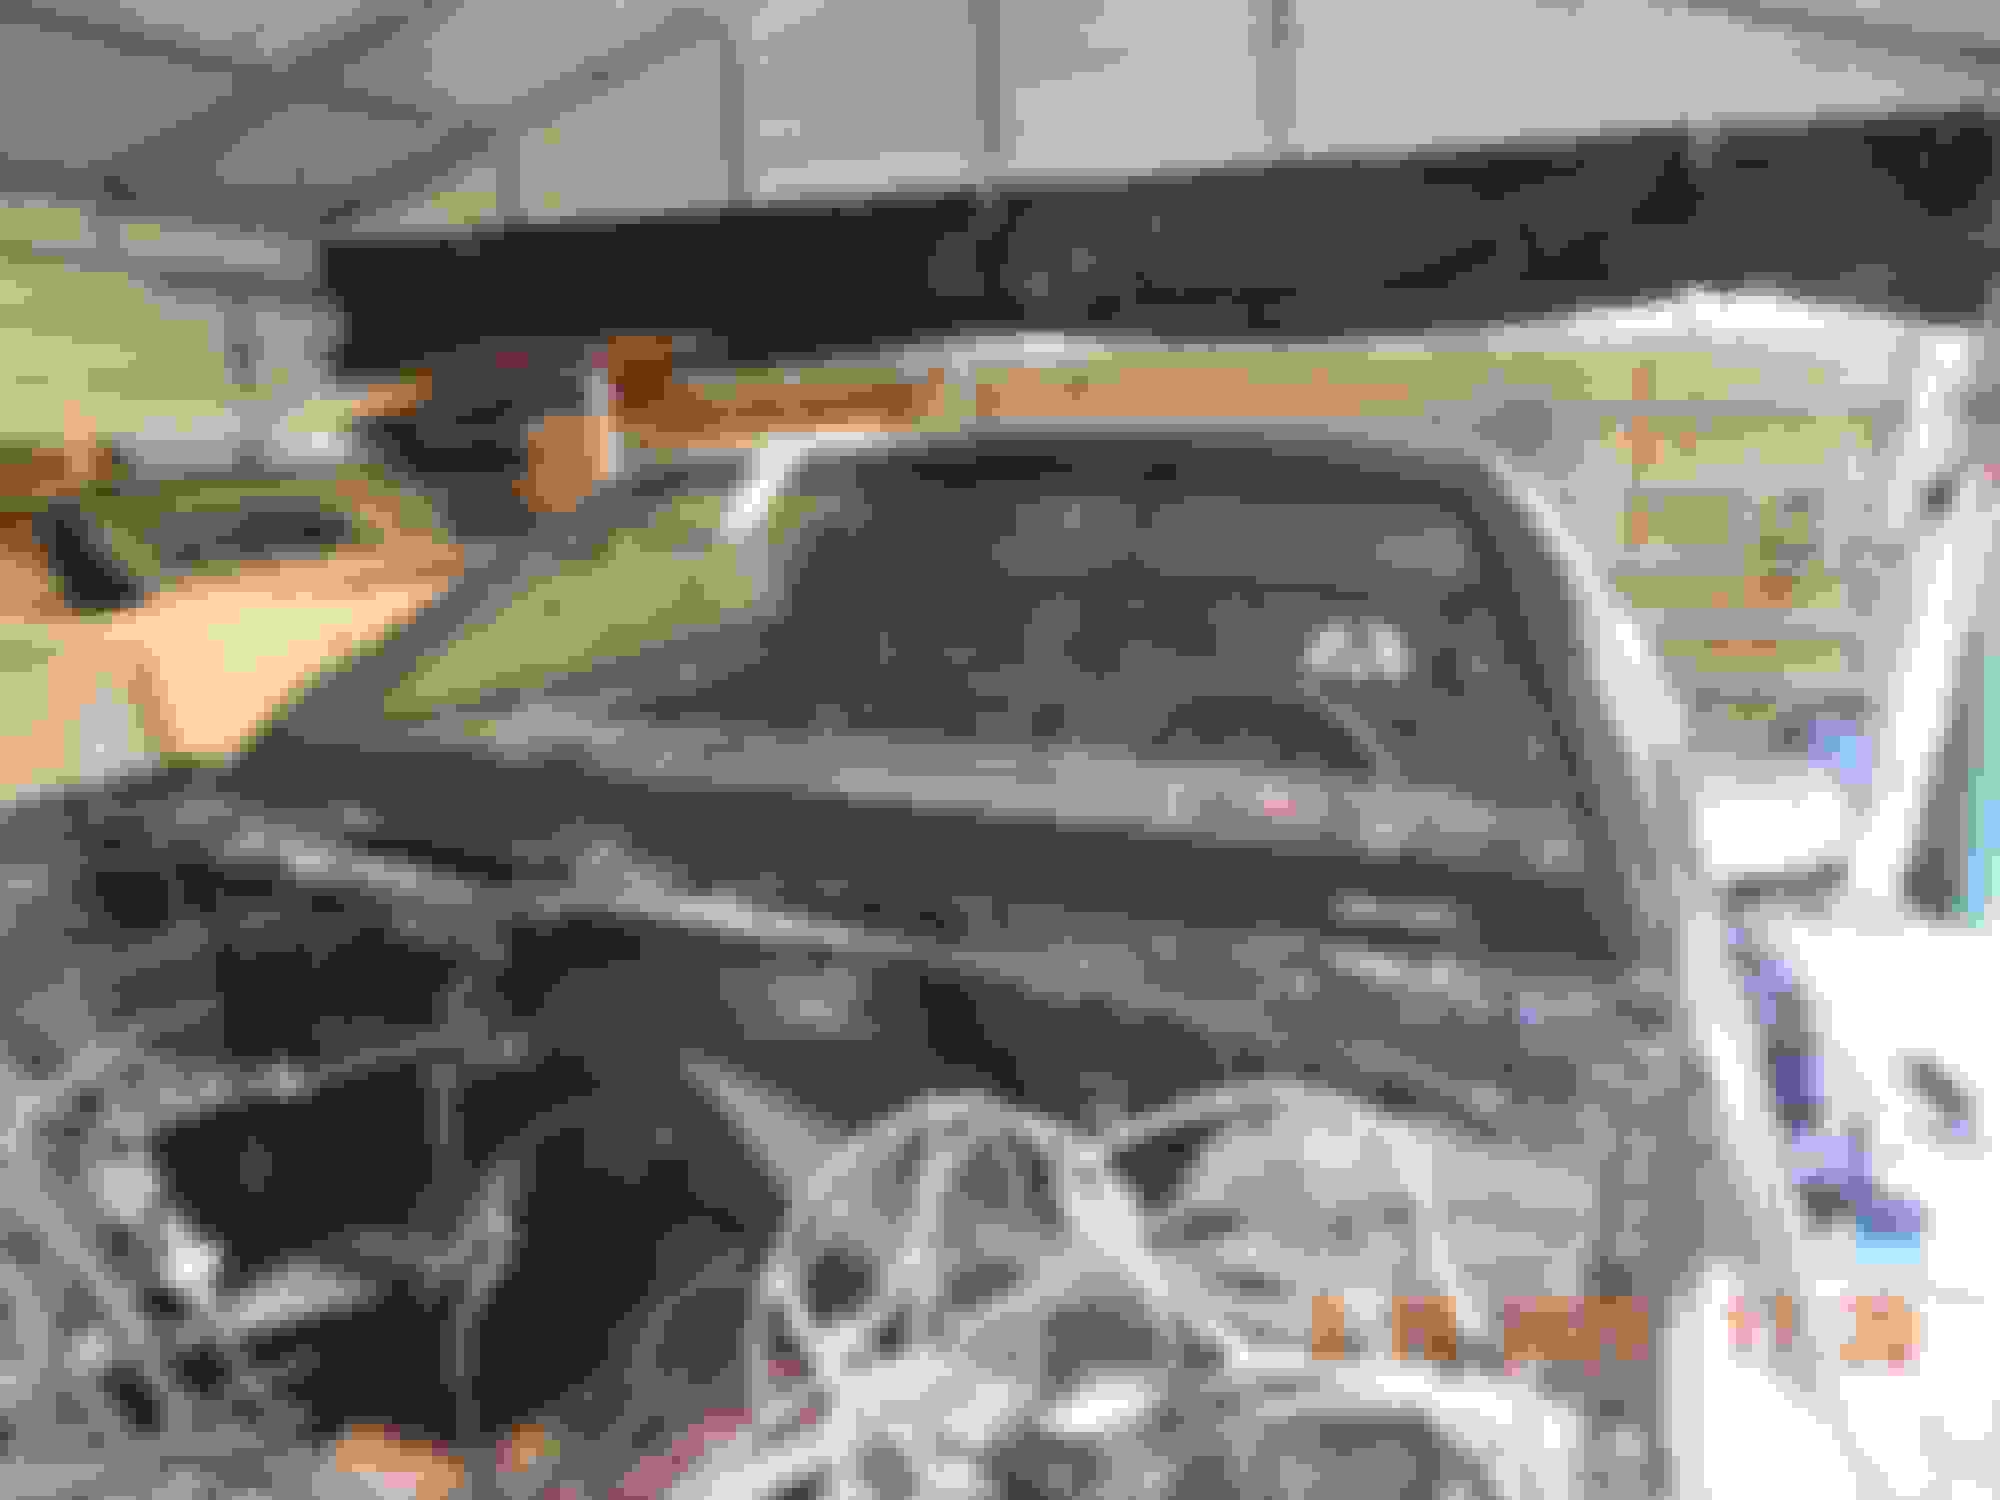
I am still waiting on my front struts, cancelled the order this morning, requested refund and ordered from Rock Auto, shipped already, by the way they give a kinda cool magnetic sticker of a "race car" with every purchase. I have more than a dozen now, tool box is filling up. This is in relation to the "companies that still give stickers" thread. Anyhow, running out of exterior stuff to do besides paint, which will be here next week, I turned attention indoors. Removed the console, et. al. Wow, gauges look nice without the nasty oxidized plastic hiding them.
What should I use to clean them up? polishing compound? Thanks for any help
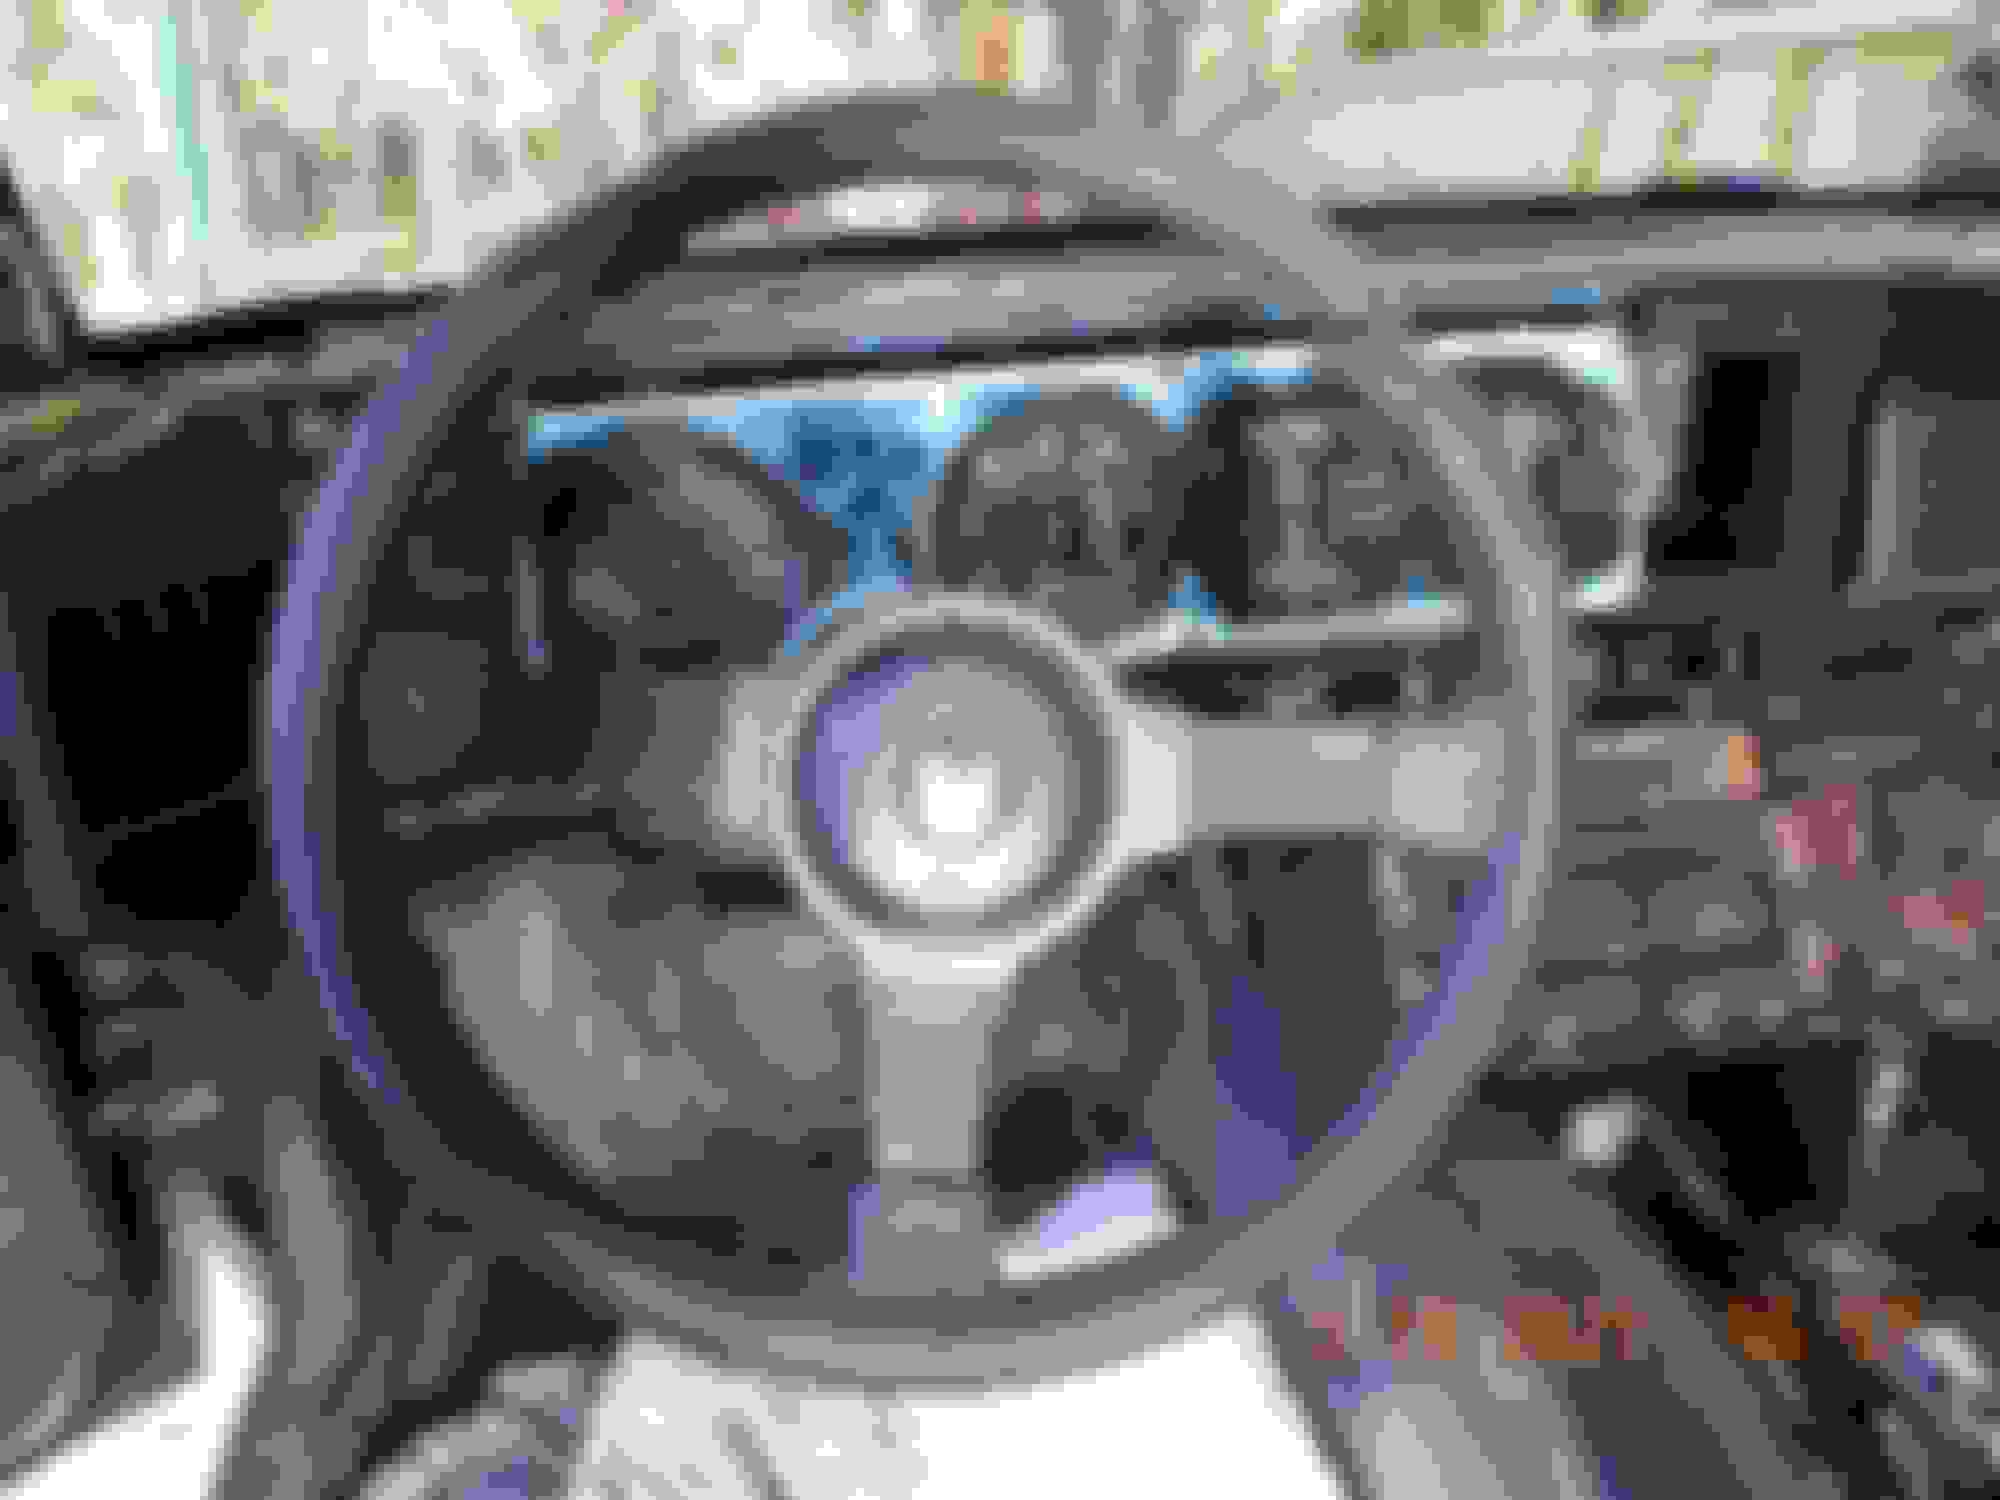
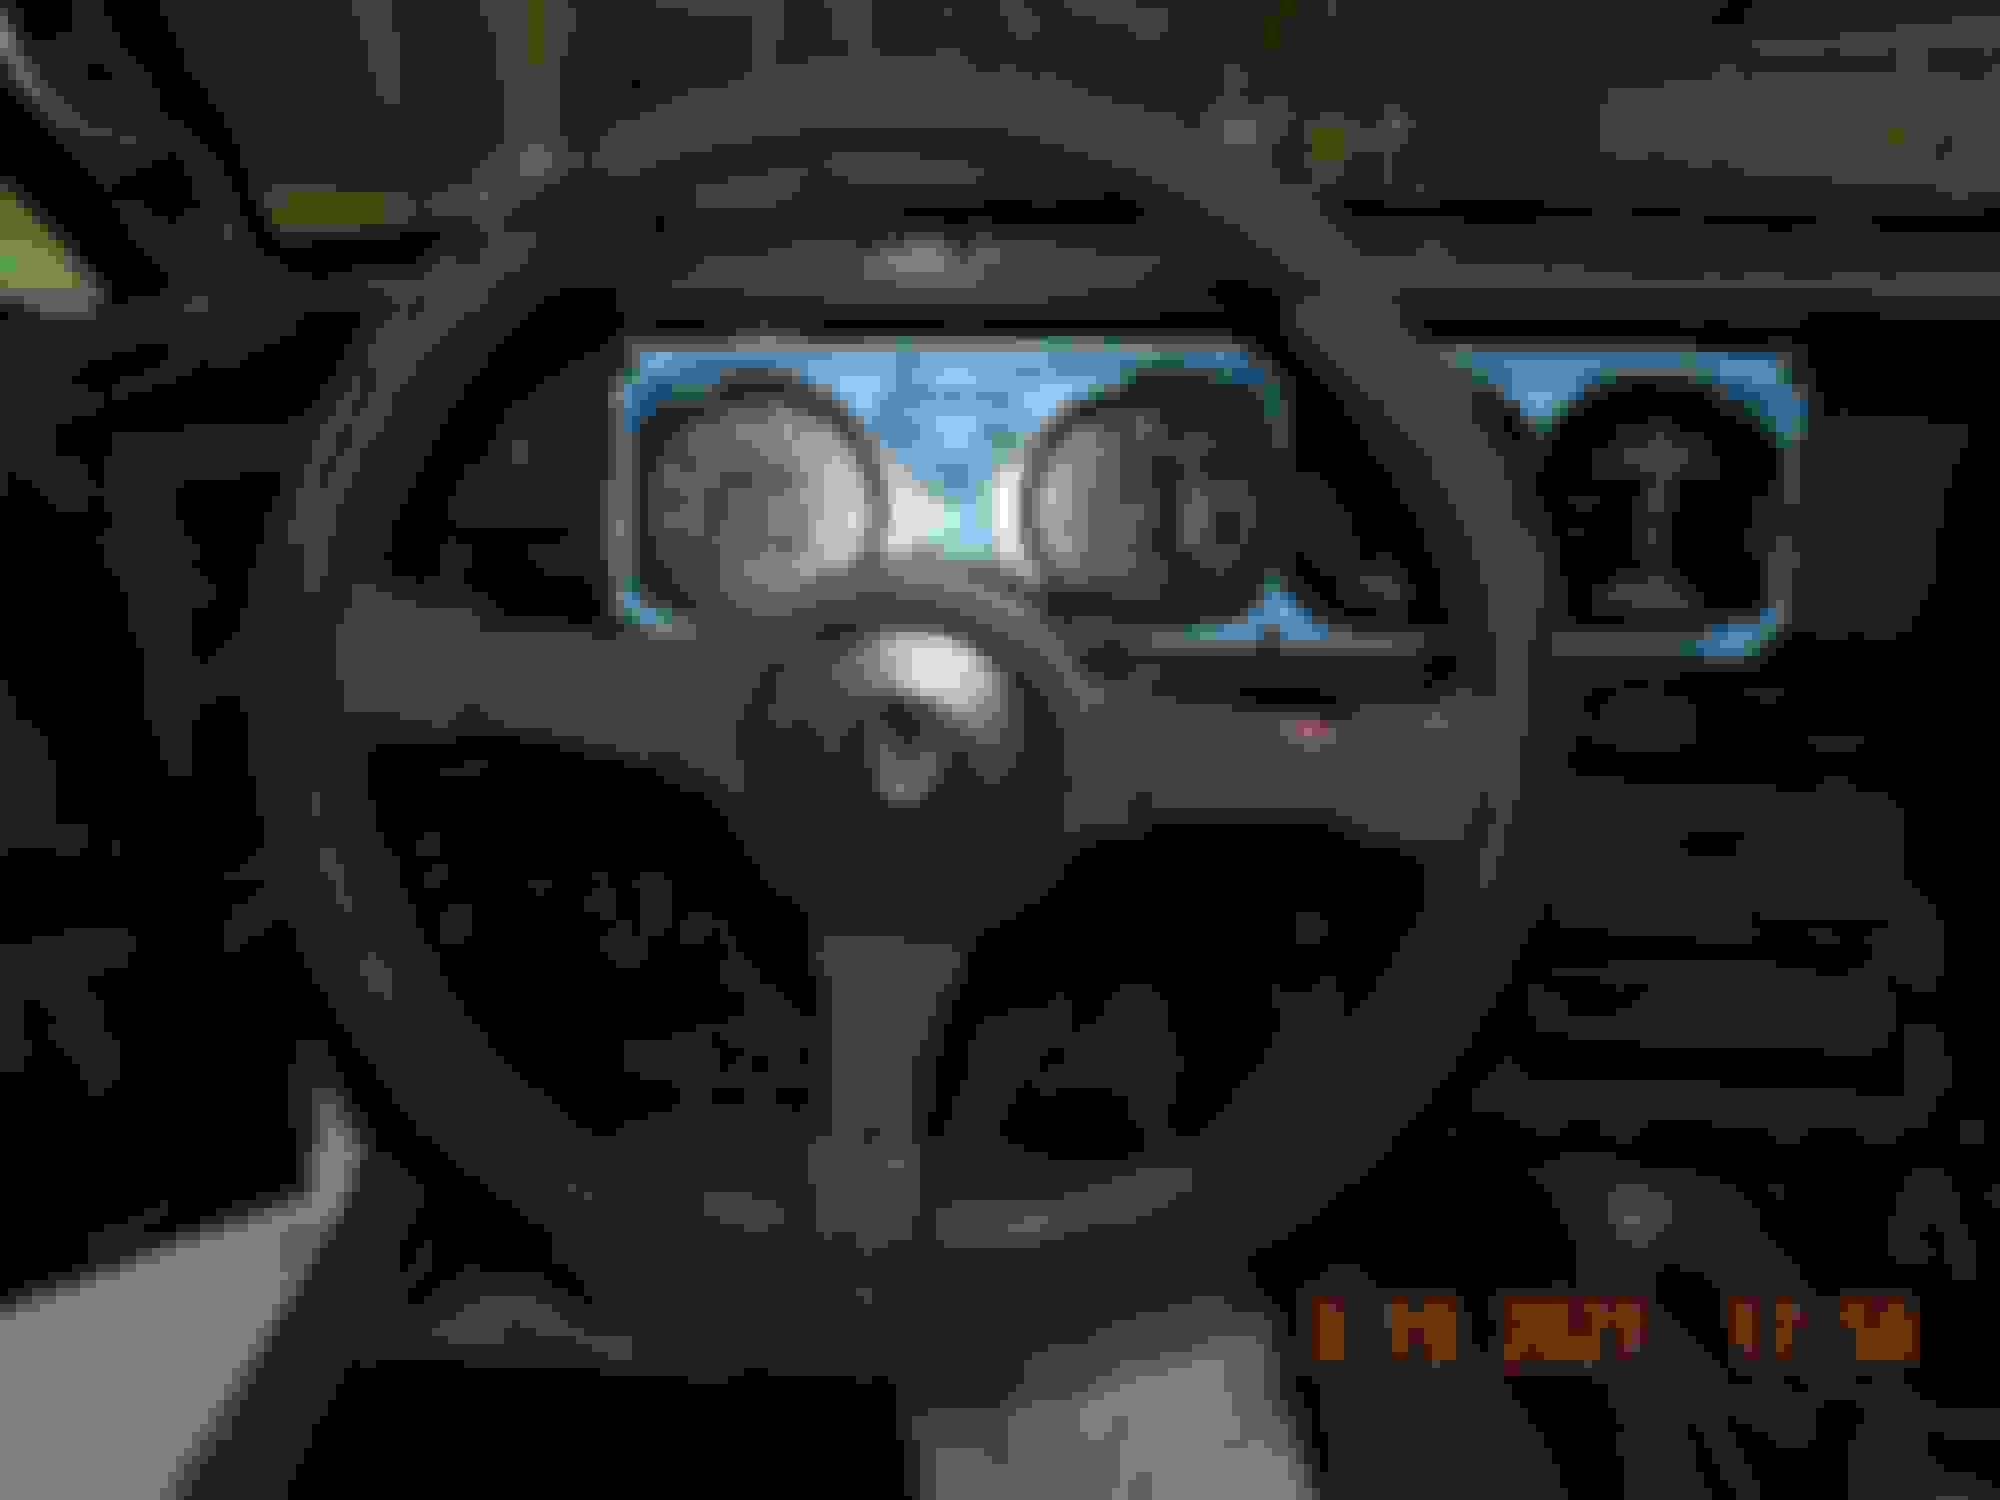
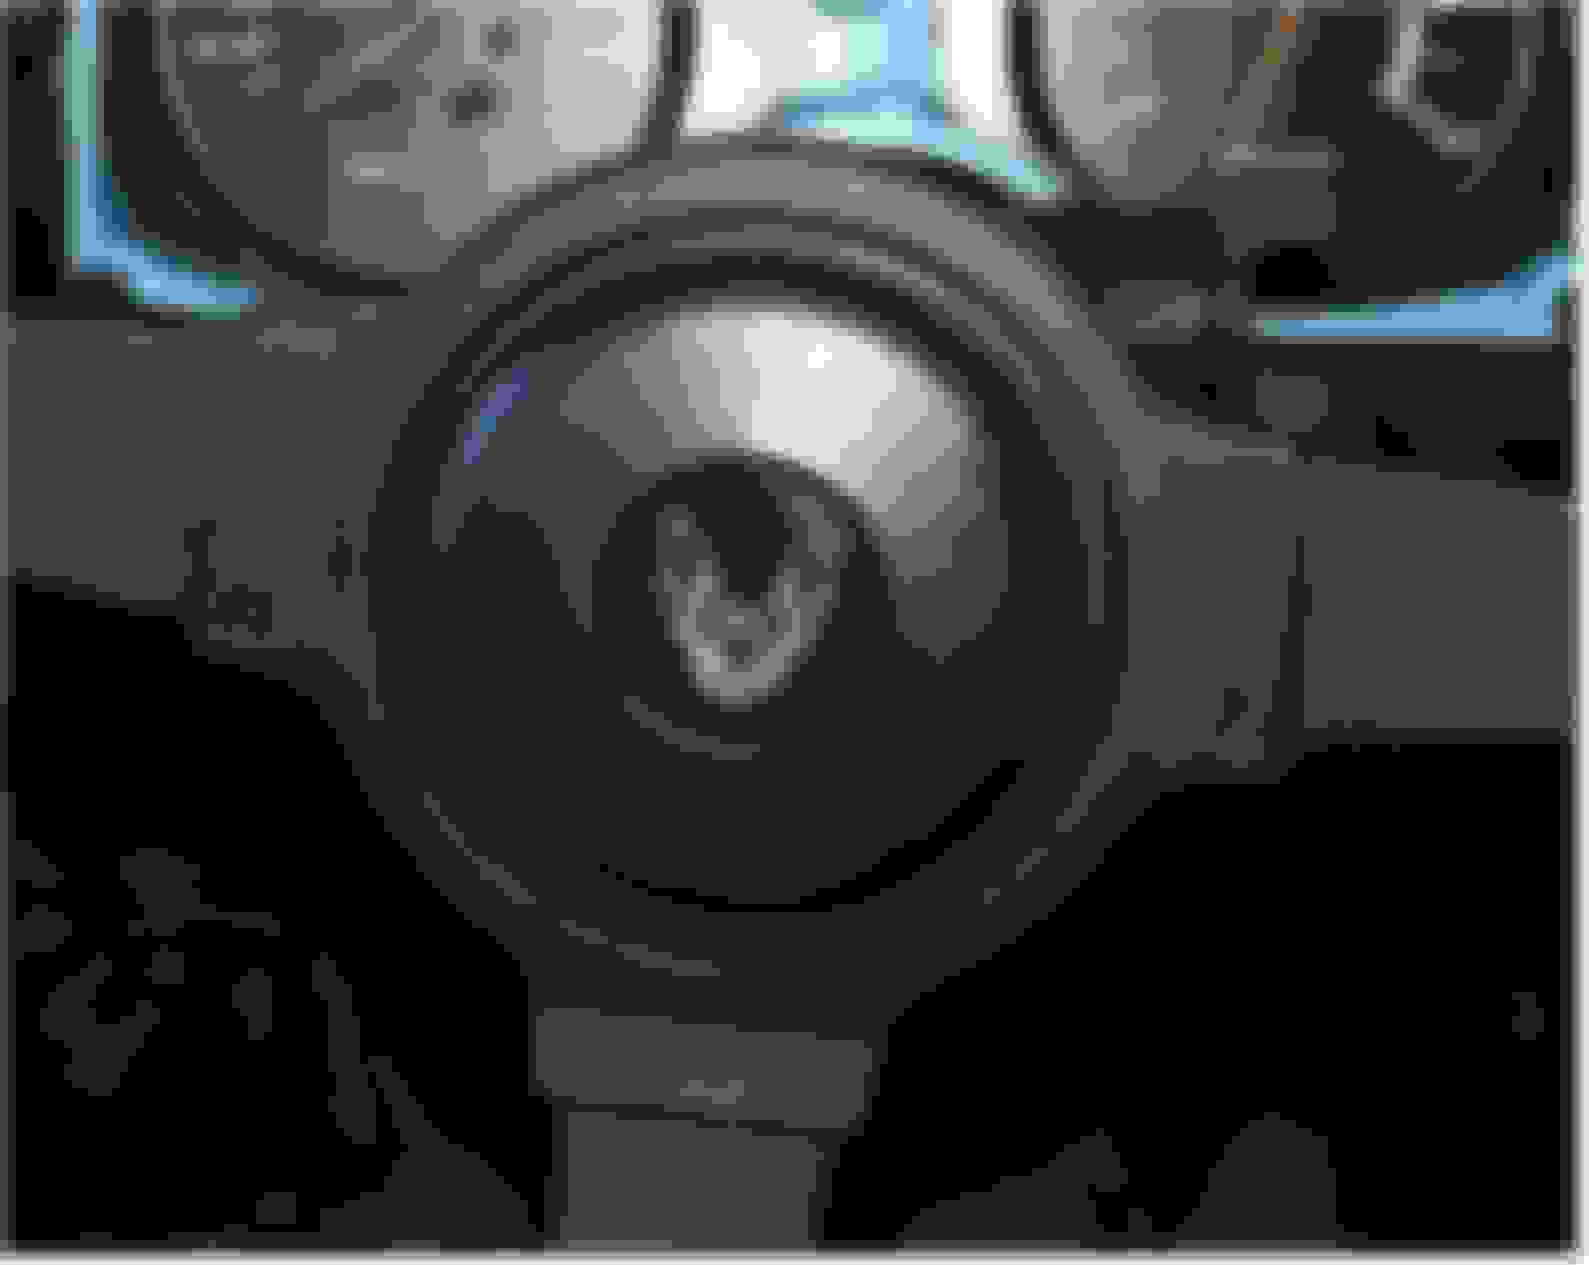
Showed some love to my old steering wheel, cleaned it up I think I will re-use the horn button, it looks pretty good, and it is original.
BTW that trip reset button **** has the smallest nut I have ever seen. Had to be a watch maker to remove!
Just noticed again that the speedometer only goes to 85, never bothered me before, but now kinda does. Any economical remedies?
Also my new headliner, sail panels, visors, and rear cargo area felt arrived today. So psyched.
Just noticed again that the speedometer only goes to 85, never bothered me before, but now kinda does. Any economical remedies?
Also my new headliner, sail panels, visors, and rear cargo area felt arrived today. So psyched.
Yes Stuart, time for a factory 140 mph speedo and 8000 rpm tach.
Your car is an 83, so your speedo is mechanical - cable driven.
Showed some love to my old steering wheel, cleaned it up I think I will re-use the horn button, it looks pretty good, and it is original.
BTW that trip reset button **** has the smallest nut I have ever seen. Had to be a watch maker to remove!
I�ve read the the is a person called Princess at Lethal Interiors that does all interior upholstery, steering wheels...I would like mine done and my shift ****.
Thanks guys, I already bought this one a couple of years ago before I knew you could have them restored. I really love the old style the best tho.
Will probably paint the silver with that wrinkle black, to more closely resemble the old one. And I'm pretty sure my old horn button will work as well.
I couldn't find any mechanical speedo's that would work in my cluster, other than the 85 mph, but that's OK. For the last several years, my trip counter would not reset, so I figured out how to disconnect the speedometer cable and pulled the speedo to investigate. Found that the reset **** is conical and pushes the trip counter shaft over when pushed, to engage a gear that lets you return to 0000. I used some WD40 rust killer to loosen up the shaft sleeve and now works great.
Check out the ultra tiny torsional damper for the speedo needle, amazing!
One problem I created while trying to remove the speedo, the needles in this unit are ultra brittle. I broke off the speedo needle and the oil pressure needle. Talk about bummed out denial. I will check local salvage yards for suitable replacements, but wanted to do something now to keep the ball rolling. I had a gallon of fast orange hand cleaner that I have been refilling from bulk containers for years, and the front of the container has faded to almost match the color of the broken gauges, so I used some of that material to create new ones.
Also polished the plastic with rubbing compound and polishing compound.
I also ordered new dash panel LED bulbs, does anyone know if the dimmer switch still works if LEDs are used?
I also ordered new dash panel LED bulbs, does anyone know if the dimmer switch still works if LEDs are used?
Maybe and kind of. I put LEDs in my dash and the dimmer does work them some, but not through the whole range. Depending on what you got they may or may not dim
I remember the first time I drove with the 85 mph speedo. I was cruising along with traffic, glanced down at the speedo, and I thought the needle broke off! I quick looked up to make sure I wasn't speeding, looked down again, and saw the needle all the way to the right. Makes you think you are going super fast! lol
Thanks guys, I am not so worried about the LEDs now that I know how to remove the gauges, I found that there is enough slack in the speedo cable to pull the cluster out enough to disengage the cable lock, without having to "dash dive" from underneath, on your back.
I think I have some extra needles in my garage. I’ll look today and let you know. You can have them for free if I find them - just cover shipping.
Battman,
No Way! You rock Dude!
I will cover shipping for sure, that would be fantastic. I commented before that this site is so awesome, and comes with an army of experts.
Meant to say I love your car as well, but I might be a little prejudiced.
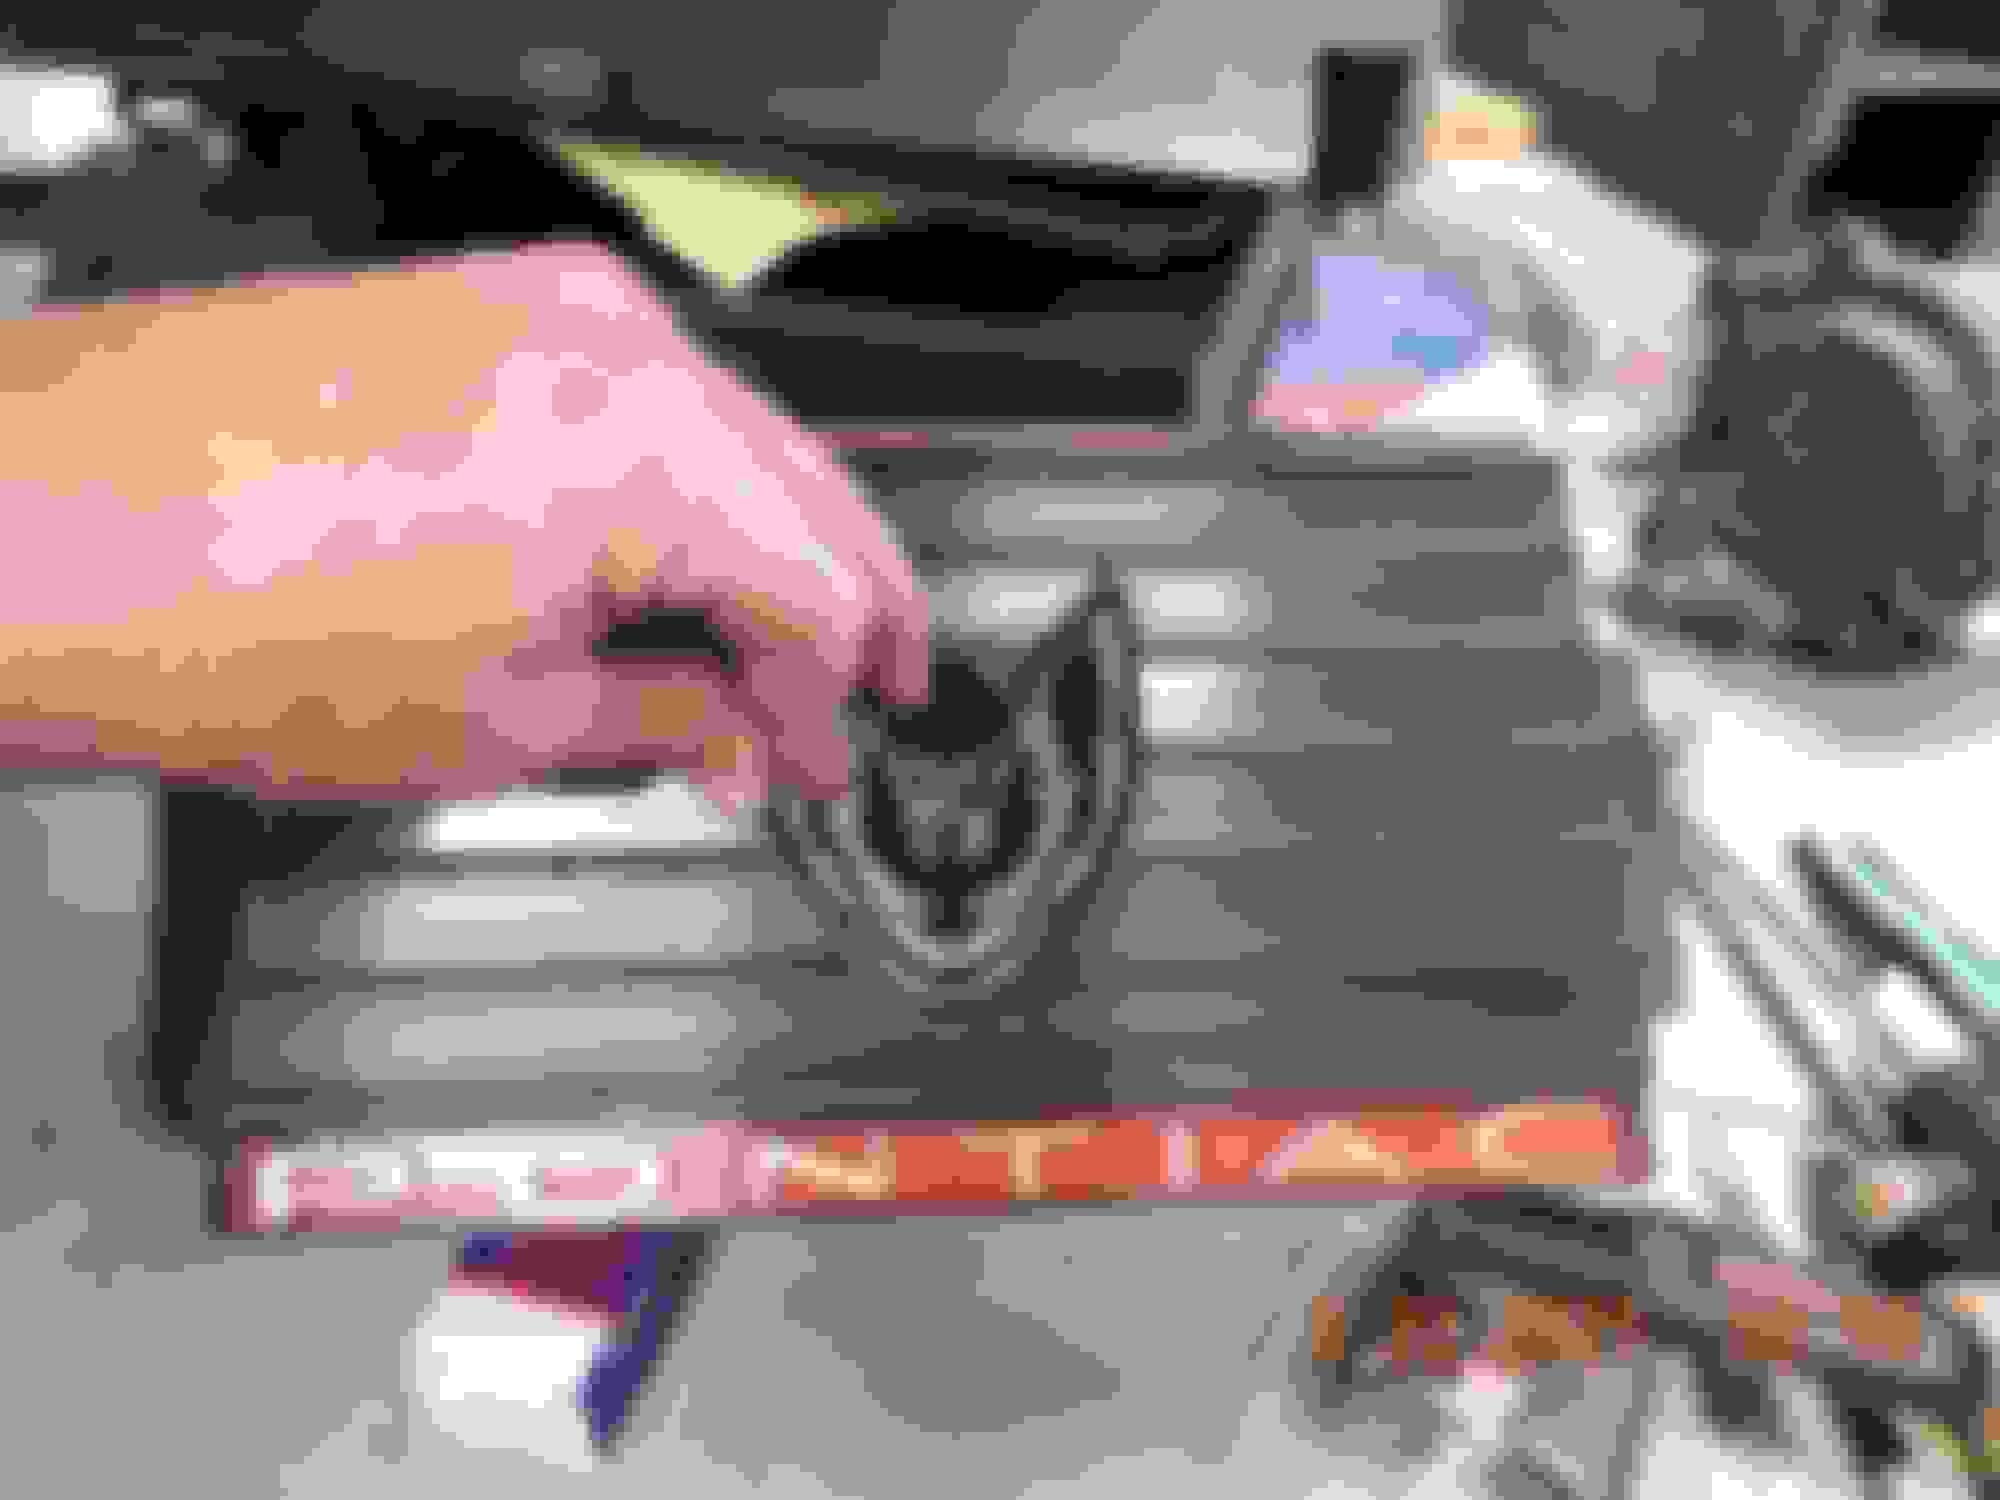
Today was a steering wheel day, besides the possibility that some angel has needles/pointers to share. I removed the "mounting plastic" from my old steering wheel, and in order to use it with my old horn switch, I needed to remove a lot of the extraneous plastic from the ID of the structure. I made some tooling to hold the piece while trying to cut. Tooling to hold plastic while trimming ID, was so afraid of cracking the whole shmear.
Once I had the ID clear, I used the drum to create the perfect diameter of the horn plate
So far so good!
However, I now realized that the old steering wheel spokes were more like Mr."T", and my new steering wheel resembled the "Y" MCA man.
Center-lines did not align
But I thought, what the heck, lets see what is possible. I ground down the ears to match the angles of the spokes, and came pretty close to a quasi-fit.
Nothing to lose
Here is the final result of a couple hours of sanding to fit. Not perfect, but doesn't suck either.
I know there is mismatch, but not sure any but the pure analists would even notice.
Went all in and painted the brand new wheel, hub and "plastic mount" with the wrinkle paint. I bought a heat gun to help vinylize the dash, but used it to help the wrinkle process, and very happy with results.
Here ya go my friend. I could’ve sworn I had spare gauge parts somewhere but I couldn’t find them so I just took these off an old cluster I probably won’t use. Send me a PM with your address so I can see what postage will be. I’ll probably send in a small box so these don’t get damaged.
The keys to a great restoration! A new sentinel to guard the rear hatch keyhole, that is why replacing the locks, some keyhole tried to break in and destroyed the passenger and rear hatch locks. Sweet, just scared to try and remove the old one without cracking the middle panel. I told you I ordered the wrong carpet previously, I had ordered "saddle" but was like a dark brown Terra-catta, I ordered what I really wanted, and will use the other for sound barrier insulation. It was too expensive to return with the shipping and restocking etc. I also ordered a few yards or carpet by the yard that I will use on the door panels. Psych! Front struts finally came, time to get back "down under", I was getting used to the gravy work on the interior!! LOL
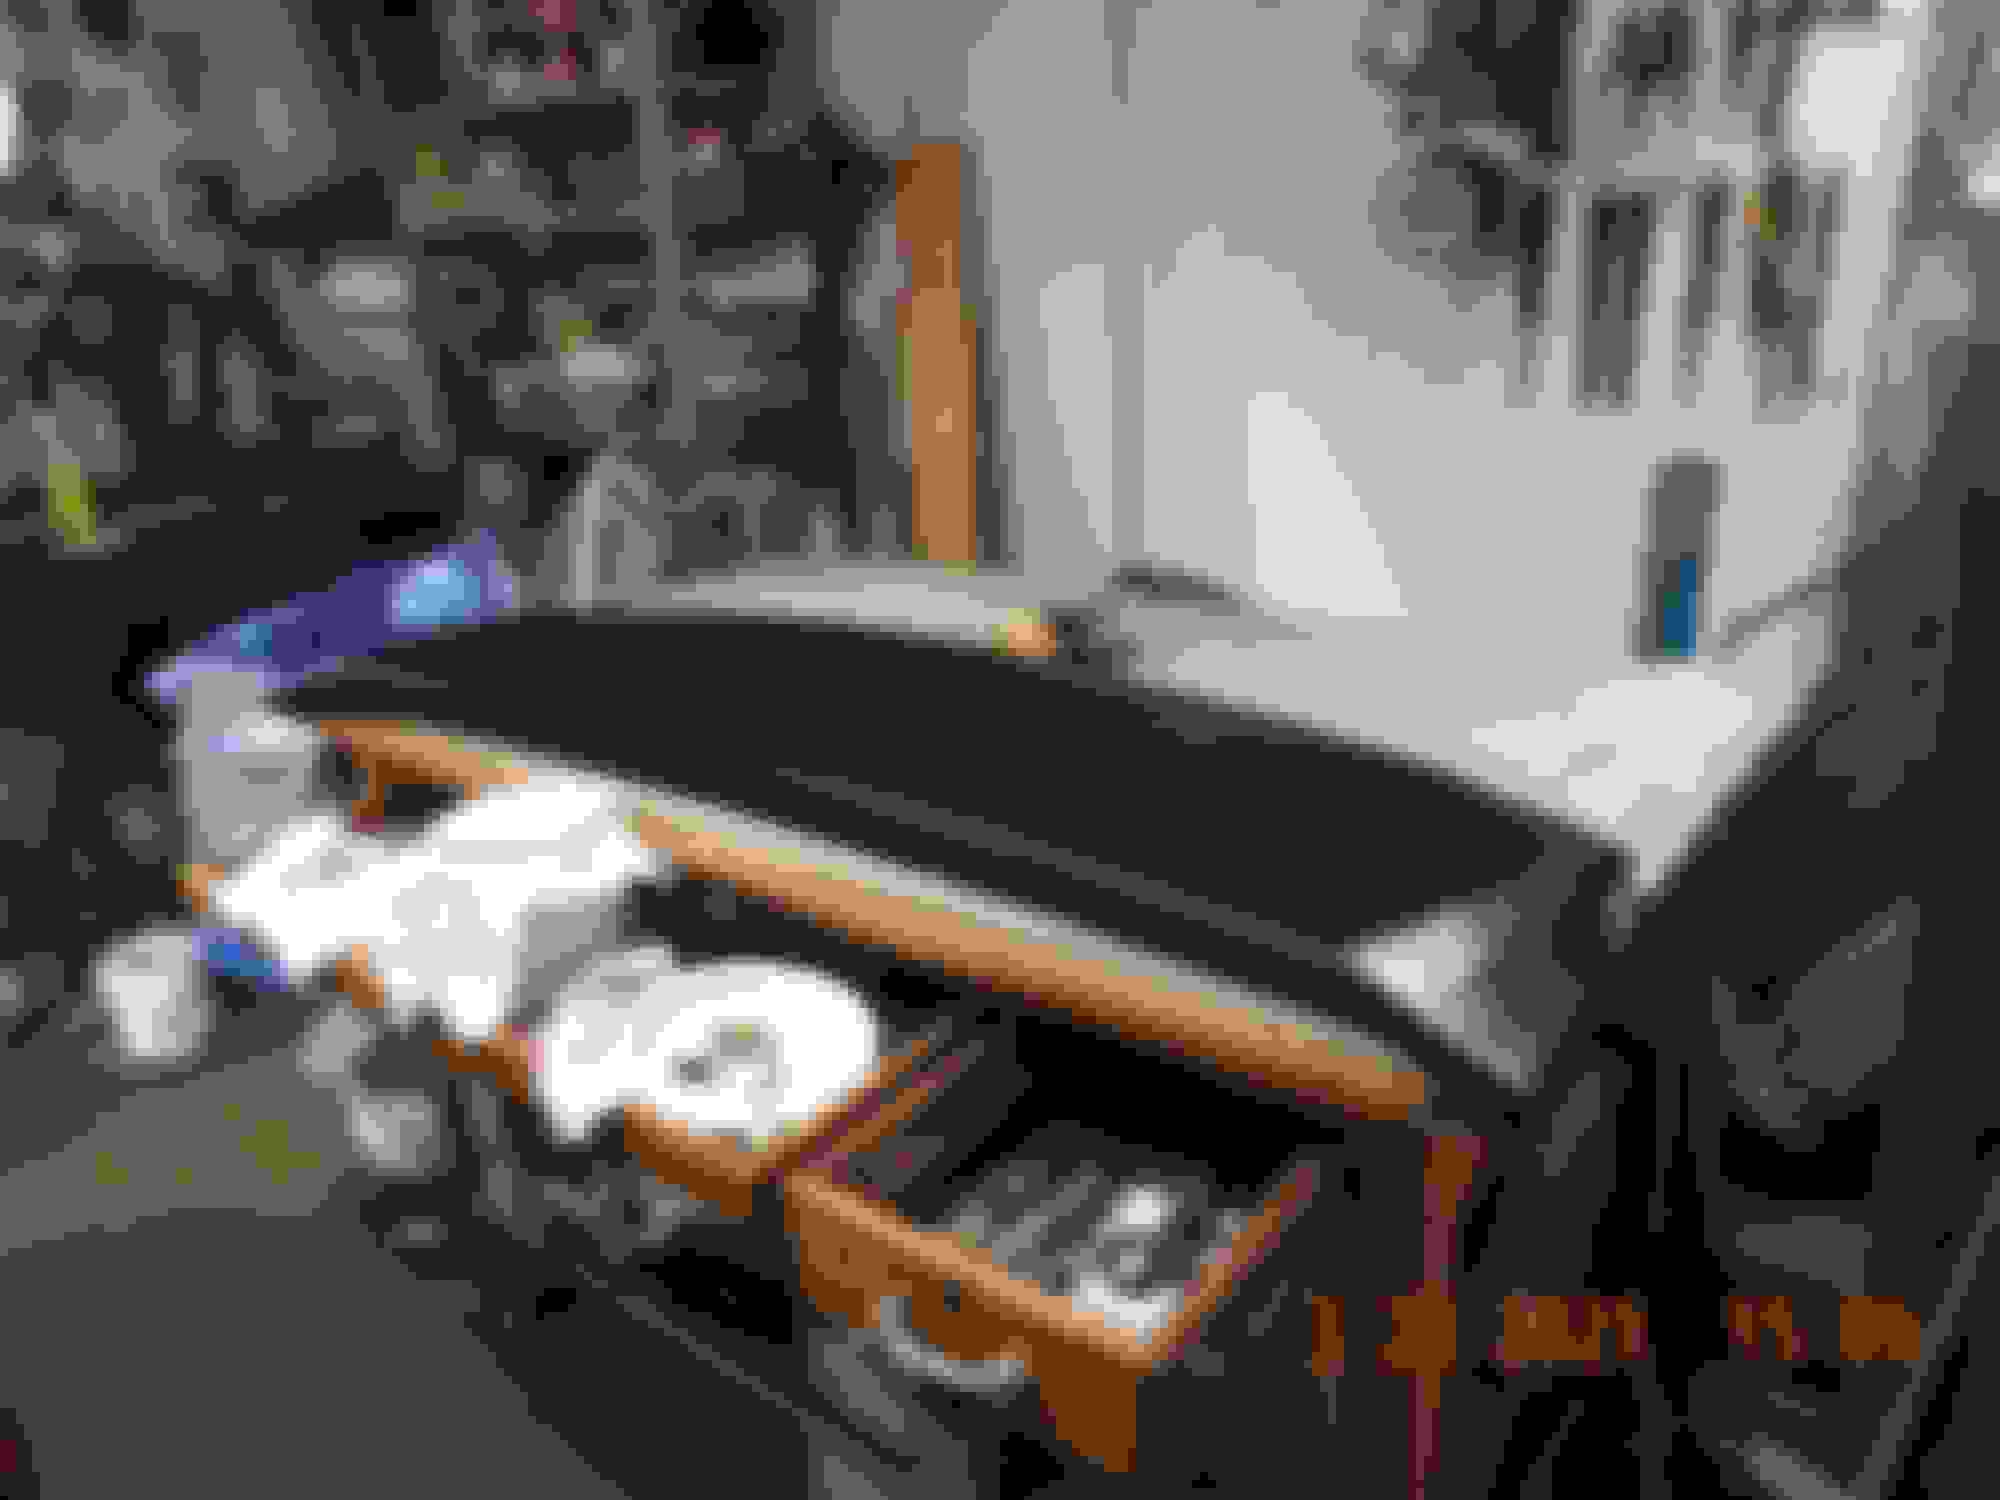
My roll of black marine upholstery vinyl came today too. My dash was cracked with 3/16 inch cracks in about 6 places. I filled with body filler and am "wrapping" with faux leather. First try for me, but the first 5 inches look good. I got the feeling "she" was watching me!
My old drafting table is really coming in handy for this restore. The drawers and stout table top are a tribute to days gone by. Few people today even know what it was used for.
Not that I'm aware of. Just looked like KYBs in the picture, so thought I'd ask...
Ordered from rock auto, not sure which brand, just glad to have something after a month of waiting. It was their daily driver brand so should be OK. Feels like good quality. Thanks for commenting! I tried to pull up my order from rockauto, and was not successful.
Last edited by stuartswede; 03-22-2021 at 07:57 PM.
Here ya go my friend. I could�ve sworn I had spare gauge parts somewhere but I couldn�t find them so I just took these off an old cluster I probably won�t use. Send me a PM with your address so I can see what postage will be. I�ll probably send in a small box so these don�t get damaged.
Battmann, checked out your blueprints page, pretty cool. Will be ordering a couple for my wall. I had a 1974 formula 400, and the 1983 T/A which is close to the 1984 you show a BP for. Very nice work.
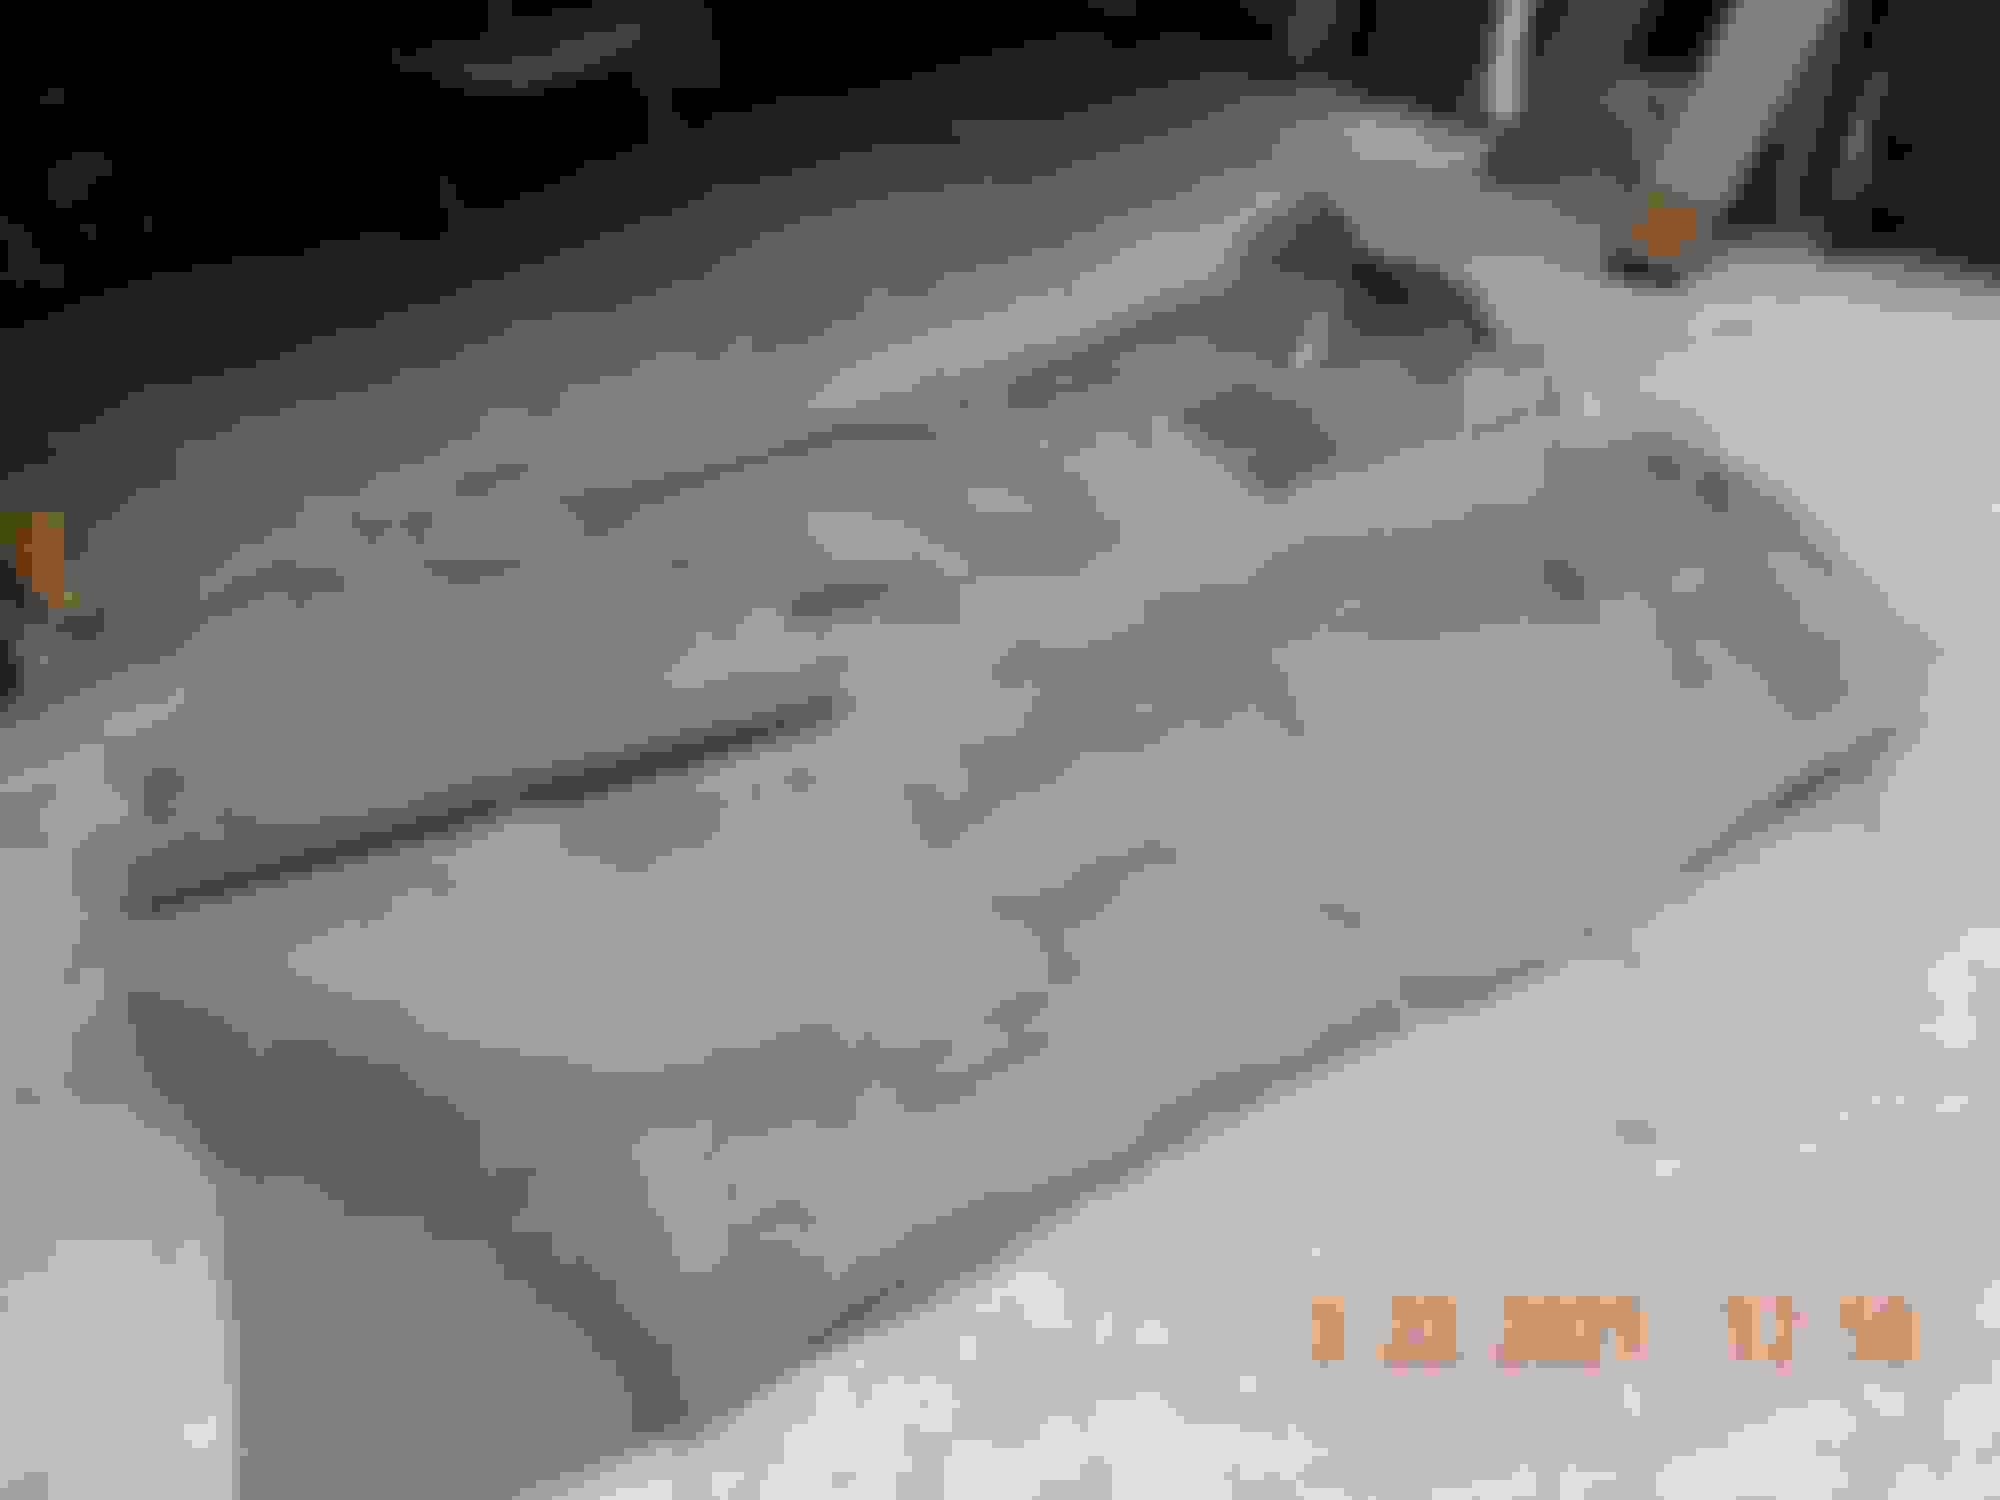
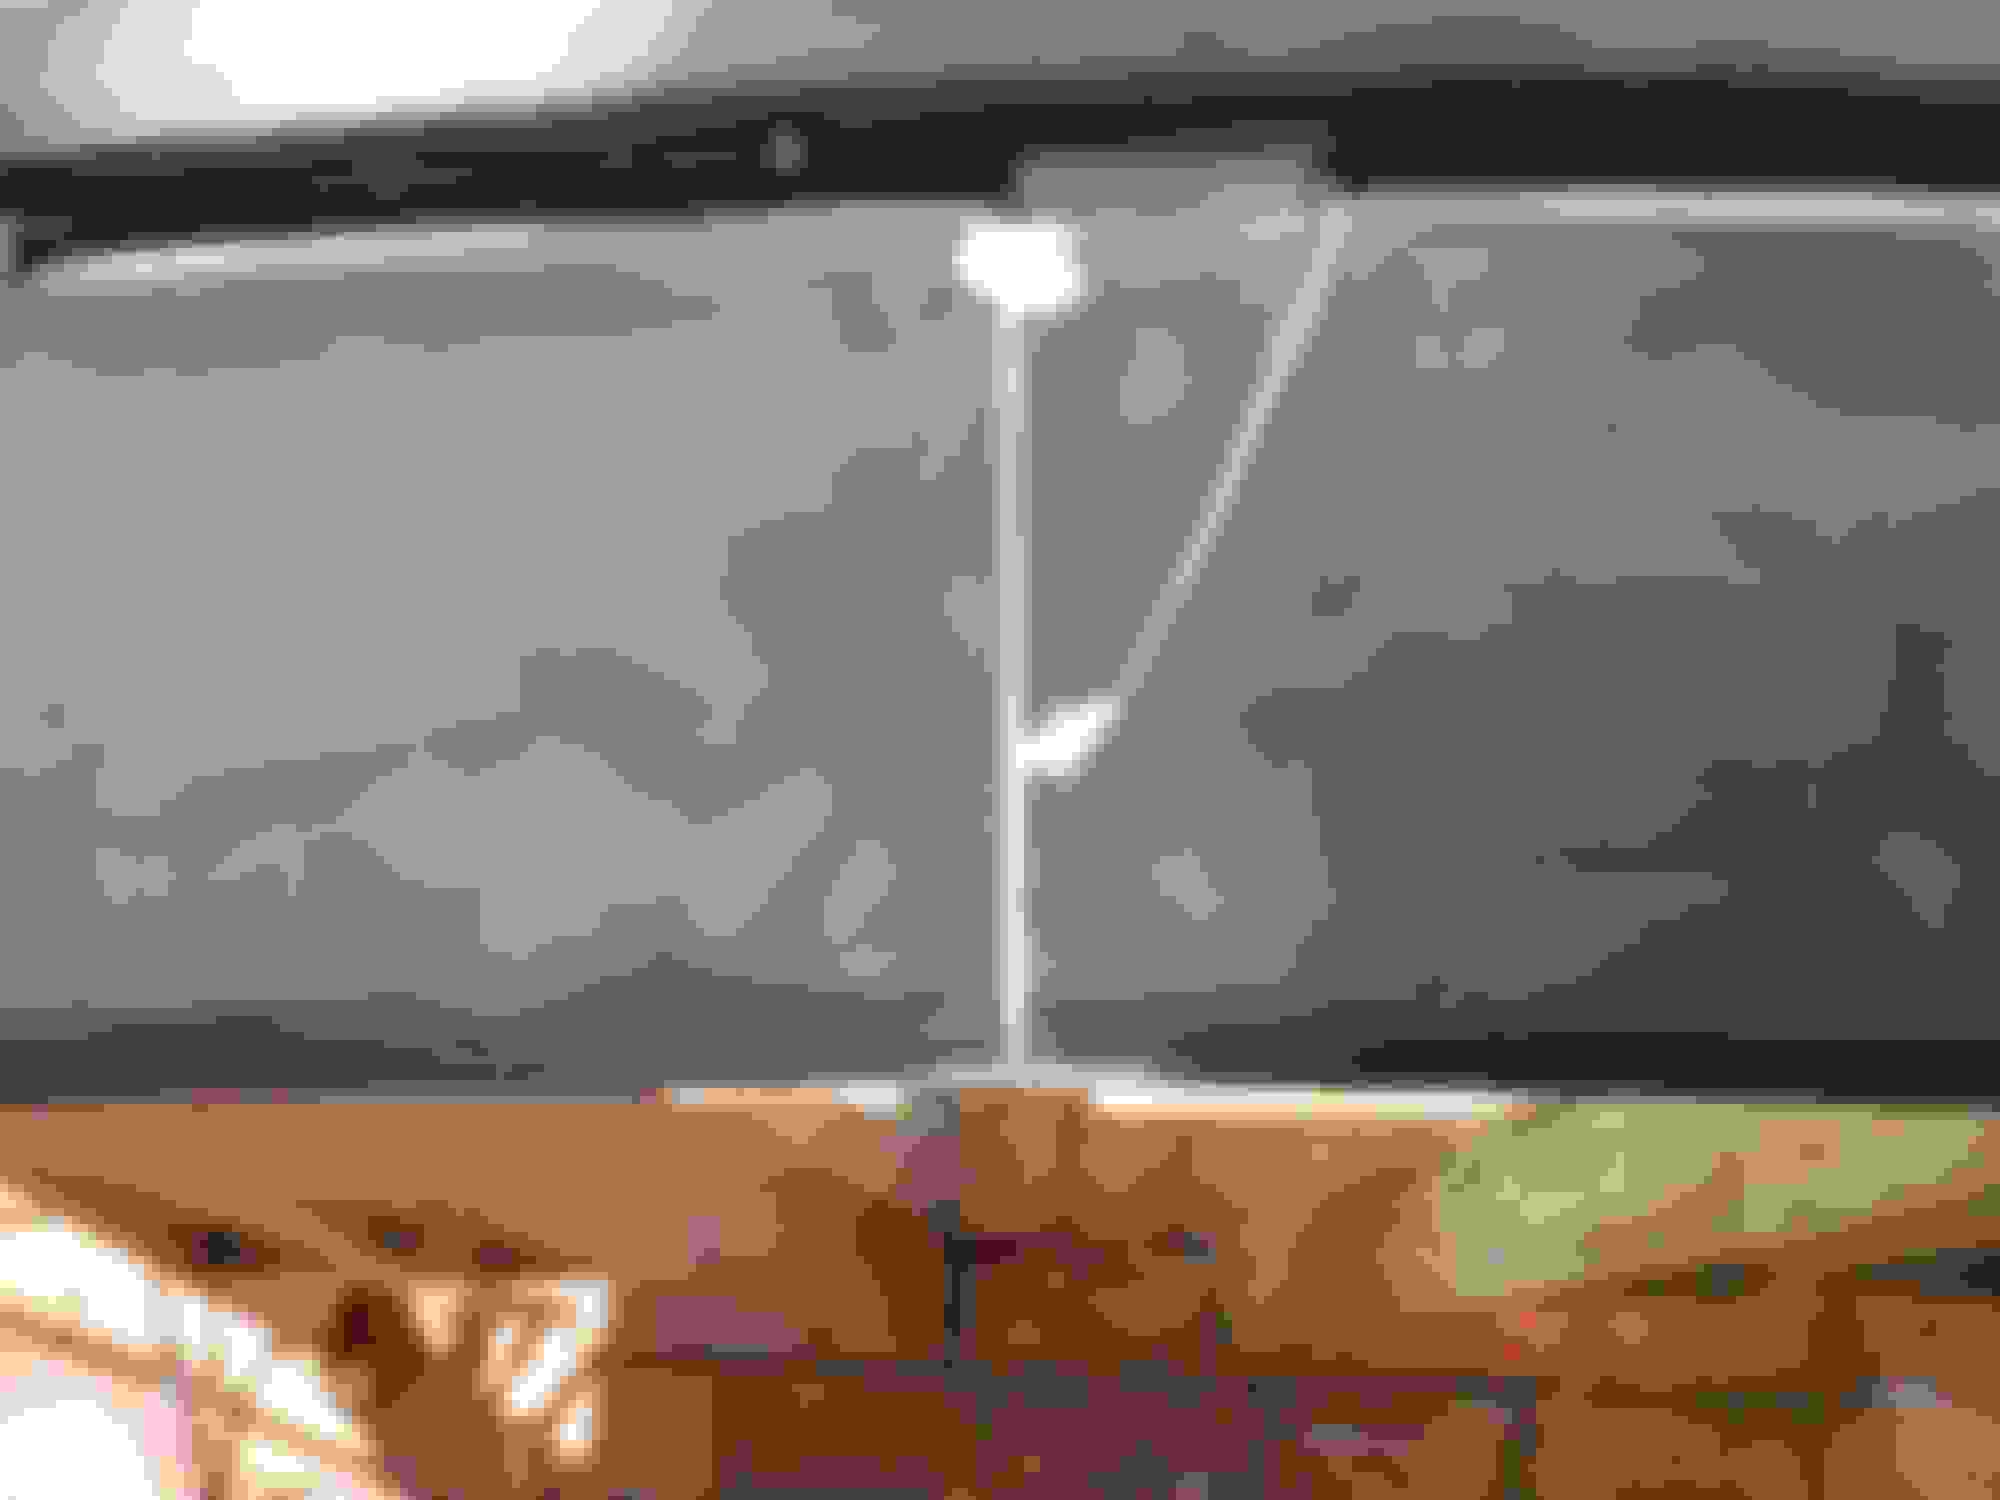
Dash vinyl wrap continued Dash and fabric all painted up with contact cement, ready to begin the mating process. Went well, cut out the defrost and speaker holes and the small vent holes on each side. The corners on each side were a bit**, but oh well. Things were looking good until I got in the car and started inspecting. I could feel and see the cracks that I had filled. I thought there would have been a little slack from the old saying "if you can feel it you can see it" related to painting. I never thought that a cloth/vinyl covering would show the very slight speed bumps, but I was wrong. You can see the filled crack speed bumps in the center and from the speakers to the rear edge.
I thought about removing the first layer of vinyl, but decided to leave it and feather out the cracks. I trimmed all excess vinyl and feathered the cracks like I would paint.
No speed bumps and feathered perfectly. On the second go-round I found that if you trim as close as possible before you start, it is a lot less "clumsy". I bonded the front first so that I could pull back and to the side for the rest No speed bumps this time. Gloss is from mineral spirits I used to clean off excess adhesive. Also used heat gun on those pesky corners and eliminated folds. Happy with results. Didn't have time to trim out the holes as Tuesday is our date night. We go out to eat once a week on Tuesday night, no lines no waiting.
I bought the crappy plastic cover years ago and it warped in the sun in just a few months, I asked for my money back, and they sent me a new one. Looks just like the first, that is why I was trying the vinyl wrap.
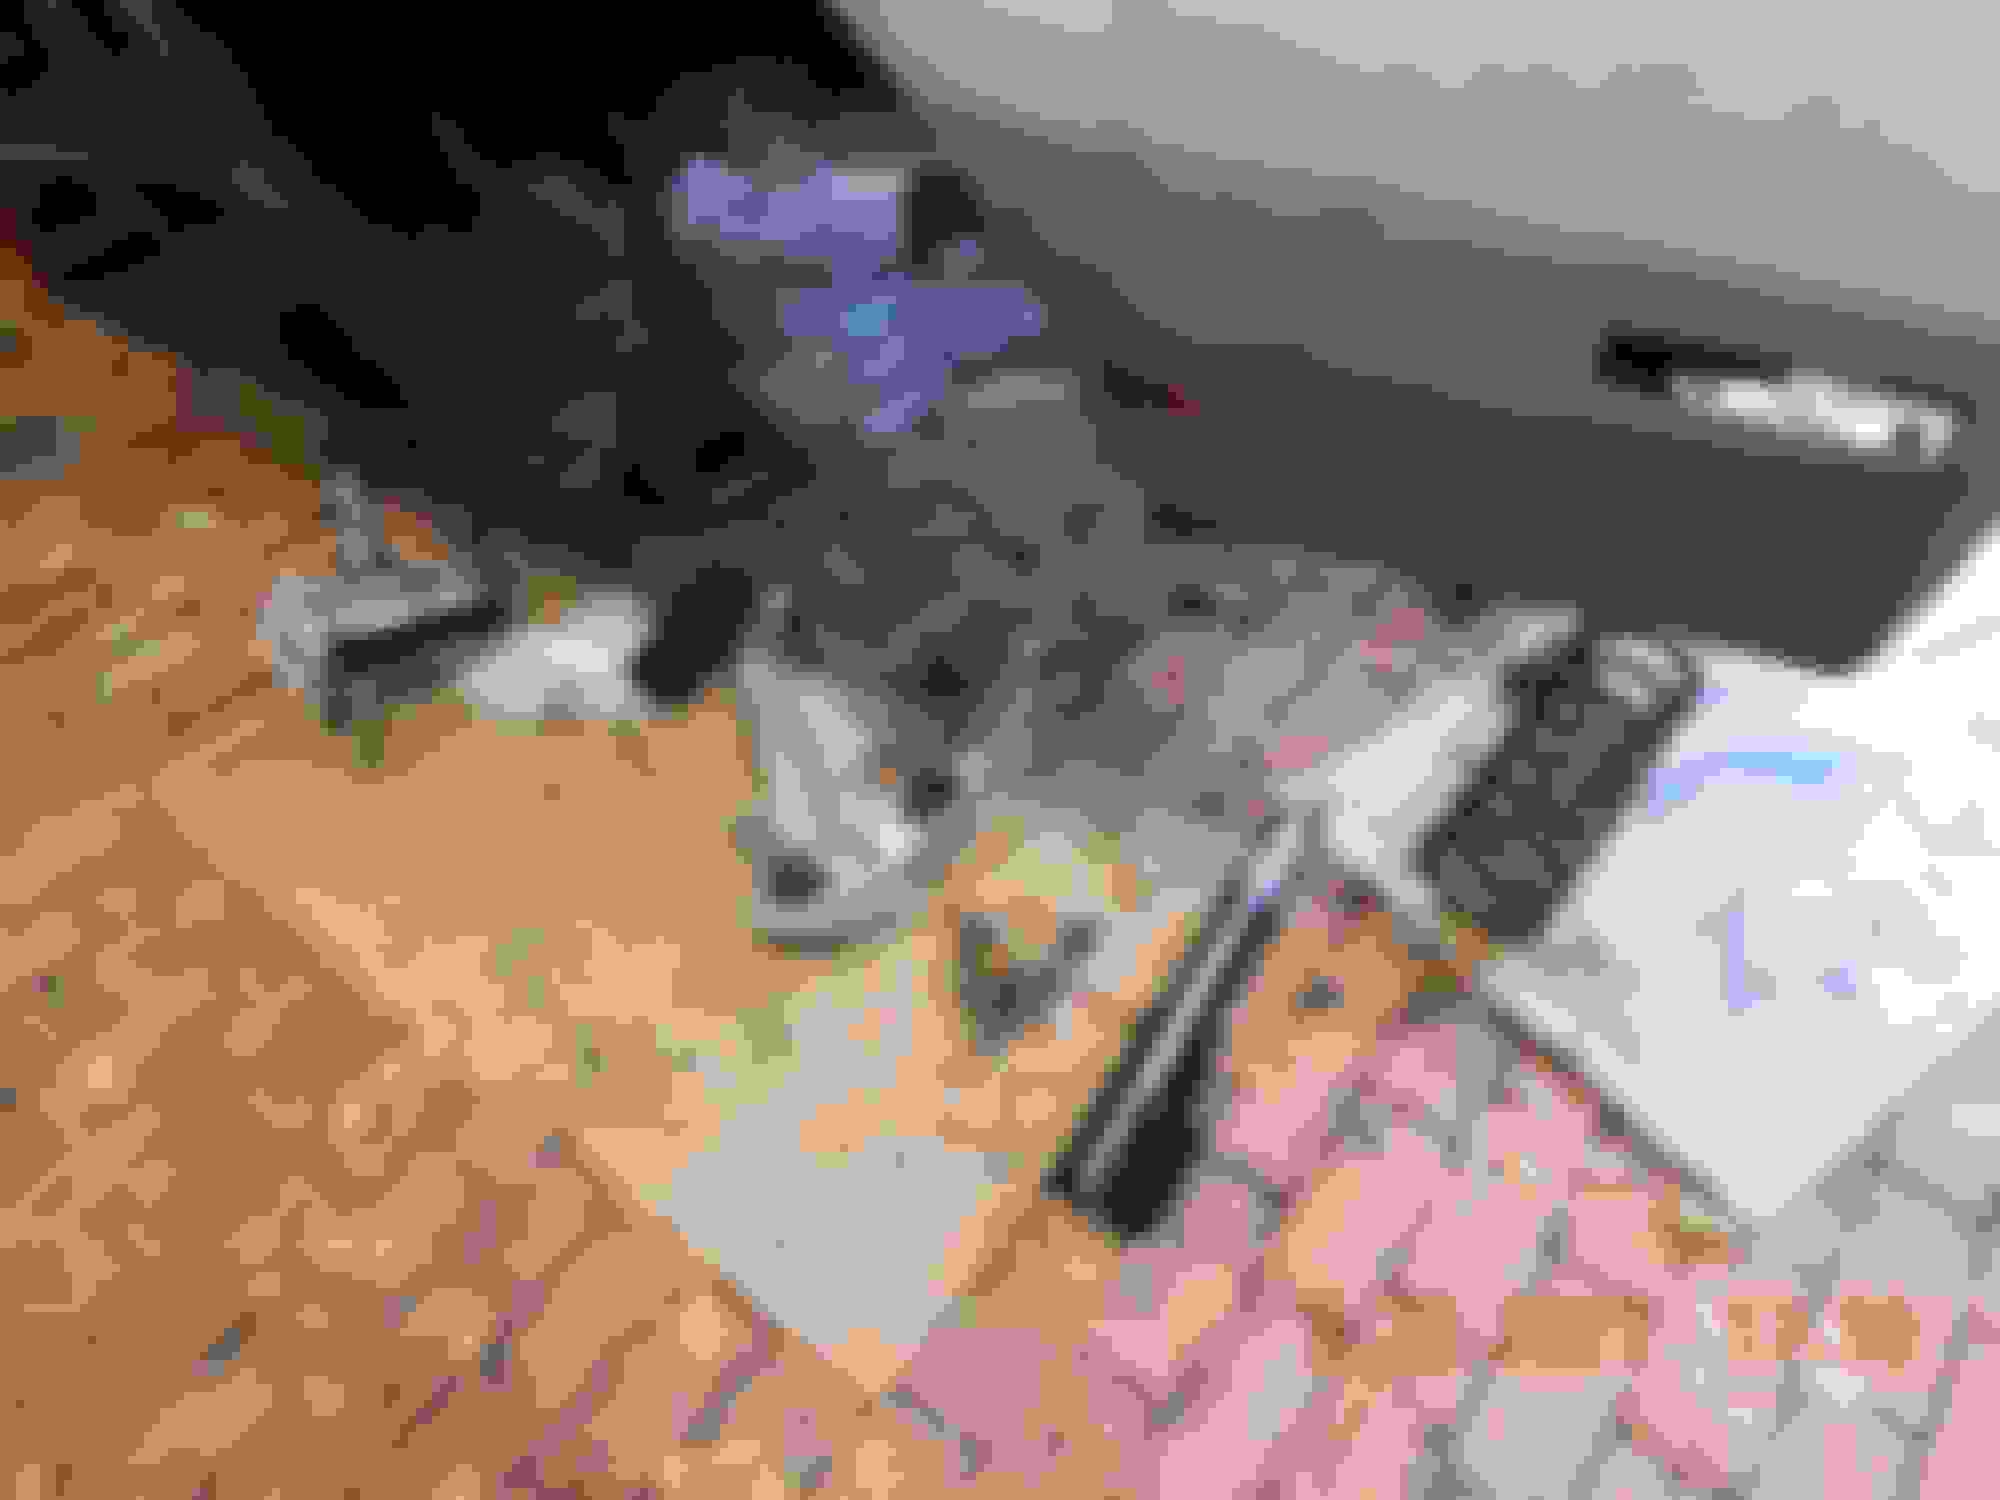
Good riddance! Also got my sub-console out for refurb, what a PITA. Had to disco the e-brake to point it vertical to even have a prayer of removing the sub console. Thats my old Alpine radio/CD player on the left of the hump, hope it still works, it is the best. BTW will be taking a vacation from restore, traveling to Gainesville to help the folks with a few projects. Hope you miss me for a couple of days. All the best.
This number was on the underside of my dash, wondering if the 8/3 was for 1983? Kinda cool. Covered by vinyl now...
Last edited by stuartswede; 03-23-2021 at 08:30 PM.
Battmann, checked out your blueprints page, pretty cool. Will be ordering a couple for my wall. I had a 1974 formula 400, and the 1983 T/A which is close to the 1984 you show a BP for. Very nice work.
Thanks for the kind words!
Where did you get that new rear bird emblem for the taillights?? I may need to get one for one of my '84s.
Back from Gainesville yesterday, can't wait to take the T/A up there again. Completed the dash today with the cutouts and gluing in the speaker covers and vents. Looks doggone excellent.
I pulled the map satchel as demo for future remodeling, and check out what was underneath. Pretty cool!
Also can one of you "Army of Experts" please tell me how to remove the AC vent/register to the right of the screaming chicken without destroying same??? Much appreciated. It must vacate temporarily for needed mods. Thanks and welcome back to my rantings!
You’d have to take the whole dash out to remove that vent. There are screws on the backside of the vent that goes into the back of the dash. It’s also connected to the vent ductwork behind the dash.
I have been messing around with different interior schemes, different colors, etc. I bought 8 different shades of beige paint and 4 different vinyl shades. I wanted something that popped. I think I have finally settled on my combo. I reserve the right to change, but when I wrapped the lower panel and started messing around with the burl, and my bird, it said WOW! Here is a sneak preview:
I know it is not pure OEM, but to me it's very aesthetic. So much better than that leather pouch, RIP my friend.
Florida Dreamin' Disassembling to replace the ignition cylinder, made a tool to compress the spring enough to remove the split ring. Use the old front sway bar bracket cut down, with a hole drilled into it to fit over the steering wheel shaft, and using the OE nut to compress the spring. Pretty ingenious I thought! I had broken off part of the tan sleeve that the spring sleeve seated in, so carefully filed a new slot to catch the nub and retain the spring and sleeve. Crisis averted! Snap ring removed New lock cylinder installed, seems happy! Everything works so far. Repainted steering wheel, silver screws now black (wrinkle)! Looking nice. Here a little, there a little.

 03-19-2021, 02:31 PM