When you click on links to various merchants on this site and make a purchase, this can result in this site earning a commission. Affiliate programs and affiliations include, but are not limited to, the eBay Partner Network.
Nice work! Are you putting an aftermarket K-member in? With the trans; you might be surprised what a 700r4 can handle. Unless you are building a 700+ hp motor, you should be fine, as long as the trans is fairly healthy. I would stick with it until it fails. Just my 2c.
DR.K.
Nice work! Are you putting an aftermarket K-member in?
Nah I'm just going to clean mine up and POR15 it before installing it.
Originally Posted by drknow90rs_ss@y
With the trans; you might be surprised what a 700r4 can handle. Unless you are building a 700+ hp motor, you should be fine, as long as the trans is fairly healthy. I would stick with it until it fails. Just my 2c.
DR.K.
I hemmed and hawed about that for a long time. Some folks say the 700r4 can survive behind a decent amount of power, and some kill them on very modest builds. Ultimately I wasn't interested in sinking money into a 700r4 so I sold it to a local guy.
TH400 will go in. TC's are cheaper, and they're easier to build for good power.
Have you checked out some of the reviews of rust prevention items on youtube? Seen several that didn't speak highly of por15 and other similar undercoatings.
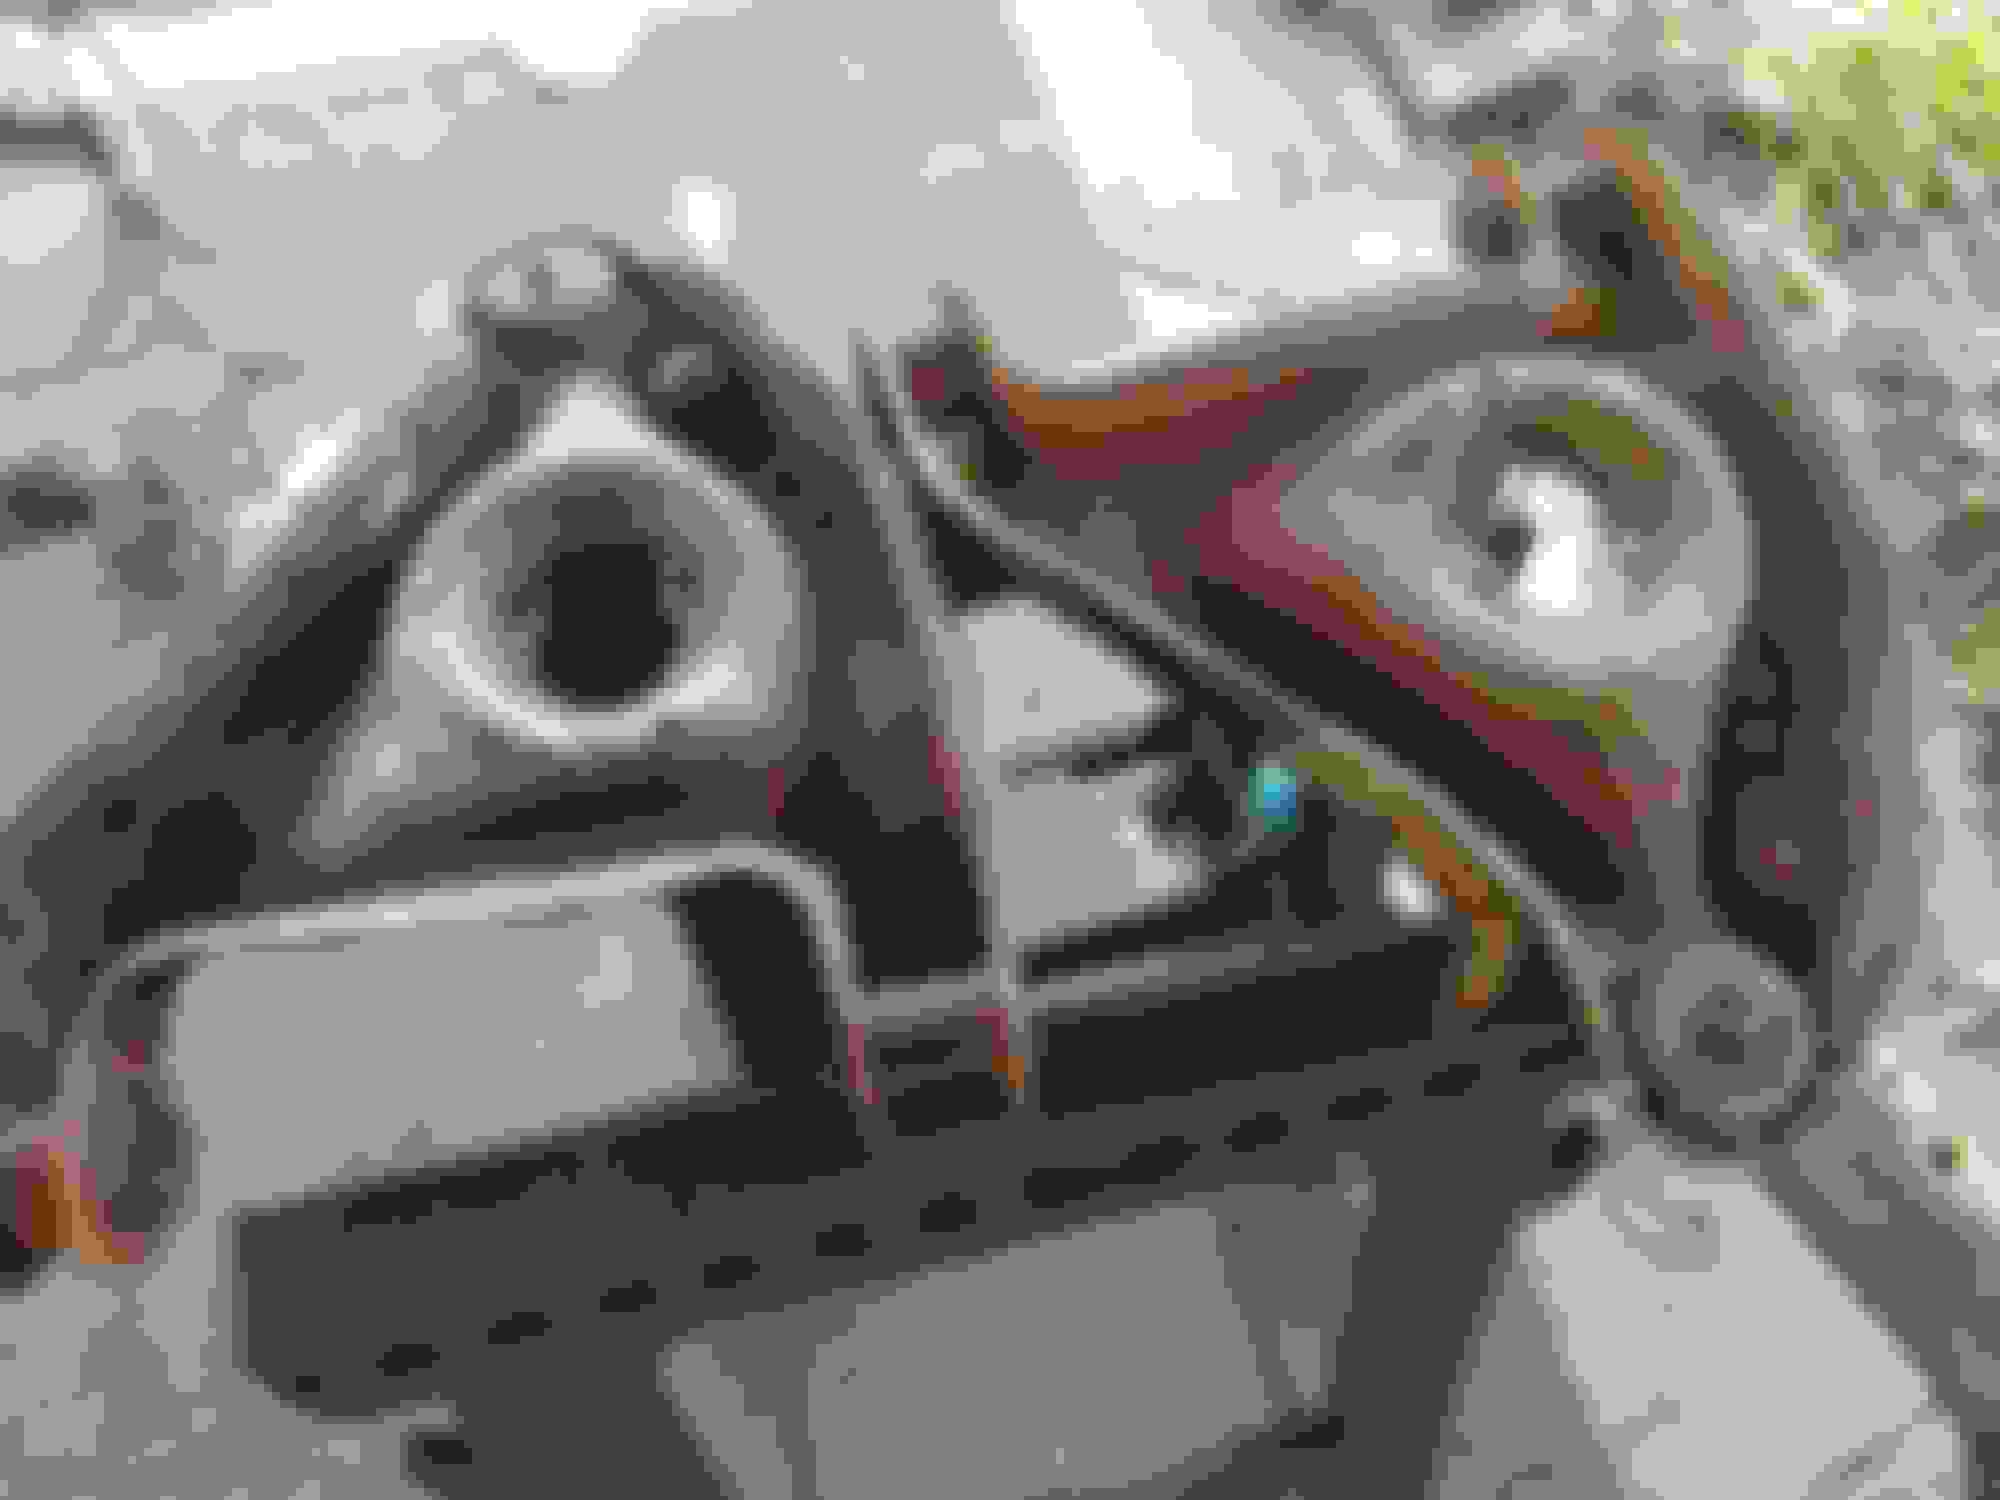
Here's a little how-to to disconnect the front suspension from the car without removing the brakes:
Remove brake line, disconnect steering arm and sway bar endlink. Throw a jack underneath the A-Arm and disconnect the shock from the top. Throw a strap around the shock to the spring. Lower the whole assembly and give it a good kick to pop the spring out of the A-Arm.
Arrows show disconnect points for this procedure. I'll be swapping shocks (and sway bar end links) but don't want to completely redo the brakes (yet). So this was the most efficient way I could see to do this
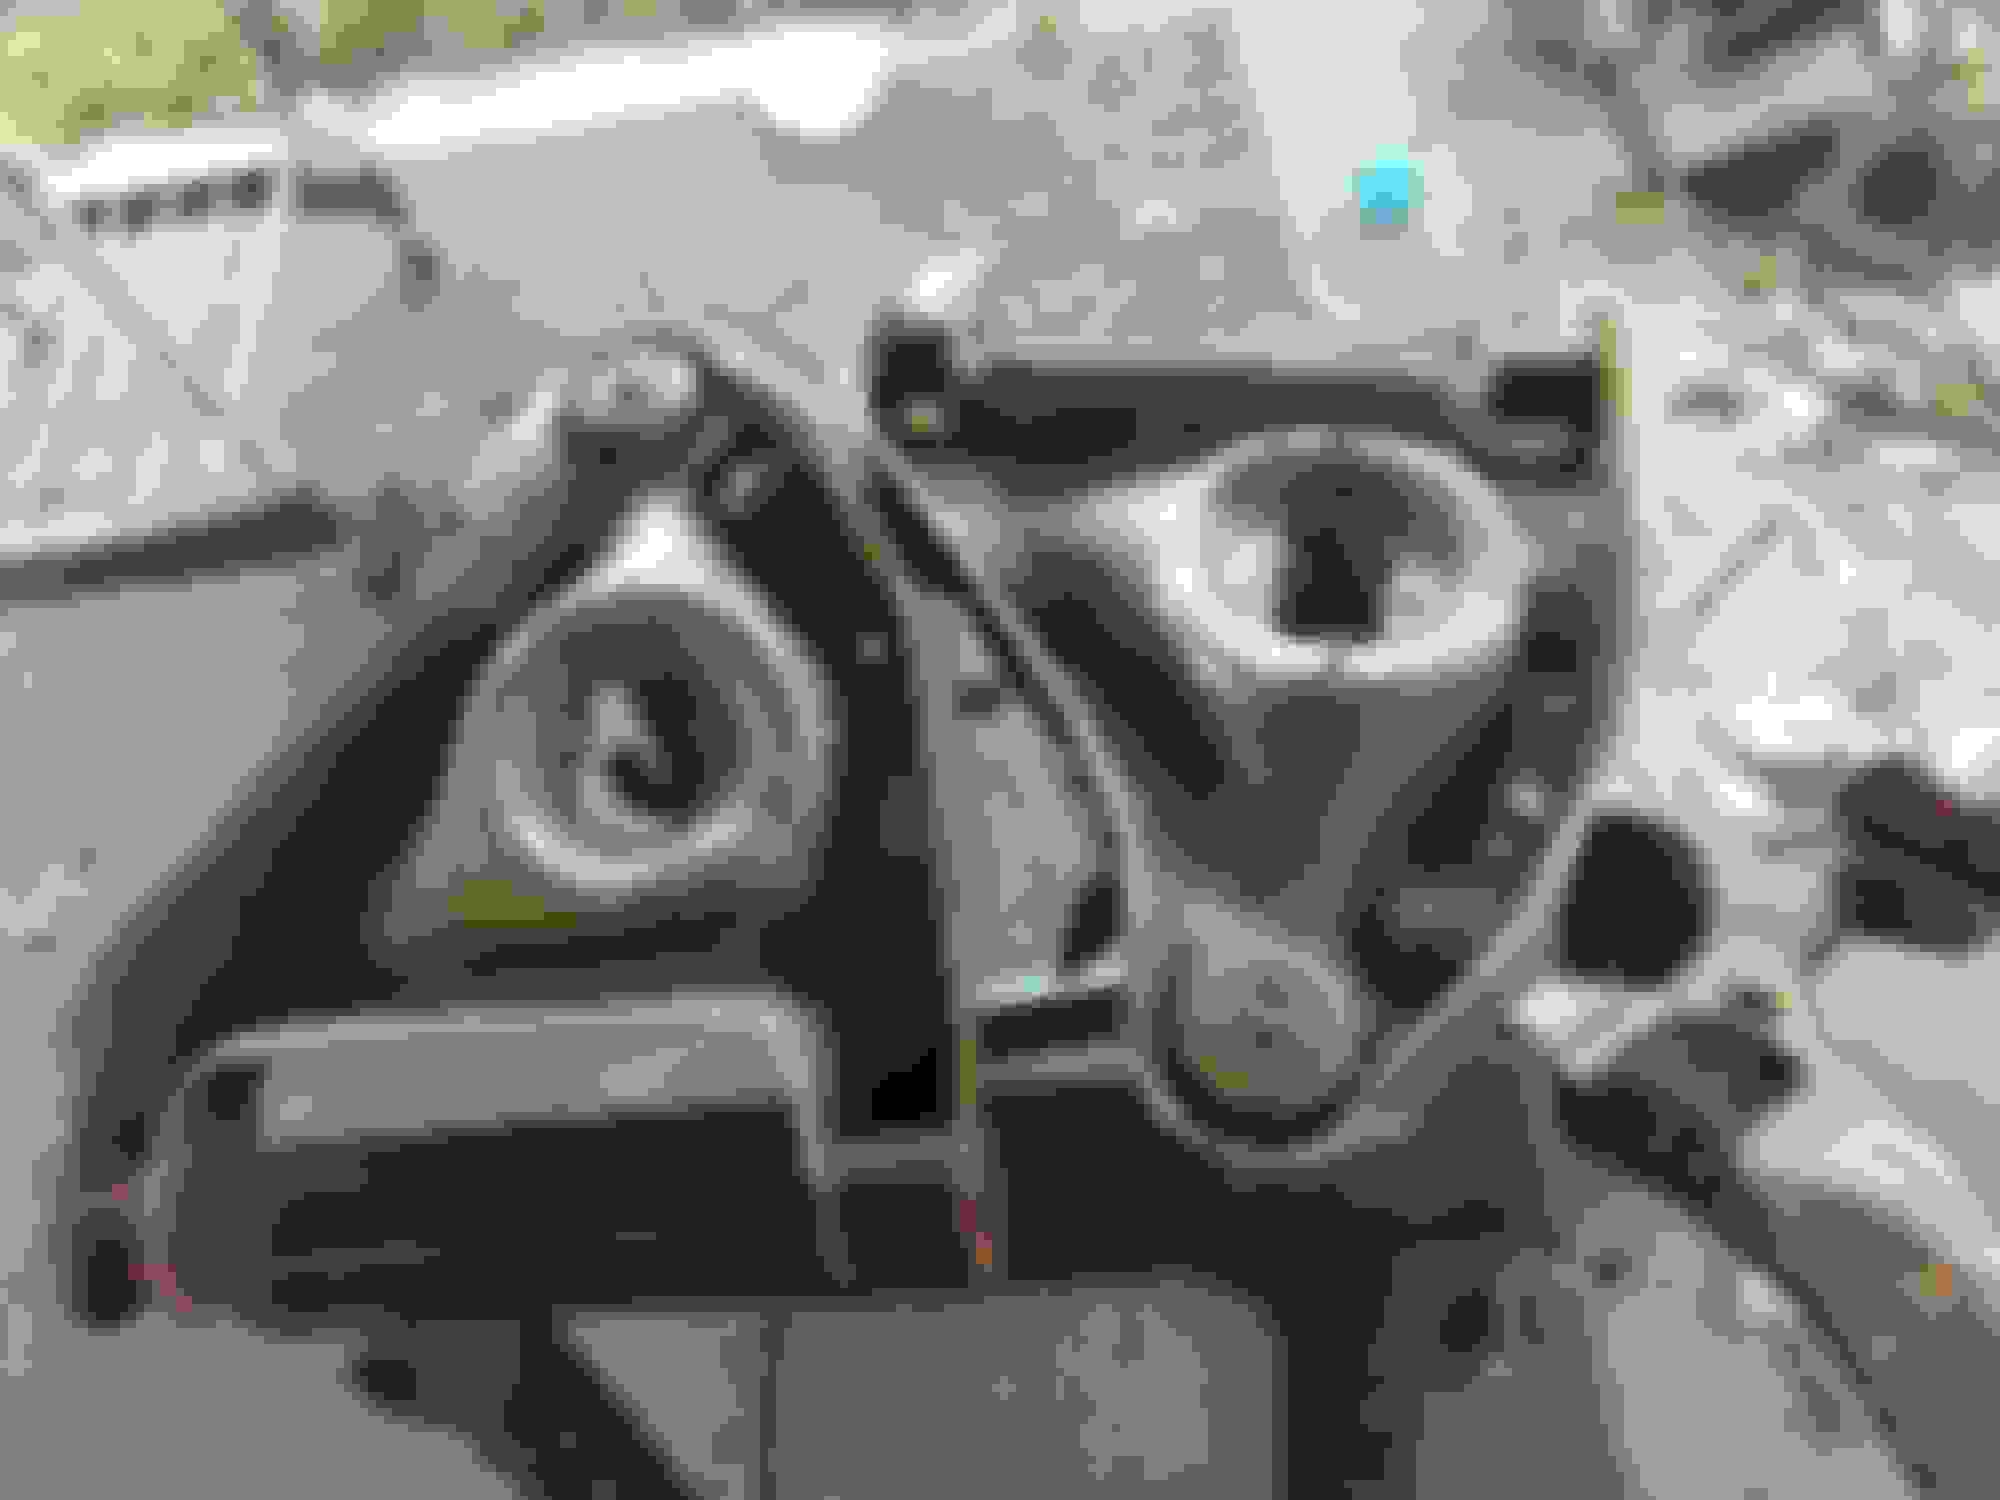
Below is what you'll wind up with. Note the cut sway bar links. Looks stupid, but it works
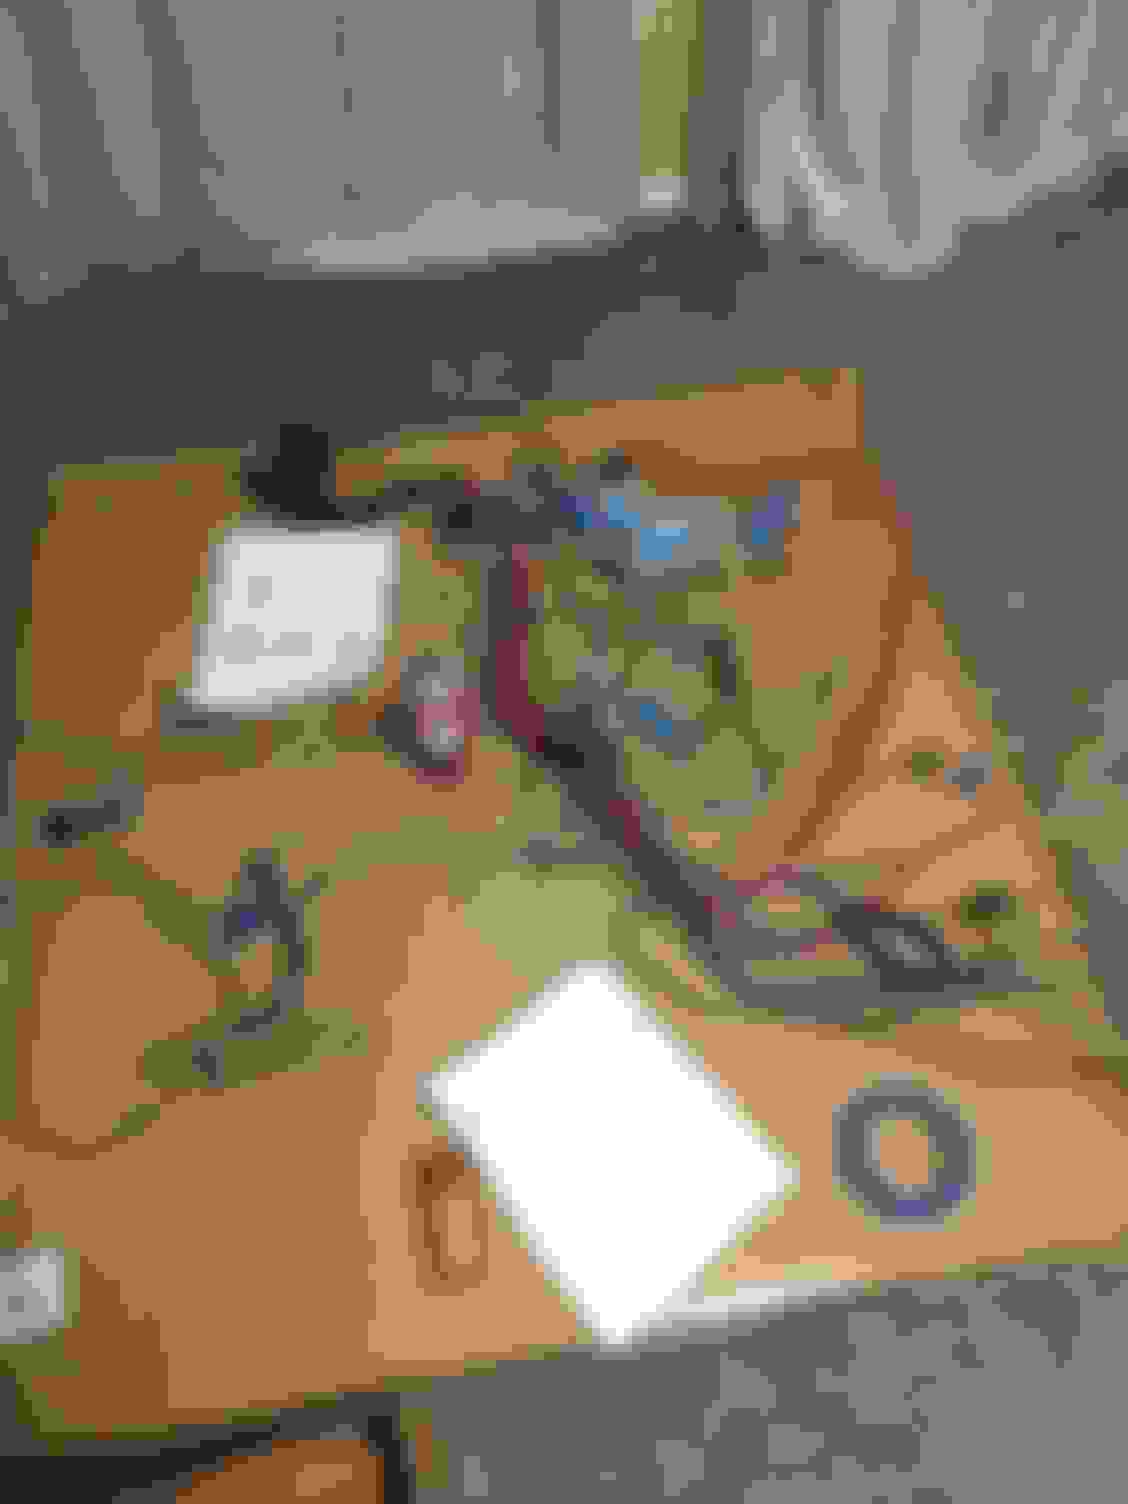
Drivers side wiring is "done" Here's everything split up from the loom Here's everything cleaned up
Cleaned picture shows the C100 connector. Wires below it will go to gauges except pink(Ignition) and blue(choke wire, might not need).
Wires above the connector run the wipers.
Red/purple/pink wires run down to the starter, one connects to the alt for the volt gauge. Another one comes back to power the HVAC system. Big bundle in the middle are the fan wires. Will be wiring that up in a custom relay with a rad sensor kicking the fan on. Top right pile is everything I won't be using.
Big props to Pocket for his LS1 wiring how to. Read it a dozen times and stared at my pile a long time before I had the ***** to start cutting out unnecessary stuff. For the passenger side, the only wires I think I need are the speed sensor wires. May pass my new gauge wiring through that grommet as well.
I hemmed and hawed about that for a long time. Some folks say the 700r4 can survive behind a decent amount of power, and some kill them on very modest builds. Ultimately I wasn't interested in sinking money into a 700r4 so I sold it to a local guy.
TH400 will go in. TC's are cheaper, and they're easier to build for good power.[/QUOTE]
Originally Posted by BigDogBob
Had ourselves a surprise April snow storm!
Damn snow! We don't get that cold white stuff where I live. (Rural outskirts near Phoenix, AZ.) But we do get the 115+ degree blowtorch summers. I like the idea of 2-40 A/C, but I wouldn't survive it on black leather seats without A/C.
The Th400 is definitely cheaper to build. I had a 700r4 built for me and got phenomenal pricing on all billet and forged parts, and it still cost me over 1500. All the tricks done to it, including selectable manual mode. I had it built to handle my LS-7, then ended up not using it. It sat for a year or so, then my '86 IROC lost it's trans. After I finished laughing 😂 about it, I threw it in behind the TPI 305 with a 2000 rpm stall converter. Really woke that car up.
DR.K.
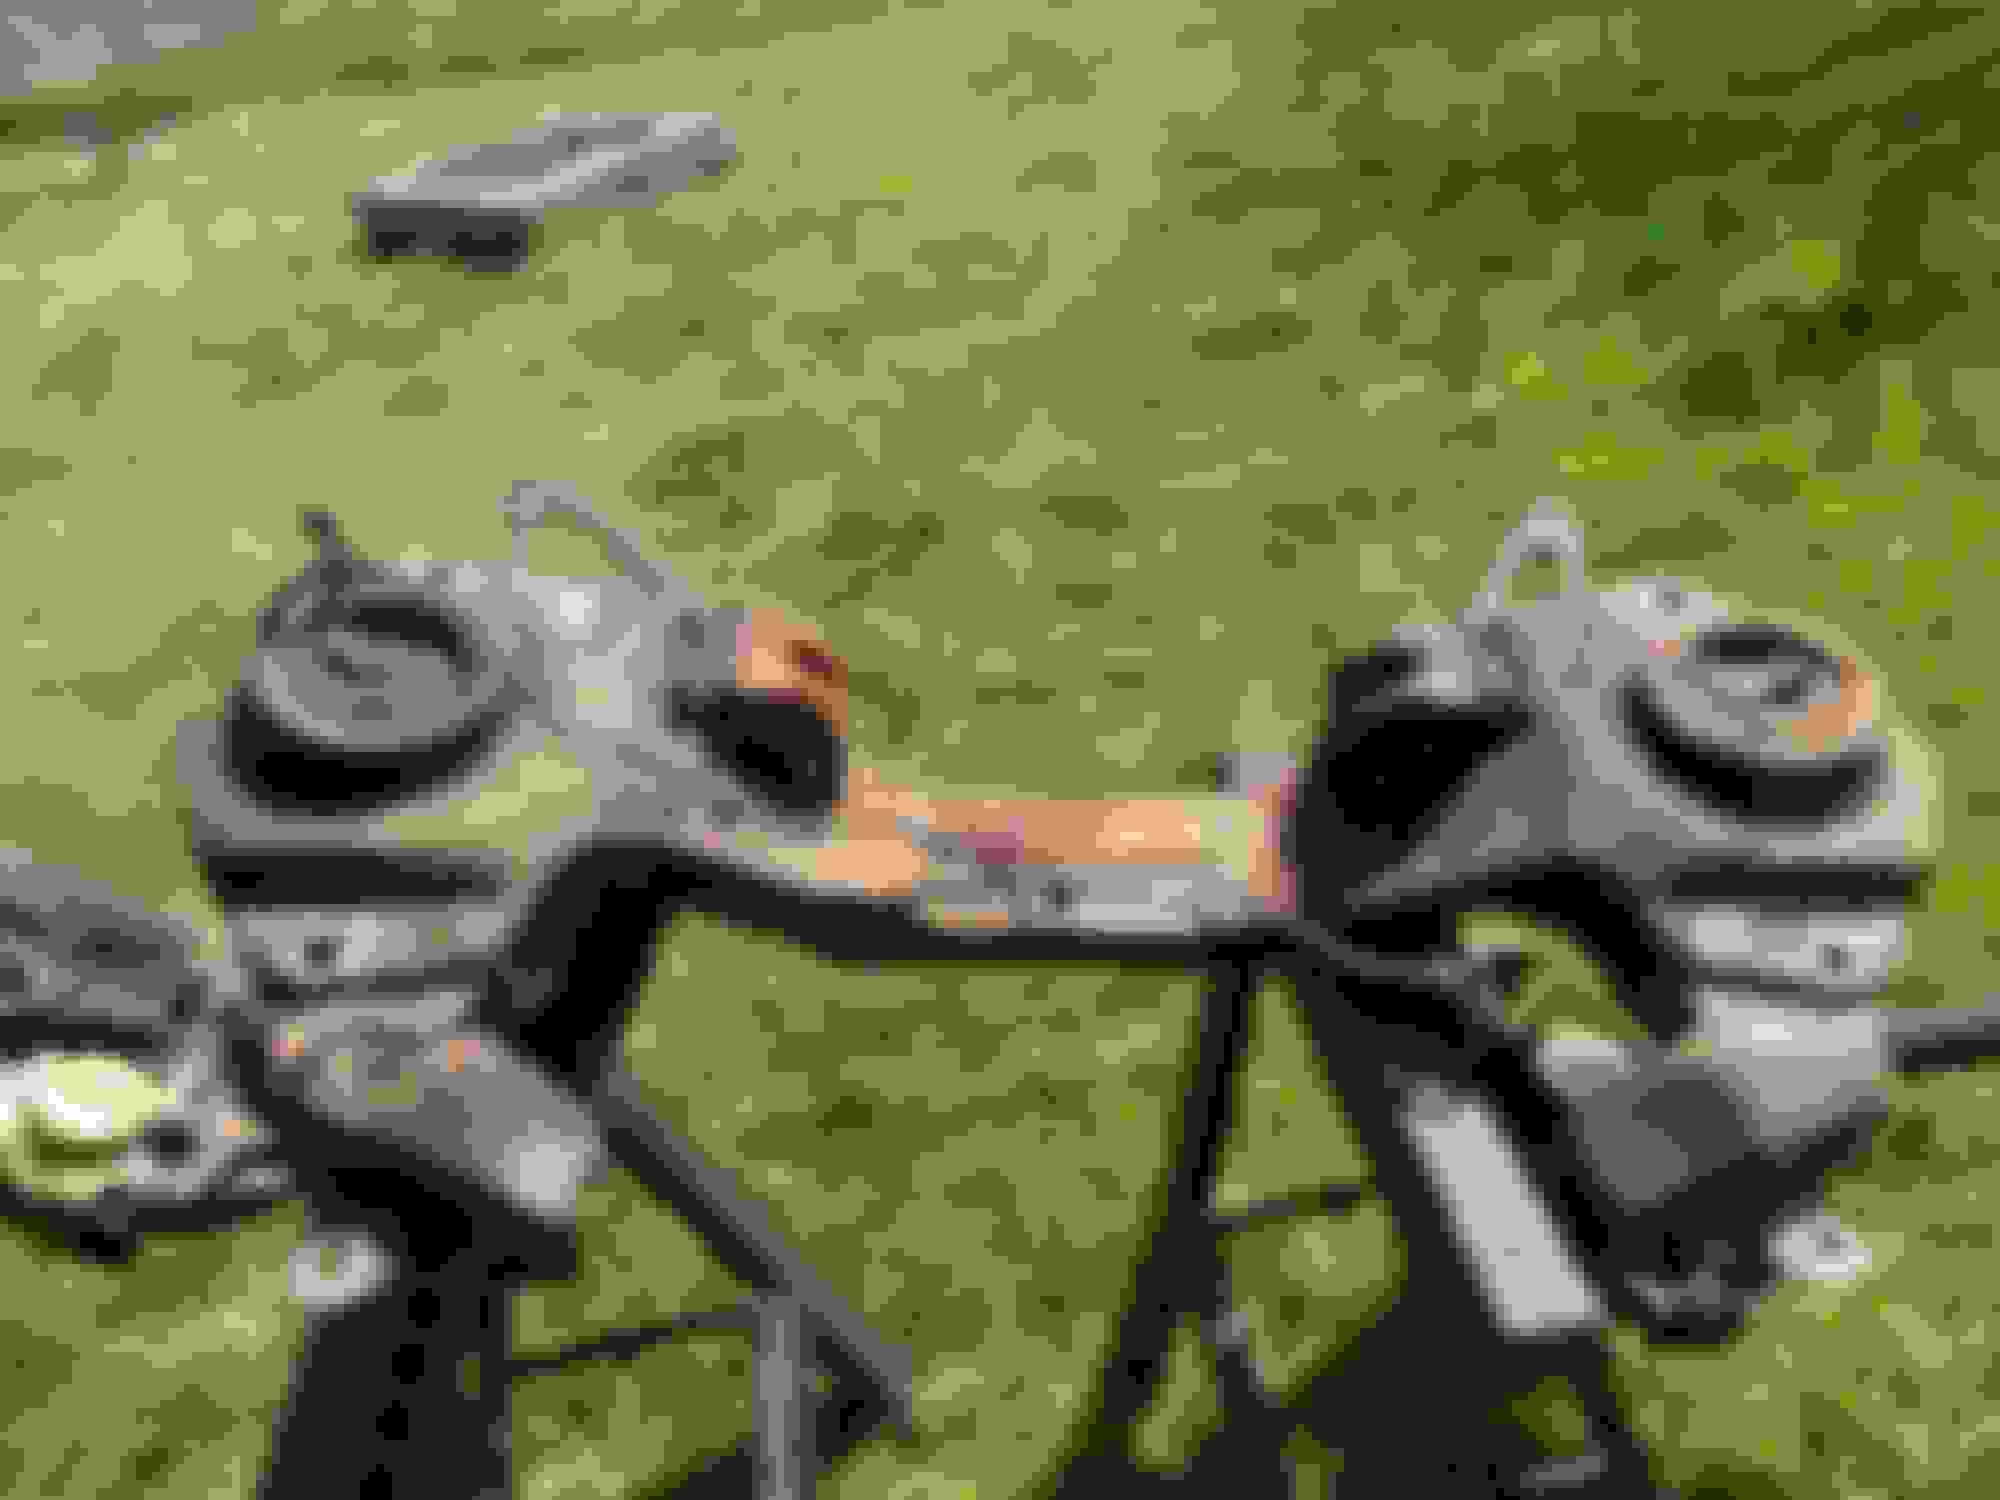
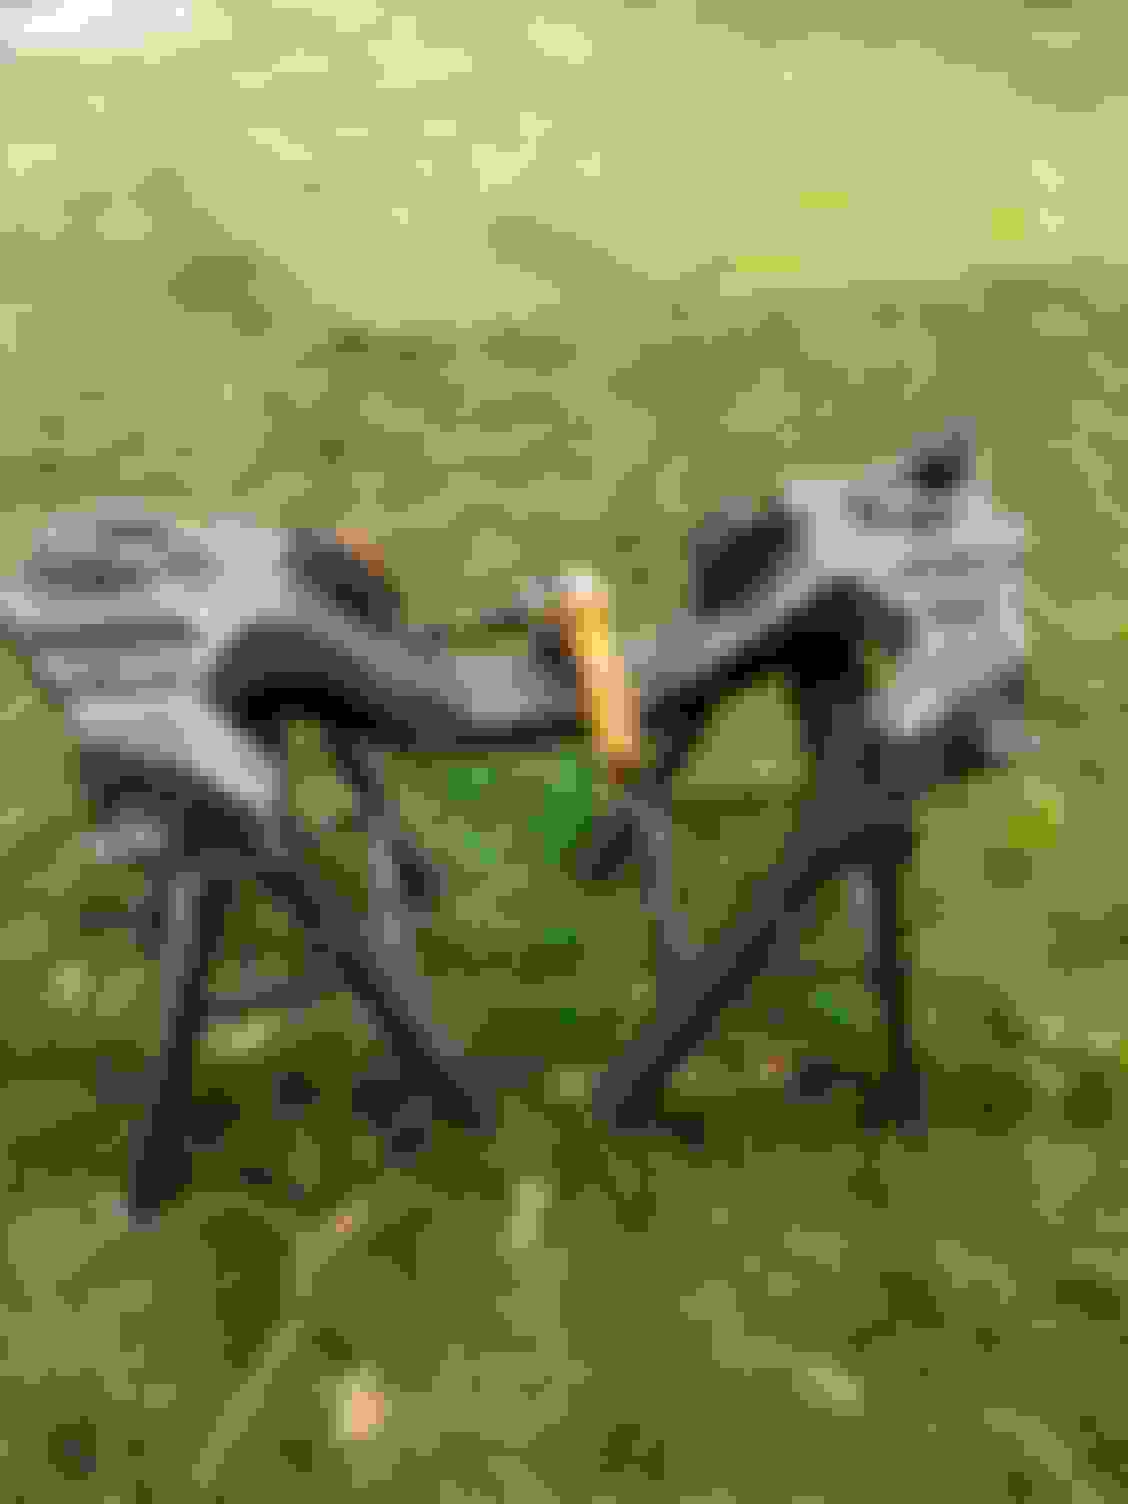
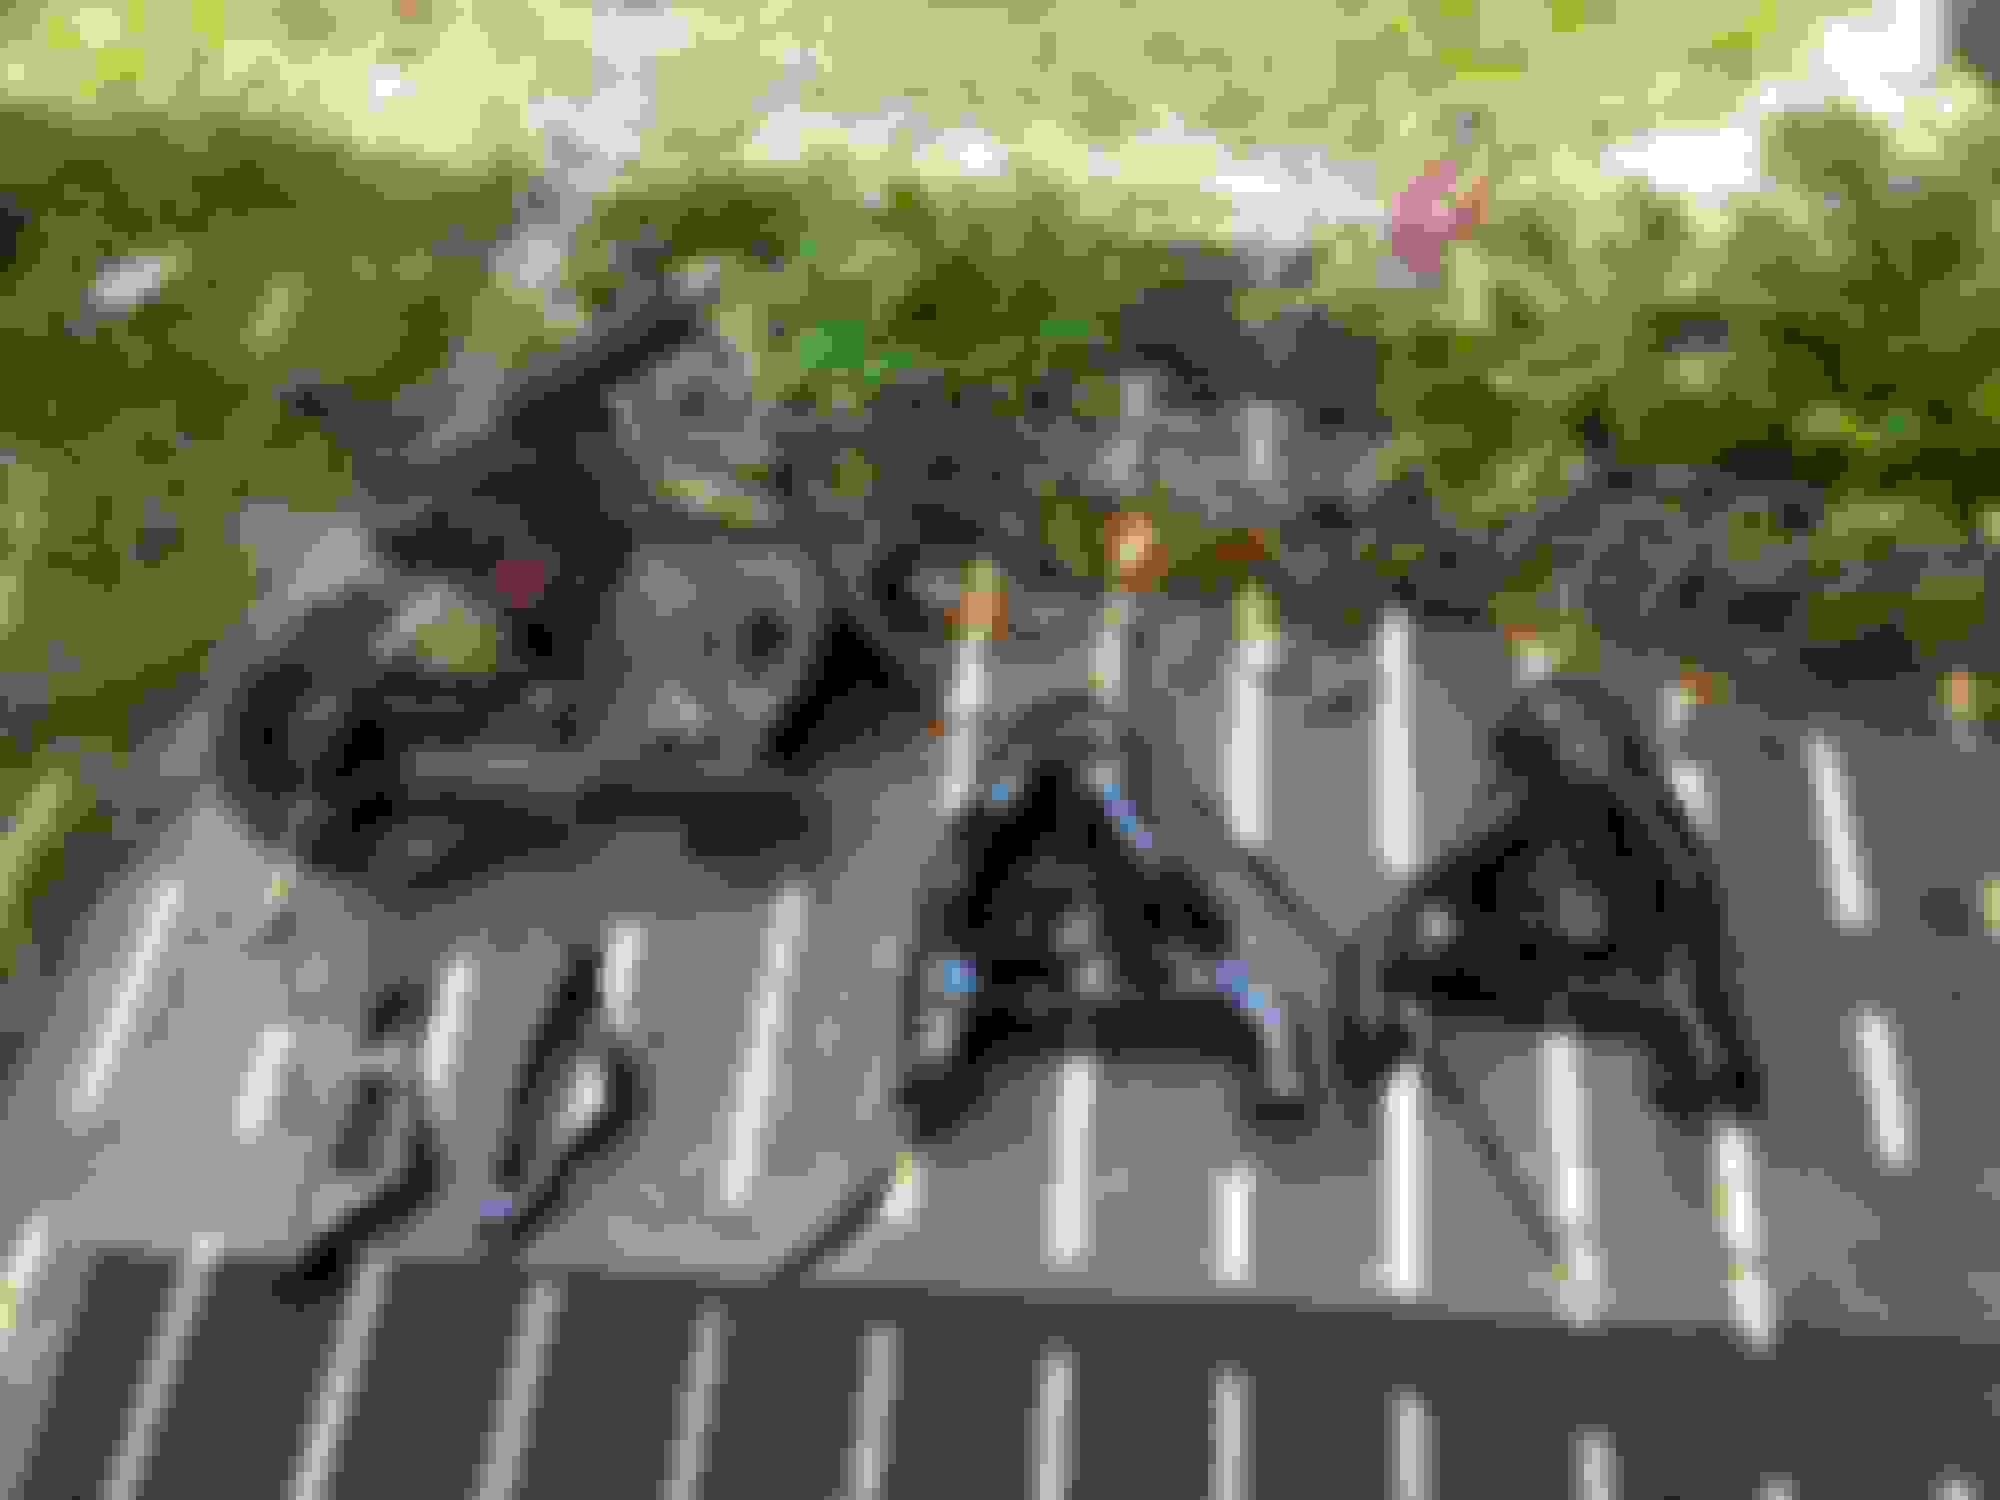
K-Member is dropped. Bit heavier than I thought it would be with the A-Arms and Brakes still attached
Weather looks excellent this week, so I should get some good progress cleaning everything in that bay up. Current dilemma is whether or not I should replace all the steering parts while everything is out and easy to get to, or say F-it and save the $300. Wife also talked me into pulling the nose off before we start painting. So that's yet another piece to strip down.
I've got a local guy with a built TH400 for $600, all I need to do is get a core for him. $1500 is a stretch for this stage of the build.
Originally Posted by BigDogBob
K-Member is dropped. Bit heavier than I thought it would be with the A-Arms and Brakes still attached
Weather looks excellent this week, so I should get some good progress cleaning everything in that bay up. Current dilemma is whether or not I should replace all the steering parts while everything is out and easy to get to, or say F-it and save the $300. Wife also talked me into pulling the nose off before we start painting. So that's yet another piece to strip down.
I would at least do the ball joints, tie rod ends and idler arm. If everything else is pretty tight, I think I would leave it alone. Yours is a pretty low mileage car, so shouldn't be all that bad. You are going to need an alignment anyways, so may as well.
I'm going to be replacing my K-member with the umi piece, just to have a little more room and make my A/C install a bit easier.
Love the way your car is coming along!
Keep up the good work!
DR.K.
Last couple weeks have been slower going. Got the broken exhaust bolts off the motor, pulled the pan and took a peek down the cylinder walls. Everything looks great for a 230k LM7.
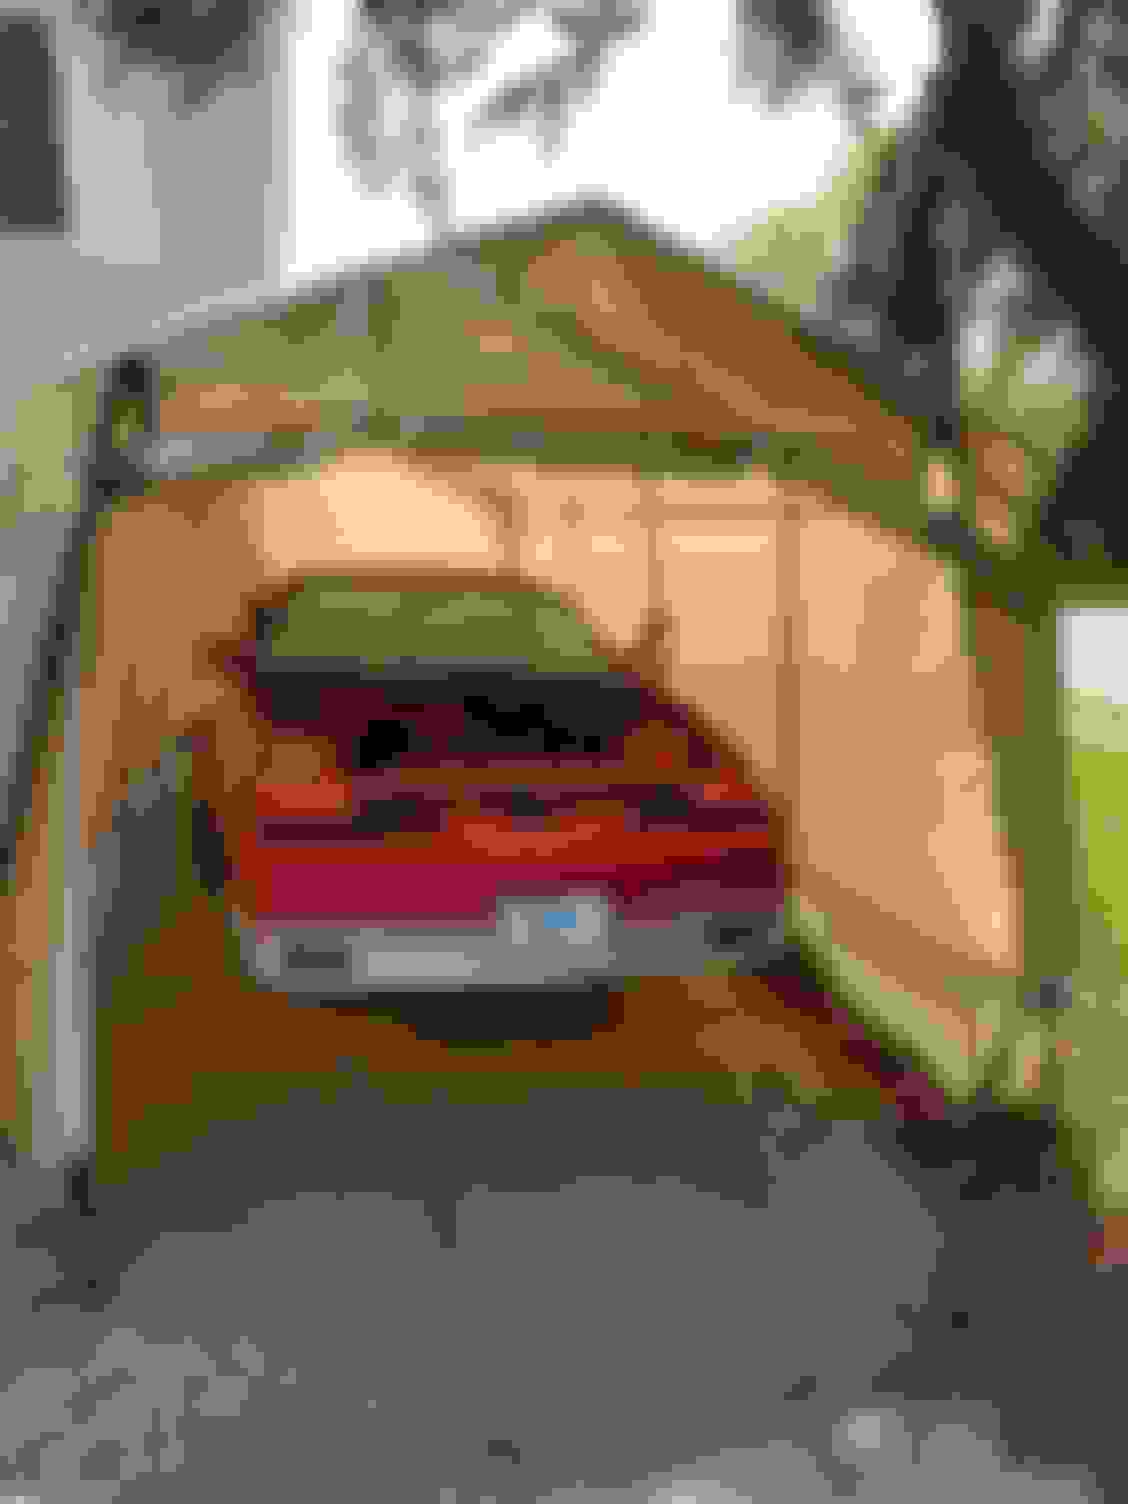
Got hit with a shitty city ordinance. So I built a garage around my car. Looks like **** and flaps in the wind, but it will make painting easier.
When I'm done with my mother's day requirements I'll head out to the car and keep stripping things down. Hoping to get everything prepped for paint (maybe primer down?) next weekend.
Last couple weeks have been slower going. Got the broken exhaust bolts off the motor, pulled the pan and took a peek down the cylinder walls. Everything looks great for a 230k LM7.
Got hit with a shitty city ordinance. So I built a garage around my car. Looks like **** and flaps in the wind, but it will make painting easier.
When I'm done with my mother's day requirements I'll head out to the car and keep stripping things down. Hoping to get everything prepped for paint (maybe primer down?) next weekend.
Well, at least you now have a shady place to work on your car....
DR.K.
The state of things
Need to pull the master Cylinder, steering arm, sway bar, AC/Heater Box and wiper motor. Then it's prep and primer.
Started attacking some rusty bits. Got lucky with the radiator support. All the rust was surface
Not so lucky on a fender mount. Looks like I need to cut and weld. Time to learn a new skill!
I'll probably grind out a few more spots that don't look the best, then get ready for primer. Trying to keep my painting to the engine bay only for this whole event.
Starting to figure out why folks avoid rusty cars like the plague. Took me more than a few days to take the sway bar end links off. What finally worked - tons of WD-40, 13mm socket on the underside of the AArm and a slip jaw wrench on the sleeve. Twist the socket until the sleeve starts shaving away the rust on the inner shaft. Once it's turning freely bust out the BFH and beat on the shaft until the whole ordeal gives up.
I'm slowly working on the K Member and A-Arms. Waiting to finish the job to update you guys on that progress.
LOL! I just used an angle grinder on mine yesterday!
I've got a plate!
What's that saying about Grinder and Paint?
This is my first real attempt at welding. Trying to do the "stitch" spot weld method, but it's plenty ugly. Hoping I can clean it up a ton with a few more attempts.
This is my first real attempt at welding. Trying to do the "stitch" spot weld method, but it's plenty ugly. Hoping I can clean it up a ton with a few more attempts.
Looks like you're using flux core wire? If true be sure you have your welder set to DCEN(DC Electrode Negative), i.e. your welding gun is negative and your surface is positive. Kinda looks like it may be set for DCEP(used for MIG (solid core + gas)) and/or too low heat. I find when doing a series of spot or tack welds that its best to run alot higher heat than you would for running a normal bead.
Yep that flux core. Cheapo Harbor Freight guy so I don't have the DCEN setting. Have been running on low heat, so I'll try and crank it up.
Thanks for that advice!
Yep that flux core. Cheapo Harbor Freight guy so I don't have the DCEN setting. Have been running on low heat, so I'll try and crank it up.
Thanks for that advice!
On cheaper machines you usually have to swap the wires on the terminals inside the box near the wire pulleys. But if its a flux only machine then it should be set correctly.
Some tips that helped me: Make sure ground clamp area is super clean, keep your electrical stick-out shorter(hold gun about a 1/4" to 3/8" away - no further, run much higher heat for tack/stitch/spot style welds.
I stand corrected on the electrical stick out - while what he's saying has not been my experience, I'd trust his take over mine - I'm a totally novice welder!
The other points he makes jive with what I stated earlier and my experience.
All these tips make it worth embarrassing myself showing off my **** welds
Nah, nothing to be embarrassed about. You are working with what you have, and you are doing it yourself. A lot of people would be afraid to tackle this themselves.
DR.K.
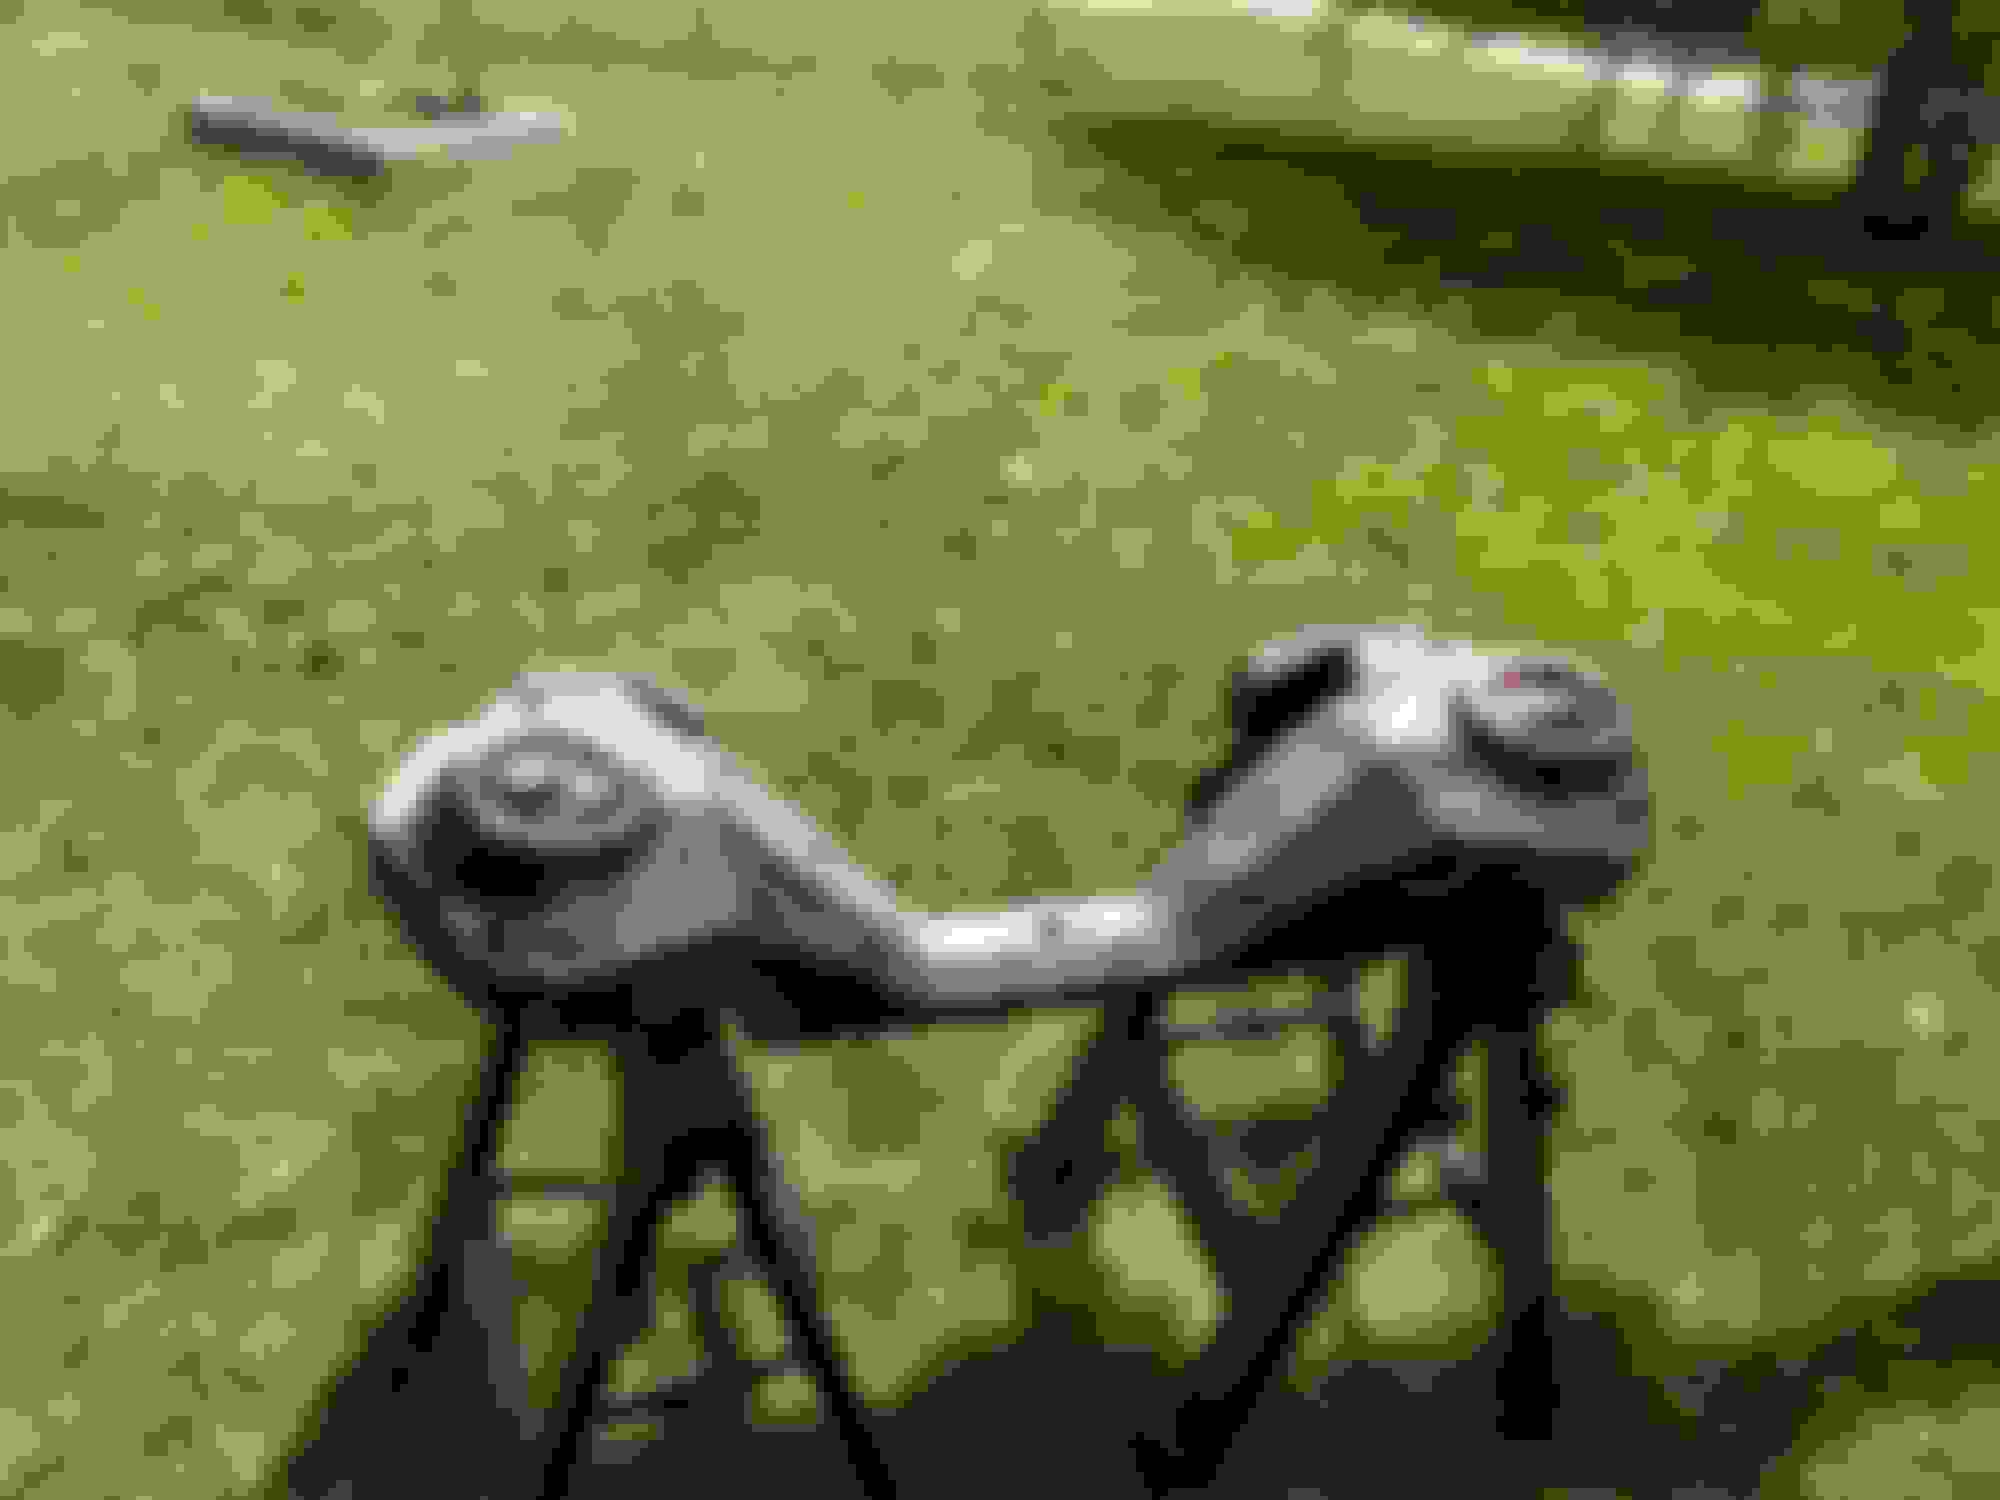
This parts been fun. Cleaned up the K member and A Arms over the past couple weeks. Got the tops fully prepped and POR-15'd today. Enjoy a pic dump.
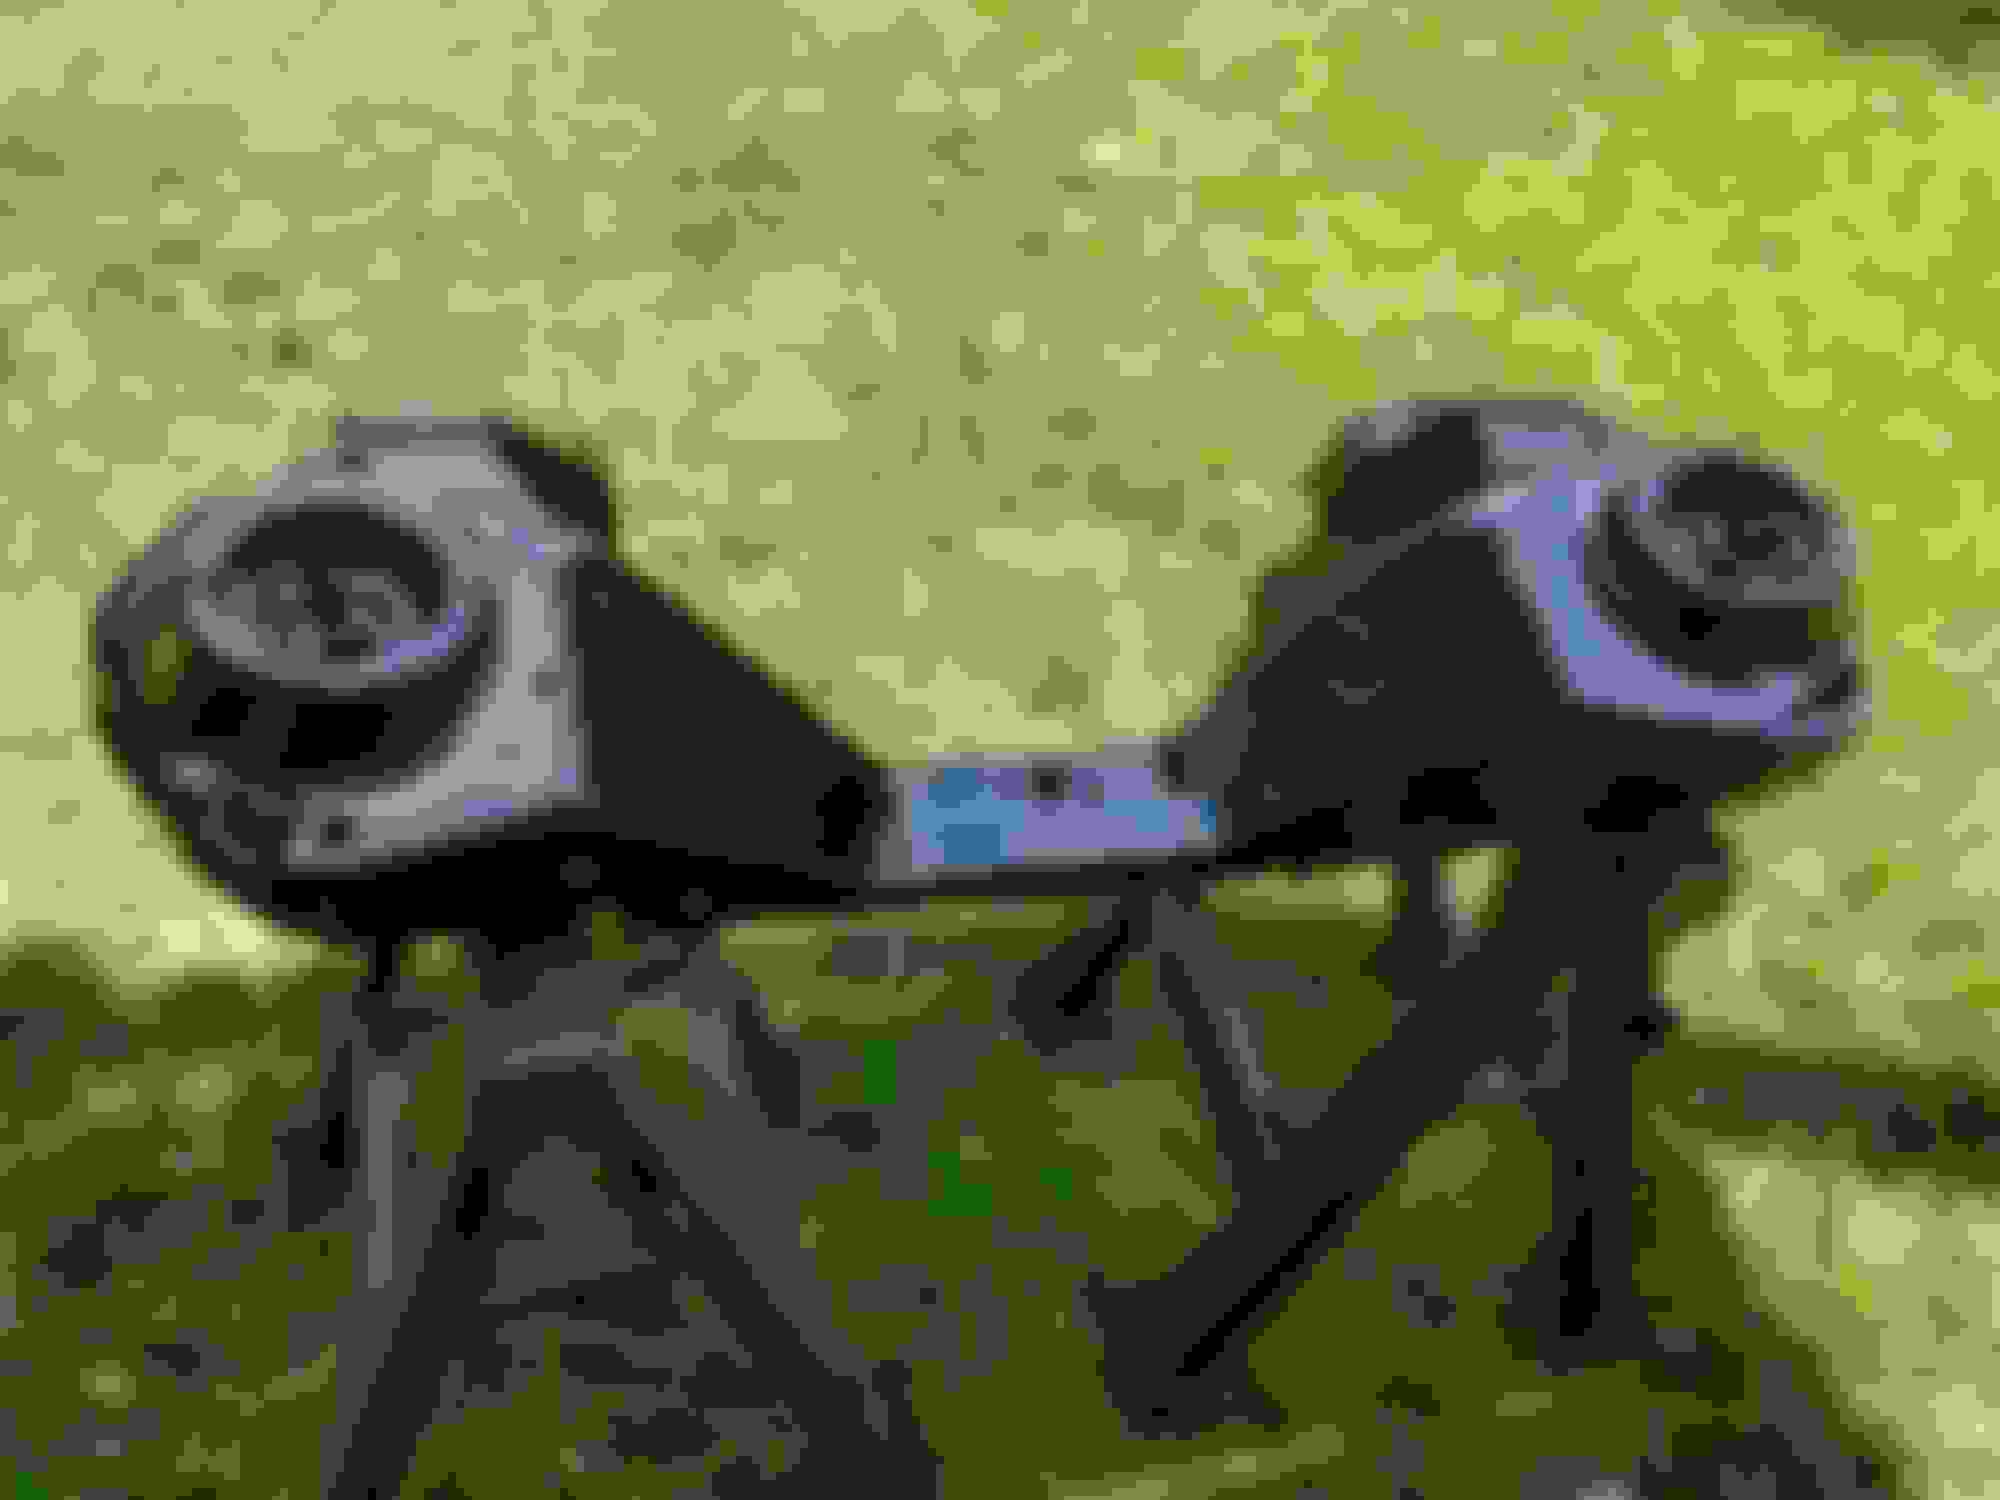
What I started with A Arms removed before cleaning A Arms after a first pass Top of A Arm before any cleaning Top of A Arm after a first pass A Arms and Brackets fully cleaned and prepped K member wire wheeled K member fully prepped A Arms and brackets PORd K member PORd
Iirc, the K-member wasn't even painted from the factory.
Didn't appear to be. Had a solid 1/4" of rust all over it
They look much better!
Thanks! I think so too.
Got the new plate in. Shown with the rusty bastard next to it. Thanks for all the tips on the welds everybody. Was much easier today after turning up the heat and wire speed. I still think I have backwards polarity with all the slag, but I should be able to clean everything up okay with a grinder.
Didn't appear to be. Had a solid 1/4" of rust all over it
Thanks! I think so too.
Got the new plate in. Shown with the rusty bastard next to it. Thanks for all the tips on the welds everybody. Was much easier today after turning up the heat and wire speed. I still think I have backwards polarity with all the slag, but I should be able to clean everything up okay with a grinder.
Flux welding on sheet metal is a difficult proposition for any welder. But if you can get good with flux welding once you add the bottle you�ll look like Michelangelo.
also, if you haven�t already discovered it. A flap wheel on an angle grinder will be your best friend for grinding those welds smooth.
keep it up! From one self-taught welder to another.
Underside of everything is good and coated too. This is what POR-15 looks like dried, and you can see the negatives to using it with the various drips and roughness. That doesn't bother me too much since it'll be under the car.
Motor's coming along. Need to drill and tap the water pump before throwing the accessories on. Otherwise it's nearly ready. I'll probably fully dress it for shiggles before tossing it in.
Well I was good and rolling for awhile there, but the A-Arms are being obstinate. Can't get the bushings out without bending the arm. If I can't get a local shop to take care of that for me I'll have to buy new.
Well I was good and rolling for awhile there, but the A-Arms are being obstinate. Can't get the bushings out without bending the arm. If I can't get a local shop to take care of that for me I'll have to buy new.
I didn't want to deal with that again so I bought the UMI a-arms with Delrin bushings.
If you want to keep stock then you might consider welding in supports near the bushing so the stamped steel doesn't colapse when you press out/in the new bushings. I've seen some people use temporary inserts but I prefer a permanent solution.
Also, it helps to sawsall the bushing that's in there nearly all the way through and then pound the edges inward - it will come out much easier without using a press.
Torch the bushing. MAP will work faster, propane will work too. It'll basically press itself out (mine shot out). It can be messy, though.Then, cut a slit in the metal part of the bushing and fold\remove.
Yeah I've seen that video. Should have tried that first but I tried pressing the long one out instead. Didn't work and wound up bending things up. Time to pay a shop.
Torch the bushing. MAP will work faster, propane will work too. It'll basically press itself out (mine shot out). It can be messy, though.Then, cut a slit in the metal part of the bushing and fold\remove.
A similar method I�ve used in the past is to drill the rubber bushing out enough to pull the guts out, then remove the sleeve. Still produces a little smoke but way easier on the lungs than torching. Best method I�ve found.
On second thought, after watching that video, I�m all for the drill method. The amount of smoke and fire with the torch, no way. Drill the rubber, remove the inner sleeve. Cut the outer sleeve in half at a 90 degree angle to itself between the two mount holes and use a punch to knock out each remaining piece. Your lungs, ozone, and any helpers will thank you. Save that burning rubber for the street or track
Engine bay has been painted! It's not show quality, but looks pretty darn good in my opinion. Used the "Magic" spray paint from Tractor Supply. Pretty big difference from what I started with.
Motor is in! Not quite level. Looks like the driver side could come up about a 1/2". Is that a big deal?
Fighting my Hooker X-Member. For anyone reading this, it doesn't quite work with ICT's setback plates. Hopefully I'll get it sorted soon.


 04-08-2020, 03:15 PM