When you click on links to various merchants on this site and make a purchase, this can result in this site earning a commission. Affiliate programs and affiliations include, but are not limited to, the eBay Partner Network.
I've been meaning to start this thread for a while now, today's a good a day as any I guess. Here's a little background: When I was a junior in college, I got my first third-gen, a black '87 Trans Am, 305 TPI, auto. I did some of the standard upgrades, but nothing too significant. Soon after I graduated college, the back end of the car was hit while parked in the driveway by a drunk in a panel van. The car was a total loss, but I was able to keep everything from the doors forward. (The driver fled the scene on foot and reported his van stolen early the next morning).
A couple years later I bought an '82 as a donor car and transferred everything that was good from the '87 over. I painted the car black in my one-car garage. By the time I was finished, it was basically an '87 Trans Am again. The only addition this time was subframe connectors. I drove it happily for a couple of years and decided that I needed to take it all apart again (most of you know exactly what I'm talking about). Unfortunately, this time I discovered some rusted floorboards and my rookie paint job allowed some additional spots on the body to rust through.
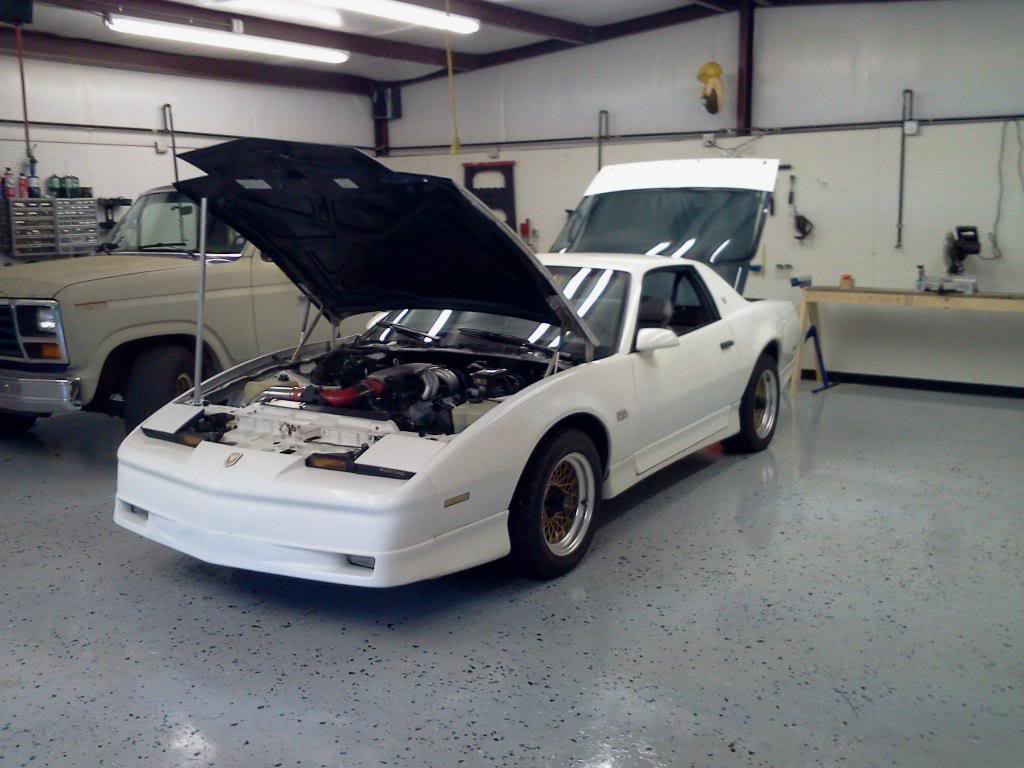
In July, 2011 we moved from Daytona to the Savannah area and I made the decision to take all of the good parts and leave the rolling chassis behind. Fortunately, the place we found in Georgia has a 20x30 storage shed and a 30x40 shop. I was going to get serious this time. I spent the first year putting the shop together, U-Coat-It floor, black iron air lines, new compressor, etc. About six months ago, I found the car that was going to be Trans Am 3.0. It's an '87 GTA, 305 TPI auto.
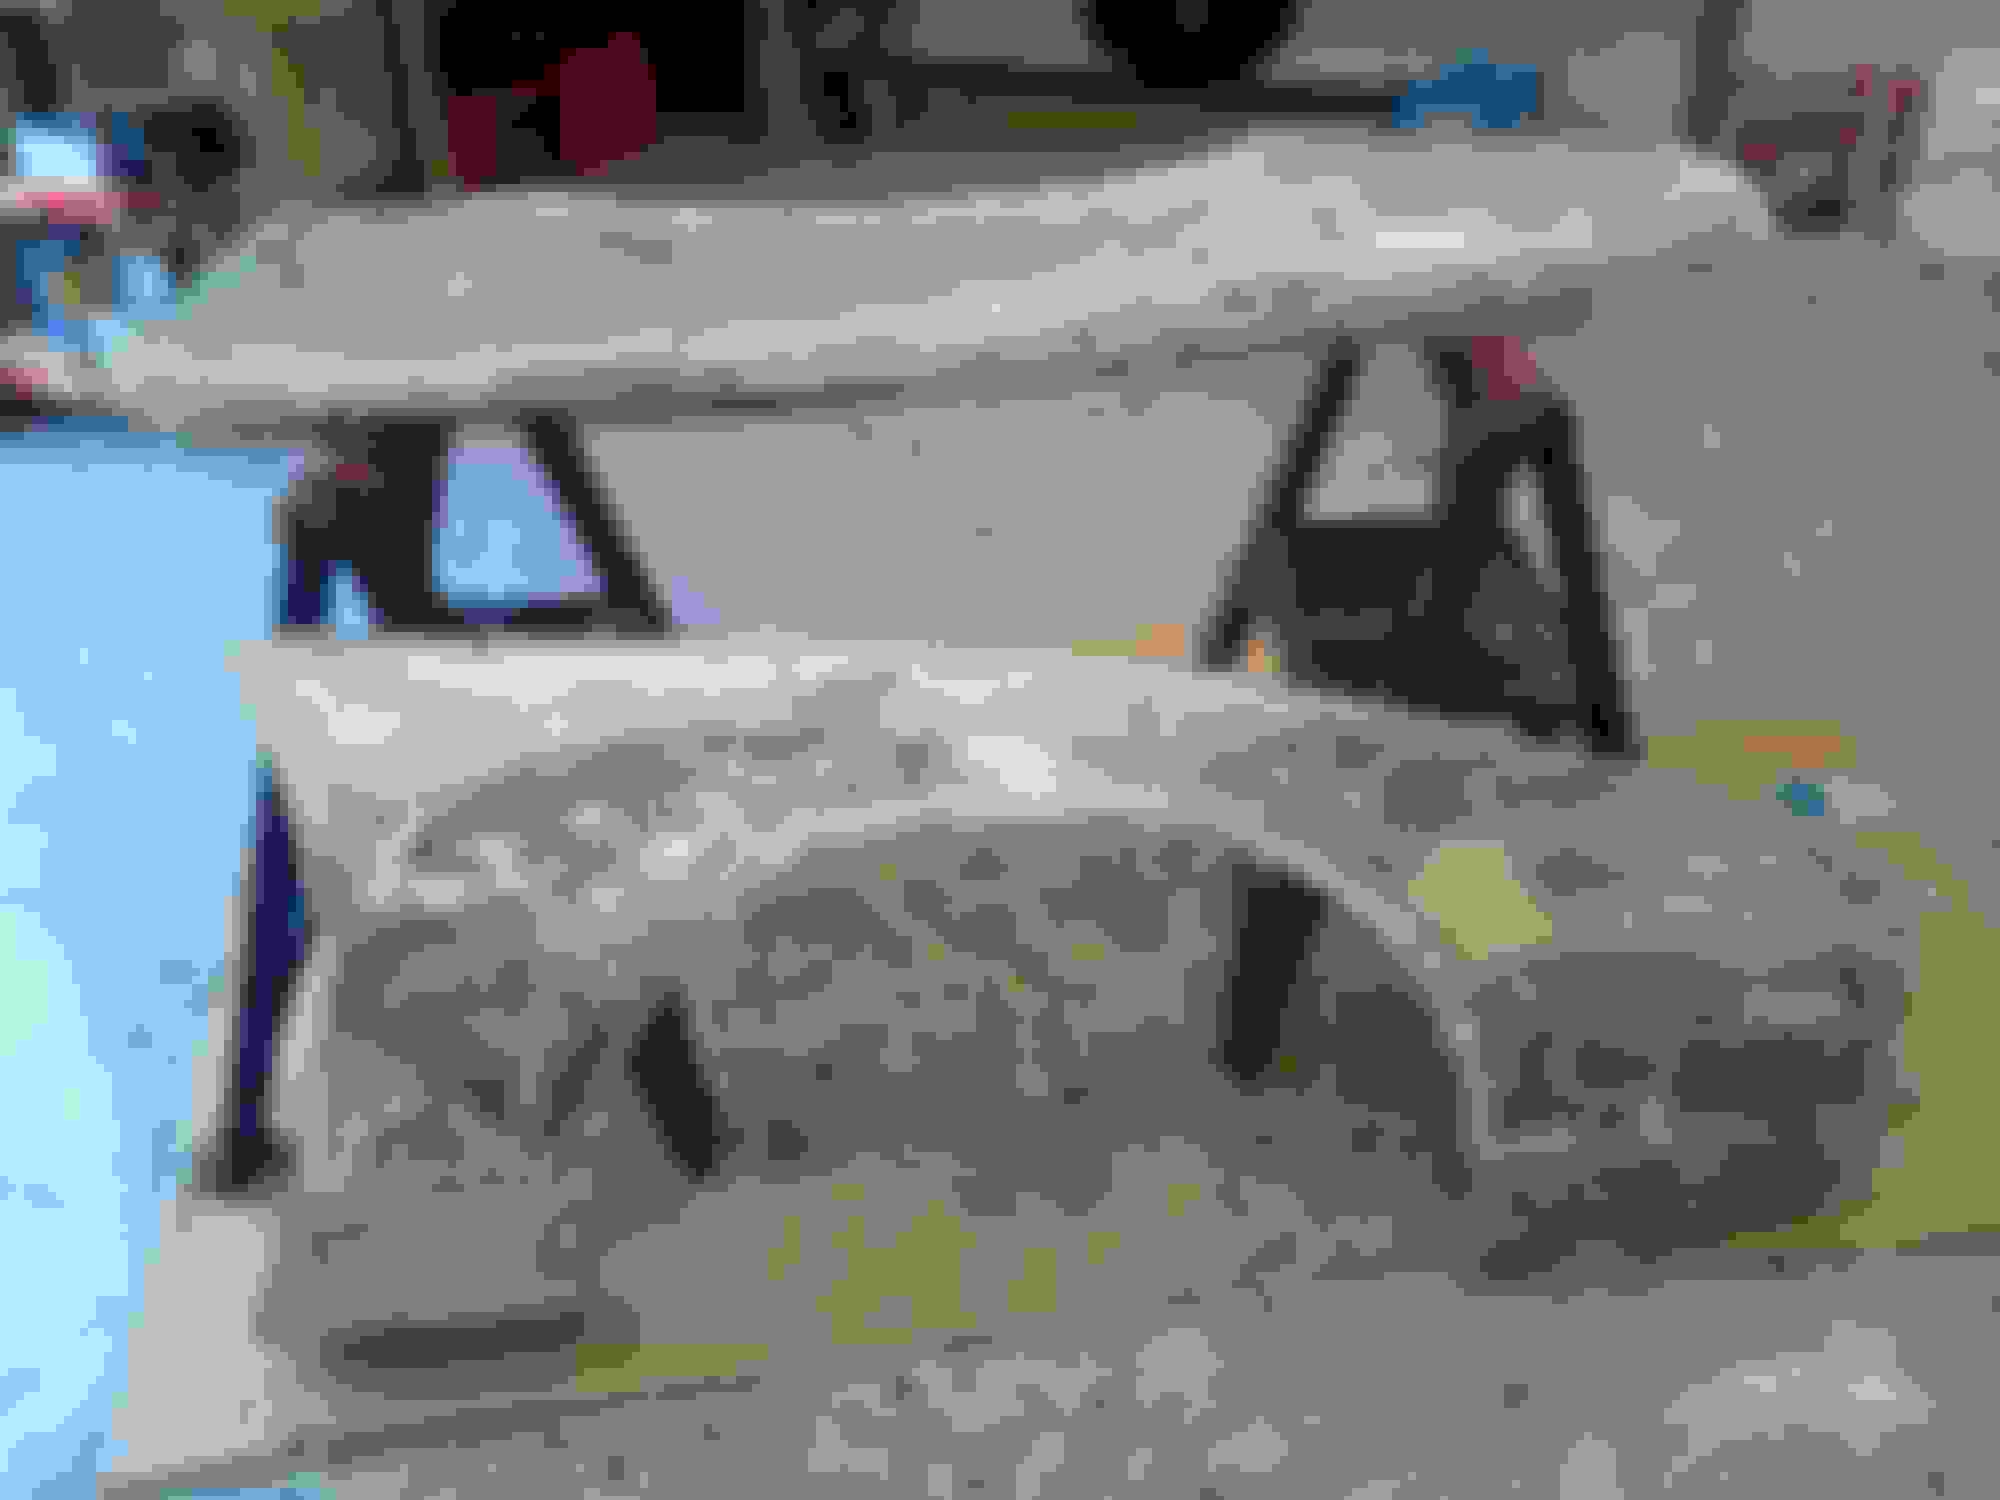
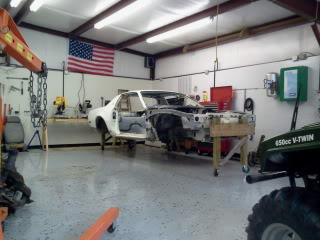
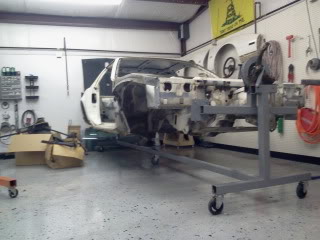
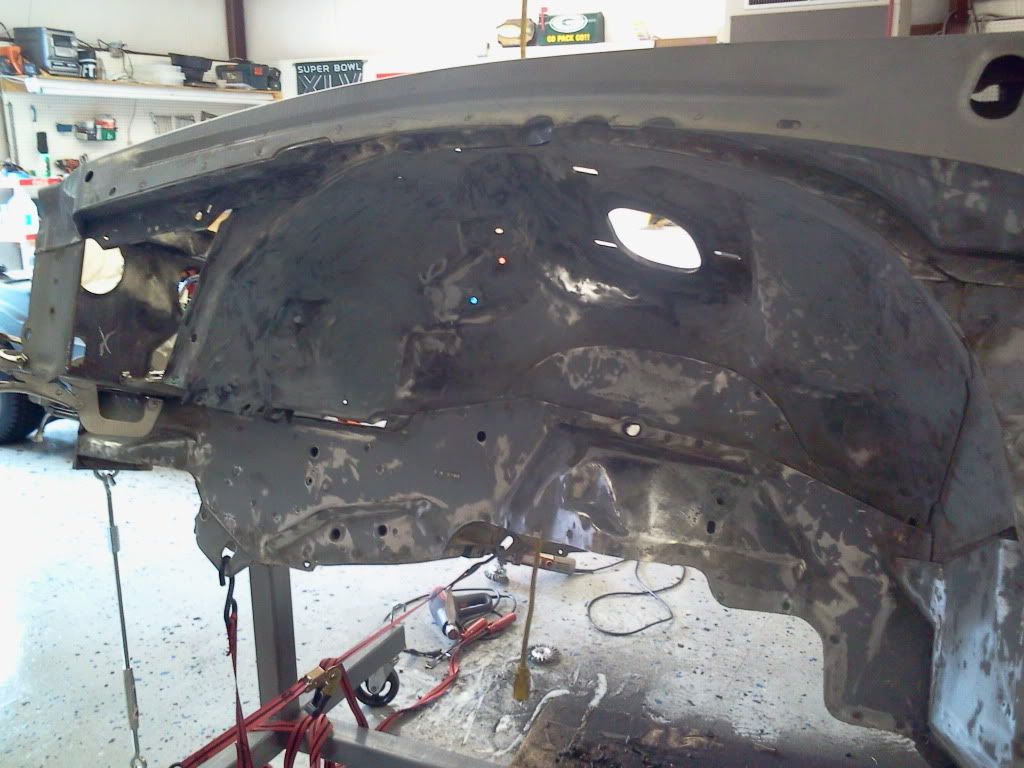
Here it is in one piece...this is the last time the shop will ever be this clean.
Here's the vision:
It will be a complete rotisserie restoration, probably similar to a pro-touring type build. I plan for the exterior to be mostly stock, but completely smoothed - no door handles, antenna, spoiler. It will have tubular suspension components, sfc's etc. I want to build an all aluminum 5.3 with active fuel management, plus twin turbos (pretty mild to begin with ~500 hp or so). I'll be converting the auto to a T56. I haven't completely decided on a final color yet, but I'm thinking something like GM Cyber Gray or Graphite Black. I love a super deep, super black paint job, but it needs to be 100% perfect to look really good and it takes a ton of maintenance to keep it that way so I might go with something lighter.
Step 1 - take it all apart.
I've removed every part that was bolted to the car (and some that were welded). I started by putting it up on 4x4's and casters so I could wheel it around the shop.
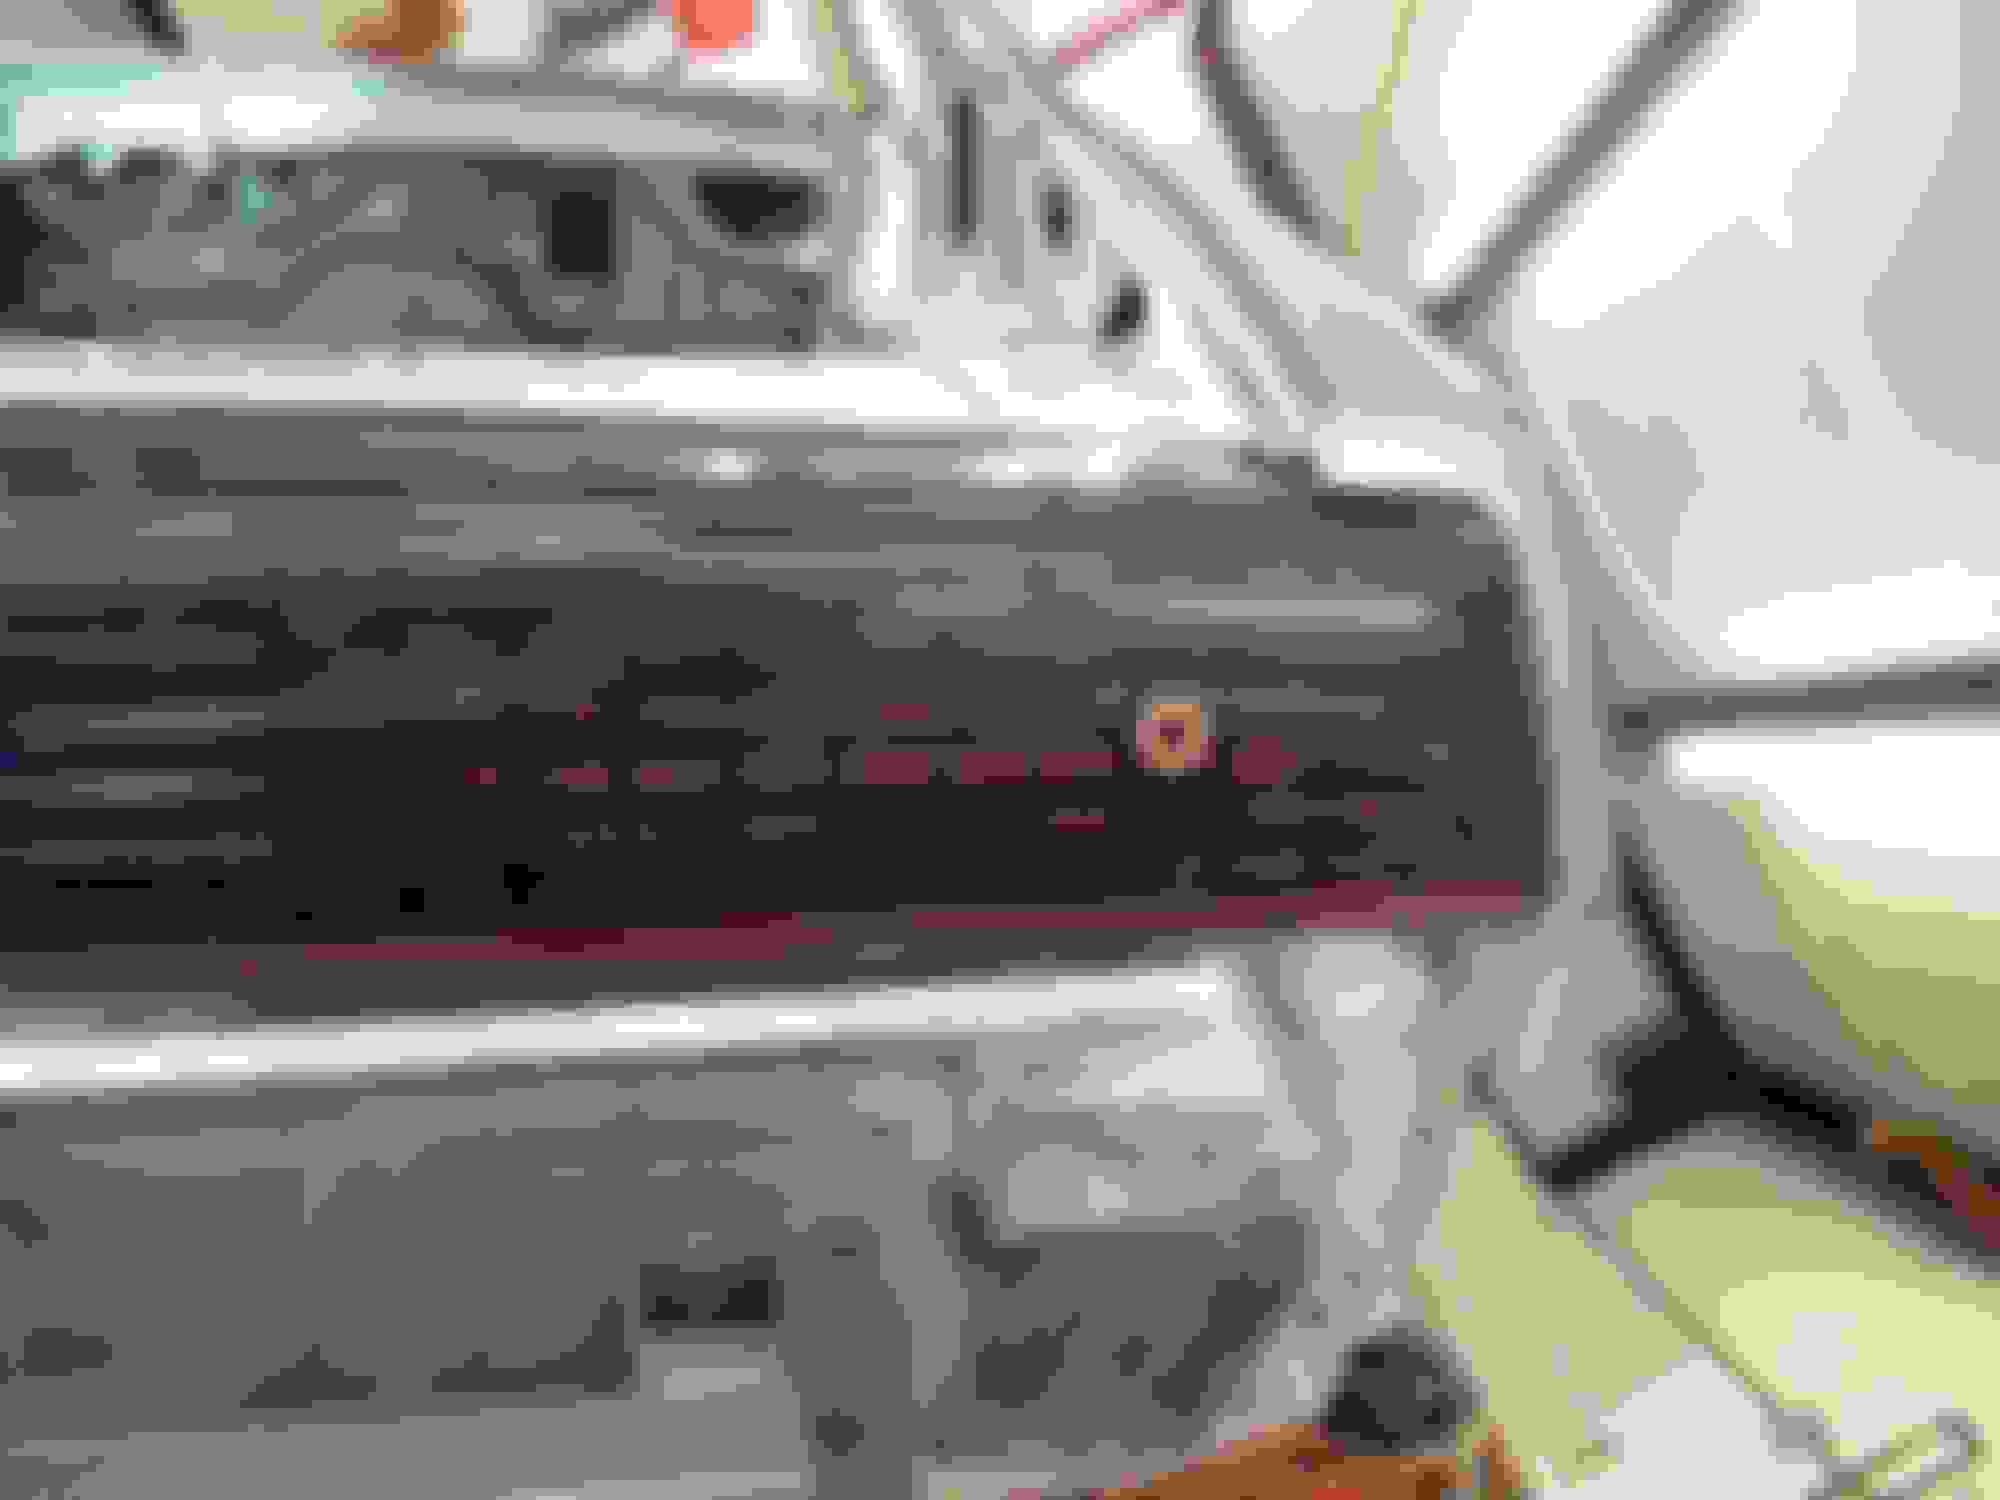
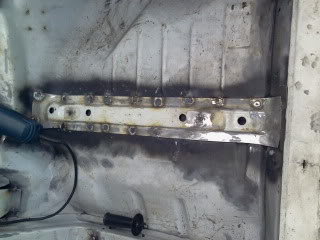
I stripped the sealant out of the interior and did a little bit of work on the floor, welding up some rust holes. I also took out the hat section that contains the two forward studs that the passenger seat bolts to. At some point in the past, the outboard stud was replaced with a bolt that was welded to the top of the section. The head of the bolt keeps the seat from sitting flat. I cut the spot welds to remove the channel and welded a bolt up through the bottom, then reinstalled it.
Step 2 - build rotisserie.
I'm currently working on the rotisserie. It will be made from 2.5x1/8" square tubing (which I've since decided is overkill, but better too much than not enough). I'm using the front spindles and rotors for the rotating components. I need to move the pivot points up with respect to the attach points. It's currently pivoting way too high above the vertical c.g. and it's not high enough to rotate all the way around without hitting the bottom cross tube. But it does rotate smoothly.
It's going to be a pretty long and slow process, so this thread will likely go stale from time-to-time, but I'll do my best to keep it updated.
Man this is gonna be a good build thread I can tell! I've been wanting to do this same thing with a rotisserie so I'm excited to see the progress! Subscribed!
Also, would you mind sharing how the rotisserie is built?
Last edited by blakbird89; 07-14-2013 at 06:50 PM.
Also, would you mind sharing how the rotisserie is built?
The rotisserie looks like two engine stands, facing each other, with a long, center leg connecting them. I used the front brake disks and spindles so the car rotates on the wheel bearings. The brake disks are welded to the tubes that bolt to the bumper attach points (via 1/4" plate). The spindles are bolted to the "engine stand" side, using the existing threaded caliper mounting holes and the A-Arm mount. The whole thing rolls around on five 6" casters, rated for 330lbs each. One guy can maneuver it around the shop pretty easily.
The car currently rotates through about 30 degrees without any difficulty. It will go all the way through about 60 degrees with some muscle. As I stated earlier, I need to move the pivot points closer to the vertical c.g. This will both make it easier to rotate and let me rotate through 90 degrees.
I'll try to get some more detailed pics up in the next few days.
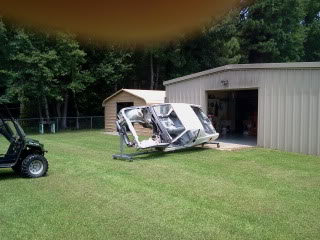
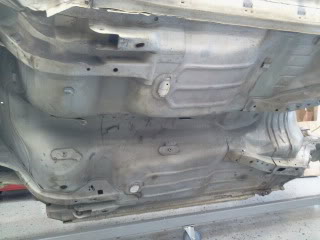
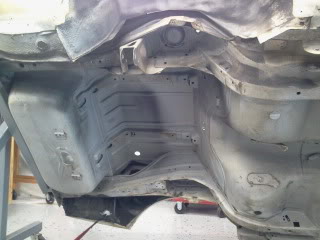
Made a little progress today. I pulled the car out into the yard and pressure washed it top and bottom. I discovered that the paint may not be as original as I thought, as much of it chipped off under the pressure washer. I was counting on the paint being original because I didn't want to strip it completely. Now I may have to. Time to decide if I want to have it stripped professionally (i.e. media blasted or dipped) or if I want to take the time to do it myself.
I was happy with the way the underside cleaned up:
Also, I want to thank Tony91RS for the great deal on a driver's door. This is one of the few doors I've seen without any rust anywhere, even at the bottom seam. I found the top of the existing door was bent near the mirror.
Next step will be to finish welding up the pin-holes in the floor (the pressure washer helped reveal a couple more thin spots).
I got a little more done today. I welded up the last of the pinholes in the driver's floor and got all of the welds ground down. It sure was nice to be able to sit upright in a chair and work on the bottom of the floor.
At some point in the car's life, someone dropped it off a curb or something. The sheet metal is pushed up just behind the front wheels. The floor is fine and it's mostly insignificant except for one area on the drivers side where the subframe connects to the floor and the back of the wheel well.
I don't like it so I welded in a temporary brace between the subframe connectors and cut out the smashed section.
I'm going to weld in a piece of 2.5" square tubing that will connect the subframe to the back of the wheel well and the subframe connector will butt right into it. That'll be next weekend's project.
Last edited by tomsaddy; 02-28-2020 at 07:37 AM.
Reason: fixed pictures
I finally got the piece of steel tube welded in. Since it ended up forward of the floor and there was a big gap up behind the wheel well, I added a piece of sheetmetal bent 90 degrees and plug-welded in place. I also had to notch the tube to clear the corner of the floor so the sheetmetal did a nice job of covering that too.
Here's the tube welded in with the gap. The holes drilled in the floor are for plug-welding the sheetmetal in place later.
Here's the finished product:
I fit the subframe connector up against it and it will tie in nicely.
I also finished stripping the driver door today:
Next step will be to weld a flush patch where the door handle and door lock cylinder were. I figure I'll cut out a section of the old door, just forward of the handle, to use as a patch; that way the contour matches up.
Last edited by tomsaddy; 04-12-2020 at 07:49 AM.
Reason: fixed photobucket pictures
I was off of work this week so I spent a fair amount of time out in the shop and I got a lot done. I stripped the doors (I decided to buy Tony91RS' passenger door too, since it was in much better shape than the one I had) and welded patches over where the handles were. I also stripped the roof and got the doors in roof primed.
Here's the work on one of the door handles:
The welds smoothed out pretty well but by the time I was done the panel was really wavy. I'm hoping the body shop will be able to straighten it out for me.
Here're the doors ready for primer:
And the roof:
Makeshift paint booth:
Here's the finished parts:
Next I need to get back to the floor and get that finished up and painted.
Last edited by tomsaddy; 05-23-2020 at 11:50 AM.
Reason: fixed photobucket pictures
It's been a while since I've posted, but I've made a little more progress...
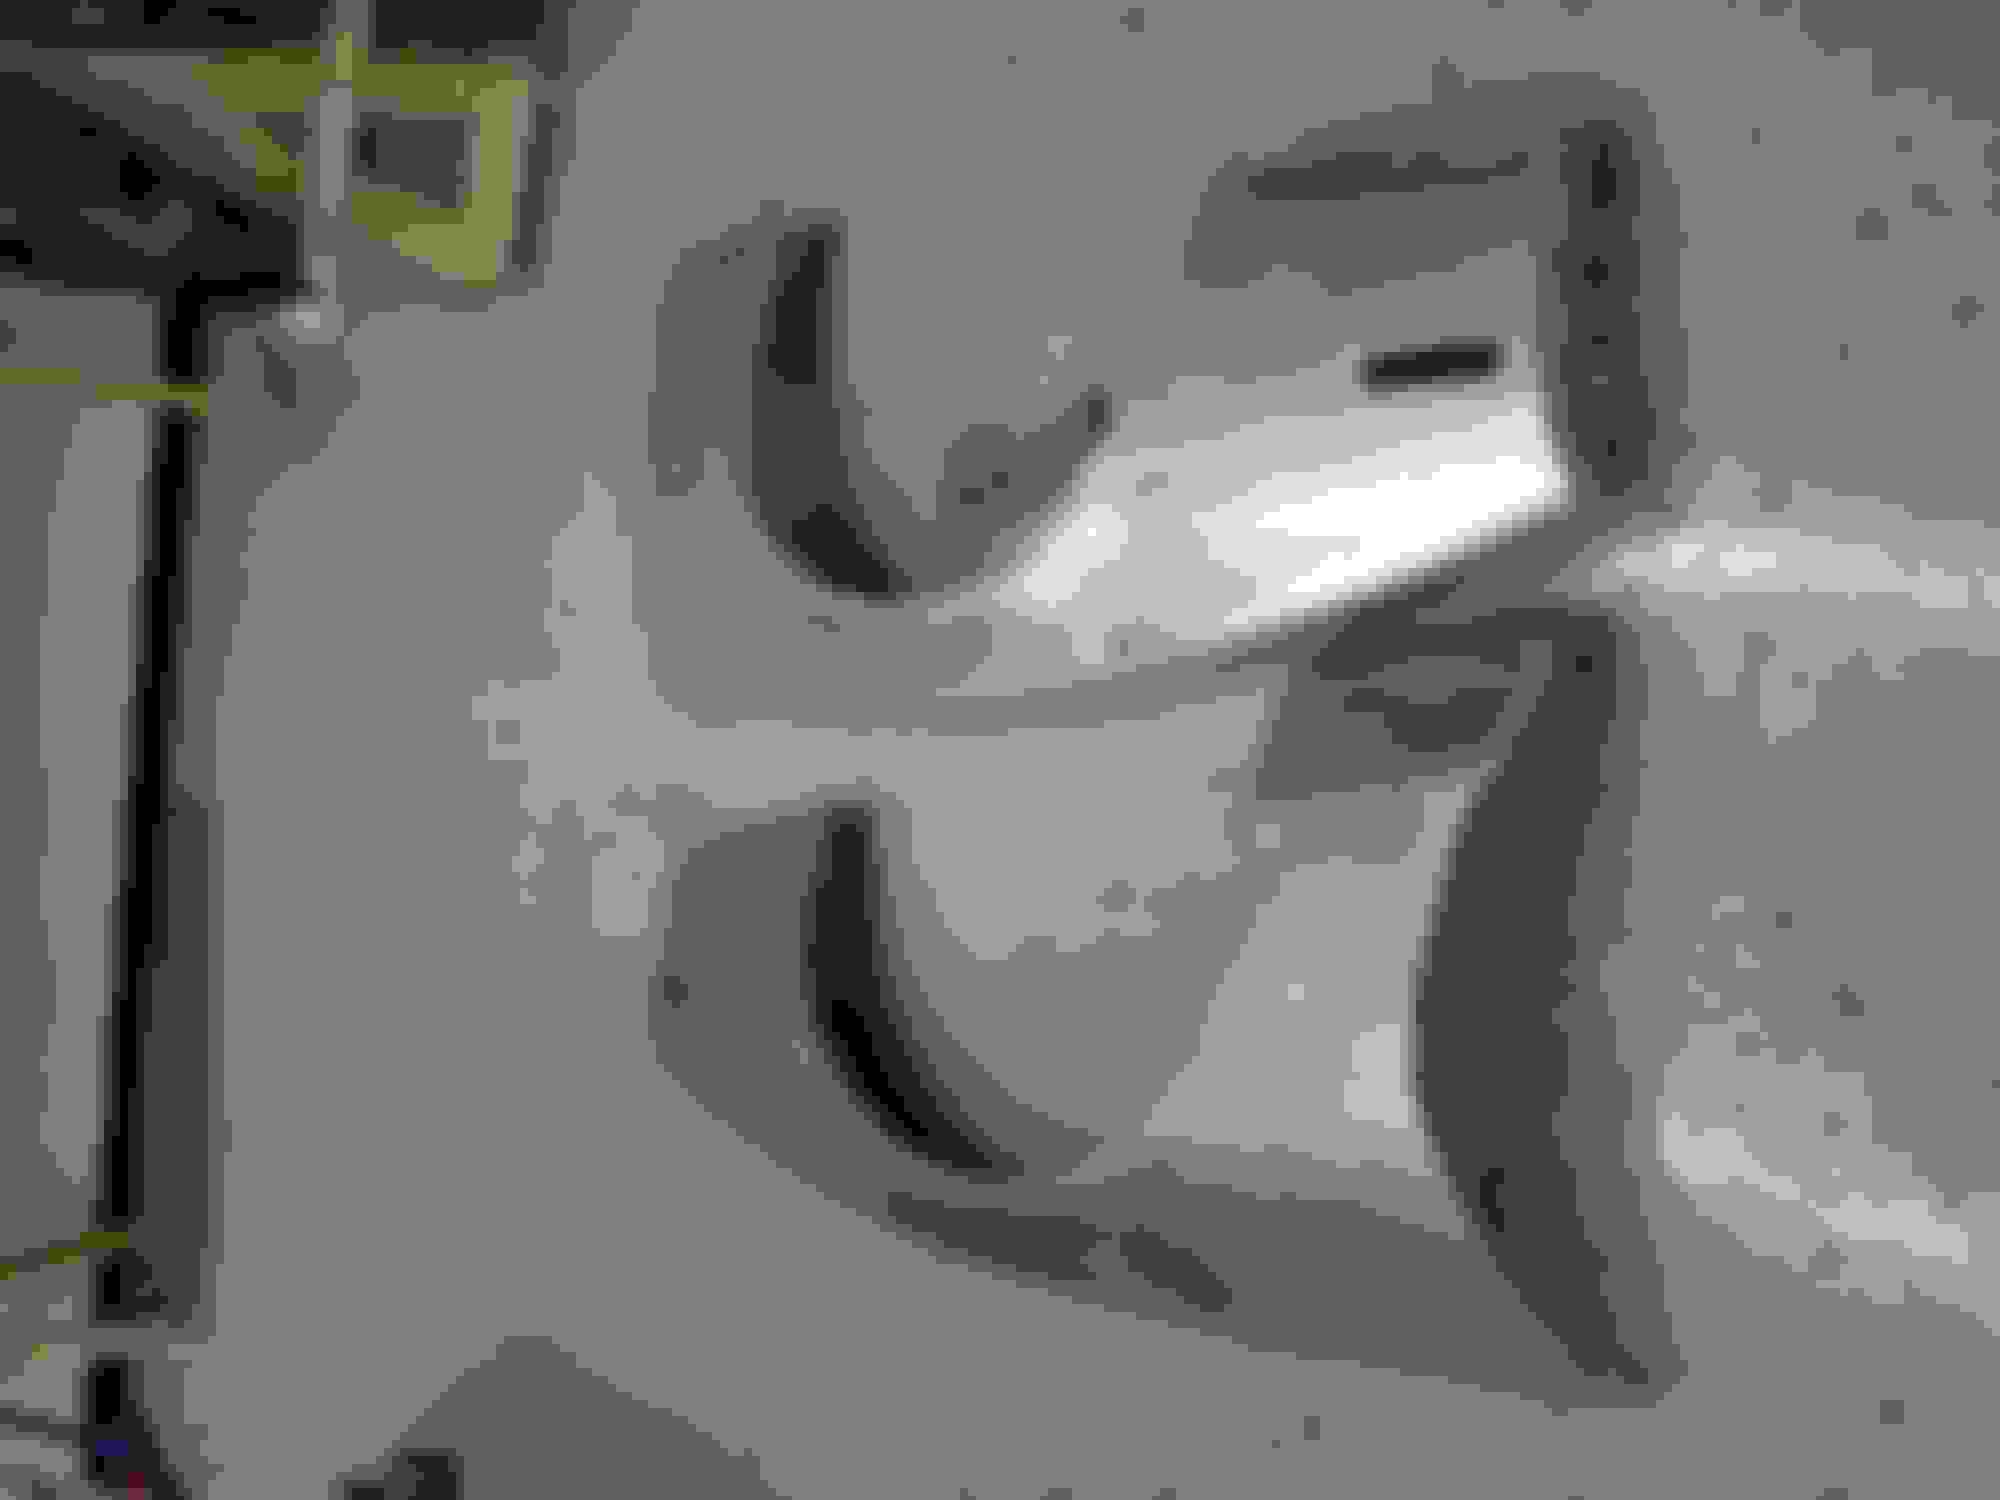
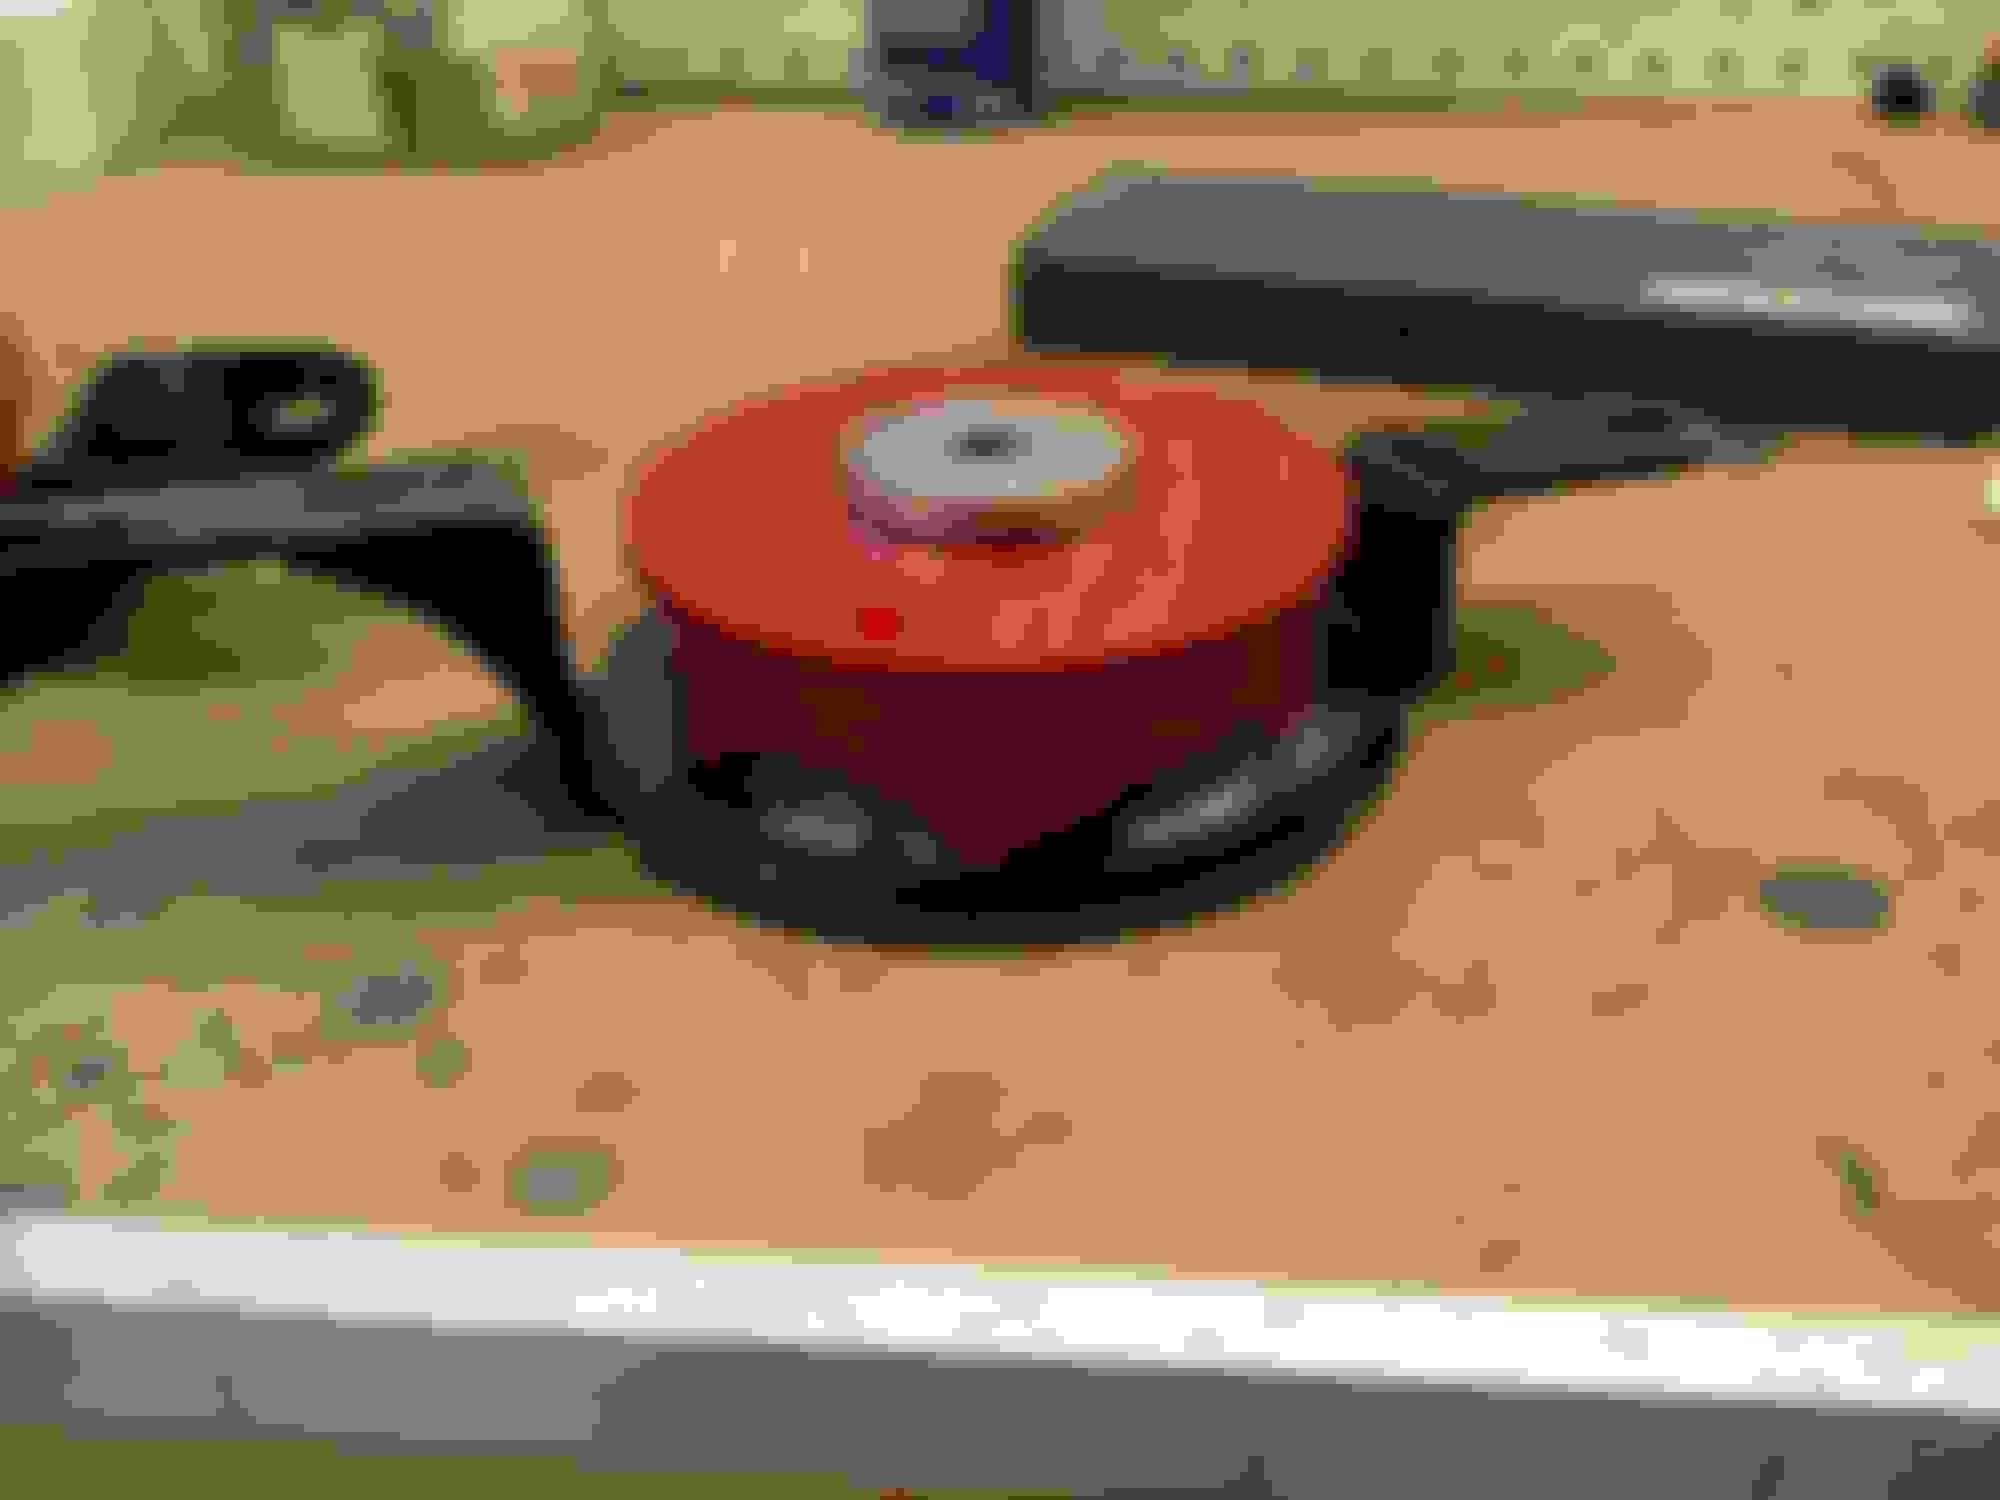
Trans Am 2.0 was going to have rear coilovers. The set that I ordered came with plates to weld into the rear shock towers to distribute the weight. Since I welded those into the previous car, I needed to make new ones for this car so I cut some out of .25" steel and welded them in place.
The cut was a little sloppy around the inside hole but it'll work.
Ready to weld.
Sprayed with self-etching primer and then sealed around the edges with seam sealer. I'll clean up the seam sealer a bit before I paint it.
Last edited by tomsaddy; 11-13-2019 at 07:32 PM.
Reason: Photobucket
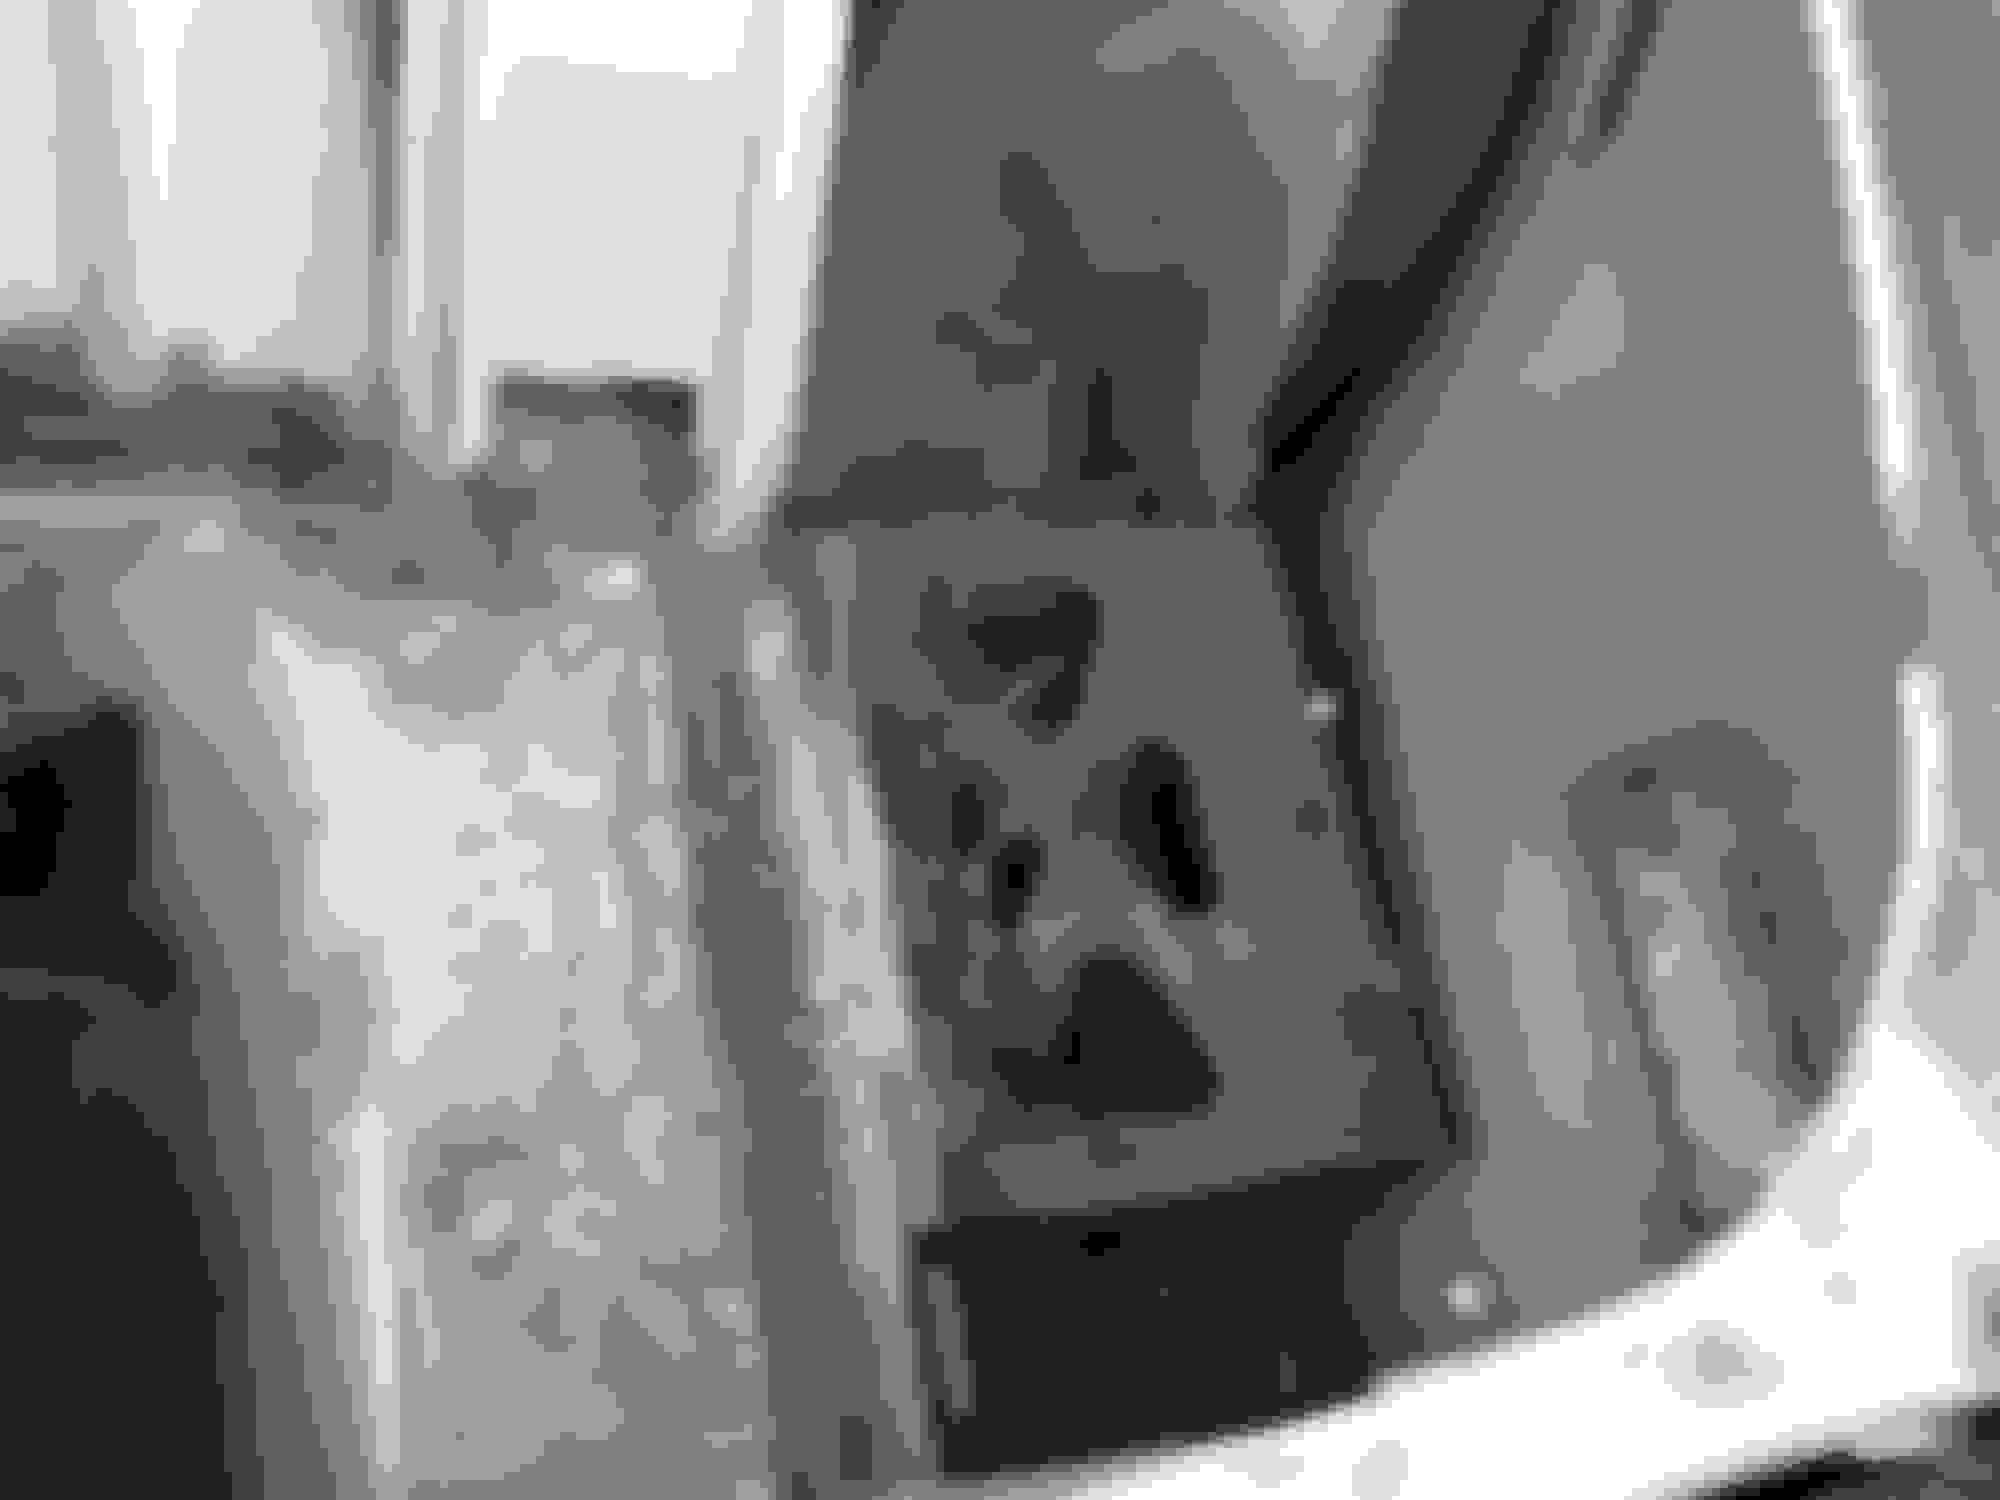
Somebody had previously butchered the part that the parking brake bolts on to. Since I'm going to convert to a manual transmission anyway, I decided to cut out the whole piece.
Does anyone have one of these sections from a 5-spd car that they'd be willing to cut out and sell?
Last edited by tomsaddy; 11-13-2019 at 07:33 PM.
Reason: Photobucket
I've spent the last couple of weekends trying to get the underside cleaned up and ready for paint. I got all of the undercoating scraped out from the wheel wells...what a pain.
Last edited by tomsaddy; 11-13-2019 at 07:35 PM.
Reason: Photobucket
Looking good..I have the same rotisserie build that I started years ago. That undercoating makes one heck of a mess..I think I used a wire wheel which worked great.
I have an 88 GTA 5 speed I'm parting if you still need that piece of the floor let me know
I've spent the last couple of weekends trying to get the underside cleaned up and ready for paint. I got all of the undercoating scraped out from the wheel wells...what a pain.
What a pain indeed! I have been doing the same thing on my car. Let's just say that I will be glad once I am done with that part of my build.
Your build is coming along nicely! I like that you are doing a true "frame-off" restoration. I was kind of surprised by how much work you are having to do to it though. The car looked really nice in the pictures on your first post.
The car is going to be sweet once you finish it based on what your plan is. You might want to research how much power the aluminum 5.3 can handle though. Seems like everyone on here uses cast iron blocks if there are going to be power adders involved. I'm sure the aluminum block can easily handle 500hp, but if you plan to increase power in the future, you could run into some issues with it. Just my two cents.
I definitely have shop envy! Keep up the good work.
I spent the last couple of weekends stripping the front fenders. There was more bondo than expected, but no rust. I decided I'm going to shave the marker lights, so I'll spend the rest of the weekend welding patches in.
Last edited by tomsaddy; 11-13-2019 at 07:37 PM.
Reason: Photobucket
I have an 88 GTA 5 speed I'm parting if you still need that piece of the floor let me know
I couldn't find a 5-spd car at the local junkyard, but I did grab another one from an automatic. I think they're probably very similar from the cutout back. Can you send me a pic of one from the 5-spd car?
I got a lot done over my Christmas vacation. I stripped the rest of the paint off the body, shaved the rear marker lights, and fixed up around the battery trays where some metal had rotted out. I'm going to keep both sides open to allow for turbo plumbing and the battery will move to the back. I also blocked off the HVAC openings on the firewall. Santa also brought some parts. I got the UMI K-member and A-arms. I got a battery box and shut-off switch that I'm working on getting all of the right brackets built for, and I got the VintageAir GenIV Magnum that will provide heat and AC.
Last edited by tomsaddy; 05-23-2020 at 12:01 PM.
Reason: fixed photobucket pictures
I built a bracket that will mount the battery box in what was the spare tire compartment. I through-bolted it to the frame so I shouldn't have any issues if I ever decide to take it to a track that enforces all of the battery relocation rules. I'm also working on a bracket to mount the battery cut-off switch. I have a spare taillight that I will install a "push-off" switch.
I also welded some stand-offs to the inside of the firewall so that I can mount the VintageAir unit in place. I test fit the dash and it looks like it's going to work pretty well.
Next weekend I hope to get some more primer laid down. The quarter panels have been sitting bare for a while now and they're going to start rusting if I don't get moving on that.
Last edited by tomsaddy; 05-20-2020 at 11:35 AM.
Reason: fixed photobucket pictures
Finally got the primer laid down. It came out pretty runny in some places so there's going to be a fair amount of cleanup to do, but at least I don't have to worry about the bare metal rusting.
I started spraying the inside but ran out of paint about two-thirds of the way through the first coat. I should have known better. More paint is on the way and hopefully the inside will be done next weekend. Then I'll get the underside cleaned up, primed, and painted.
Last edited by tomsaddy; 05-20-2020 at 11:36 AM.
Reason: fixed photobucket pictures
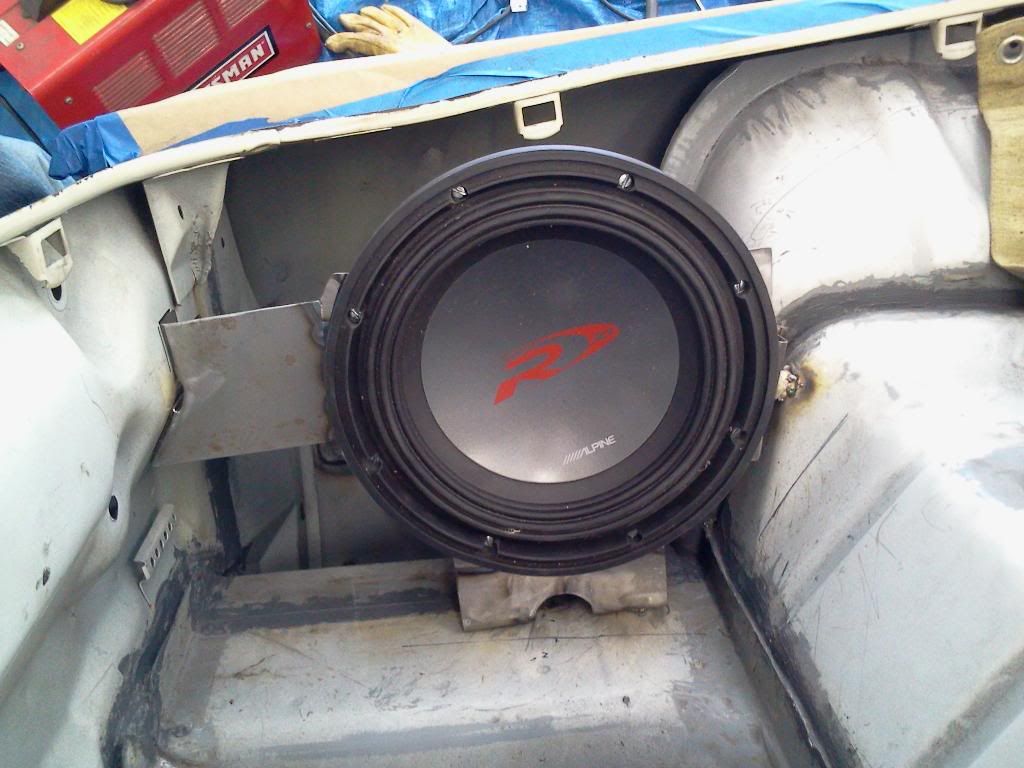
While I was waiting for the rest of the interior paint to show up, I decided to make some brackets for the subwoofer installation. I'll play with the interior panel a little to blend it in later.
Last edited by tomsaddy; 05-20-2020 at 11:39 AM.
Reason: fixed photobucket pictures
I finished the interior and primed the underside. I also primed the rest of the doors. Getting closer to being able to start putting parts back together.
Last edited by tomsaddy; 05-20-2020 at 11:41 AM.
Reason: fixed photobucket pictures
While I was waiting for the rest of the interior paint to show up, I decided to make some brackets for the subwoofer installation. I'll play with the interior panel a little to blend it in later.
I was getting ready to paint the underside and I decided to smooth out the subframe up front a bit. I plan to have the body shop smooth the firewall and strut towers, so I figured I might as well smooth out the subframe some before I paint it. The firewall and strut towers will match the exterior. I plan to do the underside of the car in Eastwood 2K Ceramic satin, and the subframes in 2k Ceramic Gloss. I also got the interior of the doors painted with bed liner.
Last edited by tomsaddy; 05-20-2020 at 11:43 AM.
Reason: fixed photobucket pictures
I finally got the bottom painted. Now the whole car is either in primer or paint and I can start assembling.
Here you can see the difference between the satin and gloss finishes:
Next I'll start installing fuel lines while it's still on the rotisserie. I'm going to go with a dual Racetronix pump setup with stainless #8 feed / #6 return lines.
Last edited by tomsaddy; 05-20-2020 at 11:46 AM.
Reason: fixed photobucket pictures
I finally got the first parts installed. It's been way too long just taking things apart and stripping and priming. It feels good to have something go in. The build has started!
I installed the 4th gen fuel tank (with a Racetronix fuel pump). I created a custom harness with heavy gauge power and ground wires. In the pic you can see the bracket that holds the bulkhead fittings to connect the fuel tank hoses to the hard lines. I'm going to use a -8 feed, -6 return, and -4 vapor recovery line. The extra -4 fitting is for the rear brakes. Next step is to start bending up stainless lines.
Last edited by tomsaddy; 05-23-2020 at 08:30 AM.
Reason: fixed photobucket pictures
It's been quite a while since I've provided any updates. I've just been working on little things here and there. I got the hood soda blasted because I was tired of stripping paint by hand. I also finally got the car off the rotisserie. Everything is now in primer and I can stop worrying about bare metal rusting on me.
I also just added a new accessory to the shop. An Atlas 2-post lift.
Any body interested in buying a slightly used rotisserie? Local pickup only.
Last edited by tomsaddy; 05-20-2020 at 11:48 AM.
Reason: fixed photobucket pictures
Our builds are very similar. I'll be following yours closely, so keep up the awesome work. I'm focusing on building subframe connectors right now, but need to start bodywork soon. Here's mine:
Oh and have you considered smoothing the drivers quarter and relocating the fuel door? I've been contemplating this for a while.
I did think about it long and hard. The look would have been nice but I didn't want to relocate the filler to to the interior of the car and I couldn't find a better option.
I figure as long as you always pass in the left lane, no one will even see it.
Sorry I haven't posted in a while. I did actually get some work done. I bought an MN12 T56 from a CTS-V that I will play with to make work. I got an F-body extension housing that I was able to use to finally mock up the installation and get the hole cut in the floor for the shifter. (I'm using an '05 5.3 that I had to buy in order to get a deal on the transmission to mock-up the engine bay, it will eventually be replaced with an aluminum LC9).
I also received the weight jacks from Ground Control. The fronts didn't match up real well with the UMI spring perches, so I centered them the best I could and stitch welded them together.
I didn't use the rears, so I'm selling them if anyone's interested.
I cleaned up and installed the heat shields and I test fit the rear end so I could figure out what kind of surgery I need to do for wheel clearance. I bought a set of Y2Ks for the previous incarnation of the car and I'm not sure if I'm going to keep them. During the test fit I found that the rears are actually 10.5" wide instead of 9.5" as I previously assumed. Depending on how much brake I can fit under the 17" diameter front wheels, I just might keep them.
The purple is not going to stay (it was the planned accent color for Trans Am 2.0), and I know that one of the coil springs is upside down...it's just a test fit. I don't know what accent color I'm going to use yet, maybe a metallic silver.
Last edited by tomsaddy; 05-20-2020 at 11:51 AM.
Reason: fixed photobucket pictures

 07-14-2013, 04:51 PM


 Keep up the good work.