When you click on links to various merchants on this site and make a purchase, this can result in this site earning a commission. Affiliate programs and affiliations include, but are not limited to, the eBay Partner Network.
LTX and LSXPutting LT1s, LS1s, and their variants into Third Gens is becoming more popular. This board is for those who are doing and have done the swaps so they can discuss all of their technical aspects including repairs, swap info, and performance upgrades.
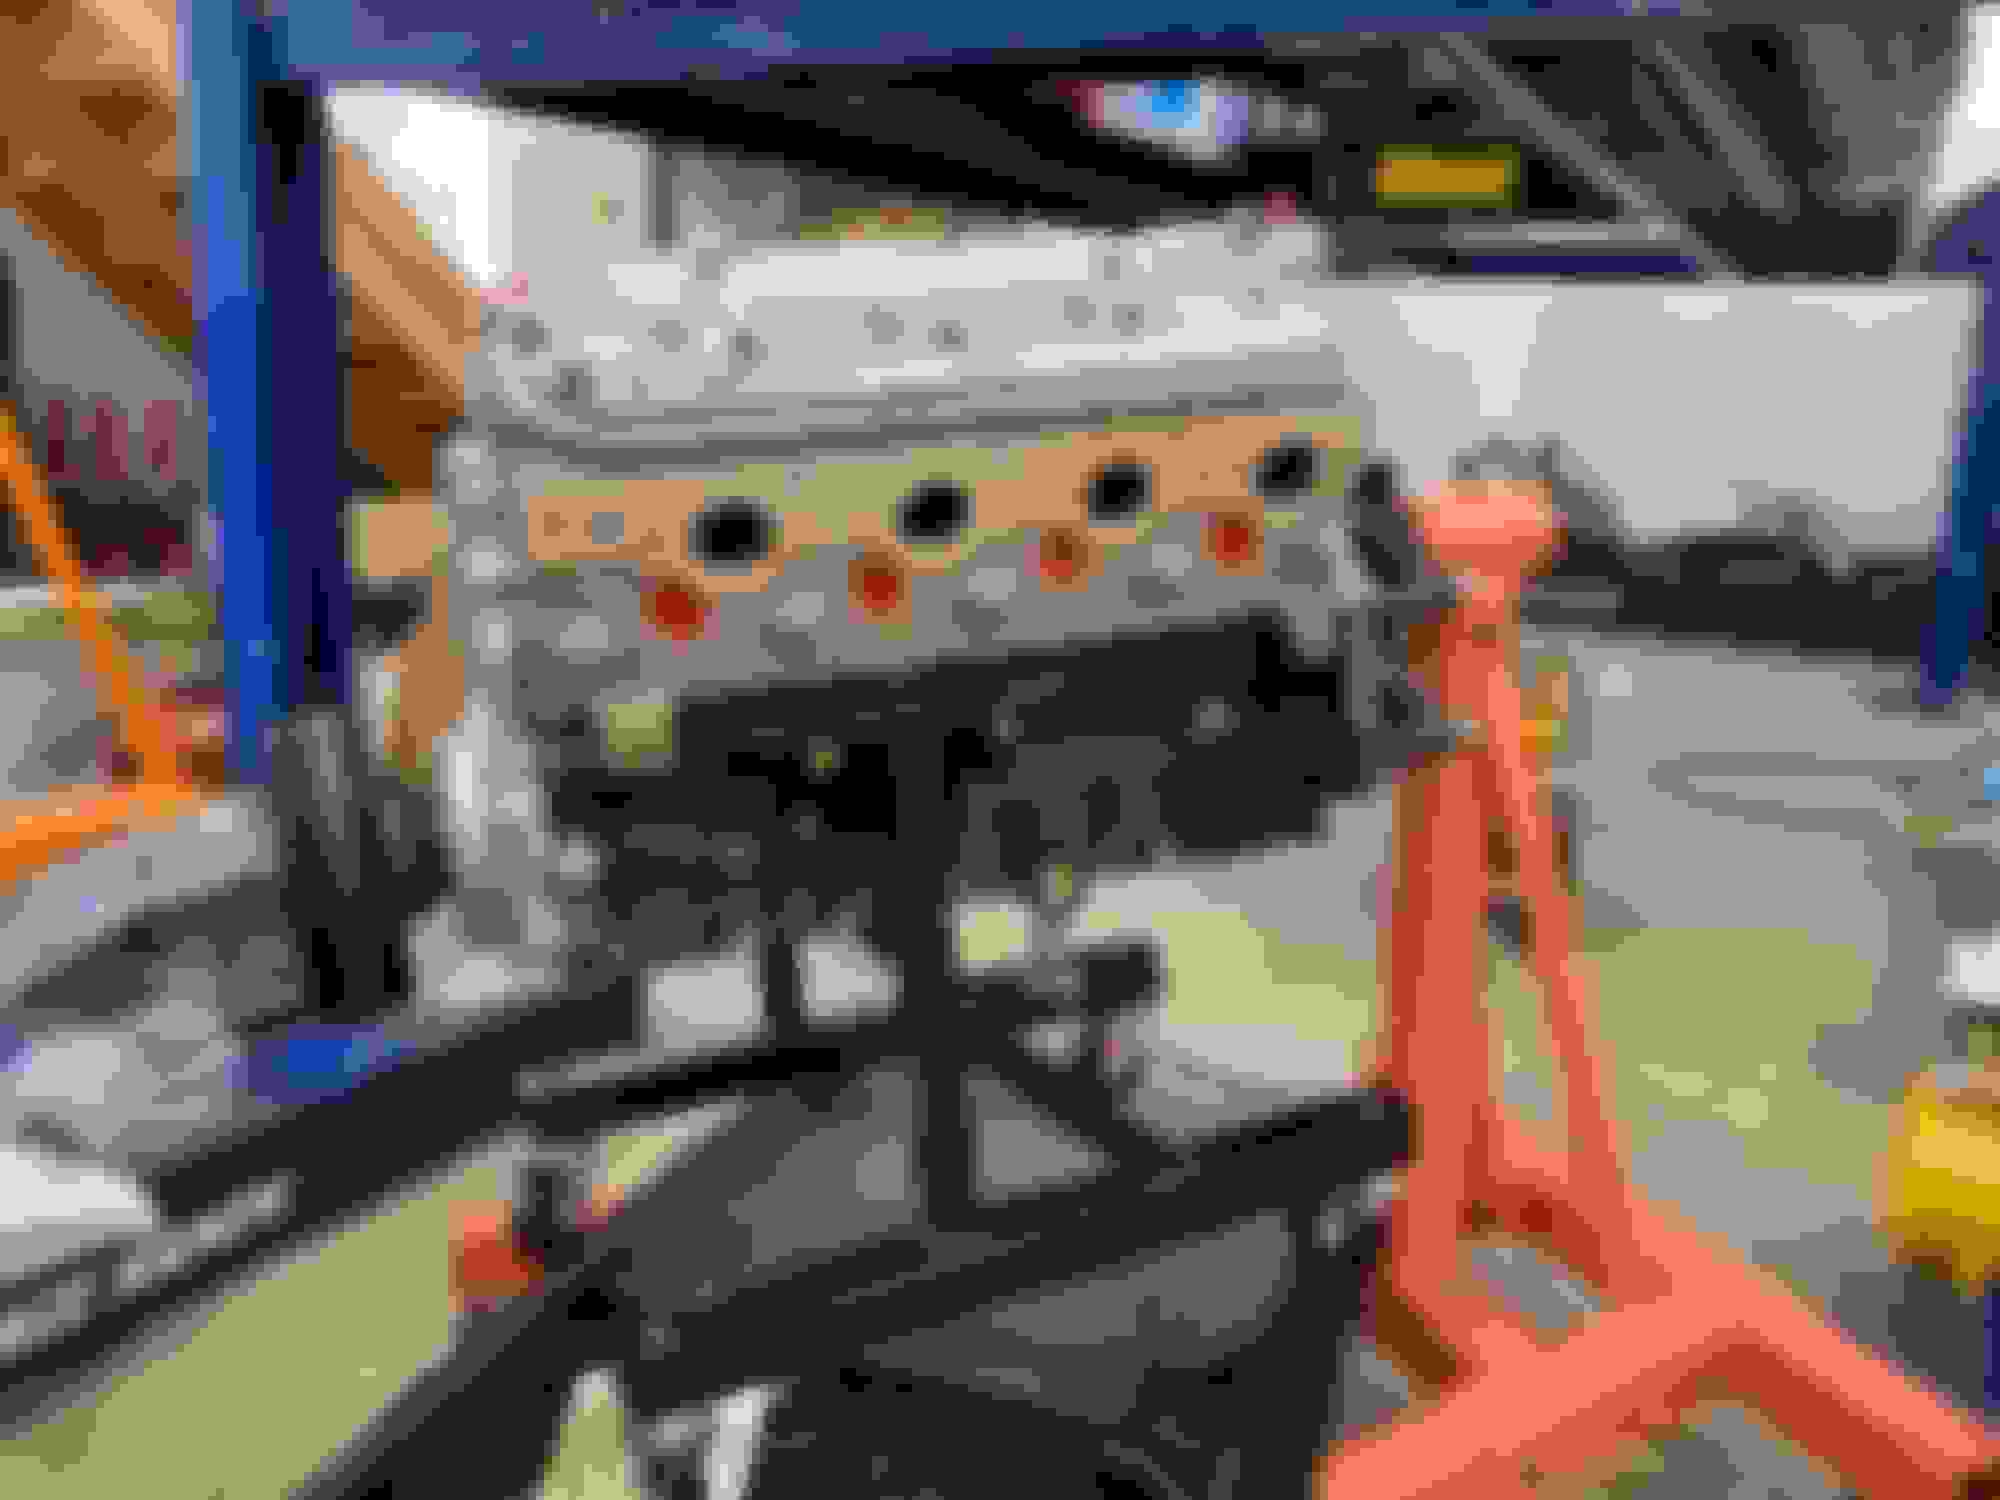
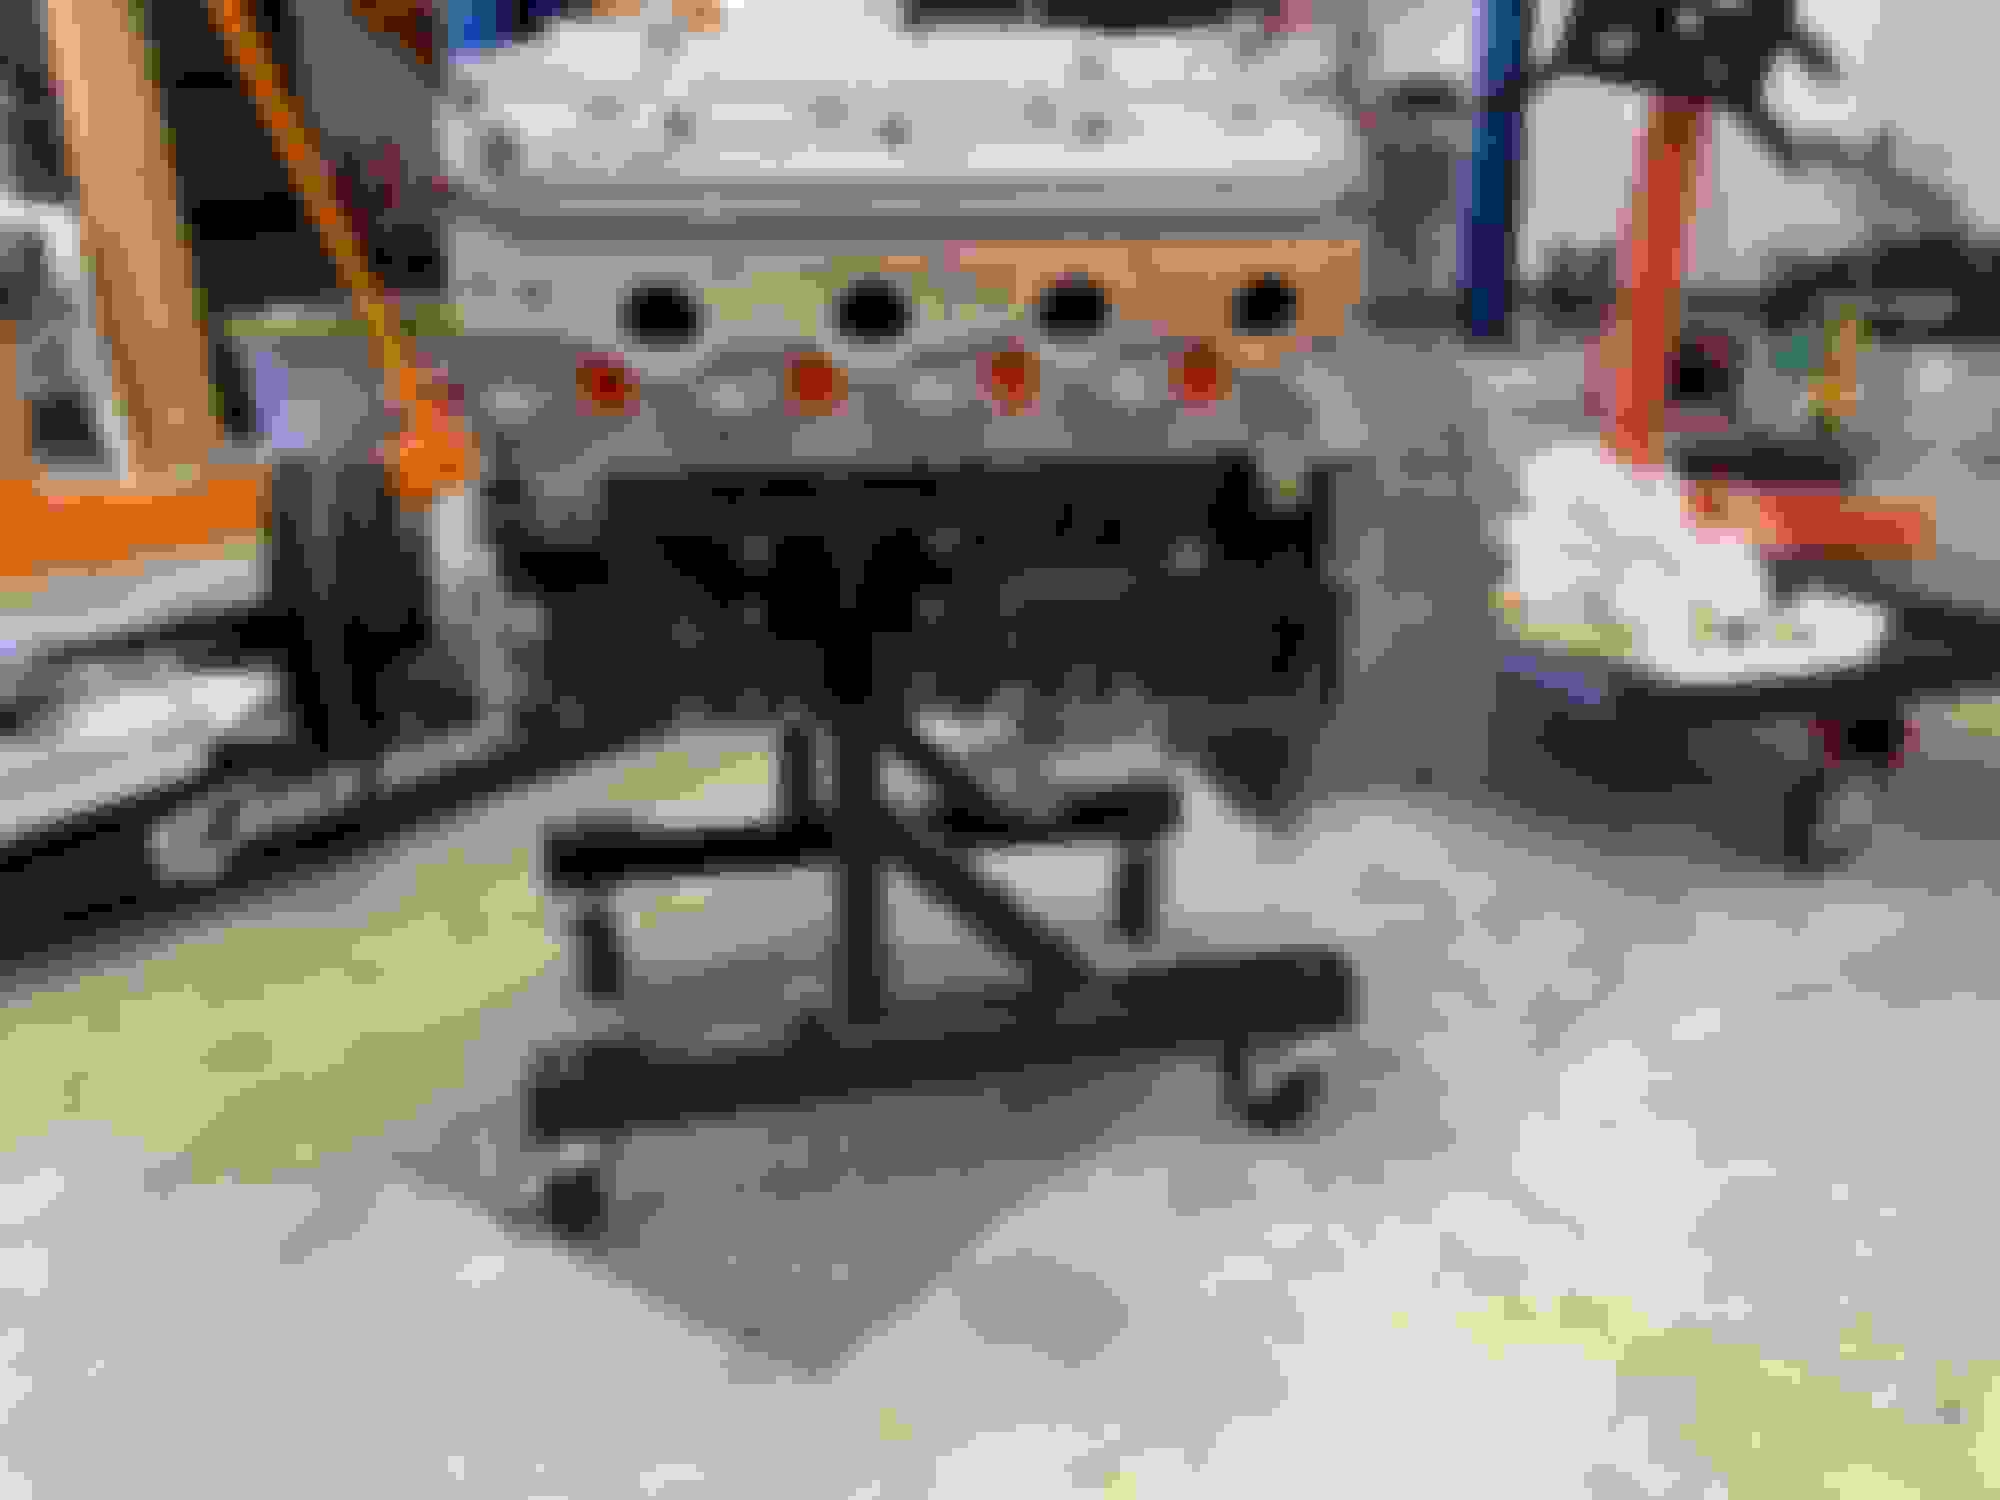
Assembly the Holley pan with its components per the instructions and make sure to do a dry test fit to make sure no clearance issues. Once that was confirmed I rotated the engine back upright and installed Summit's 2 piece LS engine stand. It is critically important that the oil pan is aligned correctly to the back of the engine block as the bell housing bolts both to the engine block and oil pan on LS engines. The best way to insure this is the case is to utilize the bellhousing itself as the alignment tool.
Lay the oil pan gasket on the pan and start the oil pan bolts, the gasket will hold them in place. Note that the oil pan I took off utilized 12 M8 bolts, but the Holley pan has 13 positions, and the block also supports the 13th as well. (I utilized a bolt from my LS3 remains for the 13th)
In the 4 corners of the block to the front and back covers install a thin bead of Permatex Ultra Black Gasket Maker
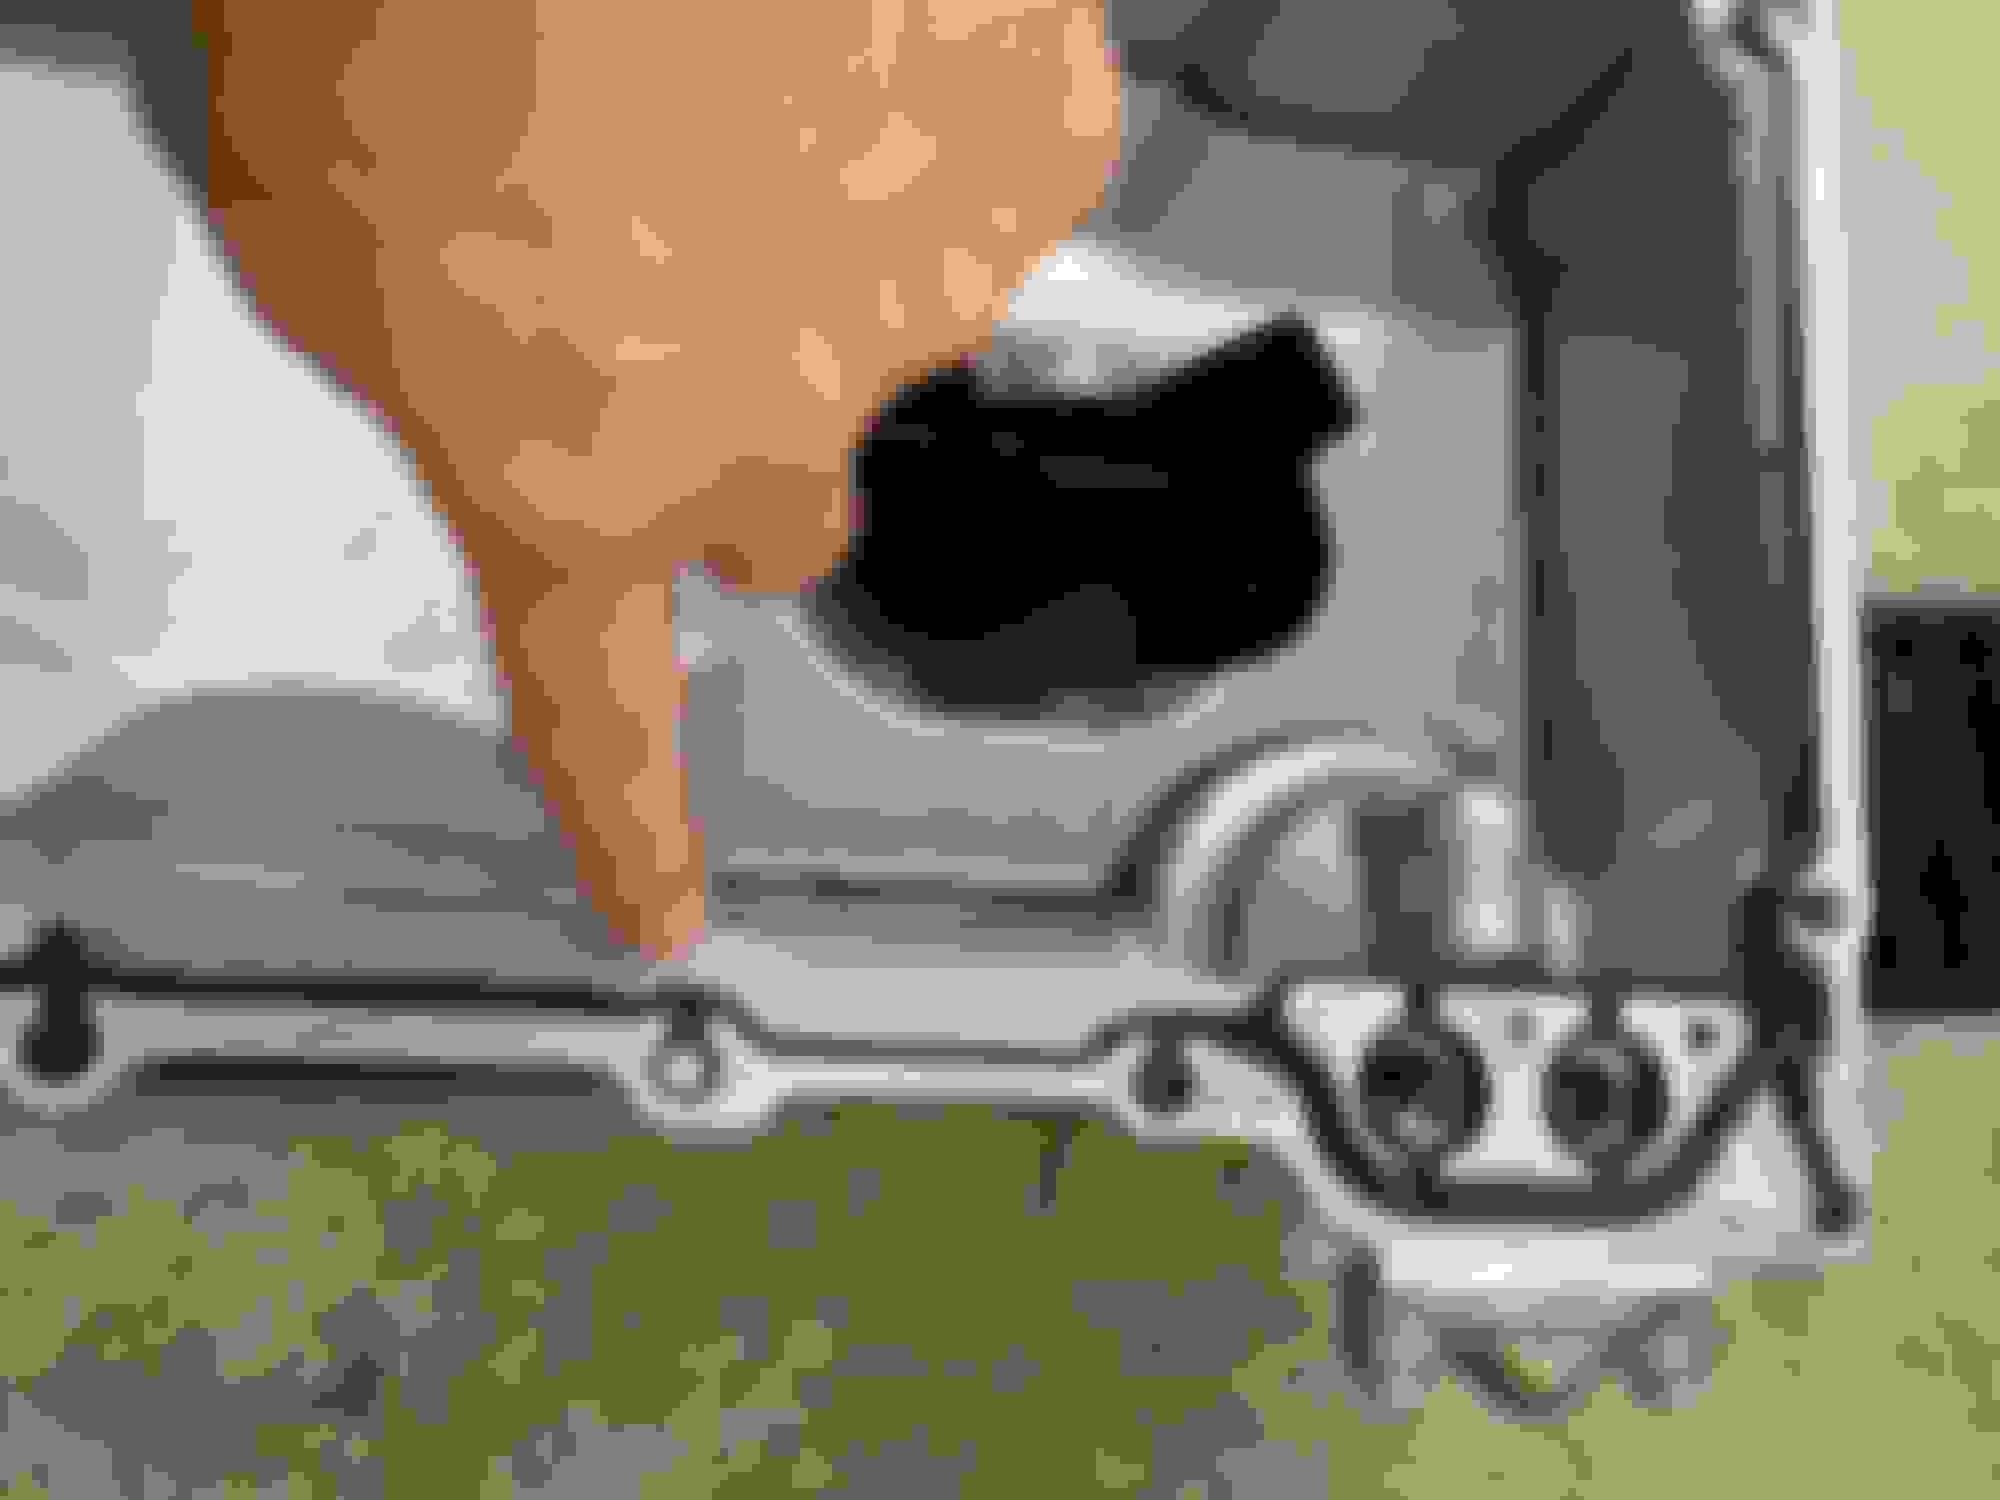
Carefully put the tray in position and start a couple of the middle bolts on each side and begin to walk them up. Install the 2 bolts from the bellhousing to the holley pan hand snug (you are walking the tray up so you don't want the bellhousing to tray bolts tight but just snug enough it holds it flat to the back.
Walk all the bolts up from middle outward in steps and torque appropriately
So I have been making some good progress over the last several months and way behind on posting some updates.
I finished up all the work on the brake improvements, in summary
Brake Booster - 4th Gen GM 19286770 / utilized Cardone 54-71287 and painted Eastwood Extreme Chassis Black
Master Cylinder - 4th Gen LS type GM 89056526
Adjustable Proportioning Valve - Wilwood 260 - 15048 kit allowing easy mounting to Booster / MC, plugged light switch port with 1/8 NPT plug
Brake Lines - Made all utilizing 3/16 SURR Ultra Bend Nickel Copper... Easy to form and flare, corrosion proof, and seals to fittings much easier than SS lines
Line Fittings - All from SURR (BR230 M10x1.0 DIN, BR105 3/8-24 SAE, BR240 M12x1.0 DIN, BR235 M11x1.5, BR250 M10x1.0 DIN long for rear axle)
Rear Axle utilized hose from Russell 692050 Kit for axle to frame hose
Rear Axle line mounting tabs CPP CLP-RBHTK Kit, Earl's -3AN Straight to 90 deg hoses 63011709 ERL
Front Brakes - Reused my existing 4th GEN LS previously swapped to
Rear Brakes Wilwood 140-13181-DR Kit (matches to my Ford 9")
- Rear Disc with Parking Drum
- Big Ford New Style Bearing compatibility
- 2.50" offset
- 1 piece 0.81" 12.19" rotor drilled
- Dyna Pro Caliper 120-9703-RD
These brakes should be a big improvement to my prior PBR LT style... better Front / Rear braking match and parking brake that fits inside of wheel to avoid interference issues i was having on passenger side with my 9")
Rear Parking Brake Cables - Made from SUM-761001 kit. While some have tried the C93482 cables, I found these about an inch too long to get a good adjustment)
- I made mine 47 1/2" long from the end of the tip of the parking brake lever interface to the front of the stop that interfaces in the tunnel
- I added 2 3/8" washers between the cable sheathing mounts on the tunnel side to make sure they fit properly with the size hole that is on the tunnel mount brackets (ie without the washers it would wobble)
- For the stops I utilized Nicopress 51-MJ crimper with two 1/8" zinc copper sleeve stops 872-18-J per cable (note in the future I likely will put a washer in front of the stops) This crimper and stops I got from McMaster
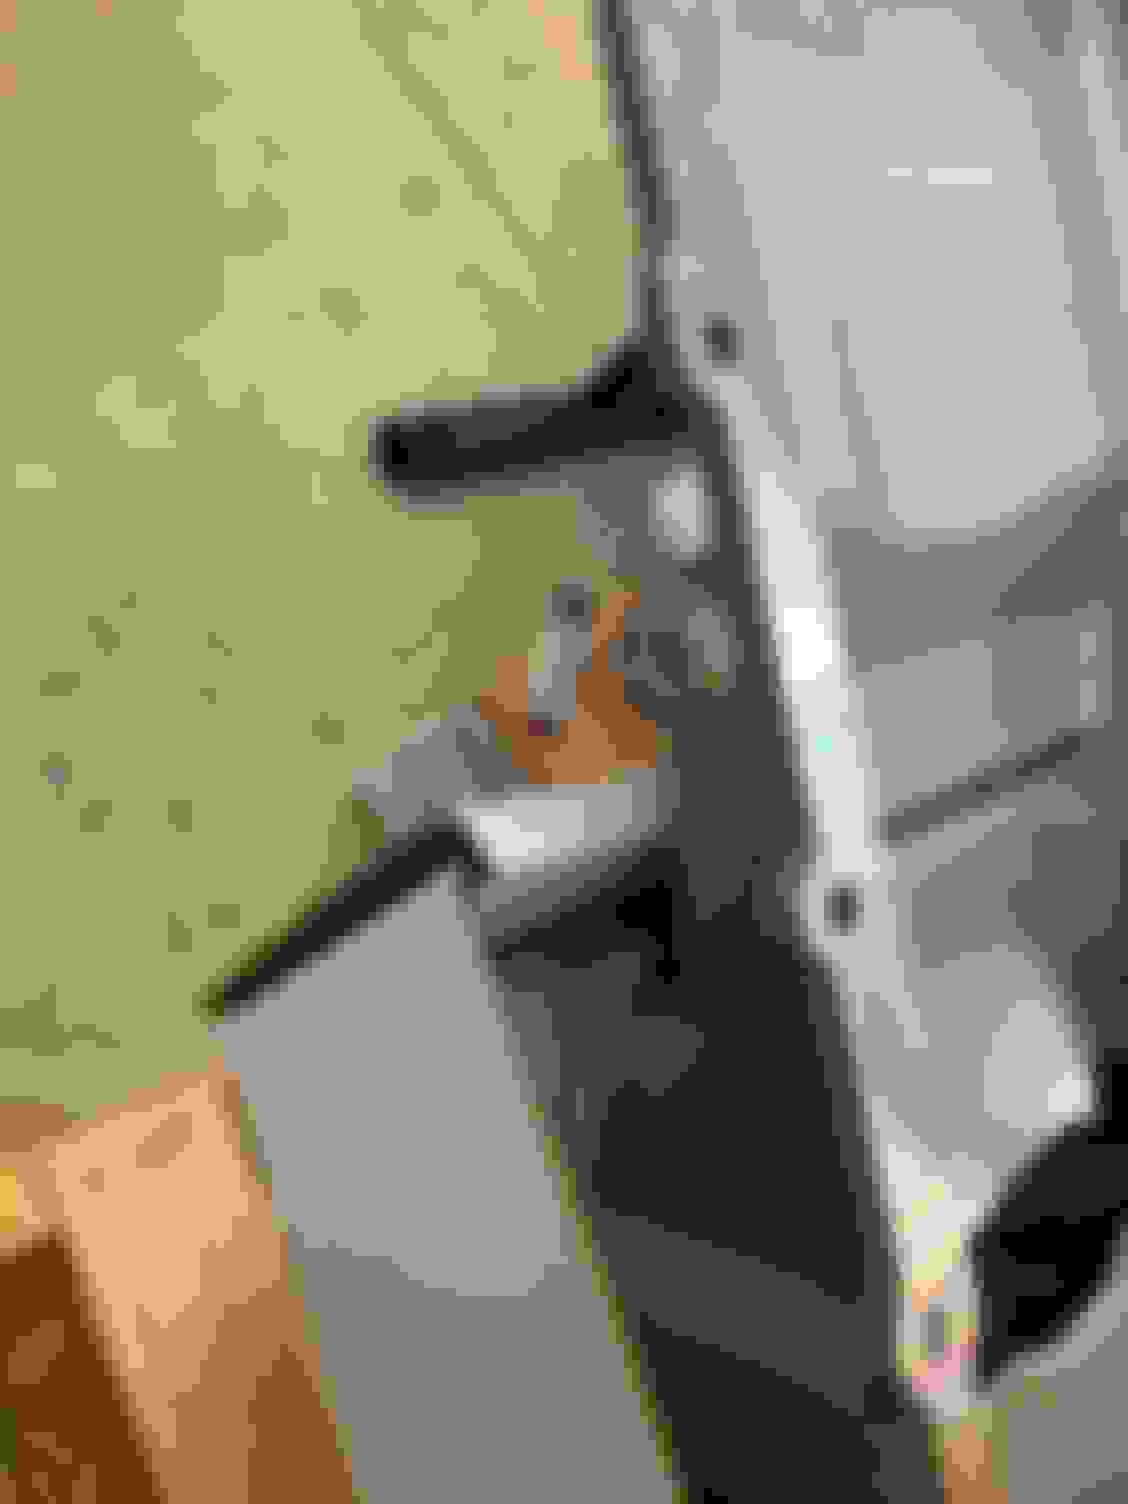
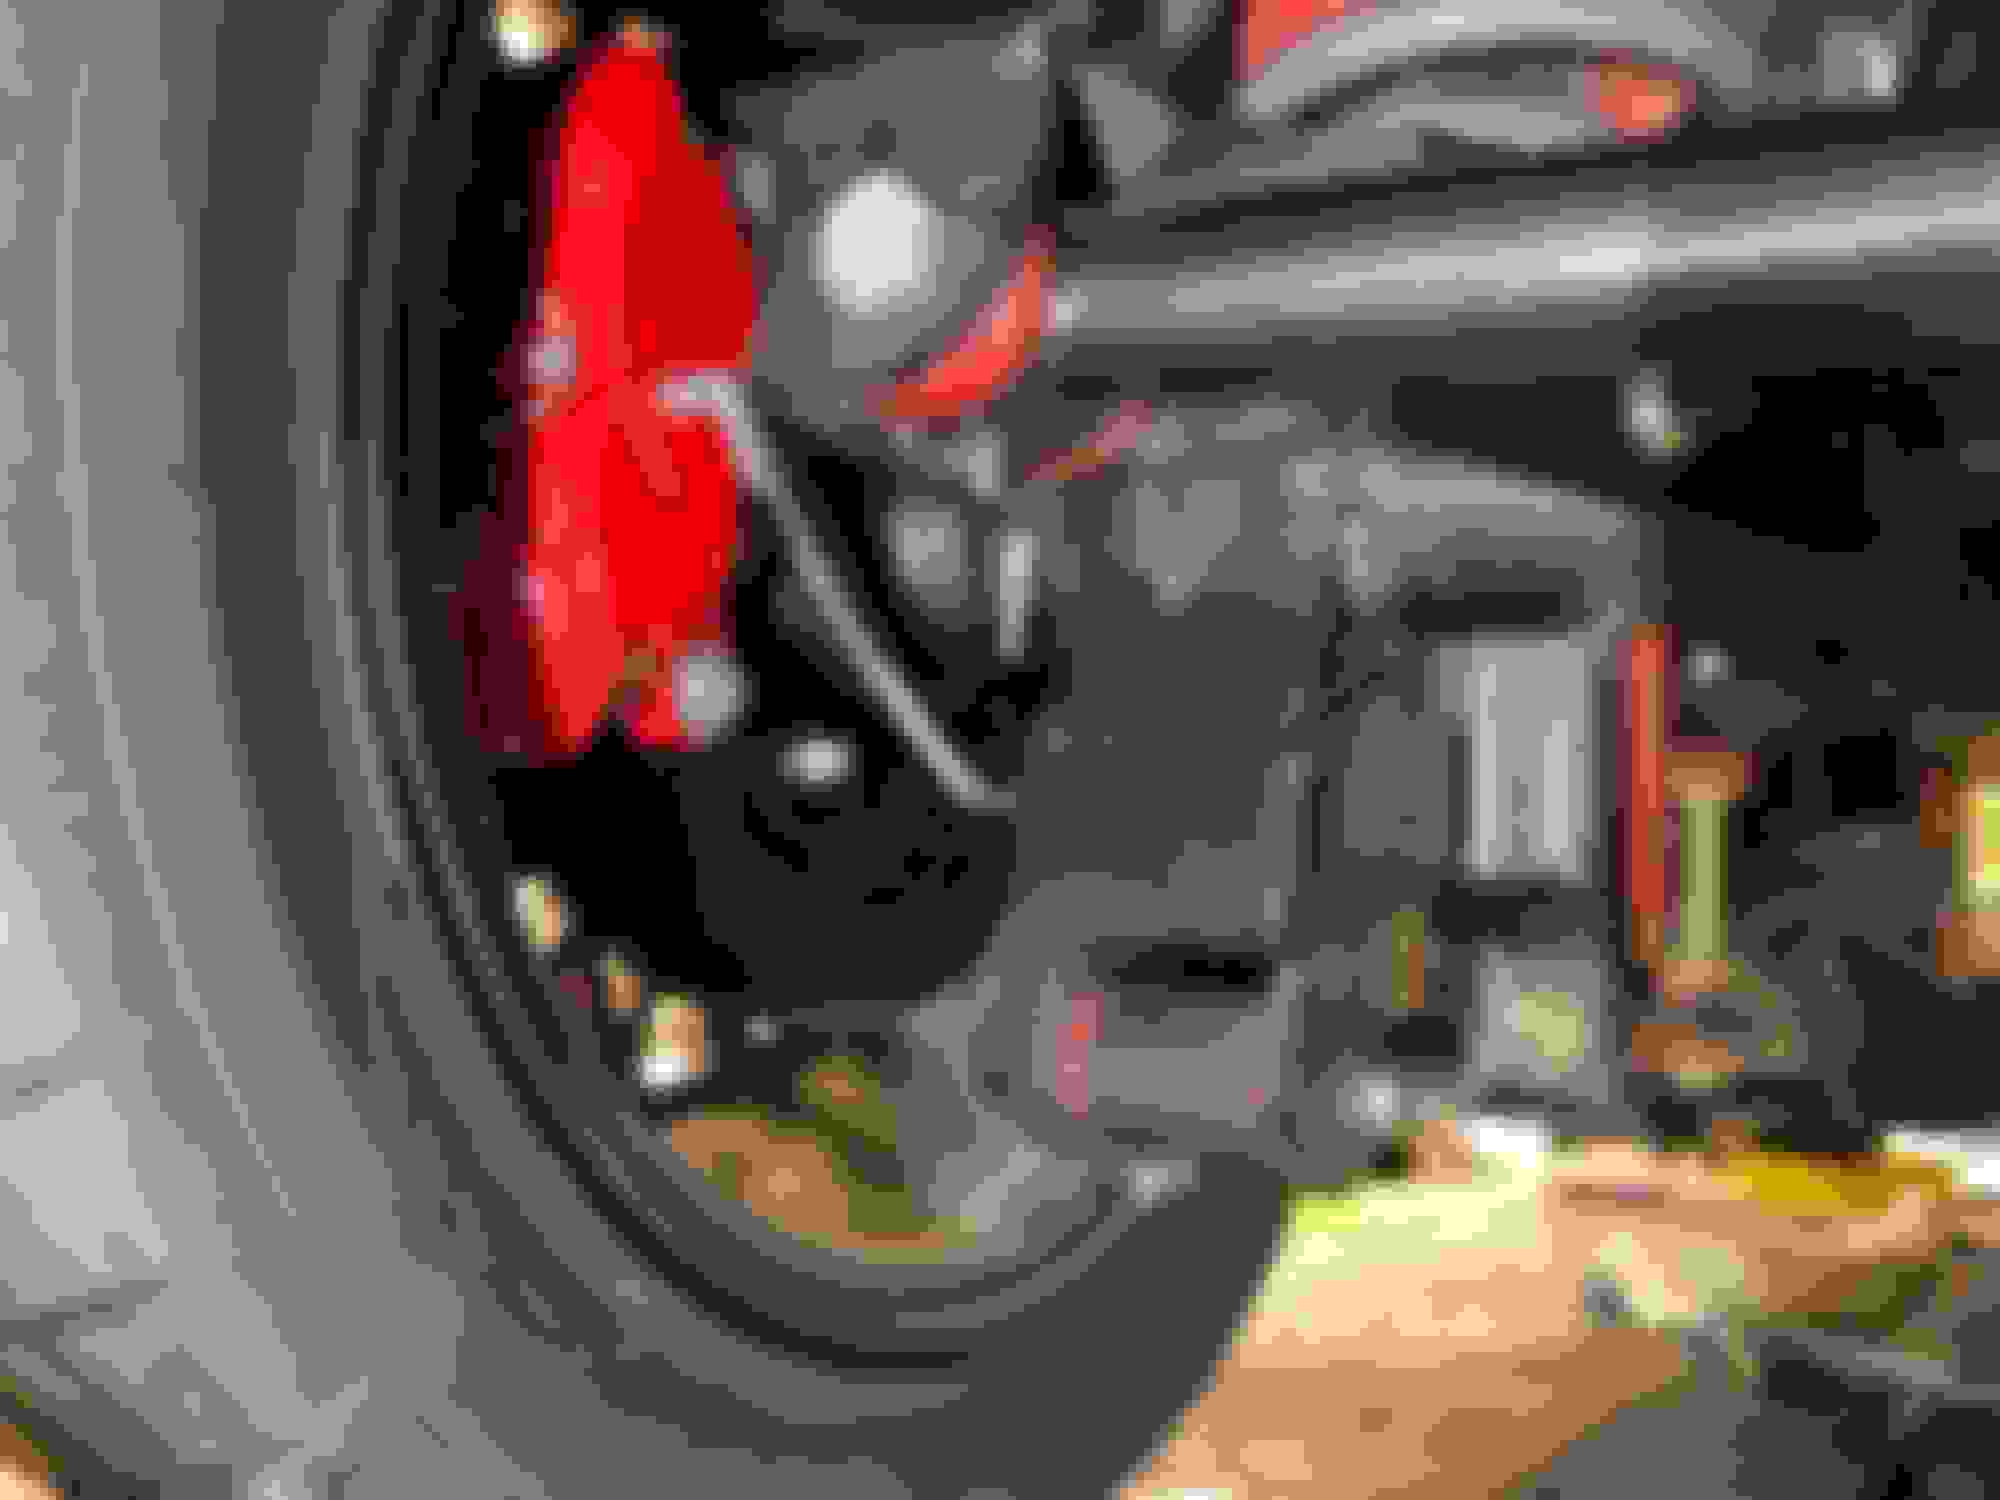
Here are a couple more shots of the WIlwood rear brakes from the inside with the wheels mounted (17" Hawks GTAs)... As you can see with the parking brake internal it really cleans up the room to the axle unlike the PBRs which I was having interference with originally on the passenger side panhard mount area
Adjusting the park brake is also pretty easy as long as you have the right tool, it takes quite a bit of adjustment from the adjustment screw so it is good to get it reasonably close prior to putting on the rotor
Also I bled the brake lines use a Motive Power Bleeder. I started by using the power bleeder with fluid in the tank, but I have switched over to just using air in the tank and re-filling the reservoir several times.
I had an issue previously where with the reservoir full of fluid the cap started to leak and brake fluid started seeping out, what a mess. Therefore I am only using pressurized air in the Motive Power Bleeder now to avoid that.
For motor mounts I am using the new UMI Poly LS Motor Mounts for '98-'02 F Body applications, part number 2329. These appear to be a nice upgrade from the clamshell type
I used M10x1.5x30mm bolts to mount them torqued to 50 Nm
For the fuel line going from the filter to the engine compartment frame rail I had a custom stainless steel tube made by Fine Lines
- Based on their FGL 8805SS (same length, bends, etc) 3/8" stainless TPI fuel feed tube
- Instead of the GM o-ring and nuts I asked them to incorporate the GM 3/8" quick connect type flare with the flare being at the same point as where the o-ring was on the original (ie the nipple of the new tube will extend from the point of the original tube's o-ring placement)
Just wanted to say a big thanks for posting such detailed parts lists and instructions. I'm going to try and copy the nylon lines setup (everything was available from Grainger), as well as the custom Fine Lines (now SS Tubes?) line to the engine bay. I sent them an email this morning to see if they'll make another, matching your description.
- Also for additional protection to the Nylon Lines I placed some safe edge I got from McMaster Carr on the lower lip of the fuel filter bracket
It's been a while, but do you recollect or have recommendation for which of the safety edge they sell at McMaster-Carr is a good choice? Thanks @alan91z28
It's been a while, but do you recollect or have recommendation for which of the safety edge they sell at McMaster-Carr is a good choice? Thanks @alan91z28
I bought this originally back in 2009 from McMaster and have been using the bulk piece for quite a while so my history on the site doesn't show it. However I did measure the piece and it is 9/16 total height, by 9/32 total width, inside 9/64 so i believe it is the link below as that is also the same grip style and outside pebble pattern https://www.mcmaster.com/24175K42/
i have been very delinquent in keeping this thread up to date over the last two years... i have been actually doing quite a bit as i had time through the rest of 2021 and 2022
in 2021 i did get the new crate engine fully installed, a base 411 tune going. i had just dropped in a hacked up painless standalone wiring harness as i was getting a custom one made... by the beginning of september 2021 i was beginning to drive and all was good or so i thought!
at around 100 miles, ie like the 3rd drive the MIL light came on... i was hoping that it was just something i needed to continue to work on with the tune, but that was not to be!
I saw there was a DTC P0343, also it would become hard to start intermittently. I used the 2002 GM Service manual and began that trouble shooting tree including eventually swapping out the cam sensor and also running a complete separate set of cam wiring back to the 411 ECM. Nothing would change the P0343 that was intermittent in nature (I began logging the Cam Signal Hi to Low transition and it would accumulate fine and then just freeze and then eventually recover). After confirming that sensor, wiring, etc were all good determined it must likely be the camshaft walking!!!
I took off the intake and valley cover and could see the lifters to cam position all skewed in terms of the cam had clearly moved to the rear. This indicated to me that likely the cam sprocket gear bolts were loose allowing the cam to move backwards
On Sunday after church now at the end of September 2021, I removed the FEAD and the timing cover. All three bolts were very loose (despite clearly being torque marked) clearly allowing the cam to walk backward and the camshaft sensor to lose the ability to see the position and the P0343
Drained the oil, saw a couple very small particles, so believe caught before major disaster. The bolts had not rubbed on the timing cover. Contacted GM and long story short after some back and forth they readily agreed it was an assembly failure. (note that to get to this point i had sent a lot of documentation, my hp tuners screenshots, etc, etc as initially they want me to take the car to a dealer for diagnosis which of course i said no way!!!)
Clearly this is an assembly quality issue that could have been catastrophic but I caught it before anything in the end really happened... this was with only 1/2 tank of gas used so no more than 150 miles on the motor... moral of the story is you need to pay attention to all signs including all ECM codes at initial startup... this was a brand new GMPP crate and obviously quality didn't get completely built in from day one!
so after going back and forth with GMPP, we both concluded that the engine should be fine and they gave a list of a few parts to replace (cam gear, cam bolts, cam retainer plate, etc) and also specific instructions on cleaning the cam gear holes in the cam shaft and then specifically using red loctite and torquing the new bolts.
in the end since i had the front end all apart, i bought an ASA cam that was in stock to give a little more power vs the LS6 cam and replaced the parts requested and put the engine back together... it was now mid october and bad weather was moving in quickly... i got some good runs in and enough to convince myself the problem was taken care of
with the ASA cam though i was going to need some better tuning as it isn't low rpm / idle friendly, so i ended up concluding 2021 driving with everything back together, mechanically working, but certainly not very driveable from idle, coasting, etc viewpoint, but winter was here and that would have to wait until spring 2022!
My buddy runs one in a 5.3l/th400 powered '56 2-door Chevy. It's like driving an electric car, it never stops pulling.
yes it is... i ended up needing to adjust the tune this summer to run open loop idle which i will go into more detail later... i now have it running pretty well which makes it enjoyable to drive all the time, not just at WOT!
To detail my current engine and engine control in this 85 IROC, I will list everything as well as part numbers in the summary list below-
General
- New GM LS 6.0 liter GENIII with LS3 heads mated to T56 6 speed Manual stand alone swap into 85 IROC Z28, 3.70 Rear Axle, 26.0" Tire
- Used 411 PCM with 2002 LS1 / T56 Calibration as starting point with VATS delete, etc
Engine Overview
- GM LS364/450 6.0 liter GEN III Long Block using LS3 Heads - 452 HP / 441 lb-ft (with original LS6 cam) Part Number: 19370163
- Engine Type: Performance LQ9 long block Displacement (cu in): 364 cu in (6.0L) Bore x Stroke (in): 4.000 x 3.622 in (101.6 x 92 mm)
- Block: Cast iron with 6-bolt block, cross-bolted main caps
- Crankshaft: Nodular iron
- Connecting Rods: Powdered metal
- Pistons: Hypereutectic aluminum - Original Camshaft Type P/N 12565308: LS6 hydraulic roller Valve Lift (in): 0.550 intake / 0.550 exhaust Camshaft Duration (@.050 in): 204� intake / 218� exhaust
- Current Camshaft Type P/N 88958770 ASA Camshaft Duration @ .050" Lift( Deg): Intake: 226 / Exhaust: 236 Maximum Lift (in) W/ 1.7 Rocker: Intake: .525 / Exhaust: .525 Lobe Centerline ( deg): 110
- Cylinder Heads: LS3 rectangular port; aluminum, as-cast with 68cc chambers Valve Size (in): 2.165 intake (hollow stem) 1.590 exhaust (solid stem)
- Compression Ratio: 10.3:1 (nominal)
- Rocker Arms: Investment cast, roller bearing trunnion Rocker Arm Ratio: 1.7:1
- Fuel: 93 octane premium
- Maximum rpm: 6,800
- Reluctor Wheel: 24X
- Balanced: Internal
Intake and Injectors
- FAST LSXr 102 LS3 intake
- 12576341 LS3 42 lb/hr at 58 psi Injectors
Fuel System
- Walbro GSS 342 in 4th gen tank with C5 Fuel Filter with Integrated FPR 58 psi - Note at idle can not maintain 58 psi due to high pump volume of flow and will need future improvement
Coils
- LS3 type 12611424
Throttle Body
- Original - Holley Sniper 860004-1 92mm Drive by Cable ... Did not have great IAC porting and became part of idle control problem with ASA cam
- Current - Nick Williams Performance Cable-Driven Throttle Bodies SD92MMBK provides greatly improved IAC response due to IAC chamber geometry
Exhaust
Hawks Long Tube Headers with 2" Primaries / 3 inch Collectors Into 3.5"
Sensors
Knock Sensors Mounted In GEN III Valley Cover Delphi AS10017 (2002 Z28 Camaro type equivalent to GM12589867)
Crank CKP GM12560228 24X
CAM CMP GM12561211 1X
Water Temp GM12551708 (1998 Z28 Camaro, has 3rd pin for analog gauge drive)
TPS GM17123852 (2002 Z28 Camaro)
IAC GM17113598 (2002 Z28 Camaro)
MAP GM12614970 (2002 Z28 Camaro)
MAF / IAT GM15865791 5 PIN LS3/LS7 Blade type
Oxygen Sensors (LS1 2002 Camaro Z28)
Also just a comment on my experience with the Wilwood rear brake kit vs my prior LT1 PBR type... braking is so much better with the Wilwood. Due to the better piston sizing the pedal ends up being so much better and the response of the Wilwood caliper is great. I was so impressed by these rear brakes compared to the prior LT1 PBR I ended up swapping out the rear PBR in my son's 87 Formula last year as well with same great result.
Also just a comment on my experience with the Wilwood rear brake kit vs my prior LT1 PBR type... braking is so much better with the Wilwood.
Sorry if this was said earlier, Got any pictures and info on how parking brake cable gets hooked up with the Wilwood? And exactly which Wilwood brakes you used?
Just for additional clarity, the link above shows the exact brake kit... note that my 9" has true Ford Big Bearing New (aka Torino) Style ends and a standard 2.5" Ford offset... this made doing this actually quite easy.
On my son's Formula that has one of the first Hawks 8.8 it has typical GM ends and different offset it needed a little more work to figure out what to do including making a custom end shim to get Wilwood brakes (similar but different kit number) to mount... i will try and get time to post how we did that in the thread on that Formula LS3 swap in this sub-forum. It ended up making a world of difference on his braking as well
What 9" are you running and do you have any insight on your experience? I can't commit yet, too many options.
Just for additional clarity, the link above shows the exact brake kit... note that my 9" has true Ford Big Bearing New (aka Torino) Style ends and a standard 2.5" Ford offset... this made doing this actually quite easy.
On my son's Formula that has one of the first Hawks 8.8 it has typical GM ends and different offset it needed a little more work to figure out what to do including making a custom end shim to get Wilwood brakes (similar but different kit number) to mount... i will try and get time to post how we did that in the thread on that Formula LS3 swap in this sub-forum. It ended up making a world of difference on his braking as well
i did post some information on this now in this thread on my son's 87 Formula LS3 swap, see posts starting at #79
i am running a moser and it has been great, i installed it as part of the initial swap back in 2009... see page 1 around post #42
I went back and reread your post. You have a very nice rear . Maybe I missed it, but what gear and unit did you go with? Any regrets on ratio or posi choice? Also, how is the fit of that moser? I've read where the non fabricated 9" housings tend to "self clearance" in the tunnel.

 01-31-2021, 03:44 PM


 . Maybe I missed it, but what gear and unit did you go with? Any regrets on ratio or posi choice? Also, how is the fit of that moser? I've read where the non fabricated 9" housings tend to "self clearance" in the tunnel.