When you click on links to various merchants on this site and make a purchase, this can result in this site earning a commission. Affiliate programs and affiliations include, but are not limited to, the eBay Partner Network.
Had a good time on my short maiden voyage of my 85 TA after replacing the front suspension, steering linkage and rebuilding the rear brakes. Was a short ride because the volt guage got pegged at 18V halfway thru the cruise. Time to diagnose...
Voltage when starting up was good at 14.5-14.8v. However, once the car warmed up, voltage started to climb. While idling, I pulled each fuse individually to see if any particular circuit could be causing the problem. When voltage remained stable no matter what I did, I started to look into the alternator and the voltage regulator. Took the unit down to Autozone and it tested out ok, but they didn't have the equipment for a heavy load test or performance when hot.
A voltage regulator was $15 or so, decided to give that a try.
I previously had rebuilt a CS alternator that I installed on my 78 Vette. The SI series alternators are MUCH easier to work on! Only need a 1/4", 5/16" and 8mm (I think) to completely disassemble.
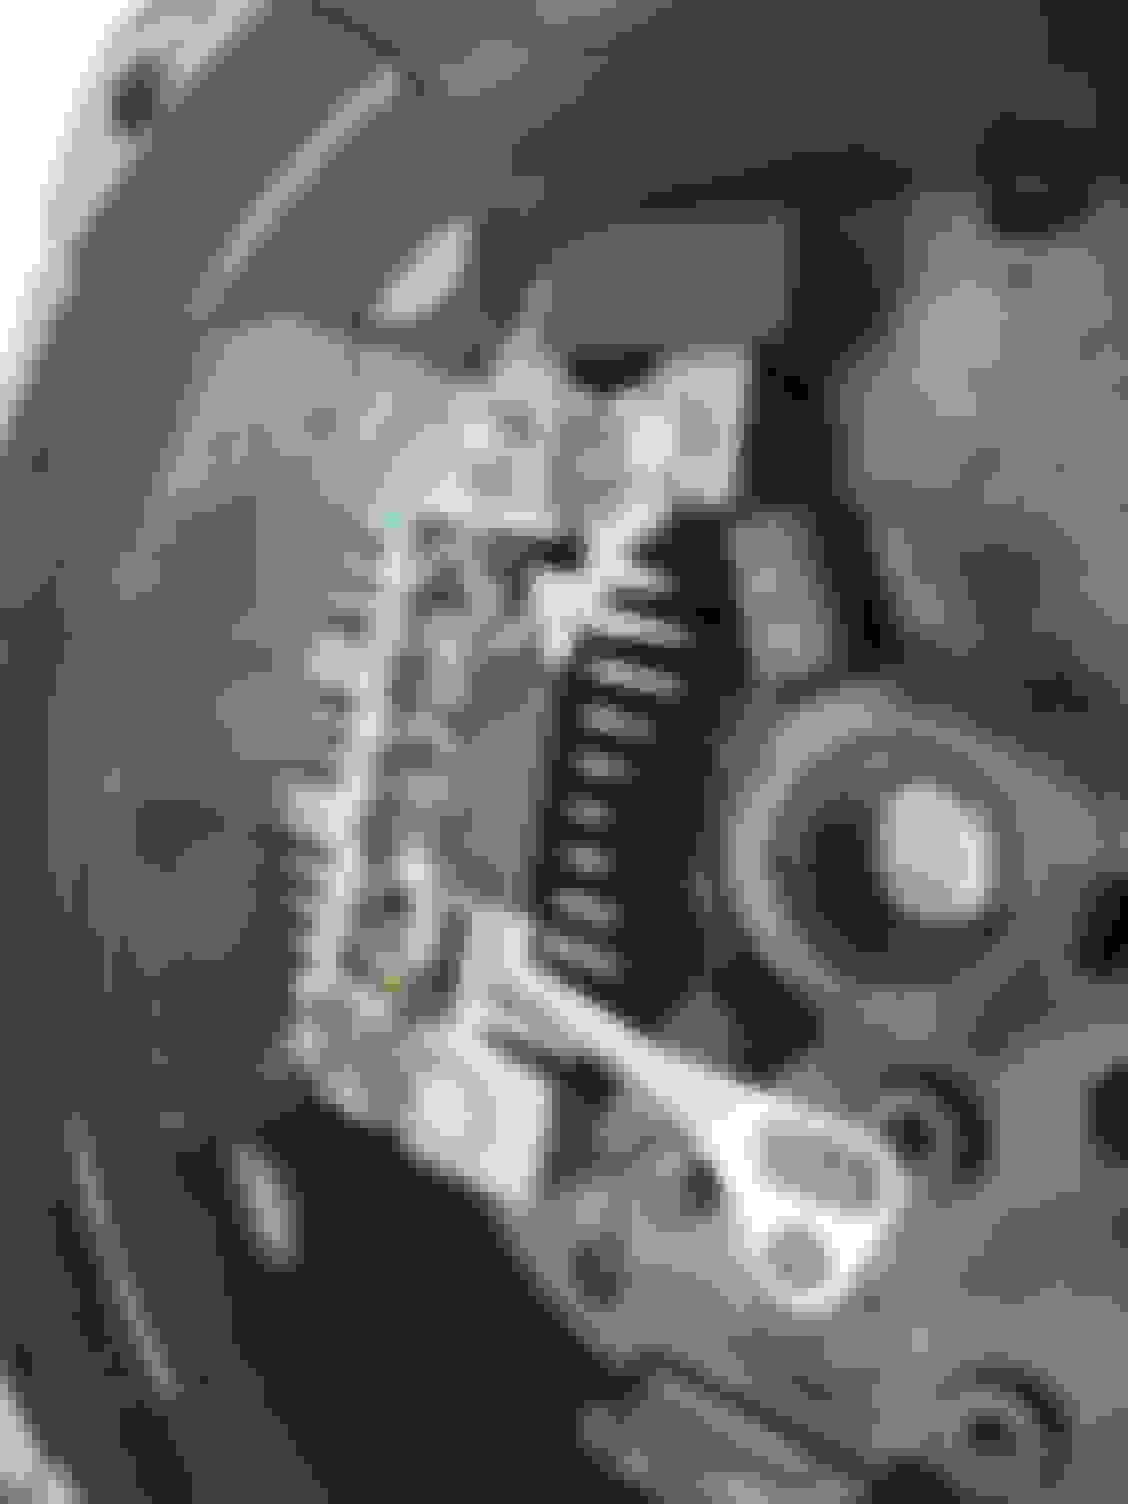
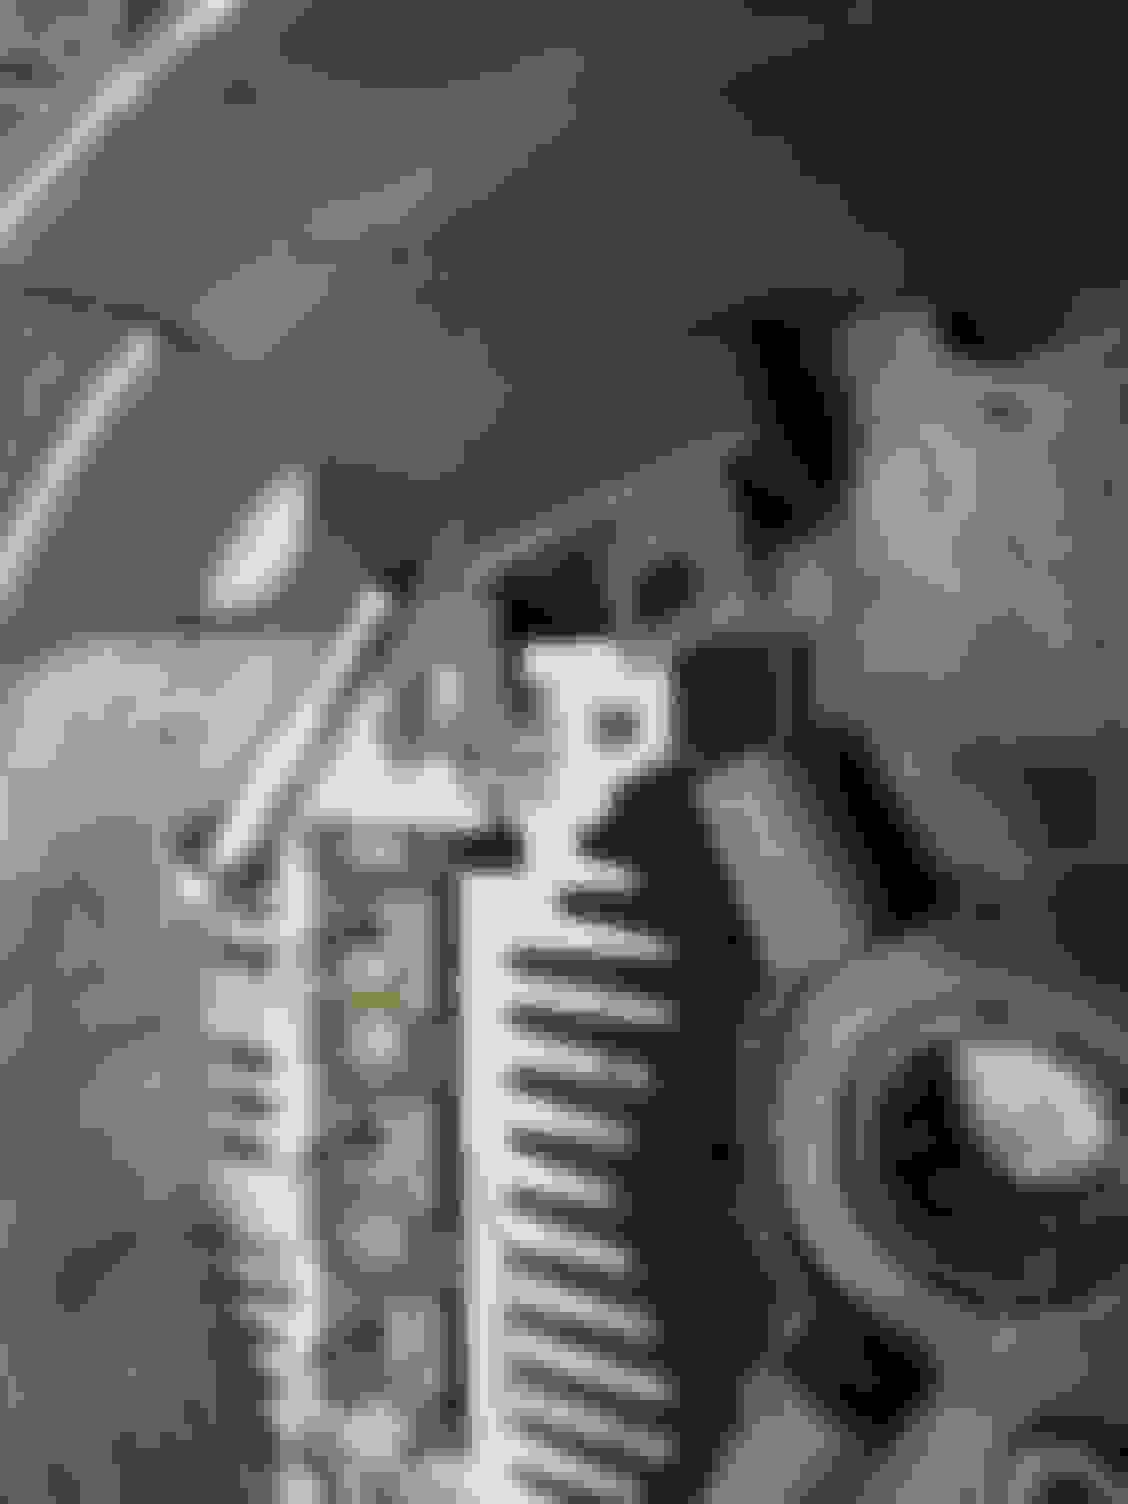
Remove the four bolts on back to open the two sides of the housing. Take note of the "clocking" as this can be changed id you don't pay attention. Clocking refers to the position of the plug relative to the threaded mount. In this case, my alternator is at 3 o clock. (Not well shown in pic) Back half of the case when separated. The voltage regulator is at the bottom and has the two spade contacts as part of its housing. Better pic of the regulator after i removed the brushes.
At this point, I had not planned to further disassemble the rear case, but when the part arrived today, I decided it would be pretty easy to remove the other parts and give everything a good cleaning. The stator attaches with three nuts to the bridge rectifier (I think) Remove the three bolts here and the but on the back that screws to the battery lug. Keep track of the bolts as the one in back is longer than the front one. These two hold a little doohickey in place. Technical term.
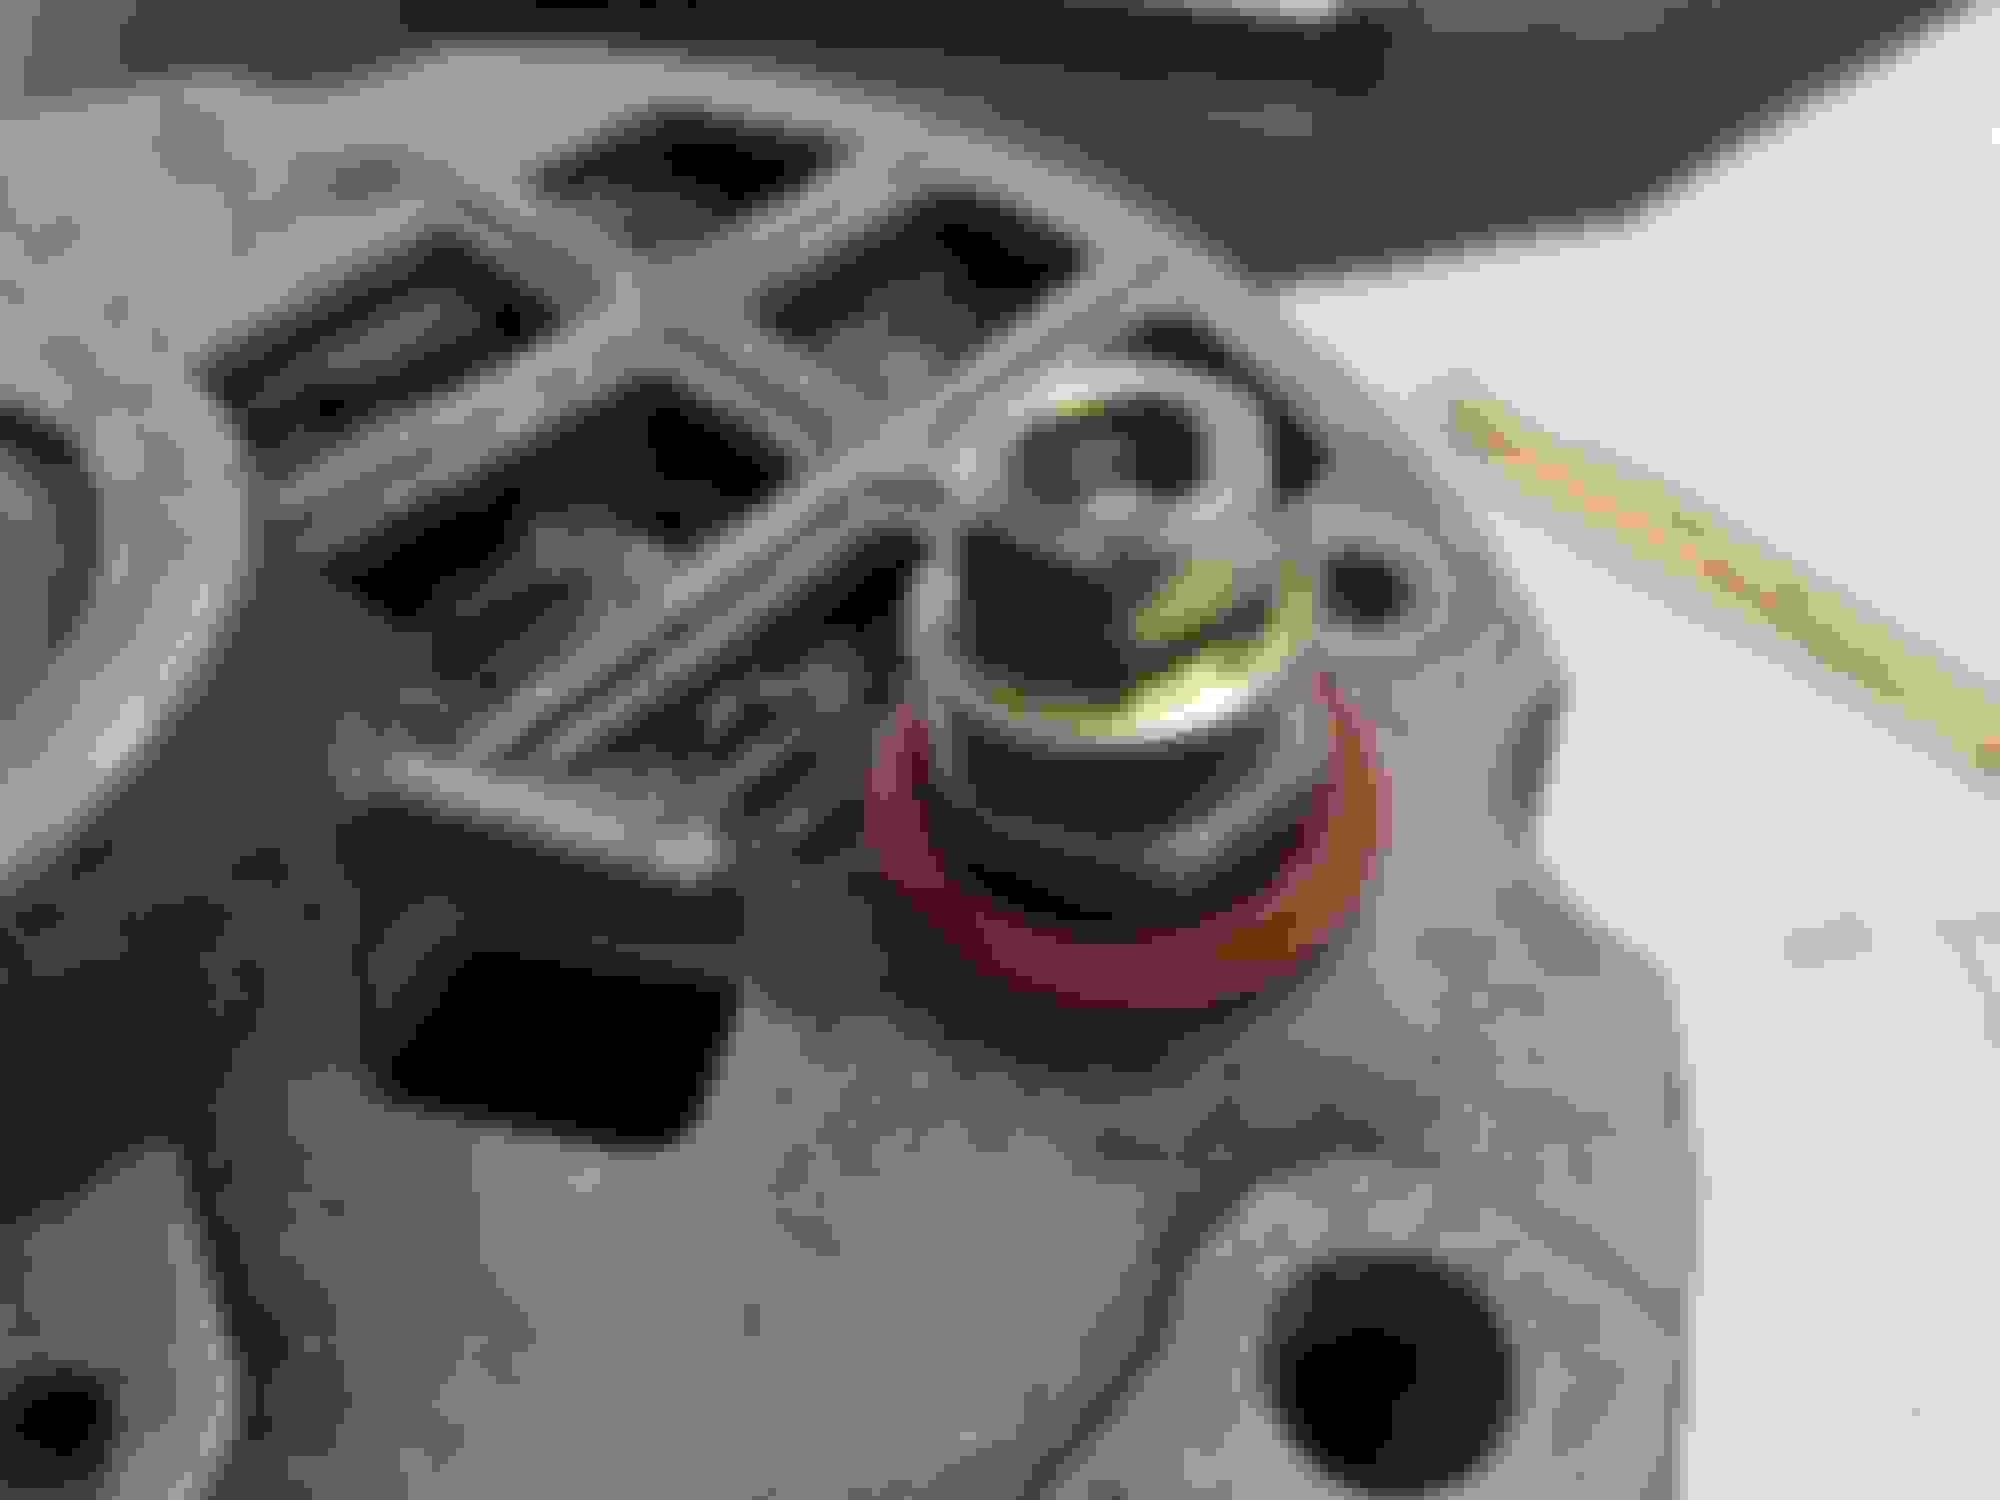
Battery post that needs to be unscrewed to allow the rectifier to be removed.
Cleaned the contacts with 0000 steel wool and just a slight dab of grease on the shaft.
Assembly is just the reverse. Very simple process with very few parts. Parts seem readily available to repair these alternators and certainly cheaper than buying a remanufactured one.
Forgot to take a picture of the finished unit. Will try and do that before installing on the car tomorrow morning.

 04-20-2020, 09:56 PM