When you click on links to various merchants on this site and make a purchase, this can result in this site earning a commission. Affiliate programs and affiliations include, but are not limited to, the eBay Partner Network.
I'm not new to ThirdGen.org but I am new to posting threads so bear with me. I'm posting this on here to document the build for myself and to maybe give some encouragement to those wanting to restore one of these bad boys.
I've done body work before and working on cars is a hobby of mine, much like most everyone on here. I also feel that doing that work yourself comes with a certain amount of pride when the task has been accomplished; as opposed to shelling out bookoo bucks to have the work done by a shop.
That being said, I'm not by any stretch of the imagination a professional body man or mechanic so keep the snarky comments to a minimum please.
Above is how I purchased the car last Summer 2014...
As you can see... RUST is everywhere. All of the floors need replaced, the trunk pan, inner fenders, quarter panels, T-Top Bar, hatch, hatch frame, bumper reinforcements, doors... EVERYTHING!!
You may not be a professional, but this obviously isn't your first rodeo.
I'm just trying to learn this stuff and have a couple questions if you don't mind...
Do you/will you use some type of seam sealer on the floor patches?
When you say "seal it up", are you using something special there or just paint?
And the rear pan, if it didn't have the holes thru, could you have just cleaned that up, sealed, etc...
KGC, thanks for the kind words. As far as seam sealers go, I use a seam sealer that almost looks like an epoxy (two parts converge in 1 tube). Due to the cost of that stuff (you wanna use the good stuff) I always wait until all the parts are together and ground down so I'm wasting material. But yes, all the seams will be sealed, ESPECIALLY where it's not welded solid to prevent the elements from seeping back in. As far as "seal it up" I always make sure all the surface rust is cleared up and you have clean metal then apply a rust conversion. It almost looks like clear when it goes on, but it will seal the bare metal and then once that's dry apply a coat of rattle can black to lock it up. Now as far as "surface rust" is concerned... I'm from the school that if there's a pit, that's not surface rust and it needs to be repaired properly... Replacement. Now, that being said some may take the half a**ed approach by cleaning it with a wire brush, slapping some bondo in to fill the divots and sand it down. This is like putting a band aid on bullet wound. Best way to guage that I use, if you can remove the surface rust with a Brillo pad or 3m scuff pad its fine to do that. If you have to go after it with wire brushes and grinding wheels hooked to your air compressor only to find there still a divot, cut it out and weld in a new piece.
Dude, just scrap the car... Putting in too much work for how cheap these cars are...
JK.
I went through this same ordeal a few months ago and it was a pain, but I'm really glad to see more people saving these cars from getting scrapped. You're doing a great job.
Don't ya just love people like that?? Lol. "Scrap it" smh. I'm not naive enough to think this thing will be worth a ton of money, but if will be cool and I built it. There's s certain sense of prime and accomplishment when you do it this way; plus you'll think twice before doing dumb stuff in it because you know what it's gonna take to fix it.
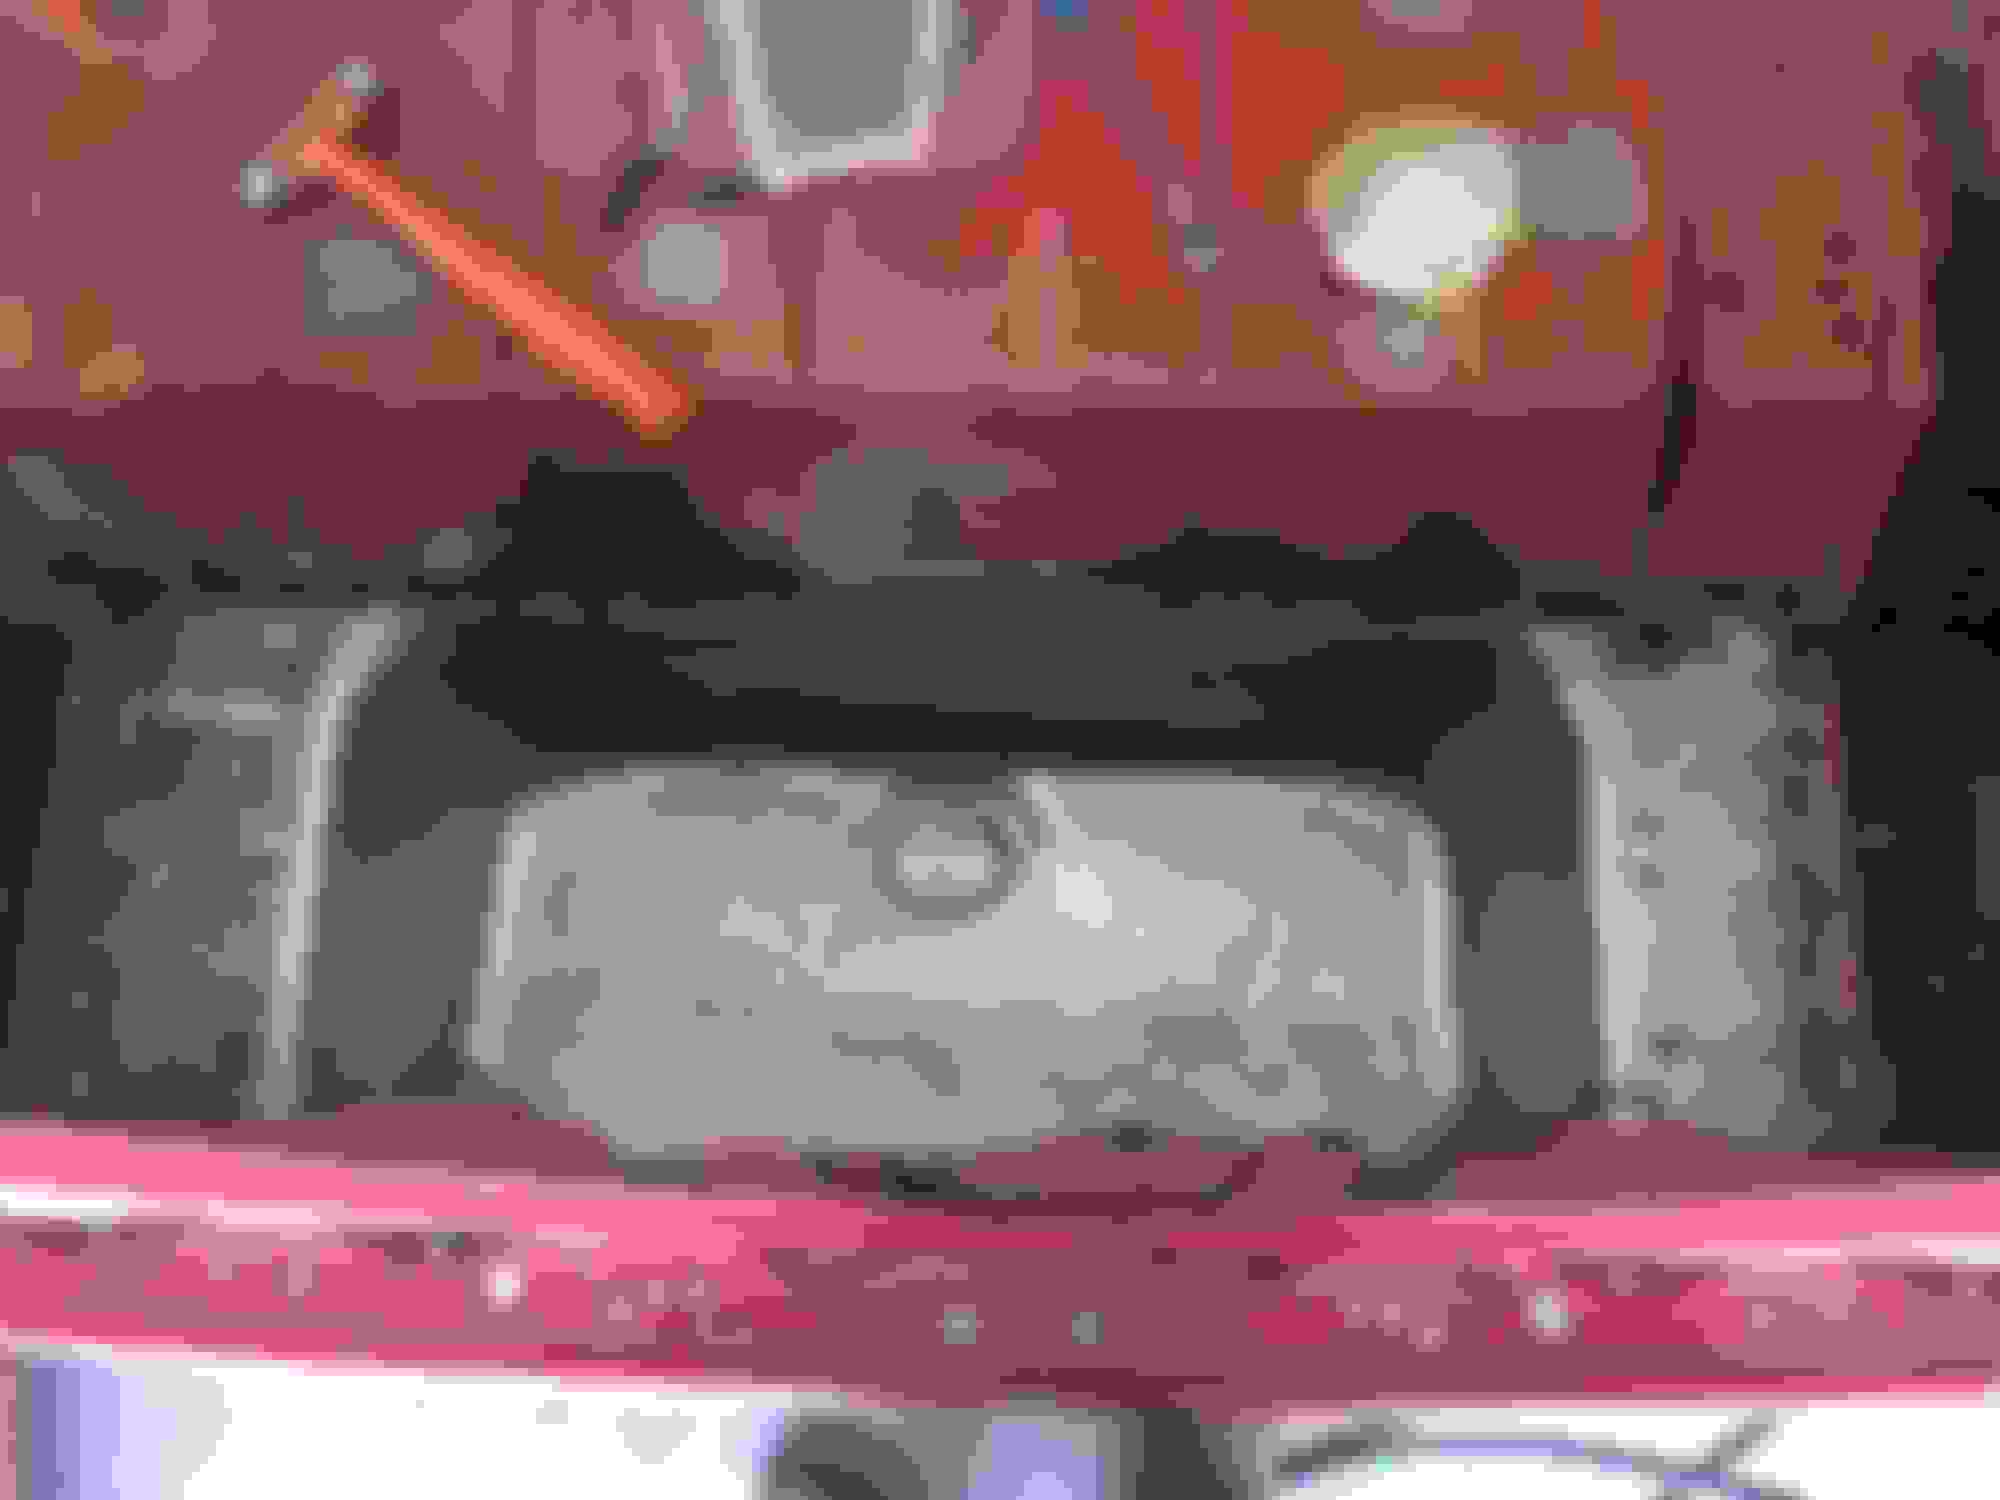
Update... Finally got a second to burn in the new trunk pan. I was pleasantly surprised with how amazing this thing fit, if I didn't know any better I'd swear it was GM NOS.
All spot weld holes get pre-drilled
Test fit, test fit, test fit... Then burn her in
Aprons back into place
All done and moving onto pillar channels and T-Top bar channels... I'll keep the pics coming
Ok.. Had a couple hours to fix the pesky A-Pillar rust. For the record, the term "pin hole" is only what you see. Rust is like an iceberg, what lies beneath I can assure you is far worse. Anyways, I use the pillar section from a hardtop car and it worked great. Couple hours later the rust is gone and we are moving on to the cowl rust, almost ready for plastic and sanding. Speaking of plastic all of these pictures are pre-skim coats of filler and seam sealer; I'm a firm believer in not wasting money and doing things in stages. With that being said... Enjoy and let me know what ya think.
Damaged area
Inside once removed
Inside of damaged panel
Priceless piece of equipment!!
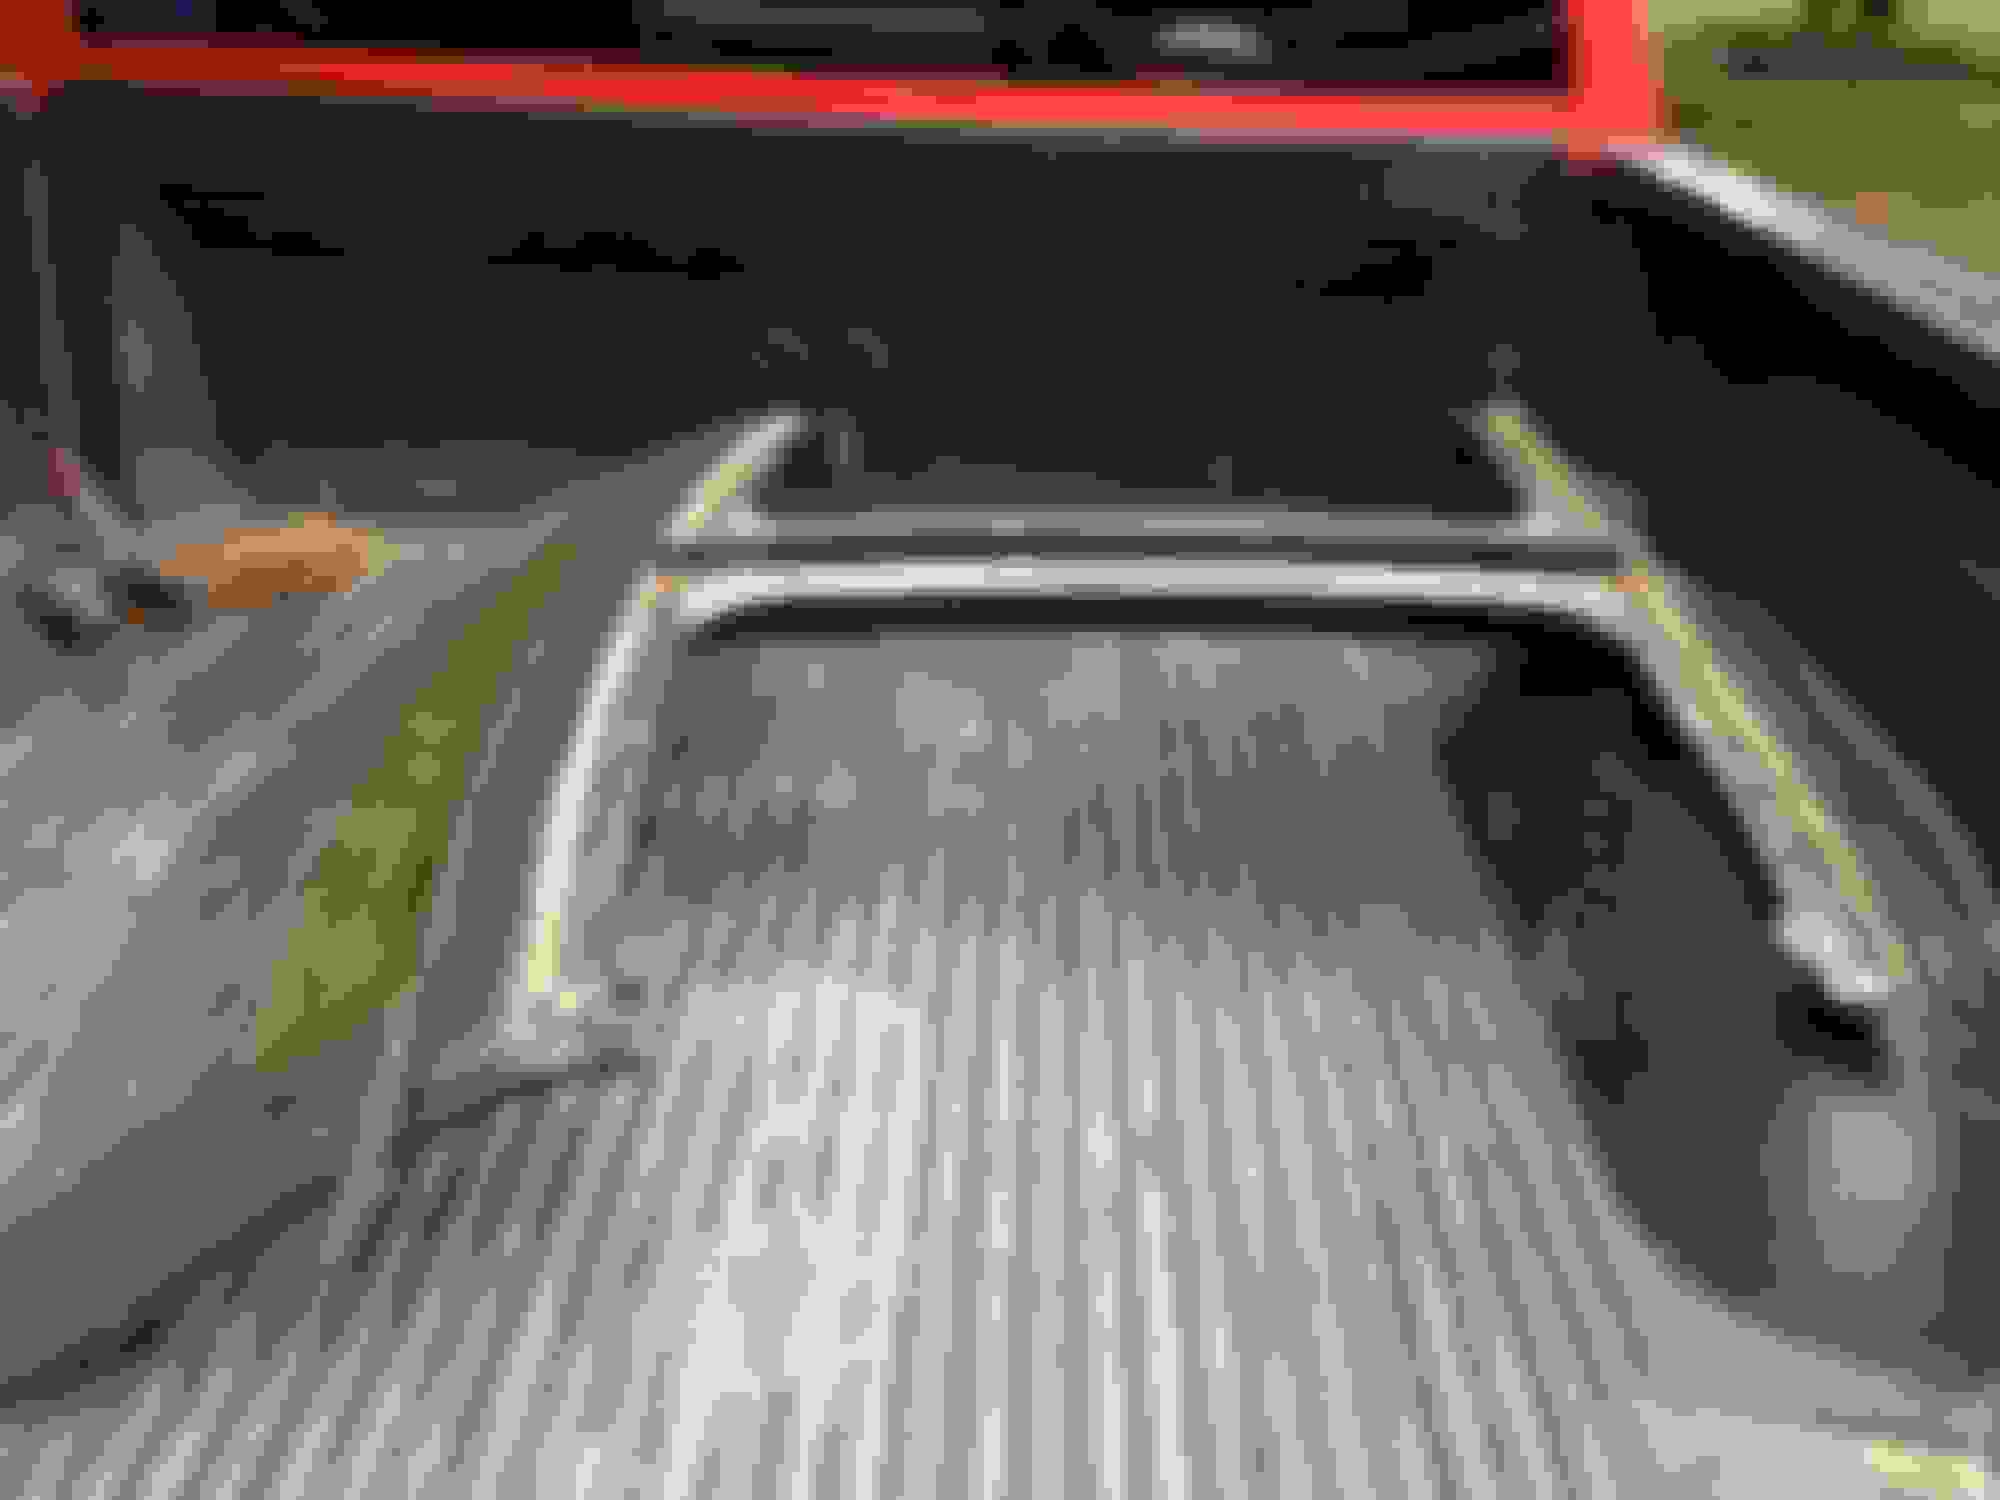
Had to remove the t-top channel to fab a new one
New vs Old
Inside cleaned, prepped and sealed
Burn'er in
Clean'er up
Sealed area after
Looks straight to me
Yup... That outta do it. Onto the cowl, wish me luck
Last edited by Goodolboy0404; 06-23-2015 at 04:19 PM.
Reason: Add pre-picture comment
Re: 1987 IROC- Z Restoration (T-Top Weather Stripping Channels)
Thanks for all the positive reinforcement guys, this thing is a huge undertaking but I hope will be very rewarding at it's conclusion. Thankfully I have a wife that supports the hobby, that's half the battle. LOL.
As an update the t-top section of my car was beginning to shows signs of decay from years of neglect, as to be expected if you are following along; this car was pretty far gone. The t-bar is already removed but the t-top channels will be coming off and replaced ASAP, stand by for pictures... I know this is going to be quite a pain in the ***. If I could find some rust free channels from a wreck car, that'd be fantastic.
Re: 1987 IROC- Z Restoration (T-Top Channels - DONE)
Alrighty folks, got the channels in from a donor roof. Came out pretty good, heading on the to firewall rust and dropping out the k-member for blasting and powder coating.
Scored at the junk yard, rust free Z28. Almost hurt to cut the roof off, but I needed the t-top channels
Got the old ones off, rust cleaned and sealed
She cleans up nice
Replacement channels blasted and Sealed underneath
Man great work. Thought i had a long way to go but i dont have any rust to deal with thank god. I just purchased a 1987 irocz for 900. It runs and everything just some driver side body work to repair. And the typical weatherstripping etc and it will be good as new. For me it is a childhood dream to own one of these cars. I will be doing all the work myself with my 12 year old son. A great project and somethimg i can hand down to him in the future. Don't care how much money i put into it i am never going to sell it.
You lucked out to get a $900 IROC that's not a basket case... The prices of these things are climbing. Good luck with the body work with your son, those are some of the best memories I have with my dad.
Short story... The guy I bought beauty from said "the floors keep getting wet, not sure why, it's not from the t-tops". Well if you're following along he was gravely mistaken about the tops but I found the wet floor issue, inside of the cowl. As you can see the rust goes right into the car from the cowl, this repair is going to be a doozy (no donor car part to cut out, gotta fab it all)
When no space exists...
You make space
Still have to fab the rotten piece I cut out, then put it all back together.
So what exactly are you planning to do as far as keeping the car somewhat factory or more toward a rest-mod? I only ask because I can't decide what to do with mine. Great work so far btw. Don't give up!!!!!!!!!!!
This thing will look like it did the day she rolled off the assembly line in 1987; ie. original wheels, paint color, interior color and TPI set up. However, the gaps in the doors/ hatch/ hood will tightened up. The body will be straightened out, subframe connectors and under the hood will look like the 305 but will be a 383. The seats will be air conditioned/ heated and little things like that. I think it cool to keep the originality of the car but make tiny changes that most would over look at a glance.
Great job! This is an excellent learning tool.
Questions-I see all the major rust being cut out and replaced but I worry that there are many small rust spots hidden throughout my car that will continue to rot even after I fix the major holes. How do you treat/stop/cover the rust that's way back inside the rocker panels, the door seams and areas that don't show any visible rusting but just has to be working it's way to the outside? I hate to think that after 5 years, my car will have to be totally stripped to fix more holes that finally surfaced.
Thank you and keep it up!
Sgtmac- Thanks for the kind words, this thing is coming slowly but surely. To answer your question about “stopping rust” it can be done, IF you are patient and thorough with your efforts. Like you said rust doesn’t begin with automatically BAM the floors are toast, lol. It begins with moisture or water coming in, laying in the carpet, being neglected for years, opening a tiny pin hole and then the race to rotting is on. This is stoppable though, but first step isn’t fixing the rust it’s finding where the rust is originating from (t-tops leaking, seams leaking, plugs missing, and poor weather stripping seals). Find where the moisture/ water is coming from and fix that. Once that is done go after the affected area and replace it. Now, like you said to properly stop rust you have to get all of the rust out. It normally doesn’t stop at a simple floor pan or quarter panel. It’s deeper than that, it’s an inner frame rail or inner rocker panel. I wish there was an easy fix to this but there isn’t. It’s time consuming and annoying work; but the beauty of it is once the floor is out or the quarter is out you can now get to these generally impossible areas to fix. Prime example is the picture you attached, the inside of the frame rail will be accessible once the floor is cut out. Now where you cut the floor might look like it’s only a 6”x6” piece of rot, do yourself a favor and cut at least a 10”x10” piece out. The reason is that rust starts by initially weakening the metals thickness, cut past the affected area to get to the good metal. This does two things: 1 – gives you good metal to weld to. 2 – Removes all the little rust you might not be seeing that will end up lurking back on you. Now, once this area is cut out and the frame is now exposed… wire wheel or grind this area out and seal it with a rust inhibitor. I used POR15 on all of my restorations, from classic Chevelles to farm trucks; stuff works great IF YOU USE IT HOW IT IS INTENDED TO BE USED. Take your time, follow the directions and you’ll be pleased with the results; because the stuff work. All too often people rush through this, don’t treat the metal, slap this stuff over untreated material then want to b**** when the rust comes back. The main things to remember: Find the origin, fix it, cut past the affected area, seal all that you can while the hard to reach areas are exposed, replace with good metal and seam seal. DON’T BE IN A RUSH and TRUST YOUR INSTINCT. If you are looking at a panel with some pits and aggressive surface rust with the thought “ehh…should be ok, I don’t feel like drilling out 30 more spot welds” then it probably needs to be replaced and if you don’t then you’ll be kicking yourself in the butt for not. Once you get to that point in the day do yourself a favor; Stop, get a beer and hit it tomorrow LOL.
Last edited by Goodolboy0404; 07-06-2015 at 04:55 AM.
Ok guys, I had a few hour last night to button up the cowl area. I'm officially done with rust repair, which is huge!! Next will be the seam sealing and body work. This repair was a task! Even with the cowl opened up, there was limited space. I'm not ecstatic with how it turned out but it will be covered with the heater box so it's all good.
I took the contoured old piece, bang it out flat and cut a replacement flat piece
Next, tack weld the bottom (flat side) and edges.
Once it is secured to the bottom of the panel, use a body hammer and pliers to slowly roll the piece into the desired location
As you roll the piece (walk it down) tack... roll, tack, roll tack, Until its in place.
Not sure if you guys remember what this part looks like before, but it was BAD. Three pieces of metal all rusted and nasty looking
Panel is welded in and cleaned.
Now, issue number two. The bottom of this panel is obviously in need of repair. Cut all the rust off and weld in metal
Looks likes this
Lay it in place and weld up the seams; like it was never gone
Once your done, POR 15 the entire well so seal it
place the top back on, weld it up solid and POR 15 that to seal it.
Tada. Took a while but came out great. Little primer and repaint of the engine bay, never know it was in distress.
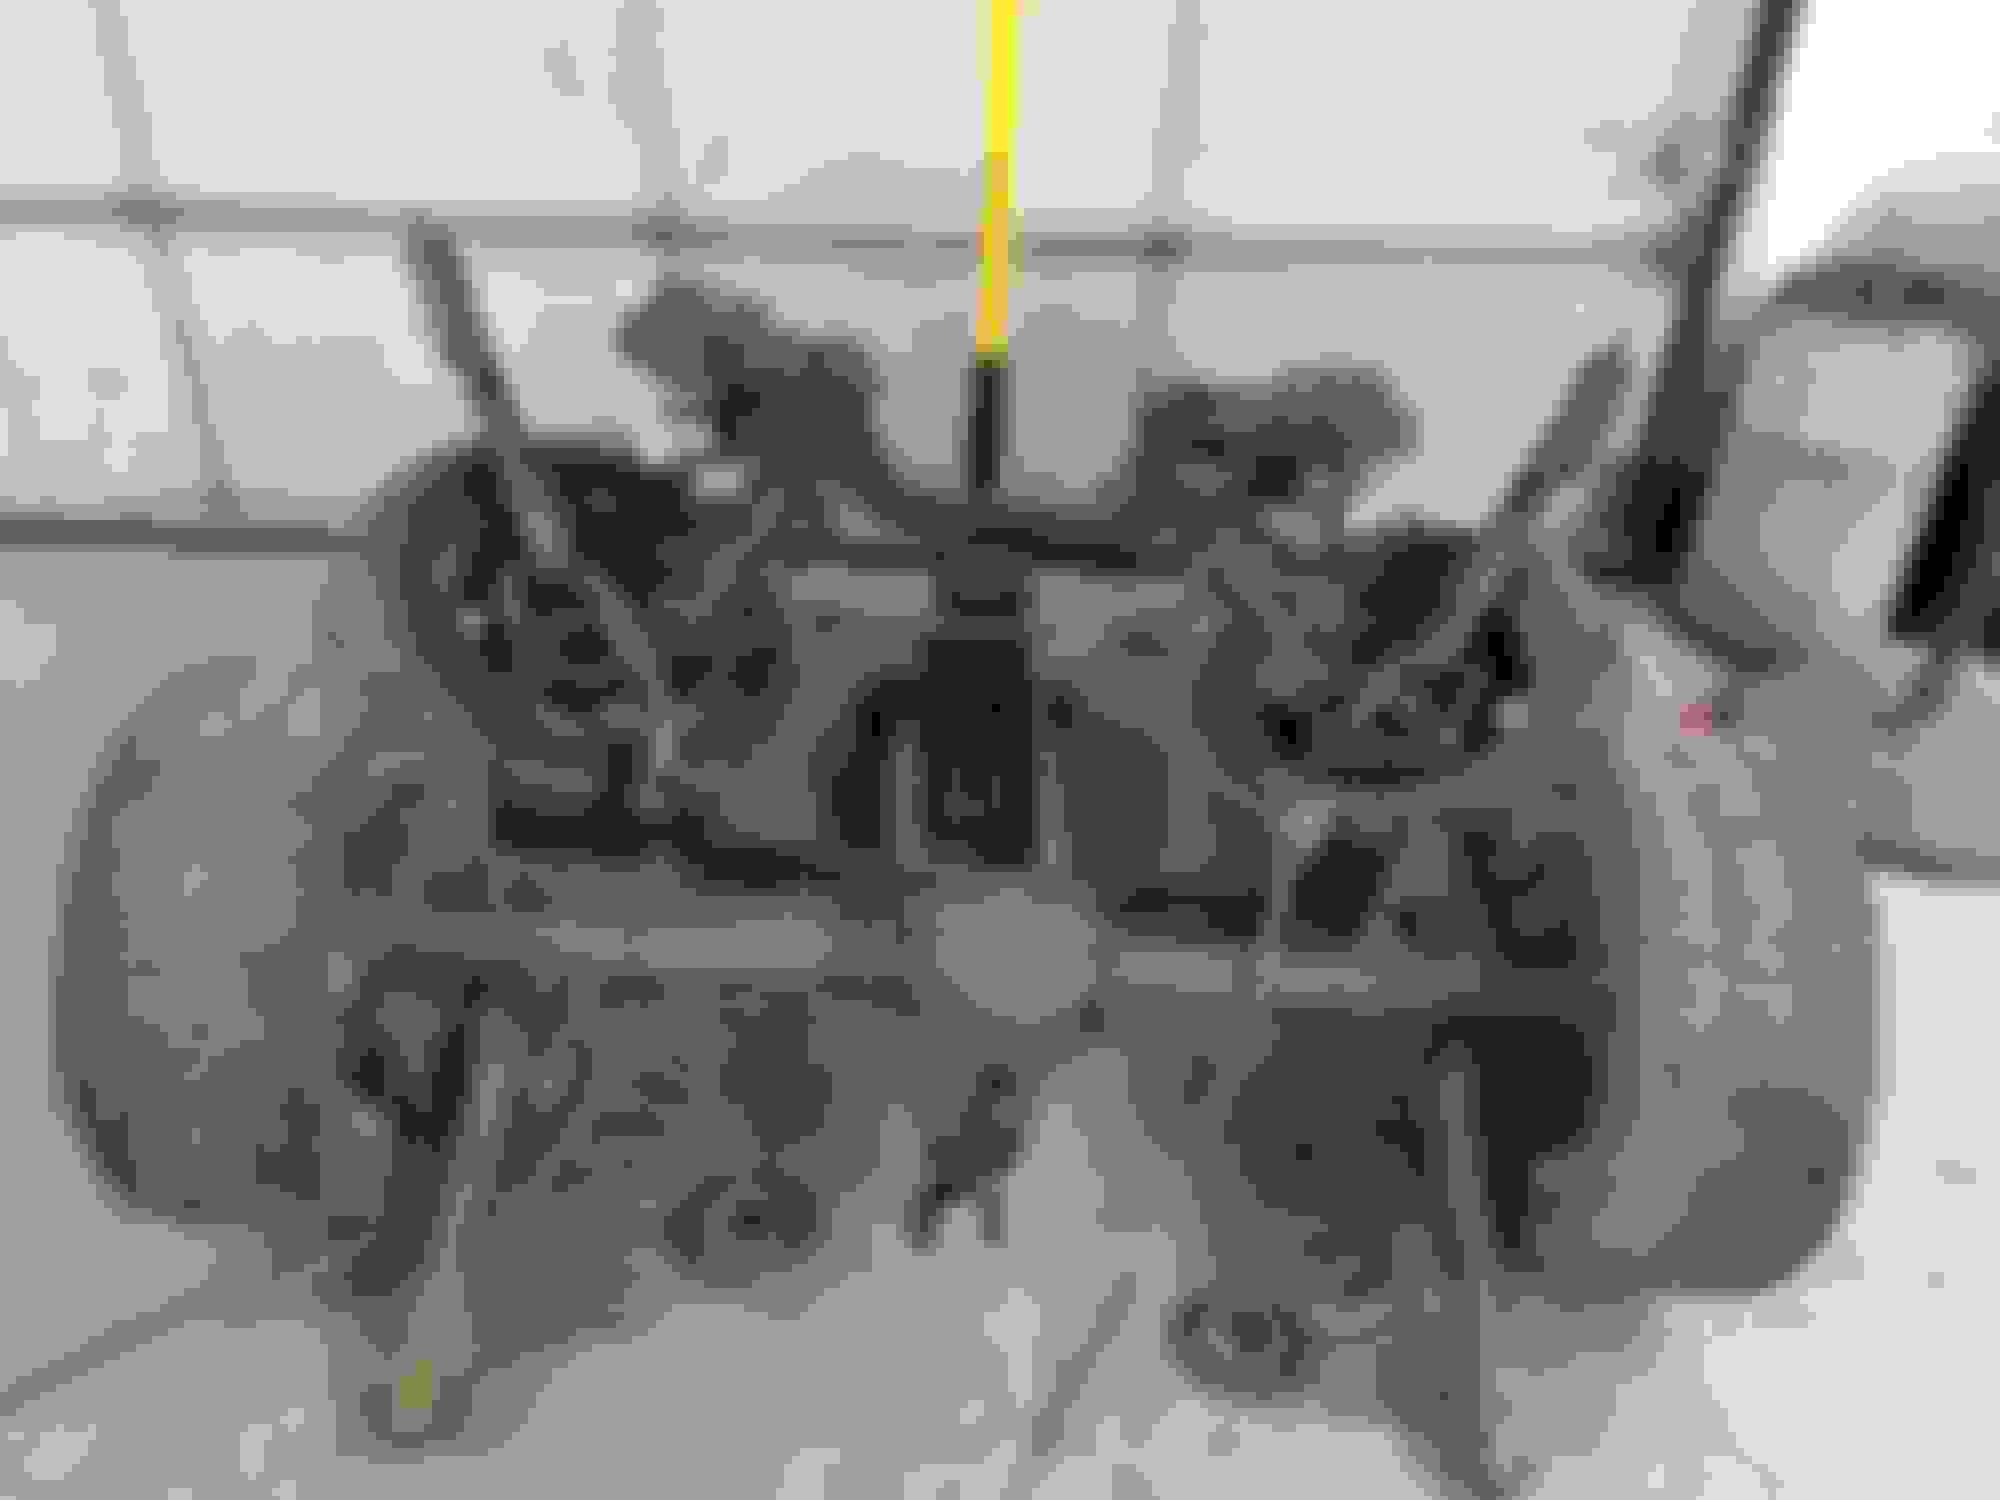
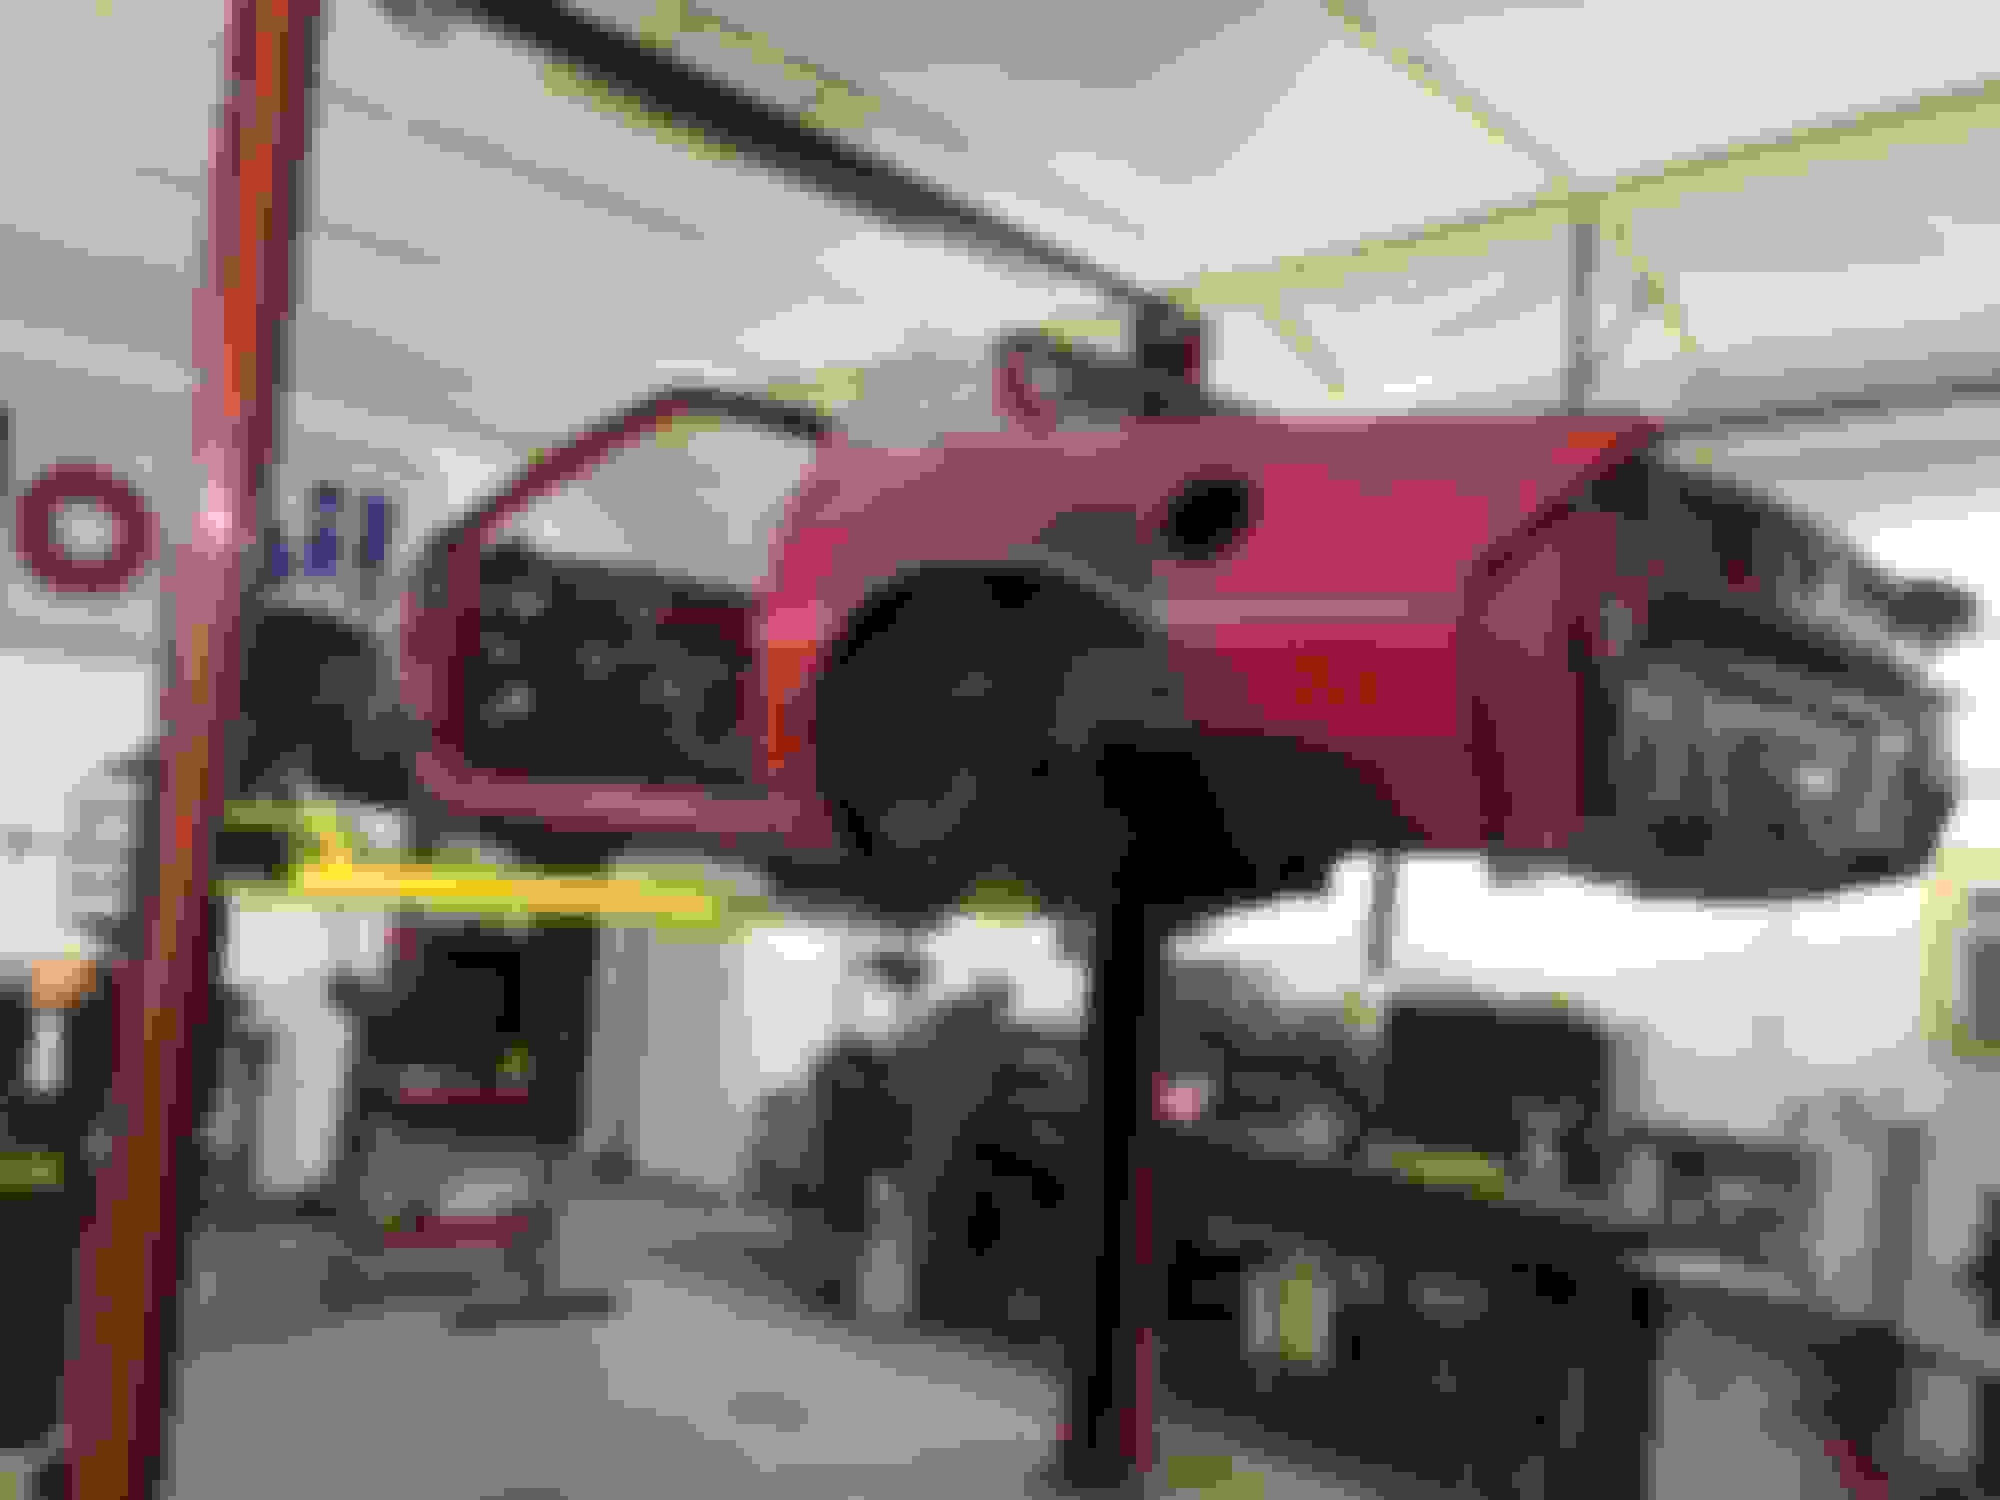
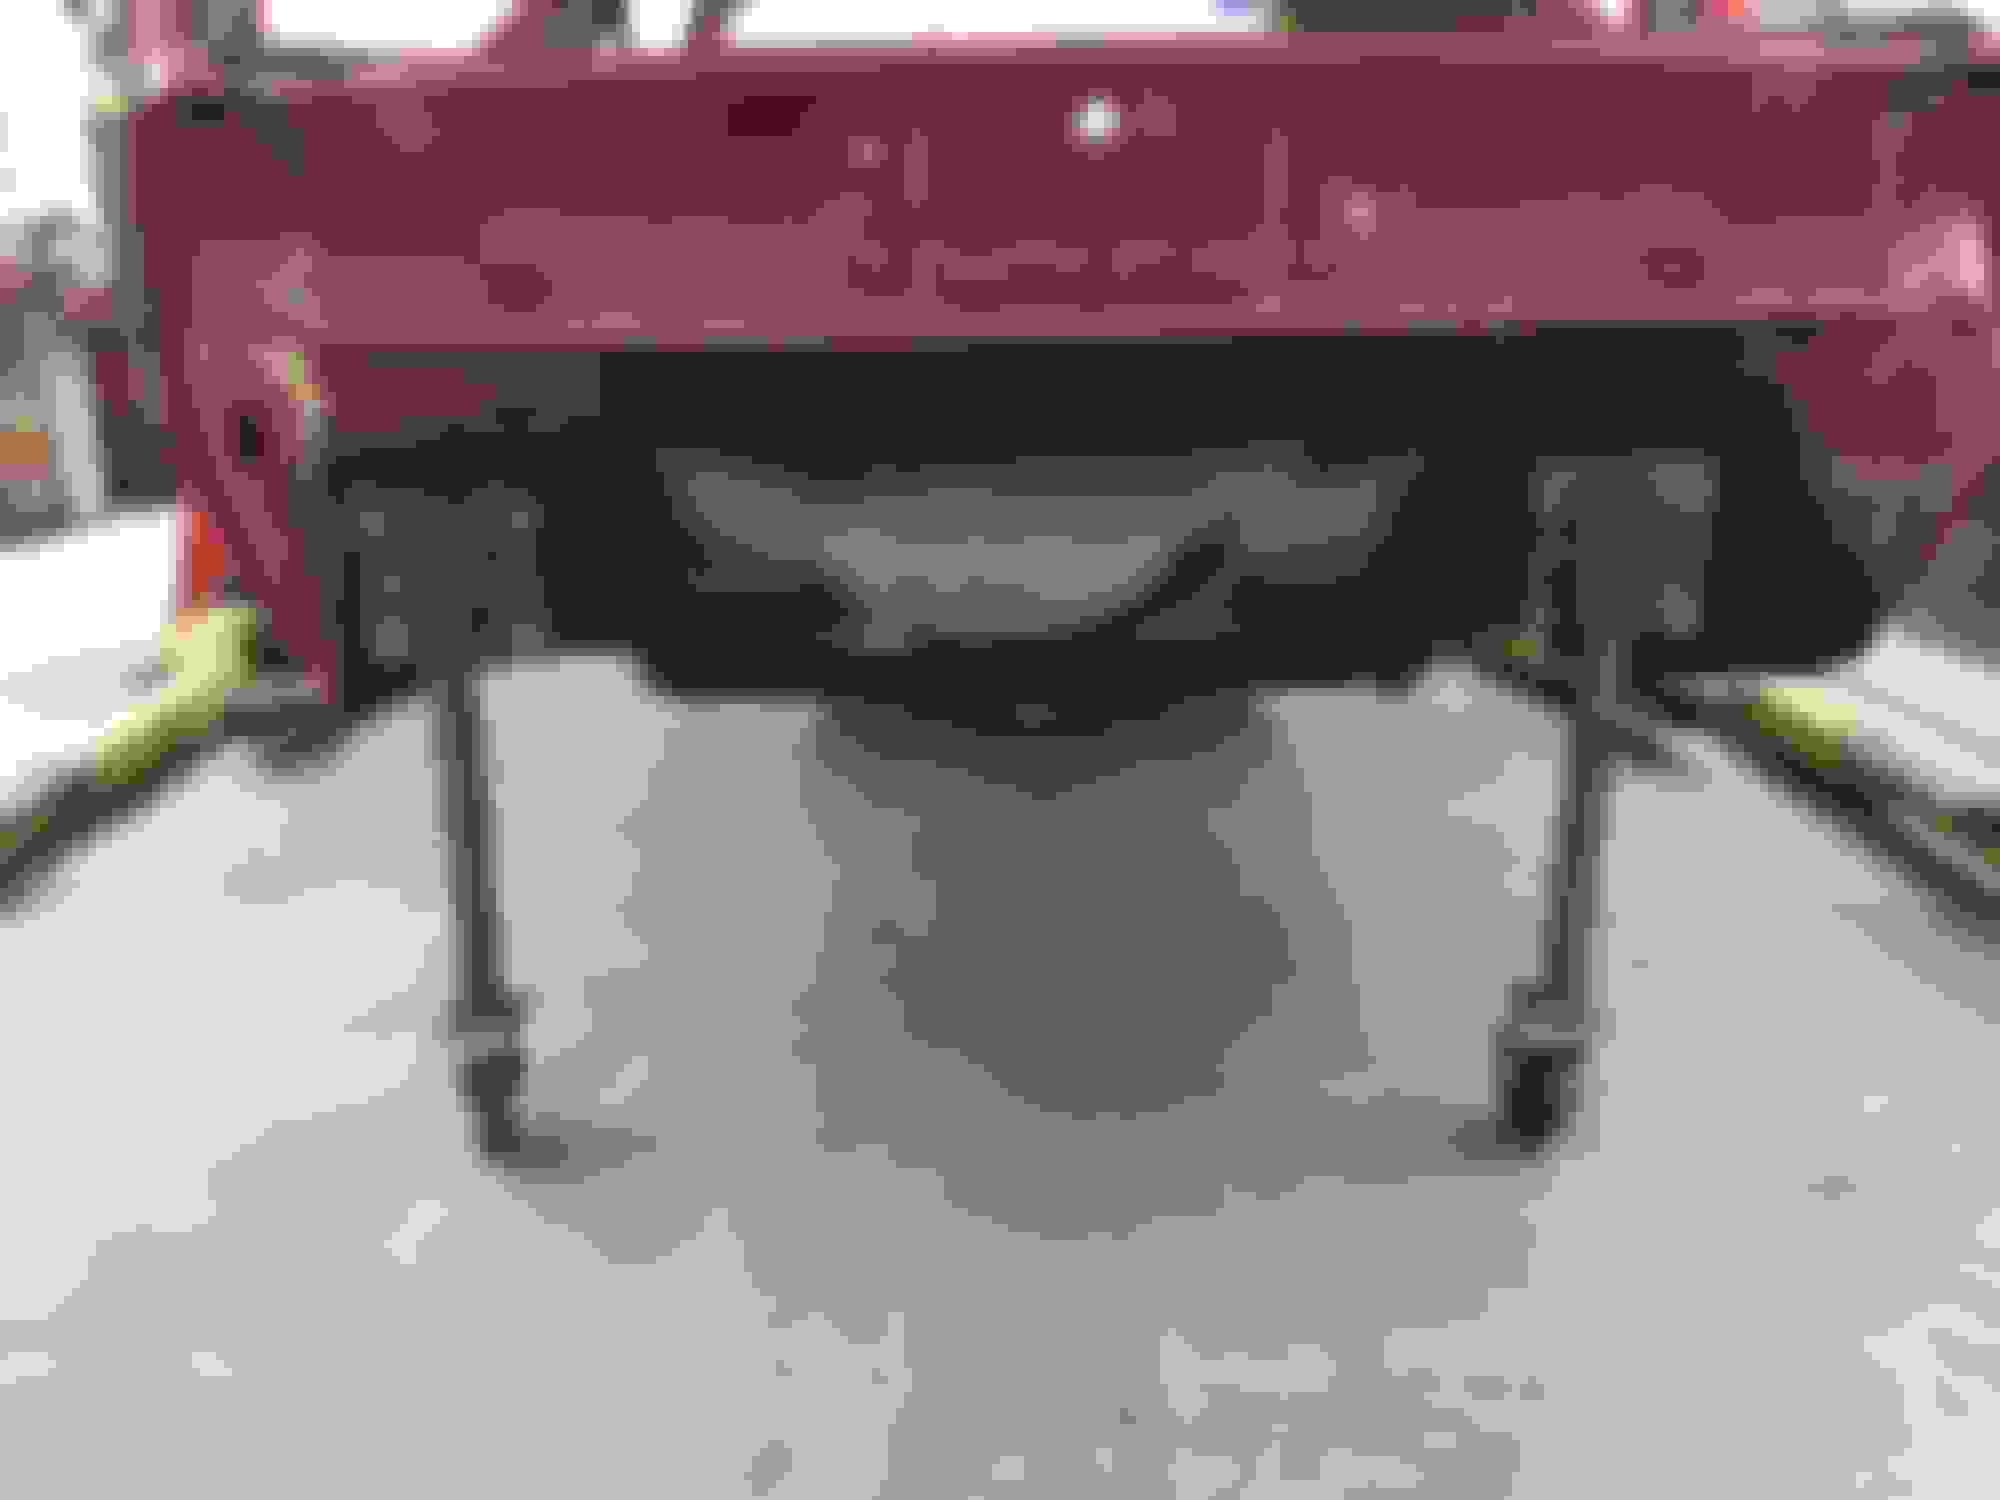
As I sit here in my patrol car doing speed enforcement I figured no better time to update my progress on the IROC, lol. Just when I think I can't possibly take this thing any further apart... I correct myself. Finally got the front and rear suspension out of it. Both will be blown apart, powder coated and rebuilt prior to reinstallation. However, in the meantime I have two "customer cars" that need to be repainted to replenish the car fund. So... I had to fabricate some rough legs to put under her so I can roll it in and out of the shop. Seam sealer and body work starting tomorrow AM in between customer stuff.
Rudimentary yet effective.
Make is so easy to roll around the shop. I actually think I will leave it like to paint it.
Last edited by Goodolboy0404; 07-13-2015 at 11:49 PM.
This is why I learned how to weld. You have a great garage.
thanks for the kind words man. I love this shop, my dad and I started with a pole barn and dirt floor. Over the past 20 years turned it into our sanctuary, lol. I go down here and lose total track of time, I tell my wife it's free therapy. lol
I am planning on doing subframe connectors to prevent the notorious twisting I hear these things are known for. I'm not sure if I want to buy them though, I'd prefer to fabricate my own but I'm not quite there yet. Also, Id want to get the car back on the lift and doors on before I lock them in incase there was some movement on these stilts I made, lol.
[QUOTE=phasevariance;5939636]I love those fabricated stands. Now if I could only do something similar like that for raising my car without a lift...bliss
I wanted to go higher with mine as well, but I felt if I went any higher I'd have to connect all four stilts together to make them a frame or they would wooble or worst case buckle. These things put the car (measuring from the bottom floor) about 16" off the ground. This is a pretty good all-around height for everything. You can creeper under it, you can still do inside work or sand the roof; but that's just me.
I seriously love this thread and how you have literally saved your car from an almost certain junkyard death! There's not too many of these cars left anymore, and it is nice to see people who love them and want to restore them to their former glory!

 06-17-2015, 12:37 AM